


一、虚拟环境的搭建
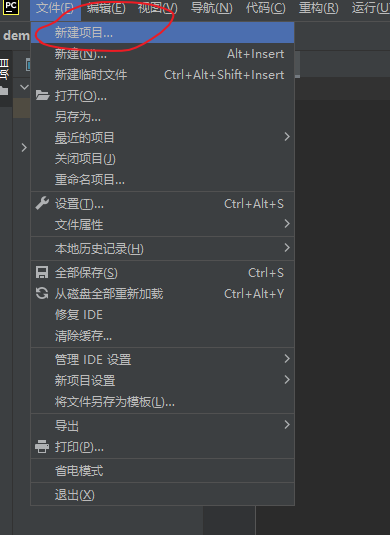
点击文件,新建项目
选择你想要安装的位置,点击使用此工具新建环境,最后选择所用的Python版本
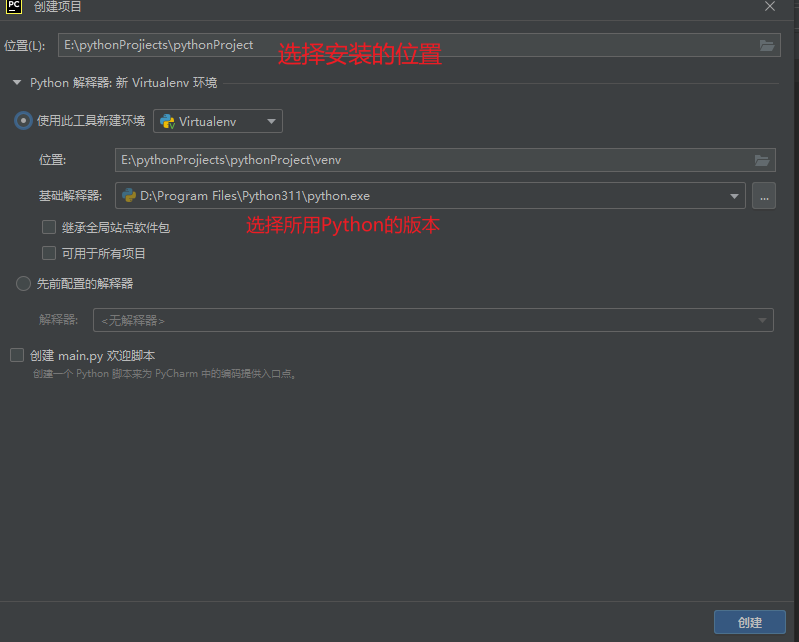
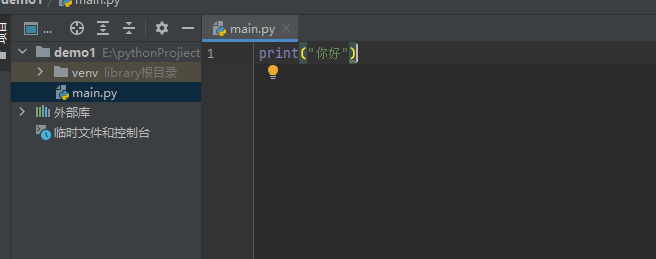
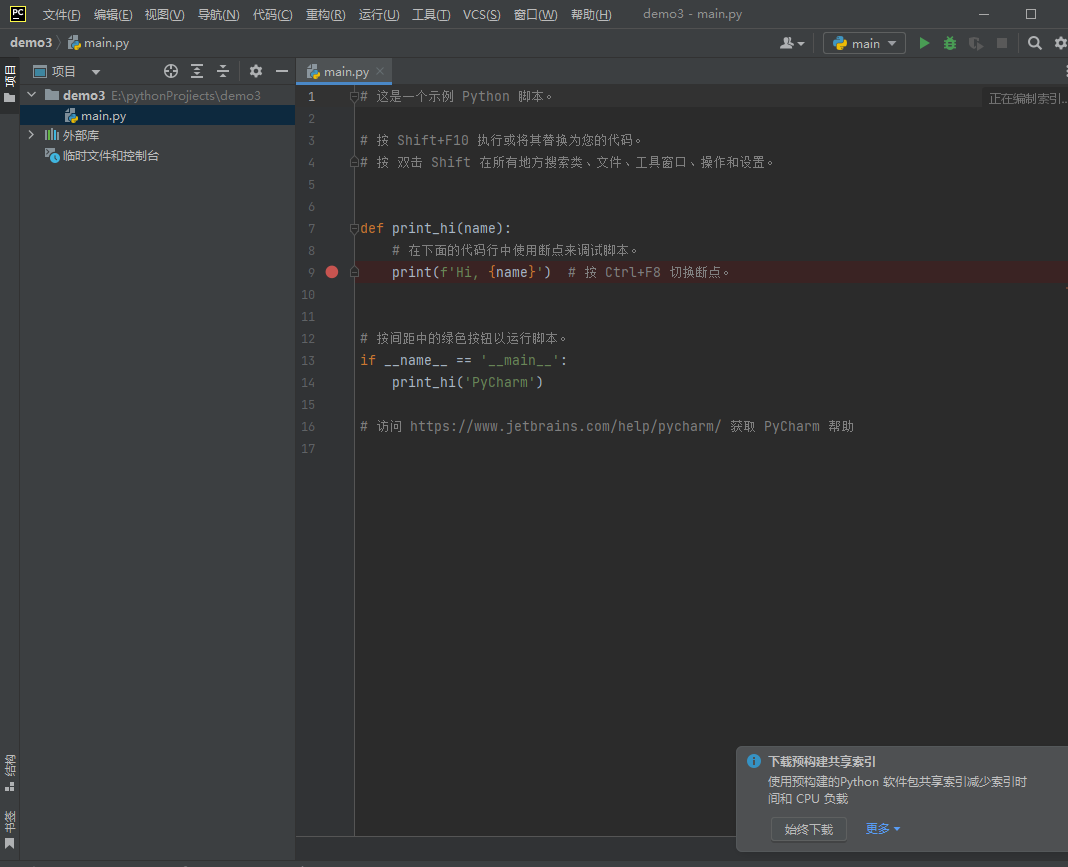
这样一个虚拟环境 就搭建好了
二、真实环境的使用
点击文件,新建项目

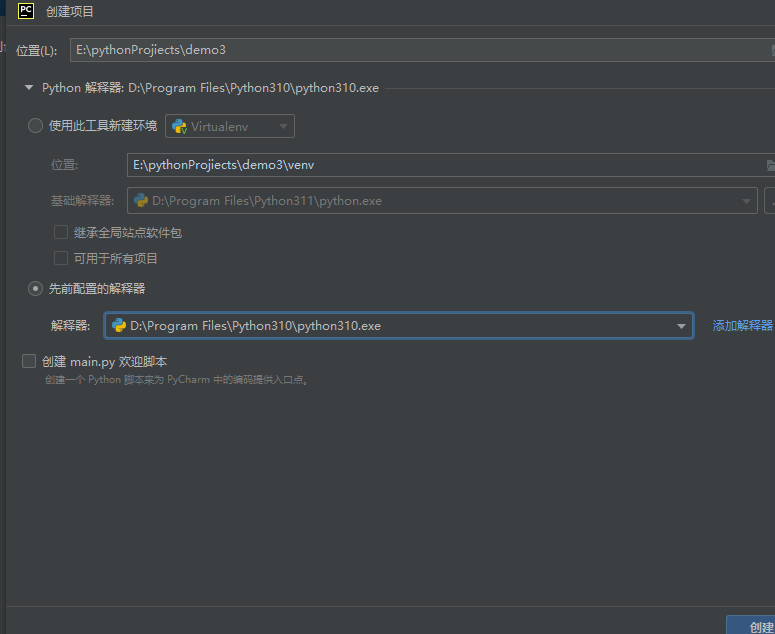
选择要保存的位置,点击先前配置的解释器
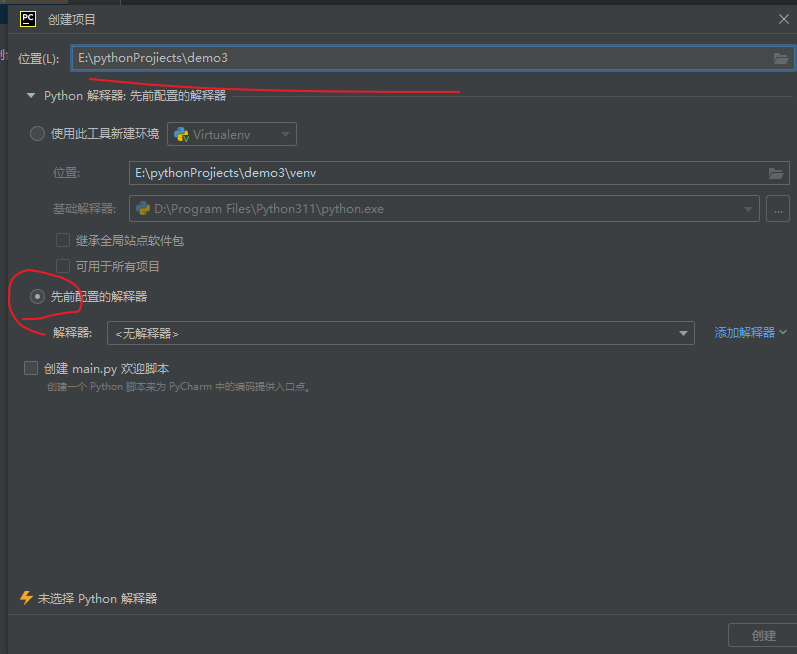
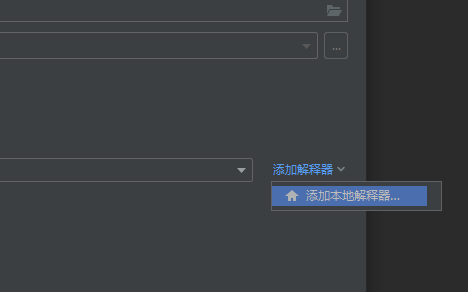
点击添加解释器>添加本地解释器
环境改为现有环境
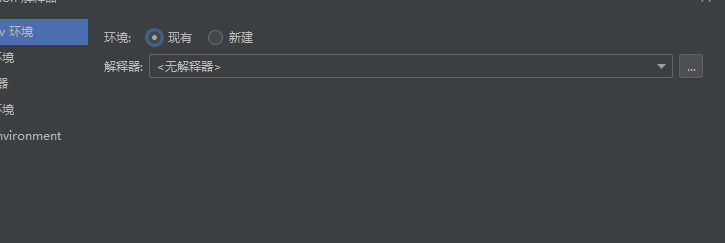
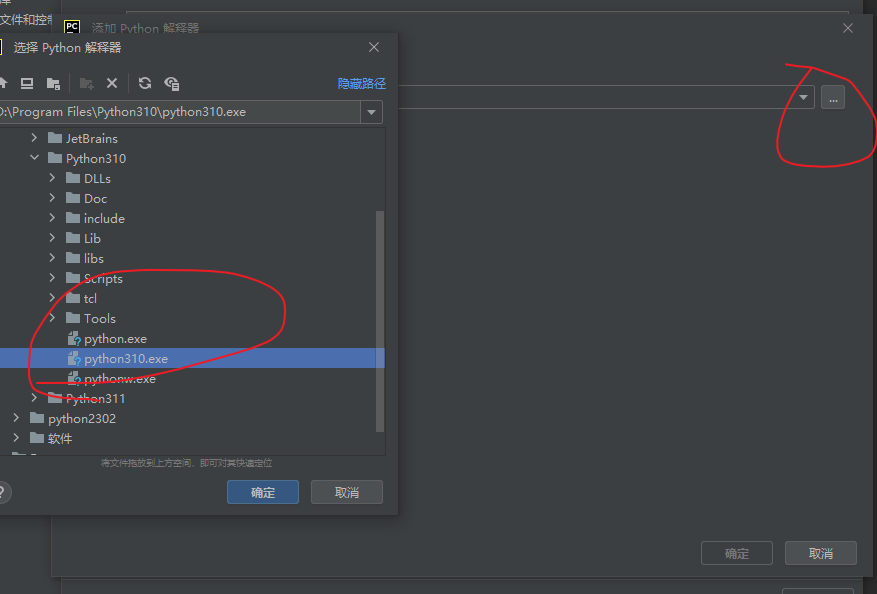
点击右边的...进入选择要用的Python解释器,点击确定
点击创建
这样你的真实环境就配置好了

一、虚拟环境的搭建
点击文件,新建项目
选择你想要安装的位置,点击使用此工具新建环境,最后选择所用的Python版本
这样一个虚拟环境 就搭建好了
二、真实环境的使用
点击文件,新建项目
选择要保存的位置,点击先前配置的解释器
点击添加解释器>添加本地解释器
环境改为现有环境
点击右边的...进入选择要用的Python解释器,点击确定
点击创建
这样你的真实环境就配置好了
 1620
1620


 被折叠的 条评论
为什么被折叠?
被折叠的 条评论
为什么被折叠?
 到【灌水乐园】发言


