


2. vue3从零搭建项目 - 项目整体框架定位
一、需要知道的知识点
1. vue2和vue3的区别
首先需要了解vue2的知识内容,如果不会请学习官网 vue2
- 双向数据绑定原理不同
- 是否支持碎片
- API类型不同
- 定义数据变量和方法不同
- 生命周期钩子函数不同
二、项目原型图
工作中一个项目启动需要分为以下几个阶段
- 可行性与计划研究阶段
- 需求分析阶段
- 设计阶段(ui人员)
- 实现阶段(前端/后端实现)
- 测试阶段(测试人员,如果没有测试人员,前端和后端测试)
- 运行与维护阶段
由于没有ui设计,所以这边我就仿照echarts官网写一个项目吧,我会增加一些功能,或者减少一些功能,并不是一模一样的
三、 登录页面
这边echarts官网没有登录页面,但是我们这边需要加一个登录页面

四、编写代码
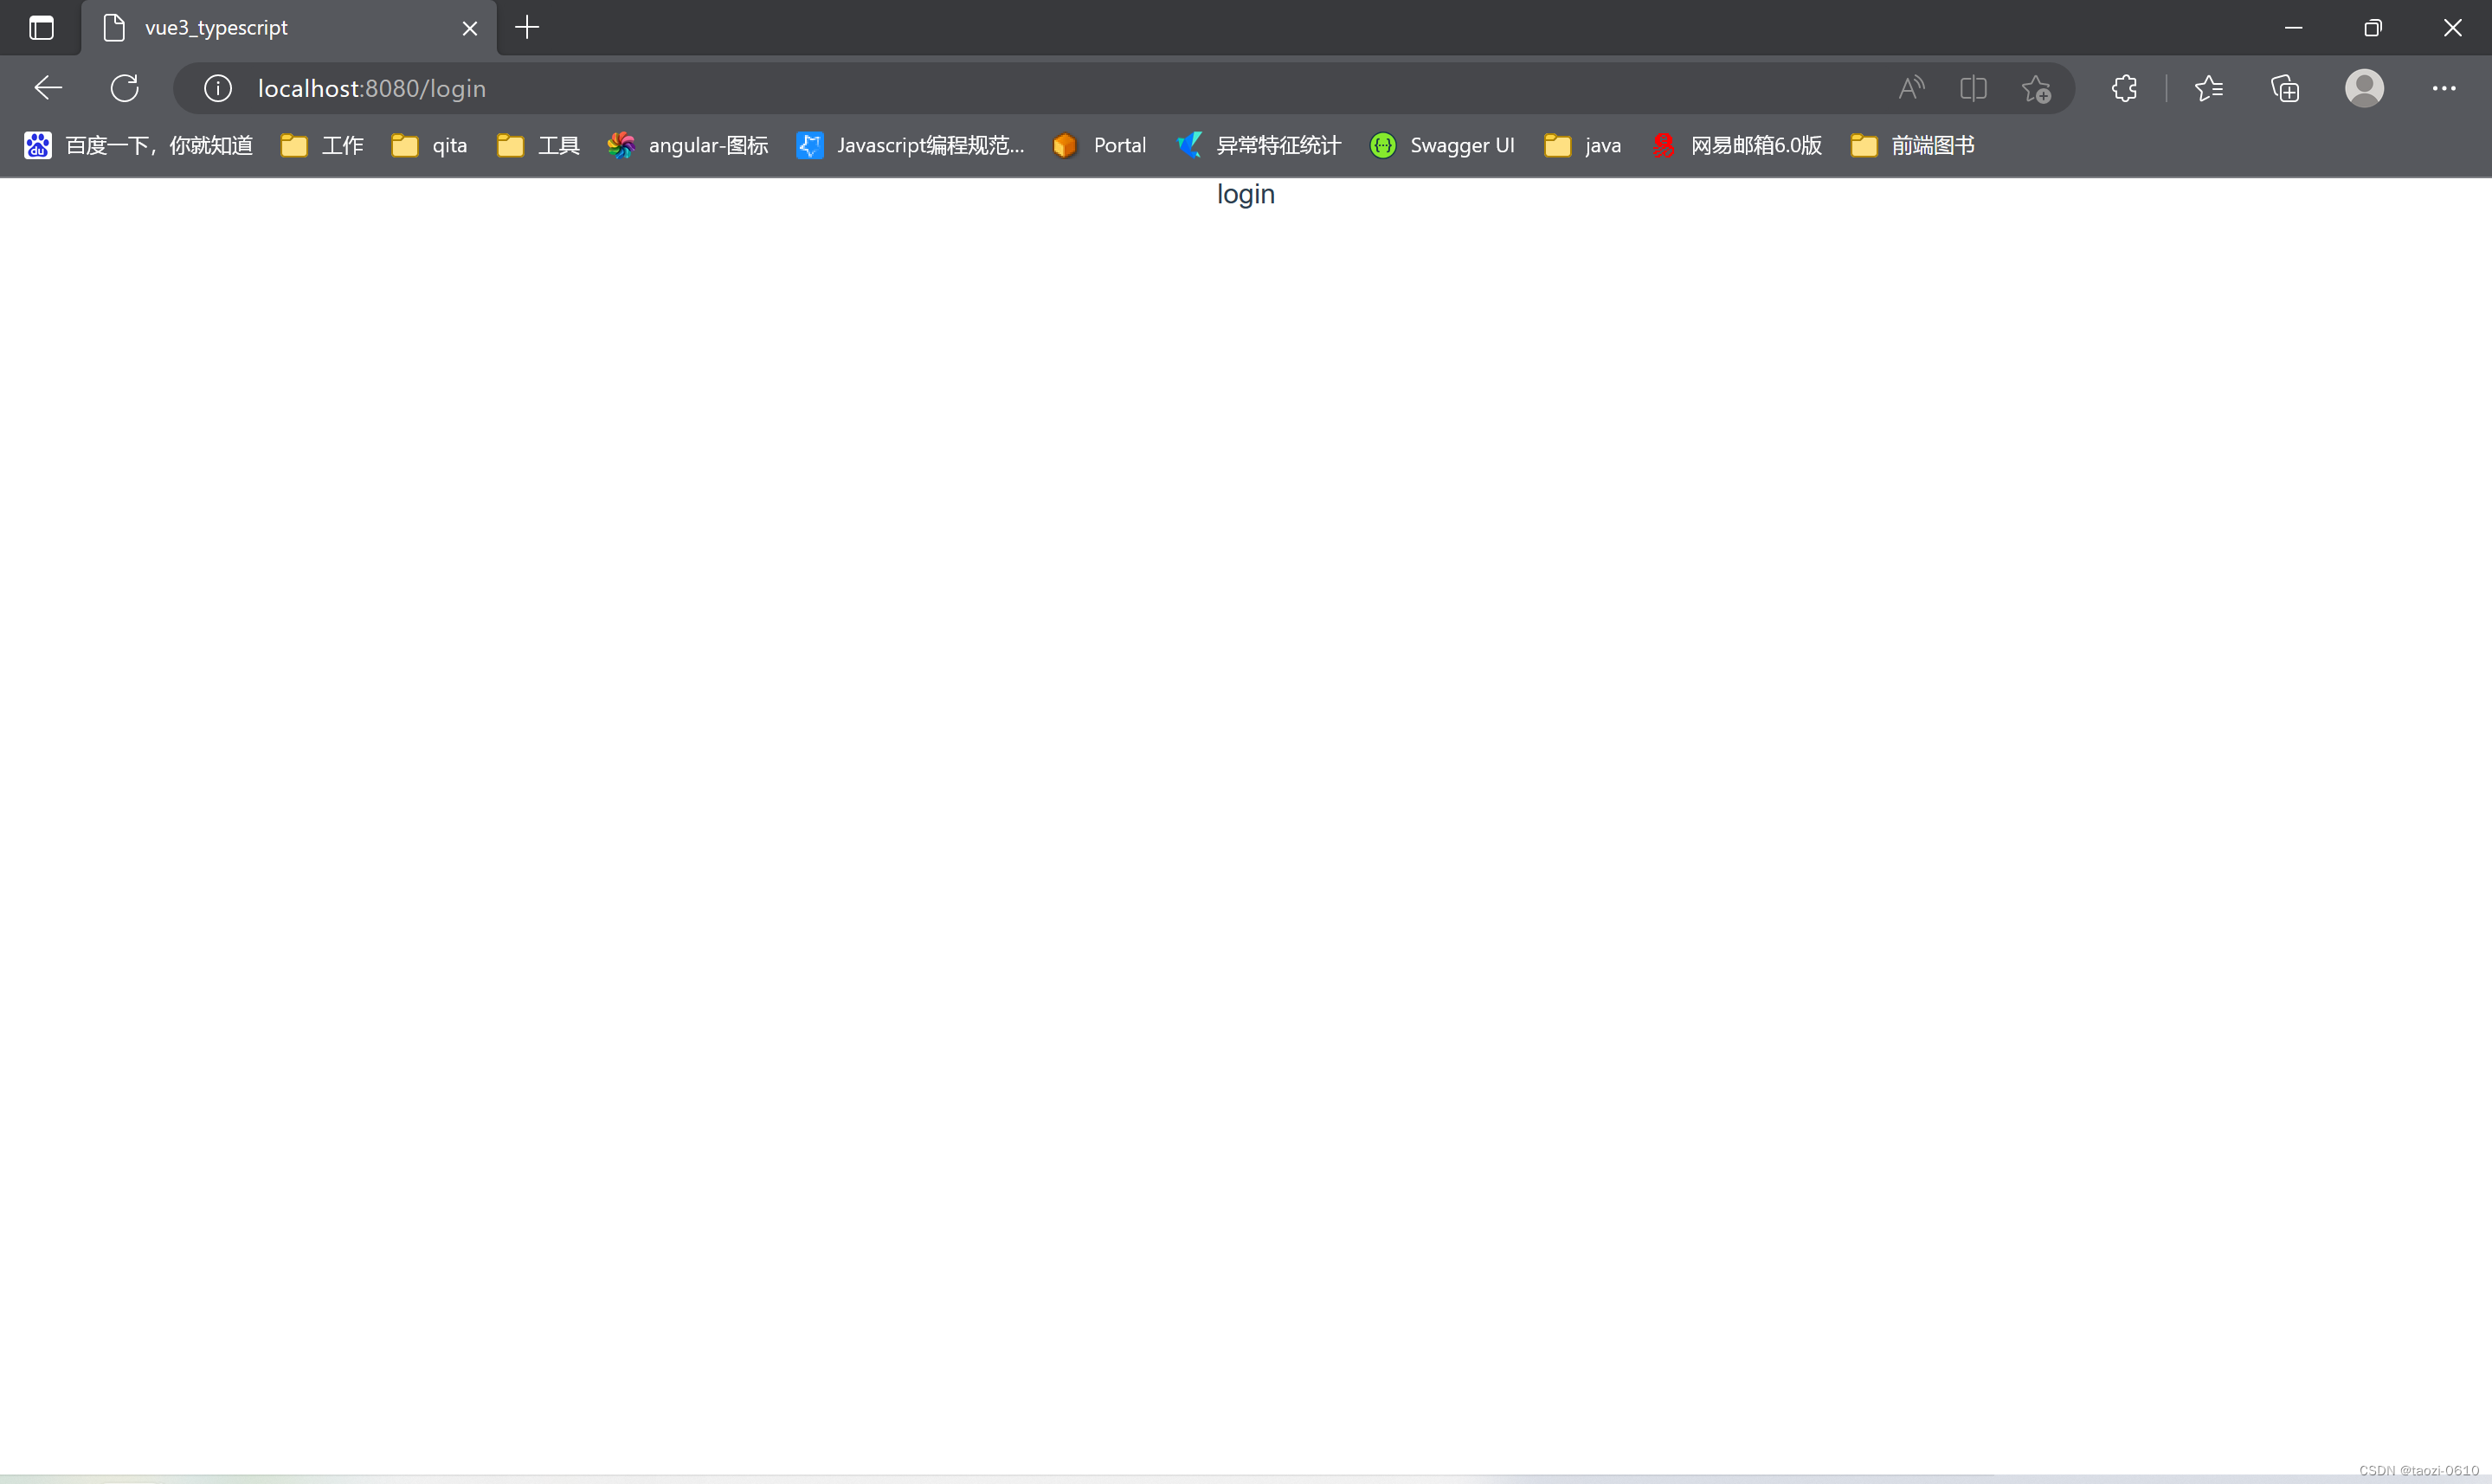
1.增加一个login.vue页面
<!-- src/login.vue -->
<template>
  <div class="login">
    login
  </div>
</template>

<script lang="ts">
export default {

}
</script>

<style>

</style>
2. 修改router文件,增加login路由
import { createRouter, createWebHistory, RouteRecordRaw } from 'vue-router'
import HomeView from '../views/Home.vue'
import LoginView from '../views/Login.vue'

const routes: Array<RouteRecordRaw> = [
  {
    path: '/',
    name: 'home',
    component: HomeView
  },
  {
    path: '/login', //新增的login页面路由
    name: 'login',
    component: LoginView
  },
]

const router = createRouter({
  history: createWebHistory(process.env.BASE_URL), // 使用的是history路由模式,这样目录更加美观
  routes
})

export default router
3. 本地运行,打开页面查看效果
4. 开始美化登录页面
4.1 修改导航栏名称和图标
先去网上下载一个不要钱的svg文件,然后放到 public文件夹下面
<!--public/index.html-->
<!DOCTYPE html>
<html lang="">
  <head>
    <meta charset="utf-8" />
    <meta http-equiv="X-UA-Compatible" content="IE=edge" />
    <meta name="viewport" content="width=device-width,initial-scale=1.0" />
    <link rel="stylesheet" href="./iconfont/iconfont.css" />
    <link rel="icon" href="<%= BASE_URL %>tao.svg" /> <!-- 页面导航栏图标,tao.svg 是从网上下载的图标 -->
    <title><%= htmlWebpackPlugin.options.title %></title>
  </head>
  <body>
    <div id="app"></div>
    <!-- built files will be auto injected -->
  </body>
  <script src="https://unpkg.com/dayjs/dayjs.min.js"></script>
  <script src="https://unpkg.com/dayjs/plugin/customParseFormat.js"></script>
  <script src="https://unpkg.com/dayjs/plugin/weekday.js"></script>
  <script src="https://unpkg.com/dayjs/plugin/localeData.js"></script>
  <script src="https://unpkg.com/dayjs/plugin/weekOfYear.js"></script>
  <script src="https://unpkg.com/dayjs/plugin/weekYear.js"></script>
  <script src="https://unpkg.com/dayjs/plugin/advancedFormat.js"></script>
  <script src="https://unpkg.com/dayjs/plugin/quarterOfYear.js"></script>
</html>
文字更改,需要在package.json文件中更改name值
{
  "name": "tao-echarts",
  "version": "0.1.0",
  "private": true,
  "scripts": {
    "serve": "vue-cli-service serve",
    "build": "vue-cli-service build",
    "test:unit": "vue-cli-service test:unit"
  },
  "dependencies": {
    "ant-design-vue": "^4.0.3",
    "core-js": "^3.8.3",
    "vue": "^3.2.13",
    "vue-class-component": "^8.0.0-0",
    "vue-router": "^4.0.3",
    "vuex": "^4.0.0"
  },
  "devDependencies": {
    "@types/jest": "^27.0.1",
    "@vue/cli-plugin-babel": "~5.0.0",
    "@vue/cli-plugin-router": "~5.0.0",
    "@vue/cli-plugin-typescript": "~5.0.0",
    "@vue/cli-plugin-unit-jest": "~5.0.0",
    "@vue/cli-plugin-vuex": "~5.0.0",
    "@vue/cli-service": "~5.0.0",
    "@vue/test-utils": "^2.0.0-0",
    "@vue/vue3-jest": "^27.0.0-alpha.1",
    "babel-jest": "^27.0.6",
    "jest": "^27.0.5",
    "less": "^4.0.0",
    "less-loader": "^8.0.0",
    "ts-jest": "^27.0.4",
    "typescript": "~4.5.5"
  }
}
4.2 login页面优化
<!-- src/view/Login.vue 登录页面 -->
<template>
  <div class="login">
    <div class="loginTitle">
      <div>
        <span class="iconfont icon-taozi"></span>
        <span>tao</span>
      </div>
      <div>
        <span @click="localeFn" >{{ state.locale === "en" ? "中文" : "English" }}</span> <!-- 中英文切换-->
      </div>
    </div>
    <div class="loginFrom">
      <div class="from">
        <div class="title">登录页面</div>
        <a-form
          :model="formState"
          name="basic"
          :label-col="{ span: 8 }"
          :wrapper-col="{ span: 16 }"
          autocomplete="off"
          @finish="onFinish"
        >
          <a-form-item
            label="用户名"
            name="username"
            :rules="[{ required: true, message: '请输入用户名!' }]"
          >
            <a-input v-model:value="formState.username" />
          </a-form-item>

          <a-form-item
            label="密码"
            name="password"
            :rules="[{ required: true, message: '请输入密码!' }]"
          >
            <a-input-password v-model:value="formState.password" />
          </a-form-item>

          <a-form-item name="remember" style="display: flex;justify-content: center;text-align: center">
            <a-checkbox v-model:checked="formState.remember">记住登录</a-checkbox>
          </a-form-item>

          <a-form-item style="display: flex;justify-content: center;text-align: center">
            <a-button type="primary" html-type="submit">登录</a-button>
          </a-form-item>
          <a-form-item style="display: flex;justify-content: center;text-align: center">
            <span>没有账户?请注册</span> <!-- 用来跳转到注册页面 -->
          </a-form-item>
        </a-form>
      </div>
    </div>
  </div>
</template>

<script lang="ts" setup>

import { reactive } from 'vue';

interface FormState {
  username: string;
  password: string;
  remember: boolean;
}

let state=reactive({locale:'zh'}) // 必须这样写,不然页面刷新

const formState = reactive<FormState>({
  username: '',
  password: '',
  remember: true,
});

const localeFn=()=>{   // 显示中英文切换
  if(state.locale==='zh'){
    state.locale='en'
  }else{
    state.locale='zh'
  }
}

const onFinish = (values: FormState) => {  // 表单提交
  console.log('Success:', values);
  if(values.username==='tao'){
    if(values.password==='admin123'){
      alert('登录成功')
      window.location.href='/home'
    }else{
      alert('密码错误')
    }
  }else{
    alert('用户名错误')
  }
};

</script>

<style lang="less">
.login {
  width: 100%;
  height: 100%;
  padding: 10px;
  display: flex;
  flex-direction: column;
  .loginTitle {
    height: 40px;
    display: flex;
    padding: 0 40px;
    justify-content: space-between;
    .icon-taozi {
      color: pink;
    }
  }
  .loginFrom {
    flex: 1;
    padding: 0 5px;
    display: flex;
    align-items: center;
    justify-content: center;
    .from {
      border-radius: 10px;
      padding: 20px;
      box-shadow: 5px 5px 15px pink;
      display: flex;
      align-items: center;
      flex-direction: column;
      .title {
        margin-bottom: 20px;
        font-size: 18px;
        line-height: 20px;
      };
    }
  }
}
</style>
注意:这边如果登录成功的话,是跳转到 首页,如果登录失败的话,则会直接提示错误
用户名和密码我这边直接是写死的信息,后期会根据后台服务器进行检测来登录
五. 最后效果


 1096
1096


 被折叠的 条评论
为什么被折叠?
被折叠的 条评论
为什么被折叠?
 到【灌水乐园】发言


