


环境配置
下载miniconda:python3.8版本的Miniconda — conda documentation

安装的时候勾选不起后面两个勾的第一个,前面选择just me

完成后cmd进入输入conda env list即可查看
换源提高下载速度(中科大的源)
conda config --remove-key channels
conda config --add channels https://mirrors.ustc.edu.cn/anaconda/pkgs/main/
conda config --add channels https://mirrors.ustc.edu.cn/anaconda/pkgs/free/
conda config --add channels https://mirrors.bfsu.edu.cn/anaconda/cloud/pytorch/
conda config --set show_channel_urls yes
pip config set global.index-url https://mirrors.ustc.edu.cn/pypi/web/simple
1.创建虚拟环境并激活
conda create -n yolo5 python==3.8.5
conda activate yolo5
激活后前面有括号可以看到,说明已经处在此环境下

2.安装pytorch和cuda
安装对应代码:Previous PyTorch Versions | PyTorch

前两个是gpu版本的,第三个是cpu版本的,30系列的显卡选11.1版本的,其余选10.2
在cmd中输入nvidia-smi,可以看到显卡的版本可支持cuda的最高版本

这里下载出现了错误:Solving environment: failed with initial frozen solve. Retrying with flexible solve,网上查询后是因为conda的版本高于了4.8,我的是4.12,输入以下代码后解决:
conda config --add channels conda-forge
conda config --set channel_priority flexible
3.安装其他依赖包,一般都在requirements.txt这个文件里
pip install -r requirements.txt安装pycocotools,用于计算目标检测精度和Map
pip install pycocotools-windows安装pyqt5,用于图形化界面的依赖包
pip install pyqt54.测试
python detect.py --source data/images/bus.jpg --weights pretrained/yolov5s.pt在runs-detect目录下可以查看结果
pycharm中查看
pycharm安装及卸载:PyCharm安装配置及干净卸载_.G( );的博客-CSDN博客_pycharm卸载干净
1.右键文件夹用pycharm打开设置环境


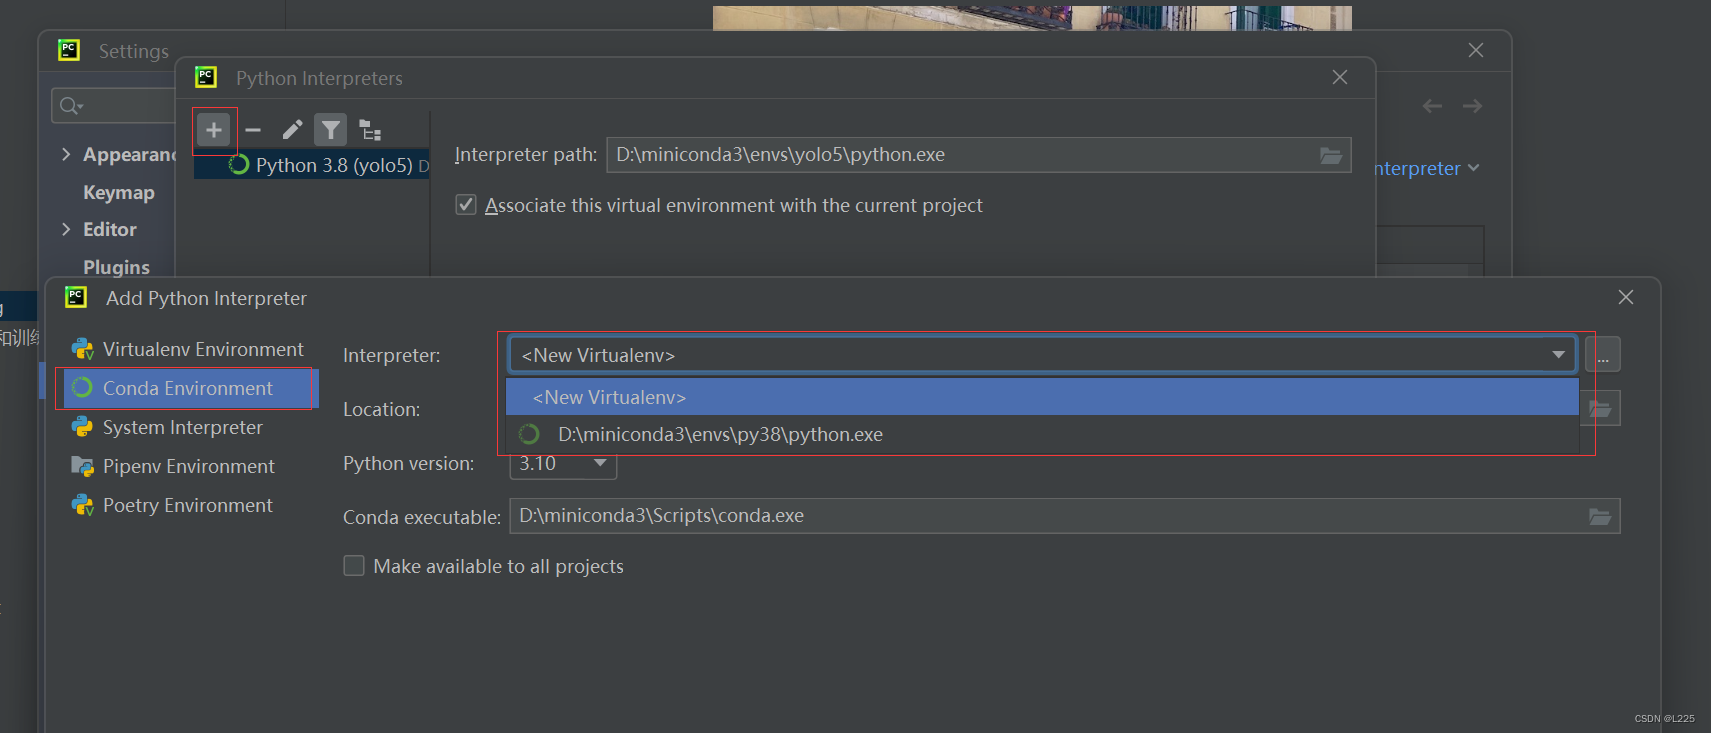
然后一直ok就行了,完成后pycharm右下角可以看到
2.在终端中执行测试命令
此处出现错误, 说找不到cv2,但在下载包里面有opencv的包,查询后看到终端没有进入虚拟环境

原因是powershell的权限问题,改成cmd就可以了
重新激活环境即可。
3.查看结果


 4524
4524


 被折叠的 条评论
为什么被折叠?
被折叠的 条评论
为什么被折叠?
 到【灌水乐园】发言


