


一、实现逻辑
1)实现博客列表页
让页面从服务器拿到博客数据(数据库)
2)实现博客详情页
点击博客的时候,可以从服务器拿到博客的完整数据
3)实现登录功能(跟之前写的登录页面逻辑一致)
4)实现强制要求登录
当前处于未登陆状态下,其他的页面,博客列表,博客详情页,博客编辑 会强制跳转到登录页
要求用户登录之后才能使用。
5)实现显示用户信息
从服务器获取到
博客列表页,拿到的是当前登录的用户的信息。
博客详情页,拿到的是该用户(文章作者)的信息。
6)实现退出登录
7)发布博客
博客编辑页,输入文章标题和内容之后,点击发布,能把这个博客数据上传到服务器上并保存
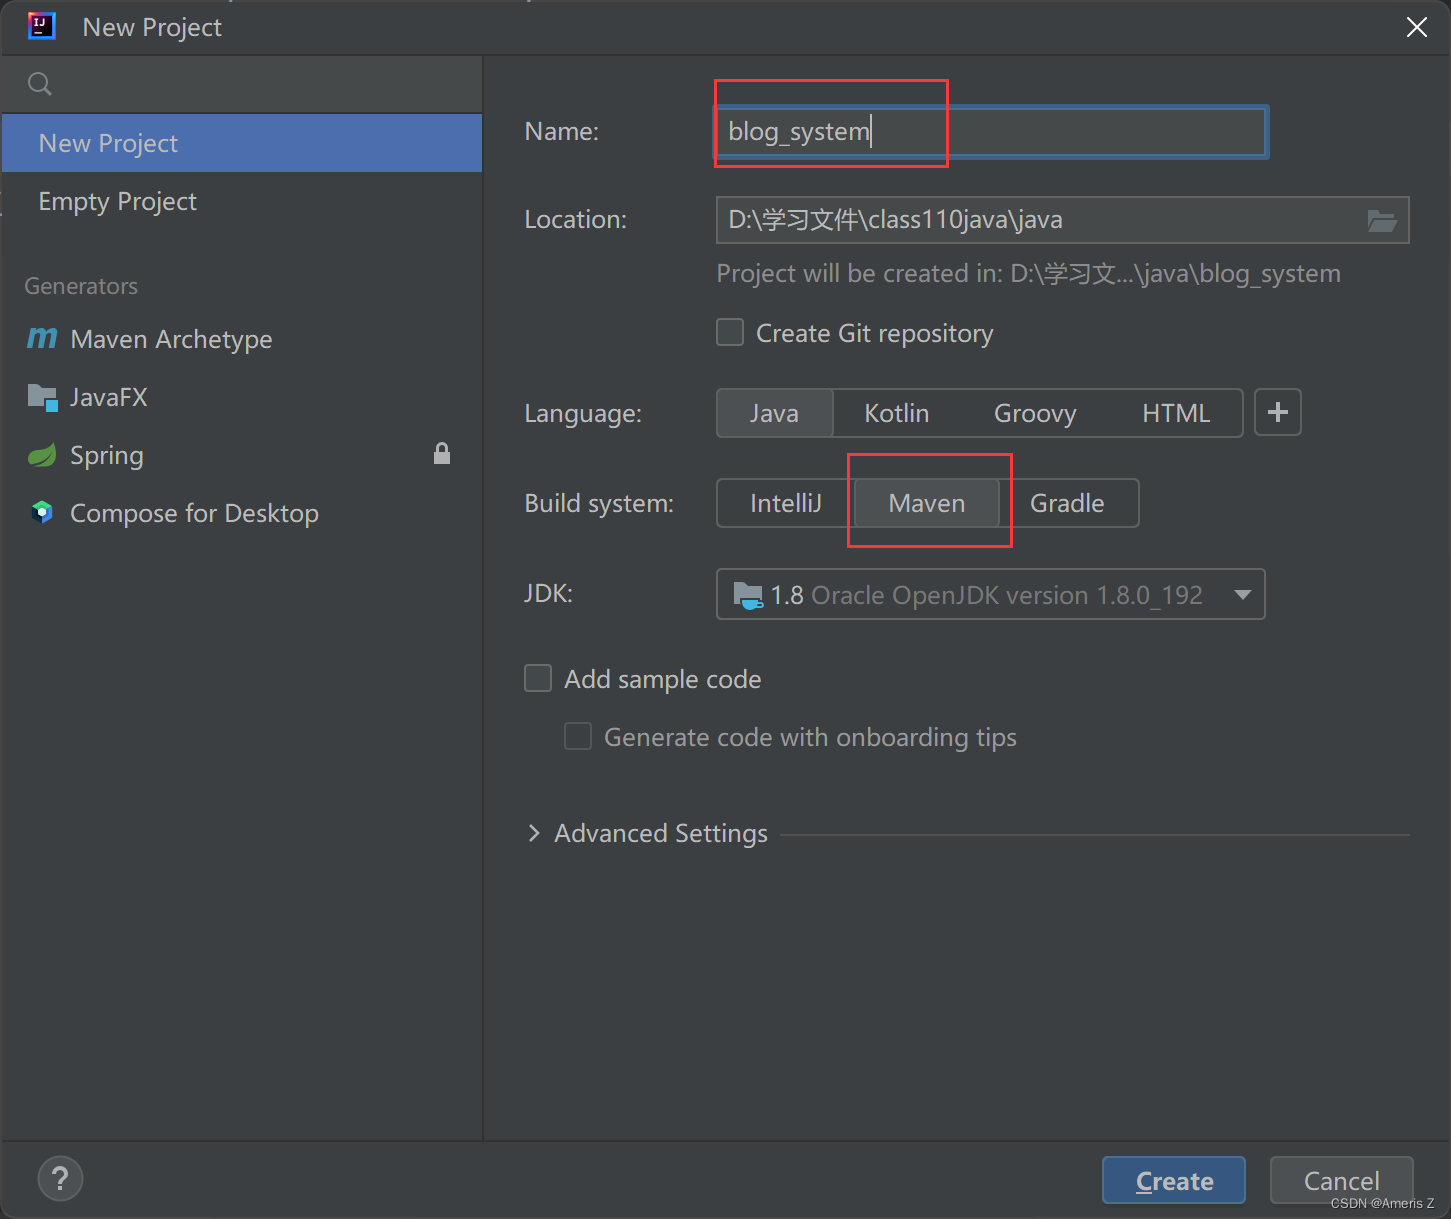
准备工作
创建maven项目,引入依赖
servlet(HTTP相关类) 3.1.0
<!-- https://mvnrepository.com/artifact/javax.servlet/javax.servlet-api -->
<dependency>
    <groupId>javax.servlet</groupId>
    <artifactId>javax.servlet-api</artifactId>
    <version>3.1.0</version>
    <scope>provided</scope>
</dependency>
mysql(数据库) 5.1.47
<!-- https://mvnrepository.com/artifact/mysql/mysql-connector-java -->
<dependency>
    <groupId>mysql</groupId>
    <artifactId>mysql-connector-java</artifactId>
    <version>5.1.47</version>
</dependency>
jackcon(json) 2.15.0
<!-- https://mvnrepository.com/artifact/com.fasterxml.jackson.core/jackson-databind -->
<dependency>
    <groupId>com.fasterxml.jackson.core</groupId>
    <artifactId>jackson-databind</artifactId>
    <version>2.15.0</version>
</dependency>
创建目录结构webapp WEB-INF web.xml
填写web.xml的内容(文件里面不能为空,也不能乱写,下面这个是模板)
<!DOCTYPE web-app PUBLIC
        "-//Sun Microsystems, Inc.//DTD Web Application 2.3//EN"
        "http://java.sun.com/dtd/web-app_2_3.dtd" >
        <web-app>
       <display-name>Archetype Created Web Application</display-name>
        </web-app>
把写好的 前端代码 粘贴到 webapp目录下
其中markdown的编辑器内容实在庞大,在GitHub下载的直接利用就好(editor.md文件夹就是)


创建smart tomcat 可以看看效果

数据库设计
设计好表数据,并把数据库相关代码,也进行封装
a)找到实体
博客(blog 表) userId ,blogId,title,content,postTime
用户表(user 表)userId,userName,password
b)确认实体之间的关系
用户与博客的关系(一对多)
一个用户,可以发布多个博客。
一个博客,只能属于一个用户。
在main文件夹里,创建一个数据库文件db.sql,在里面写上创建库和表以及插入的数据,在MySQL上进行操作

--创建库
create database if not exists blog_system charset utf8;
use blog_system;
--创建blog表
drop table if exists blog;
create table blog(
blogId int primary key auto_increment,
title varchar(1024),
content varchar(4096),
postTime datetime,
userId int
);
--创建user表
drop table if exists user;
create table user(
userId int primary key auto_increment,
userName varchar(50) unique, --用户名一般是不能重复的
password varchar(50)
);
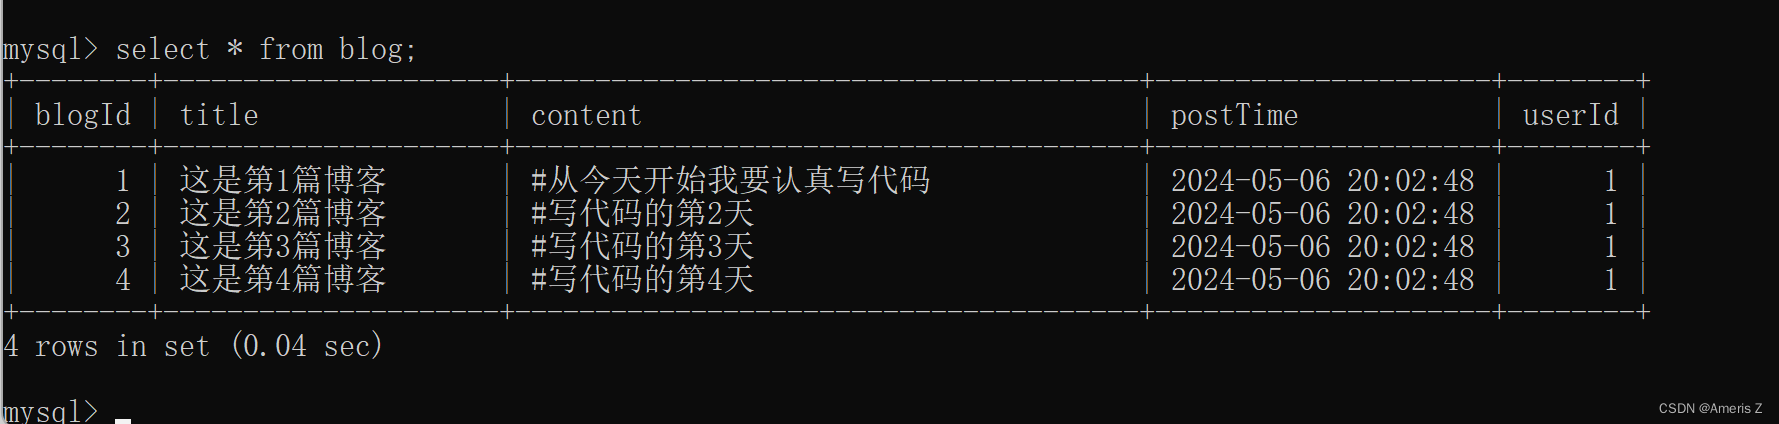
--在数据库中插入一些测试数据
insert into blog values(1,'这是第1篇博客','#从今天开始我要认真写代码',now(),1);
insert into blog values(2,'这是第2篇博客','#写代码的第2天',now(),1);
insert into blog values(3,'这是第3篇博客','#写代码的第3天',now(),1);
insert into blog values(4,'这是第4篇博客','#写代码的第4天',now(),1);
insert into user values(1,'AmerisZ','123456');
insert into user values(2,'zhangsan','123456');
insert into user values(3,'lisi','123456');
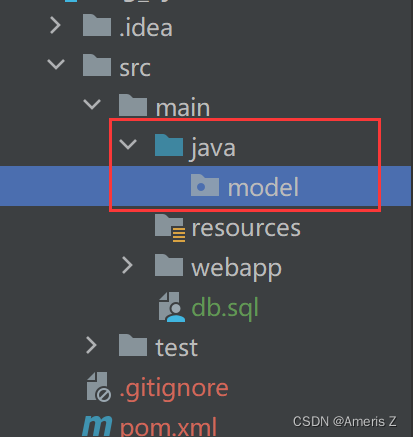
对数据库操作的代码进行一些封装
在Java包里创建一个model的文件夹
为什么叫model,是源于MVC结构

在model包里,创建DBUtil类,用于实现 数据库建立连接 和 关闭连接
package model;

import com.mysql.jdbc.jdbc2.optional.MysqlDataSource;

import javax.sql.DataSource;
import java.sql.*;

//通过这个类 来封装 数据库建立连接的操作
//由于接下来代码中,有多个servlet都需要使用数据库,就需要有一个单独的地方来把 DataSource 这里的操作进行封装
//而不能只是放到某个 Servlet 的 init 中了
//此处可以使用 单例模式 来表示 dataSource
//常用 懒汉模式 (类加载的时候不创建实例. 第一次使用的时候才创建实例)
public class DBUtil{
    private static volatile DataSource dataSource = null;//类加载的时候为null,不创建实例//在实例加上 volatile 保证多线程安全

    private static DataSource getDataSource(){
        //由于懒汉模式本身是线程不安全的,servlet本身是多线程中运用的,所以用双重if判定,降低锁竞争的频率
        if (dataSource == null){
          synchronized (DBUtil.class){
              if (dataSource == null){
                  dataSource = new MysqlDataSource();//第一次使用的时候,发现没有,创建实例
                  //初始化数据源(设置jdbc数据库地址、用户、密码)
                  ((MysqlDataSource)dataSource).setURL("jdbc:mysql://127.0.0.1:3306/blog_system?characterEncoding=utf8&setURL=false");
                  ((MysqlDataSource)dataSource).setUser("root");
                  ((MysqlDataSource)dataSource).setPassword("123456");
              }
          }
        }
        return dataSource;
    }

    //建立连接
    public static Connection getConnection() throws SQLException {
        return getDataSource().getConnection();//connection 使用 java.sql.Connection 这个包里的;
    }
    //关闭连接
    public static void close(Connection connection, PreparedStatement statement, ResultSet resultSet)  {
        //按这样的顺序关闭连接
        //由于 有时候 这几个参数可能为空所以要判断,不为空的时候才关闭
        //为什么不整体抛异常,而是分开针对每一个抛异常try catch?
        //因为,如果整体抛异常,第一个要是为空,后面几个不空,整个就抛异常了,后面的close就无法正常执行了
        //分开抛异常,不仅是可以看到具体的异常问题,还不会影响后面其他的close关闭连接
        if (resultSet != null){
            try {
                resultSet.close();
            } catch (SQLException e) {
                throw new RuntimeException(e);
            }
        }
        if (statement != null){
            try {
                statement.close();
            } catch (SQLException e) {
                throw new RuntimeException(e);
            }
        }
        if (connection != null){
            try {
                connection.close();
            } catch (SQLException e) {
                throw new RuntimeException(e);
            }
        }

    }
}
创建(数据库的)实体类
针对数据库中的表 创建 对应的类,表中每一条数据 对应 实体类的实例化对象
blog_system整个数据库里有 两个 表 blog 和user 所以创建了两个类分别对应 Blog 和 User
例如:
Blog对象 就对应 blog表里的一条数据
blog表里的列,就对应Blog类的属性

package model;

import java.sql.Timestamp;

public class Blog {
    private int blogId;
    private String title;
    private String content;
    private Timestamp postTime;
    private int userId;

    public int getBlogId() {
        return blogId;
    }

    public void setBlogId(int blogId) {
        this.blogId = blogId;
    }

    public String getTitle() {
        return title;
    }

    public void setTitle(String title) {
        this.title = title;
    }

    public String getContent() {
        return content;
    }

    public void setContent(String content) {
        this.content = content;
    }

    public Timestamp getPostTime() {
        return postTime;
    }

    public void setPostTime(Timestamp postTime) {
        this.postTime = postTime;
    }

    public int getUserId() {
        return userId;
    }

    public void setUserId(int userId) {
        this.userId = userId;
    }

    @Override
    public String toString() {
        return "Blog{" +
                "blogId=" + blogId +
                ", title='" + title + '\'' +
                ", content='" + content + '\'' +
                ", postTime=" + postTime +
                ", userId=" + userId +
                '}';
    }
}
package model;

//User对象 对应 user表中的一条数据
public class User {
  private int userId;
  private String userName;
  private String password;

    public int getUserId() {
        return userId;
    }

    public void setUserId(int userId) {
        this.userId = userId;
    }

    public String getUserName() {
        return userName;
    }

    public void setUserName(String userName) {
        this.userName = userName;
    }

    public String getPassword() {
        return password;
    }

    public void setPassword(String password) {
        this.password = password;
    }

    @Override
    public String toString() {
        return "User{" +
                "userId=" + userId +
                ", userName='" + userName + '\'' +
                ", password='" + password + '\'' +
                '}';
    }
}
创建类BlogDao和UserDao 对 blog表 和 user表 进行增删改查的操作
Dao (data access object) 数据访问对象(通过这两个类,来针对 数据库表 进行操作)
package model;

import java.sql.Connection;
import java.sql.PreparedStatement;
import java.sql.ResultSet;
import java.sql.SQLException;

//通过UserDao 完成针对 user表的操作
public class UserDao {
    //由于博客系统目前没有 注册和注销功能
    //所以对 新增用户 和 删除用户 这个操作 没有编写

    //1.通过userId 来查询对应的用户信息(获取用户信息)
    public User getUserById(int userId) {
        Connection connection = null;
        PreparedStatement statement = null;
        ResultSet resultSet = null;
        try {
            //1.建立连接
            connection = DBUtil.getConnection();
            //2.构造sql
            String sql = "select * from userId = ?";
            statement = connection.prepareStatement(sql);
            statement.setInt(1, userId);
            //3.执行语句
            resultSet = statement.executeQuery();
            if (resultSet.next()) {
                User user = new User();
                user.setUserName(resultSet.getString("userName"));
                user.setPassword(resultSet.getString("password"));
                user.setUserId(resultSet.getInt("userId"));
                return user;
            }
        } catch (SQLException e) {
            throw new RuntimeException(e);
        } finally {
            //释放资源
            DBUtil.close(connection, statement, resultSet);
        }
        return null;//没有查到 返回null
    }

    //2.根据userName 来查询用户信息
    public User getUserByName(String userName) {
        Connection connection = null;
        PreparedStatement statement = null;
        ResultSet resultSet = null;
        try {
            //1.建立连接
            connection = DBUtil.getConnection();
            //2.构造sql
            String sql = "select * from userId = ?";
            statement = connection.prepareStatement(sql);
            statement.setString(1, userName);
            //3.执行语句
            resultSet = statement.executeQuery();
            if (resultSet.next()) {
                User user = new User();
                user.setUserName(resultSet.getString("userName"));
                user.setPassword(resultSet.getString("password"));
                user.setUserId(resultSet.getInt("userId"));
                return user;
            }
        } catch (SQLException e) {
            throw new RuntimeException(e);
        } finally {
            //释放资源
            DBUtil.close(connection, statement, resultSet);
        }
        return null;//没有查到 返回null
    }


}
package model;
import com.sun.org.apache.bcel.internal.generic.ACONST_NULL;
import java.sql.Connection;
import java.sql.PreparedStatement;
import java.sql.ResultSet;
import java.sql.SQLException;
import java.util.ArrayList;
import java.util.List;
//通过BlogDao 完成针对blog表的操作
public class BlogDao {
//1.增加数据(当用户提交博客的时候)
public void insert(Blog blog){
Connection connection = null;
PreparedStatement statement = null;
try {
//1.建立连接
connection = DBUtil.getConnection();//获取连接
//2.构造SQL
String sql = "insert into blog values(null,?,?,now(),?)";
statement = connection.prepareStatement(sql);
statement.setString(1,blog.getTitle());
statement.setString(2,blog.getContent());
statement.setInt(3,blog.getUserId());
//3.执行SQL
statement.executeUpdate();
} catch (SQLException e) {
throw new RuntimeException(e);
}finally {
DBUtil.close(connection,statement,null);
}
}
//2.查询博客
//列出数据库中所有博客
public static List<Blog> getBlogs(){
Connection connection = null;
PreparedStatement statement = null;
List<Blog> list = new ArrayList<>();
ResultSet resultSet = null;
try {
//1.建立连接
connection = DBUtil.getConnection();
//2.构造sql
String sql = "select * from blog";
statement = connection.prepareStatement(sql);
//3.查询语句
resultSet = statement.executeQuery();
//遍历集合
while (resultSet.next()){
Blog blog = new Blog();
blog.setBlogId(resultSet.getInt("blogId"));
blog.setTitle(resultSet.getString("title"));
//对于content博客内容,可能内容会非常多,在列表显示的时候,只需要显示一部分就可以
//所以在这里可以处理一下,截断一下content内容(至于为什么这里截断的长度是100,随便取的,得根据实际情况进行调整)
String content =resultSet.getString("content");
if (content.length() > 100){
content = content.substring(0,100) + "...";
}
blog.setContent(content);
blog.setPostTime(resultSet.getTimestamp("postTime"));
blog.setUserId(resultSet.getInt("userId"));
//加入到list当中
list.add(blog);
}
//返回list
return list;
} catch (SQLException e) {
throw new RuntimeException(e);
}finally {
//一定会被执行到
//结束接连
DBUtil.close(connection,statement,resultSet);
}
}
//3.根据博客id 查询指定博客
//在访问博客详情页的时候调用,不用像上面一样显示部分(截断)
//这里全部展示内容
public void getBlog(int BlogId){
Connection connection = null;
PreparedStatement statement = null;
ResultSet resultSet = null;
try {
//1.创建连接
connection = DBUtil.getConnection();
//2.构造sql语句
//select * from Blog where BlogId = "BlogId"
String sql = "select * from Blog where BlogId = ?";
statement = connection.prepareStatement(sql);
statement.setInt(1,BlogId);
//3.执行语句
resultSet = statement.executeQuery();
//为什么这里不使用while遍历,因为blogId是主键,要么有要么没有,
// 查到的结果也只可能是一条或者查不到,所以用if判断就可以了
if (resultSet.next()){
Blog blog = new Blog();
blog.setTitle(resultSet.getString("title"));
//显示完整的数据,就不需要截断内容了
blog.setContent(resultSet.getString("content"));
blog.setUserId(resultSet.getInt("userId"));
blog.setPostTime(resultSet.getTimestamp("postTime"));
blog.setBlogId(resultSet.getInt("blogId"));
}
} catch (SQLException e) {
throw new RuntimeException(e);
}finally {
//一定会执行的程序
//释放资源
DBUtil.close(connection,statement,resultSet);
}
}
//4.根据博客id,删除博客
public void delete(int blogId){
Connection connection = null;
PreparedStatement statement = null;
try {
//1.获取连接
connection = DBUtil.getConnection();
//2.构造sql
String sql = "delete from where blogId = ?";
statement = connection.prepareStatement(sql);
statement.setInt(1,blogId);
//3.执行语句
statement.executeUpdate();//删除更新数据用这个executeUpdate() 方法
//
} catch (SQLException e) {
throw new RuntimeException(e);
}finally {
//释放资源
DBUtil.close(connection,statement,null);//这里没有结果集所以是null
}
}
}打开 smart tomcat 浏览网页

此时我们发现页面显示的内容不是我们写进数据库的内容,而是html写死的

我们期望,从数据库中获取博客列表信息
先剪切掉这部分内容
<!-- 这个 div 表示一个 博客 -->
<!-- <div class="blog">
<!-- 博客标题 -->
<div class="title">我的第一篇博客博客博客博客</div>
<!-- 博客的发布时间 -->
<div class="date">2023-05-11 20:00:00</div>
<!-- 博客的摘要-->
<div class="desc">
<!-- 使用 lorem 生成一段随机的字符串 -->
从今天起, 我要认真敲代码. Lorem ipsum dolor sit amet consectetur, adipisicing elit. Debitis repellendus
voluptatum, reiciendis rem consectetur incidunt aspernatur eveniet excepturi magni quis sint,
provident est at et pariatur dolorem aliquid fugit voluptatem.
</div>
<!-- html 中不能直接写 大于号, 大于号可能会被当成标签的一部分 -->
<a href="blog_detail.html?blogId=1">查看全文 >> </a>
</div>
<div class="blog">
<!-- 博客标题 -->
<div class="title">我的第一篇博客</div>
<!-- 博客的发布时间 -->
<div class="date">2023-05-11 20:00:00</div>
<!-- 博客的摘要-->
<div class="desc">
<!-- 使用 lorem 生成一段随机的字符串 -->
从今天起, 我要认真敲代码. Lorem ipsum dolor sit amet consectetur, adipisicing elit. Debitis repellendus
voluptatum, reiciendis rem consectetur incidunt aspernatur eveniet excepturi magni quis sint,
provident est at et pariatur dolorem aliquid fugit voluptatem.
</div>
<!-- html 中不能直接写 大于号, 大于号可能会被当成标签的一部分 -->
<a href="blog_detail.html?blogId=1">查看全文 >> </a>
</div> 刷新页面得到

前后端交互


<script>
//可以把获取博客列表的请求 封装到函数里
//js 中定义函数,使用关键字 function,不用写返回值的类型,()里是形参列表,不用写形参的类型
function getBlogs() {
$.ajax({
type: 'get',
url: 'blog',
success: function (body) {
//服务器成功响应之后 ,调用的回调函数
//TODO 根据返回的响应数据 构造页面的片段 成功响应后显示在页面的内容
//获取container-right标签(因为最后所有的blogDiv都会放到整个container里的)
let containerRightDiv = document.querySelector('.container-right');
//因为不确定body中有多少个blog,所以循环遍历
for (let i = 0; i < body.length; i++) {
//blog就是一个形如{ blogId:1,title:"xxx",..}
let blog = body[i];
//1.创建出需要的 div模块(类似于积木块)
//构建整个博客
let blogDiv = document.createElement('div');//创建blog 的 div块
blogDiv.className = 'blog';//给这个块设置类名 blog
//构建标题
let titleDiv = document.createElement('div');//创建title 的 div块
titleDiv.className = 'title';//给这个div 设置类名 title
titleDiv.innerHTML = blog.title;
//构建博客发布 日期
let dateDiv = document.createElement('div');
dateDiv.className = 'date';
dateDiv.innerHTML = blog.postTime;
//构建博客摘要
let descDiv = document.createElement('div');
descDiv.classList = 'desc';
descDiv.innerHTML = blog.content;
//构造查看 全文按钮 的 链接
let a = document.createElement('a');
a.innerHTML = '查看全文 >>';//>是>符号的转义字符,<符号是 <
//a标签里是有href属性的,是一个链接地址,用于点击后跳转到对应的页面
//不同的博客对应着不同的链接,所以博客的详情页,需要根据blogId来跳转
a.href = 'blog_detail.html?blogId=' + blog.blogId;
//2.将已经创建好的 div 块,按照我们期望的方式显示
//将div块进行组装(将积木块拼成完整的样子)
blogDiv.appendChild(titleDiv);//在blogDiv里添加titleDiv块
blogDiv.appendChild(dateDiv);
blogDiv.appendChild(descDiv);
blogDiv.appendChild(a);
//3.将构建好的完整的blogDiv放入container-right中
containerRightDiv.appendChild(blogDiv);
}
}
})
}
//定义完之后,调用函数,才能执行
getBlogs();
</script>访问网址
发现能看到内容了,与数据库中的一致


但是有一个小问题
一个是时间,这里显示的是时间戳,我们期望的是一个 格式化的时间(方便用户去看)
在Blog类里,获取发布时间的方法里,原本是直接返回的TimeStamp时间戳
将时间戳 转换为 格式化时间 后,再返回,就能正常显示了

 public String getPostTime() {
        //在Java库中自带了一个 SimpleDateFormat类,完成时间戳 到 格式化时间 的转换
        SimpleDateFormat simpleDateFormat = new SimpleDateFormat("yyyy-MM-dd HH:mm:ss");
        String time = simpleDateFormat.format(this.postTime);
        return time;
    }
第二个问题
一般来说,新发布的博客应该列于置顶第一个,按照时间最新到最久排序。
但是发现 最新的博客在最后面

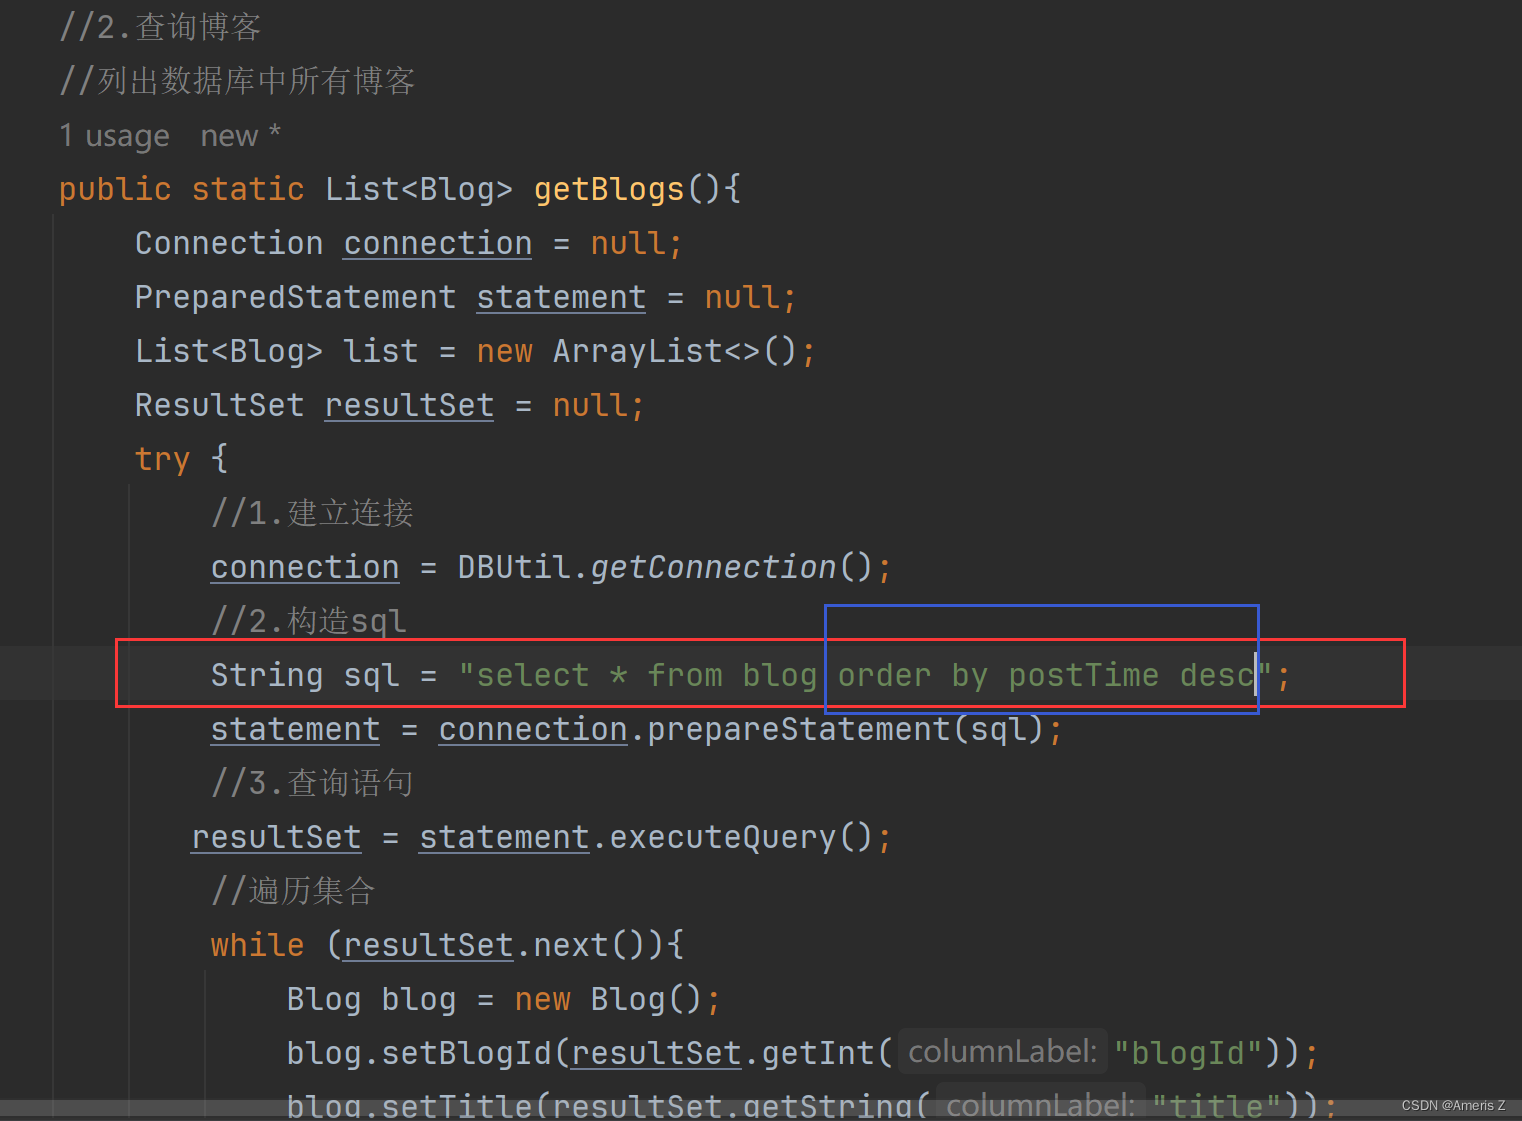
解决办法,在获取博客的时候,构造sql语句的时候,用order by postTime desc 通过时间降序排序,来获取显示博客列表
为什么用desc降序?postTime属性类型是时间戳,最新的时间应该是 数字最大的,而最久的时间是数字最小的,所以用降序排序,能按照 新-旧 列出来

博客详情页


package servlet;

import com.fasterxml.jackson.databind.ObjectMapper;
import model.Blog;
import model.BlogDao;

import javax.servlet.ServletException;
import javax.servlet.annotation.WebServlet;
import javax.servlet.http.HttpServlet;
import javax.servlet.http.HttpServletRequest;
import javax.servlet.http.HttpServletResponse;
import java.io.IOException;
import java.util.List;
import java.util.Objects;

//处理 收到的客户端的请求
@WebServlet("/blog")
public class BlogServlet extends HttpServlet {
    ObjectMapper objectMapper = new ObjectMapper();//这个对象帮助我们进行类型转换
    @Override
    protected void doGet(HttpServletRequest req, HttpServletResponse resp) throws ServletException, IOException {
        String blogId = req.getParameter("blogId");//获取博客id
        BlogDao blogDao = new BlogDao();
        String respJson = "";
        if (blogId == null) {
            //获取不到id,就是博客列表的逻辑
            //查询数据库,得到博客列表
            blogDao = new BlogDao();
            List<Blog> blogs = blogDao.getBlogs();//获取博客列表
            //把博客列表数据 按照json格式 返回客户端
            respJson = objectMapper.writeValueAsString(blogs);//将响应内容转换成Json格式

        }else{
            //如果获取到博客id,就是博客详情页的逻辑
            Blog blog = blogDao.getBlog(Integer.parseInt(blogId));
            //按照json格式返回
            respJson = objectMapper.writeValueAsString(blog);

        }
        System.out.println("respJson" + respJson);//控制台打印respJson返回的json格式的响应
        resp.setContentType("application/json;charset=utf8");//指定格式以及字符编码集
        //返回响应
        resp.getWriter().write(respJson);
    }
}
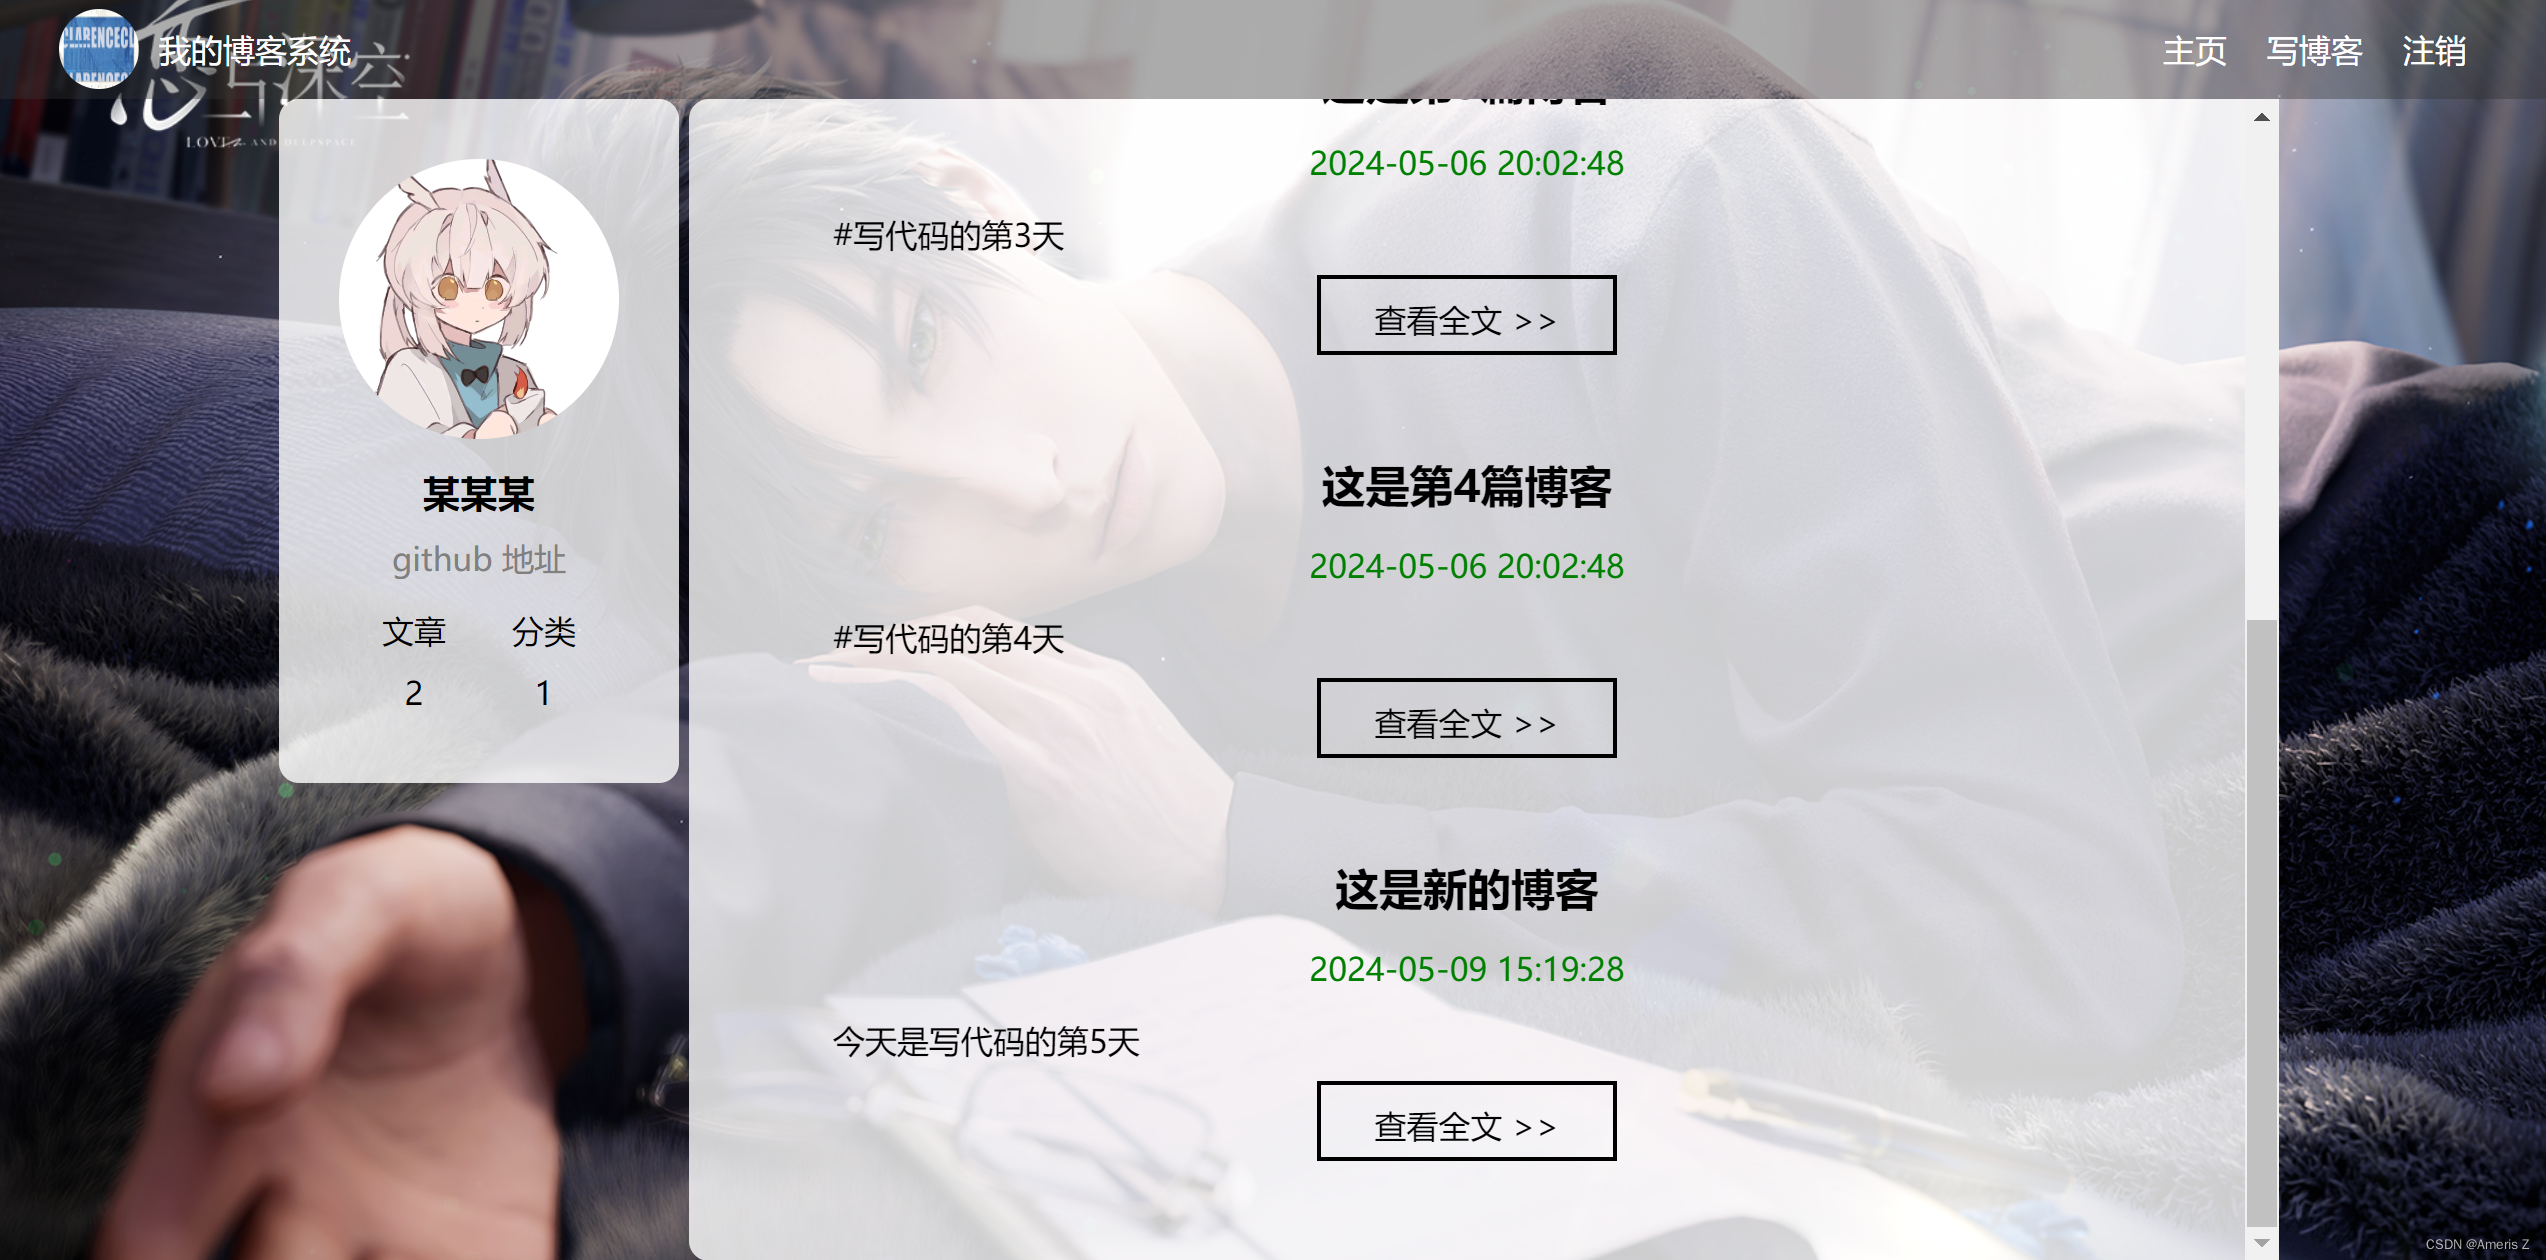
打开页面
发现加载出 列表对应的详情页的内容了


但是有一个问题,普通的文字能正常显示,但是markdown格式的无法显示,例如#开头的,在markdown里面应该是 一级标题。但是在这里却无法渲染出效果来。
在此基础上进行优化:
引入editor.md的依赖
    <script src="js/jquery.min.js"></script>
    <link rel="stylesheet" href="editor.md/css/editormd.min.css">
    <script src="editor.md/lib/marked.min.js"></script>
    <script src="editor.md/lib/prettify.min.js"></script>
    <script src="editor.md/editormd.js"></script>

改一下js的代码


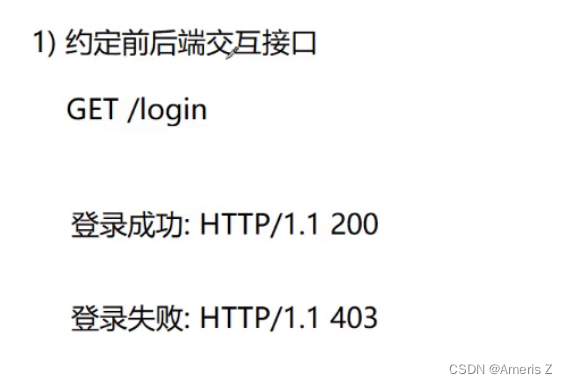
实现登录功能
可以使用Ajax也可以使用form表单(这里使用form表单)
(form表单使用比ajax简单,但是功能没有Ajax强)


在点击登录按钮以后,就会触发一个http的请求
继续编写服务器处理响应的代码,servlet
package servlet;


import model.User;
import model.UserDao;

import javax.servlet.ServletException;
import javax.servlet.annotation.WebServlet;
import javax.servlet.http.HttpServlet;
import javax.servlet.http.HttpServletRequest;
import javax.servlet.http.HttpServletResponse;
import javax.servlet.http.HttpSession;
import java.io.IOException;

@WebServlet("/login")
public class LoginServlet extends HttpServlet {
    @Override
    protected void doPost(HttpServletRequest req, HttpServletResponse resp) throws ServletException, IOException {
       //1.读取请求中的 用户名 和 密码
        req.setCharacterEncoding("utf8");//读取之前设置字符集
        String username = req.getParameter("username");
        String password = req.getParameter("password");
        //验证一下 用户名和密码的可用性(对于用户不合法输入的判断)
        if (username == null || username.length() == 0 ||password == null || password.length() ==0){
            resp.setContentType("text/html;charset=utf8");
            resp.getWriter().write("用户名或密码不能为空!");
            return;
        }

        //2.从数据库中查询用户
        UserDao userDao = new UserDao();
        User user = userDao.getUserByName(username);
        if (user == null ||!password.equals(user.getPassword()) ){
            resp.setContentType("text/html;charset=utf8");
            resp.getWriter().write("您输入的用户名或密码不正确!!");
            return;
        }

        //3.创建会话
        HttpSession session = req.getSession(true);//ture表示:有会话就直接获取;没有会话新建一个会话返回
        session.setAttribute("user",user);
        //4.跳转页面
        resp.sendRedirect("blog_list.html");

    }
}
重新启动smart tomcat


验证登录
故意不输入密码
输入错误的密码
输入正确的用户名和密码


强制要求登录
在列表页或者详情页或编辑页,需要判定是否登录
如果没登录,强制跳转到登录页,强制要求用户登录再使用
具体操作,在这几个页面中,当页面加载时,给服务器发起一个Ajax,从服务器中获取当前的登录状态

一个页面,可以触发多个Ajax请求,这些Ajax之间是“并发执行”这样的效果
js中,没有“多线程”这样的机制。而Ajax是一种特殊的情况,能够起到类似“多线程”的效果
当页面发起多个请求的时候,这些Ajax请求就相当于并发发送出去的。彼此之间不会相互干扰,
谁的响应先回来了,就先执行谁的回调函数。
重新打开页面,查看效果
访问的是博客列表页,跳转到登录页面了
用fiddler抓包

 但是还是有点小问题


 2912
2912


 被折叠的 条评论
为什么被折叠?
被折叠的 条评论
为什么被折叠?
 到【灌水乐园】发言


