目录
一、Apache的作用
1、在web被访问时通常使用
http://的方式
2、http://:超文本传输协议
3、http://超文本传输协议提供软件:Apache;nginx;stgw;jfe;Tengine

二、Apache的安装和启用
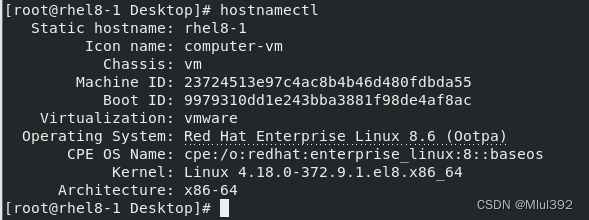
dnf install httpd.x86_64 -y ##安装Apache
systemctl enable --now httpd ##开启httpd服务,并设定开机自启动
systemctl enable --now firewalld ##开启防火墙并设定防火墙开机启动
firewall-cmd --list-all ##查看防火墙信息
firewall-cmd --permanent --add-service=http ##在火墙中永久开启http访问
firewall-cmd --permanent --add-service=https ##在火墙中永久开启https访问
firewall-cmd --reload ##刷新火墙使设定生效


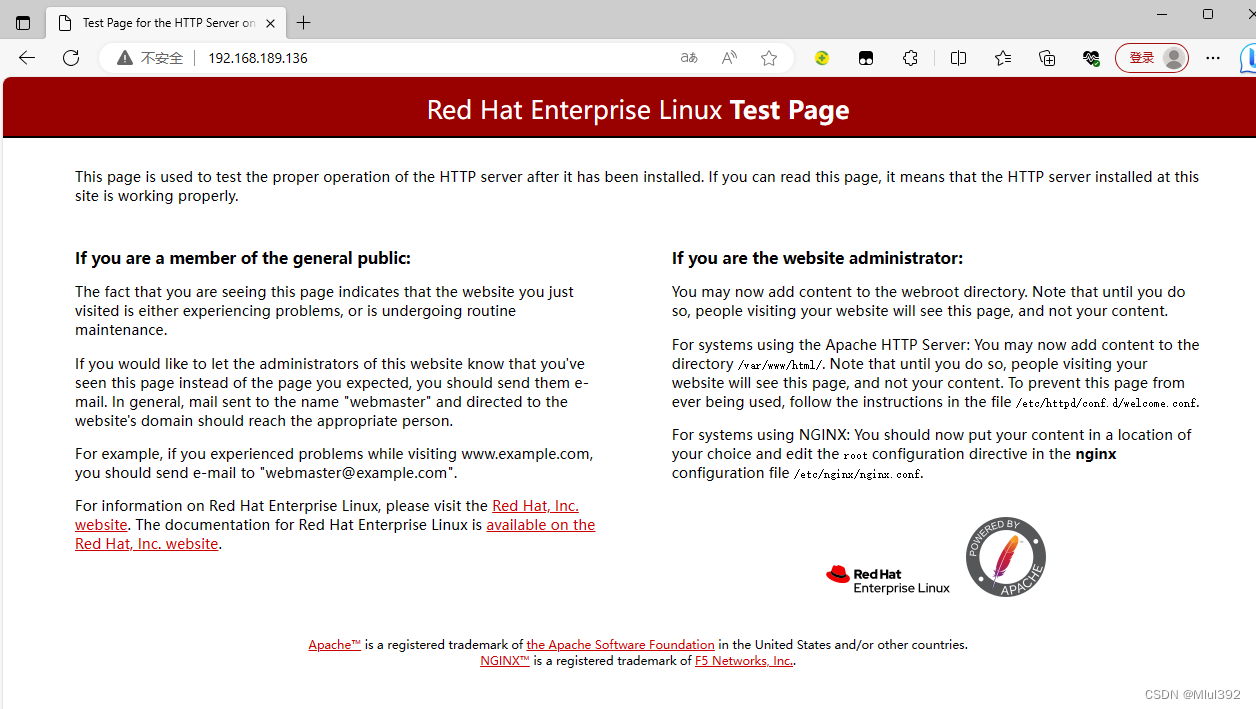
启用后即可访问测试页:
三、Apache的基本信息
1、服务名称:httpd
2、配置文件 主配置文件:/etc/httpd/conf/httpd.conf
子配置文件:/etc/httpd/conf.d/*.conf
3、默认发布目录:/var/www/html
4、默认发布文件:index.html
5、默认端口:http:80,https:443
6、apache
7、日志:/etc/httpd/logs
测试:
发表文字:


四、Apache的基本配置
1、默认发布文件
vim /etc/httpd/conf/httpd.conf ##修改主配置文件
systemctl restart httpd ##重启httpd服务


![]()

2、Apache端口修改
vim /etc/httpd/conf/httpd.conf ##修改主配置文件
Listen 8080 ##修改端口为8080
firewall-cmd --permanent --add-port=8080/tcp ##在火墙中永久开启8080端口的访问
firewall-cmd --reload ##刷新火墙使设定生效
systemctl restart httpd ##重启httpd服务


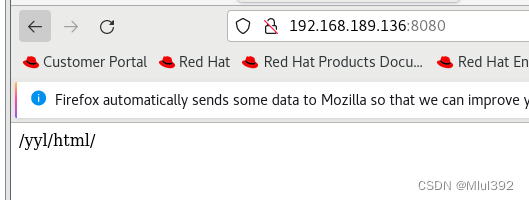
3、默认发布目录
mkdir /yyl/html -p ##建立新的发布目录
vim /etc/httpd/conf/httpd.conf ##修改主配置文件
systemctl restart httpd ##重启httpd服务
vim /sk/html/index.html ##编写发布文件


![]()
五、Apache的访问控制
实验准备
mkdir /var/www/html/yyl ##新建子目录
vim /var/www/html/yyl/index.html ##编写新的发布文件

1、基于客户端ip的访问控制
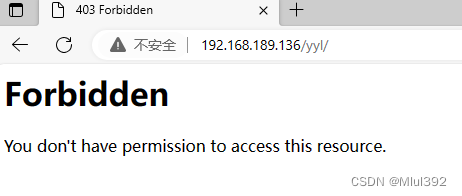
(1)ip白名单:
<Directory "/var/www/html/yyl">
Order Deny,Allow
Allow from 192.168.189.136
Deny from All
</Directory>


(2)ip黑名单:
<Directory "/var/www/html/yyl">
Order Allow,deny
Allow from all
Deny from 192.168.189.136
</Directory>

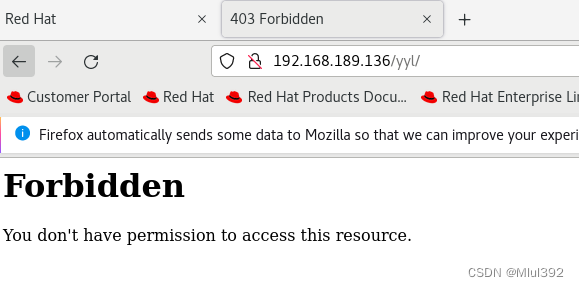

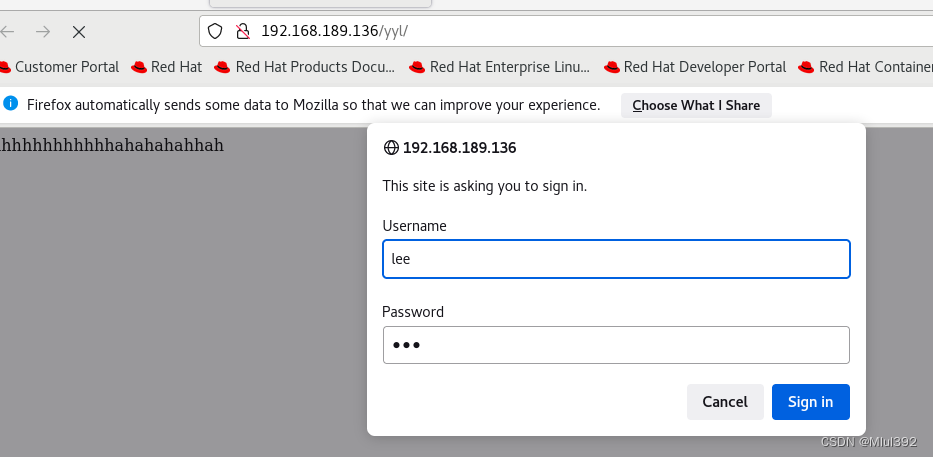
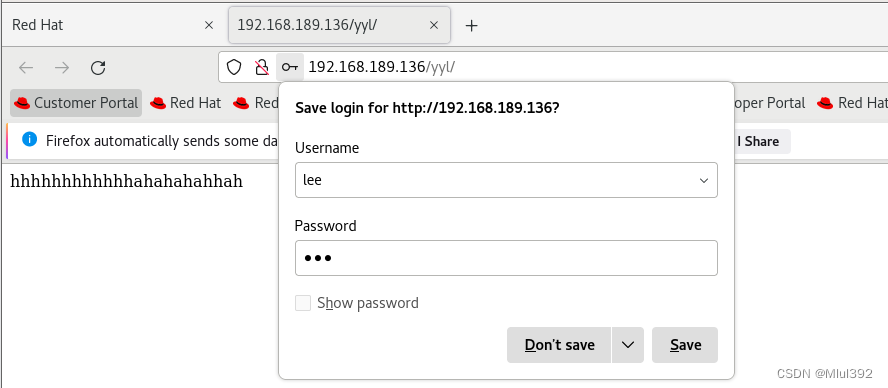
2、基于用户认证
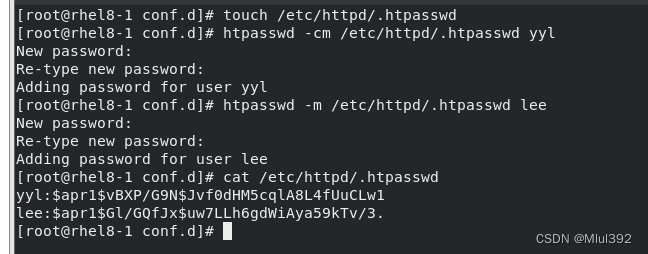
当/etc/httpd/htpasswdfile存在时,再添加用户时不要加-c参数,否则会覆盖原文件内容
htpasswd - cm / etc / httpd / htpasswdfile admin ##生成认证文件注意 :当 / etc / httpd / htpasswdfile 存在那么在添加用户时不要加 - c 参数否则会覆盖源文件内容
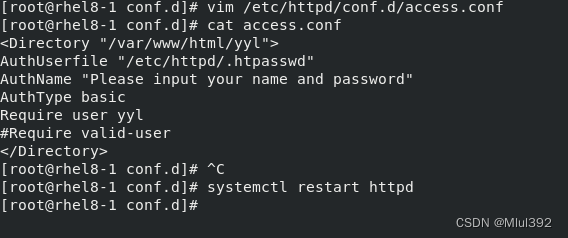
<Directory "/var/www/html/yyl">AuthUserfile "/etc/httpd/.htpasswd" ## 指定认证文件AuthName "Please input your name and password" ## 认证提示语AuthType basic ## 认证类型Require user yyl ## 允许通过的认证用户 2 选 1Require valid - user ## 允许所有用户通过认证 2 选 1</ Directory >


ctrl+shift +del 清除浏览器缓存
无法正常访问:
会一直重复这个过程: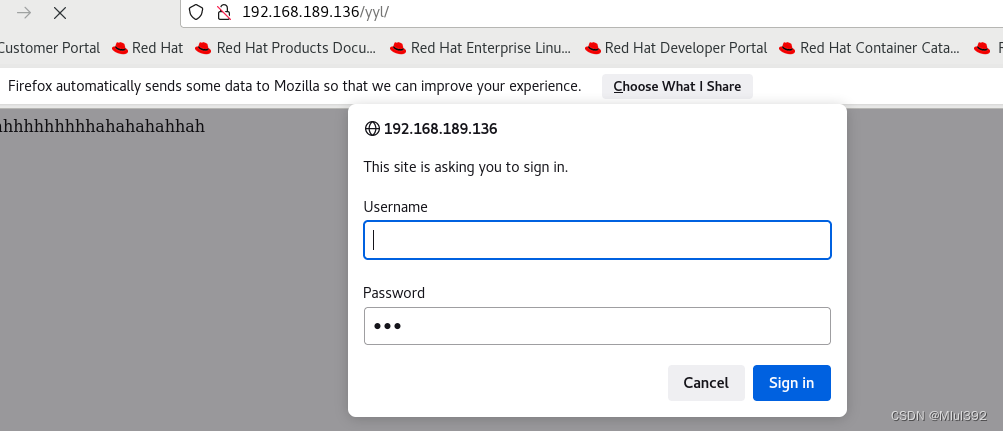

所有用户都可以访问:
六、Apache的虚拟主机
单主机发布多个网页
1、创建共享目录:
mkdir -p /var/www/virtual/yyl.org/{news,bbs}/html ##创建共享目录
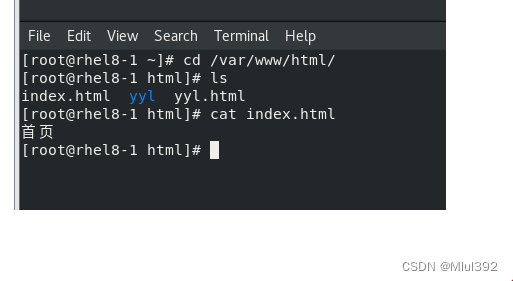
echo "首页" > /var/www/html/index.html ##编写关享文件
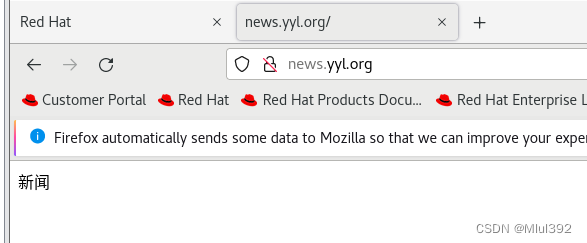
echo "新闻" > /var/www/virtual/yyl.org/news/html/index.html
echo "贴吧" > /var/www/virtual/yyl.org/bbs/html/index.html

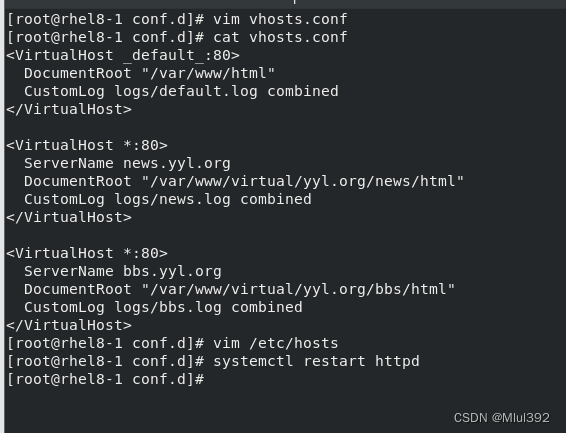
2、编辑配置文件:
<VirtualHost _default_:80>
DocumentRoot "/var/www/html"
CustomLog logs/default.log combined
</VirtualHost><VirtualHost *:80>
ServerName news.yyl.org
DocumentRoot "/var/www/virtual/yyl.org/news/html"
CustomLog logs/news.log combined
</VirtualHost><VirtualHost *:80>
ServerName bbs.yyl.org
DocumentRoot "/var/www/virtual/yyl.org/bbs/html"
CustomLog logs/bbs.log combined
</VirtualHost>
解析:
![]()
测试:


七、Apache的语言支持
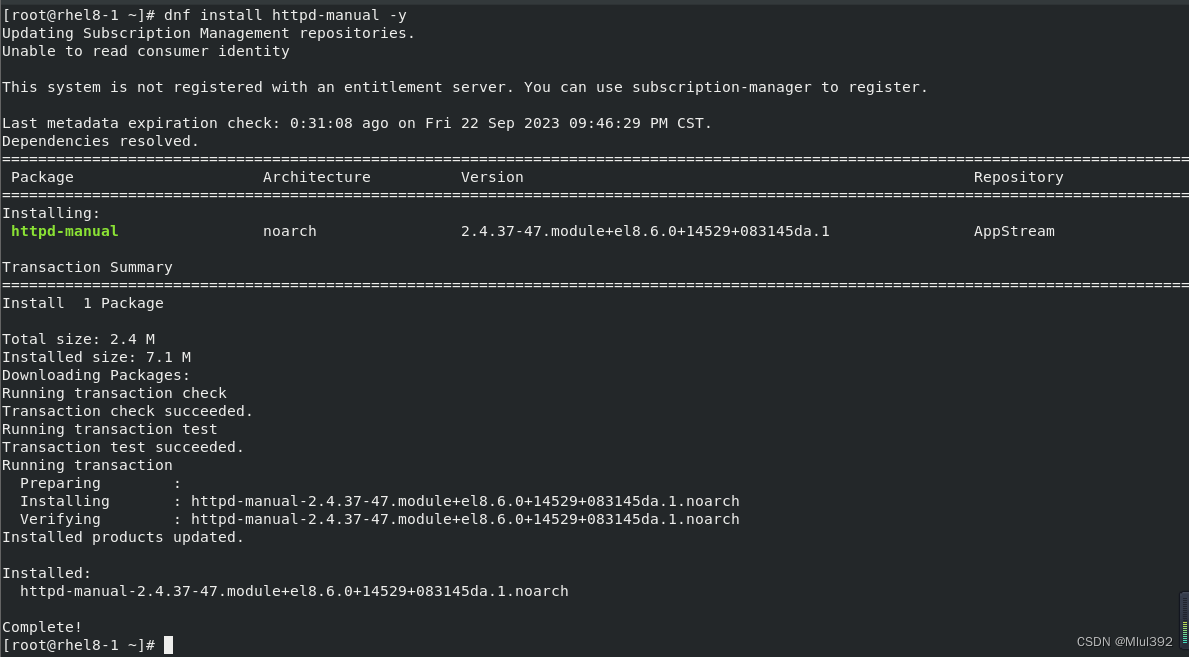
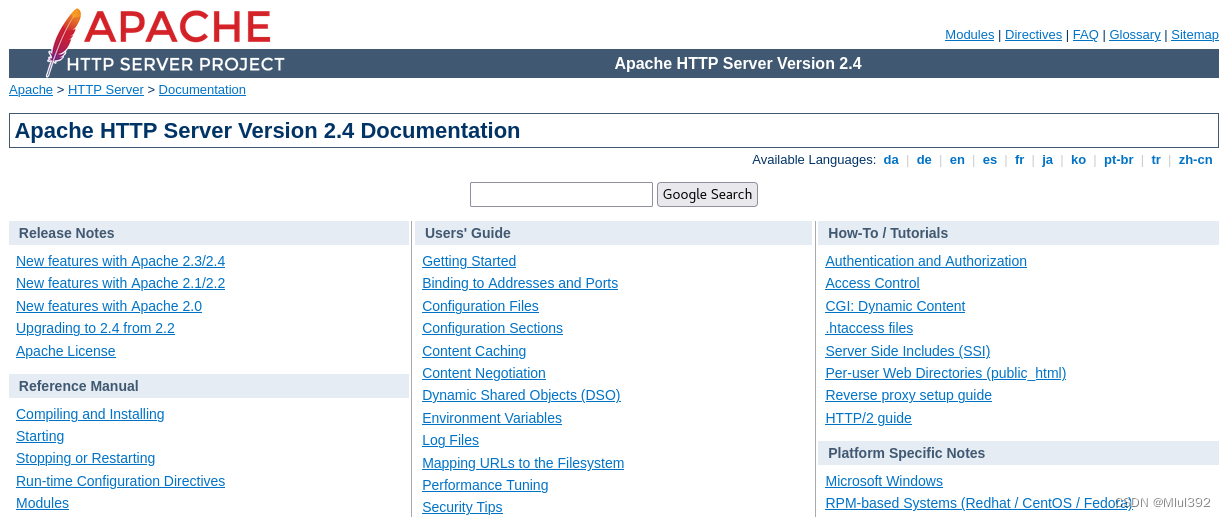
下载Apache的说明:如有问题可在里面搜索
dnf install httpd-manual -y
1、html
- 超文本标记语言,它包括一系列标签,通过这些标签可以将网络上的文档格式统一,使分散的Internet资源连接为一个逻辑整体
- 系统默认支持(上面实验均为html语言)
2、php
- 计算机编程语言,即“超文本预处理器”,是在服务器端执行的脚本语言,主要目标是允许Web开发人员快速编写动态网页
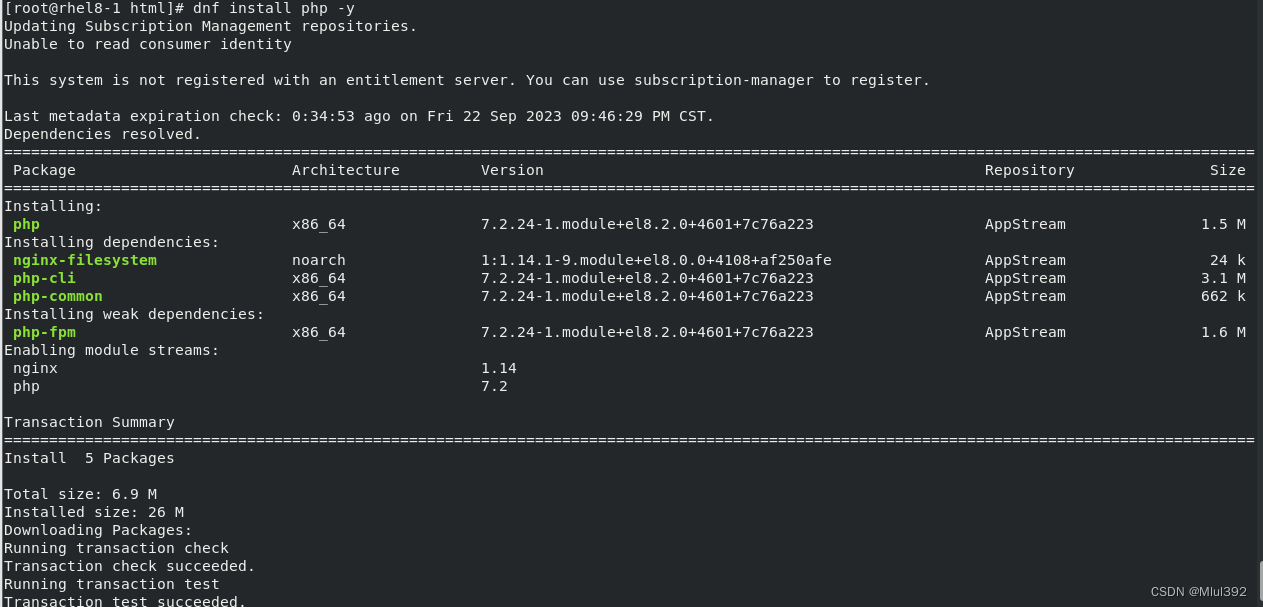
- 系统默认不支持,需要下载
dnf search php ##搜索
dnf install php.x86_64 -y ##下载
vim /var/www/html/index.php ##编写php文件
systemctl restart httpd ##重启httpd服务
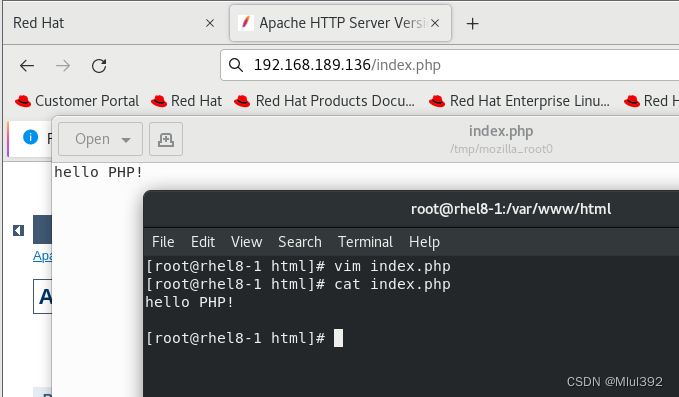
<?php
phpinfo();
?>


php -m:显示php支持沟通的程序
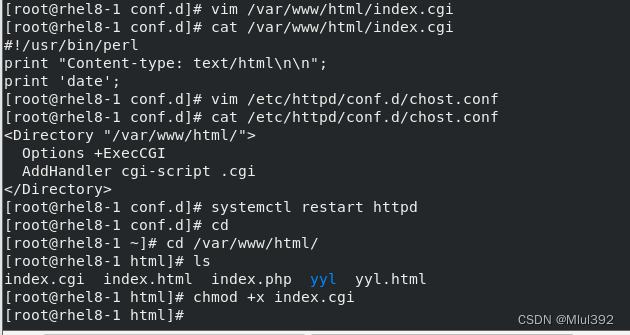
3、cgi
- 公共网关接口,CGI 应用程序能与浏览器进行交互
- 系统默认支持
mkdir /var/www/cgi/
vim /var/www/cgi/index.cgi ##编写cgi文件
vim /etc/httpd/conf.d/vhost.conf ##编辑配置文件
systemctl restart httpd ##重启httpd服务
chmod +x index.cgi ##添加执行权限
#!/usr/bin/perl
print "Content-type: text/html\n\n";
print `date`; `` 这边要用反单引号
<Directory "/var/www/cgi/">
Options +ExecCGI
AddHandler cgi-script .cgi
</Directory>
semanage fcontext -l | grep cgi
semanage fcontext -a -t httpd_sys_script_exec_t /var/www/cgi/index.cgi
restorecon -RvvF /var/www/cgi/index.cgi
![]()

4、wsgi
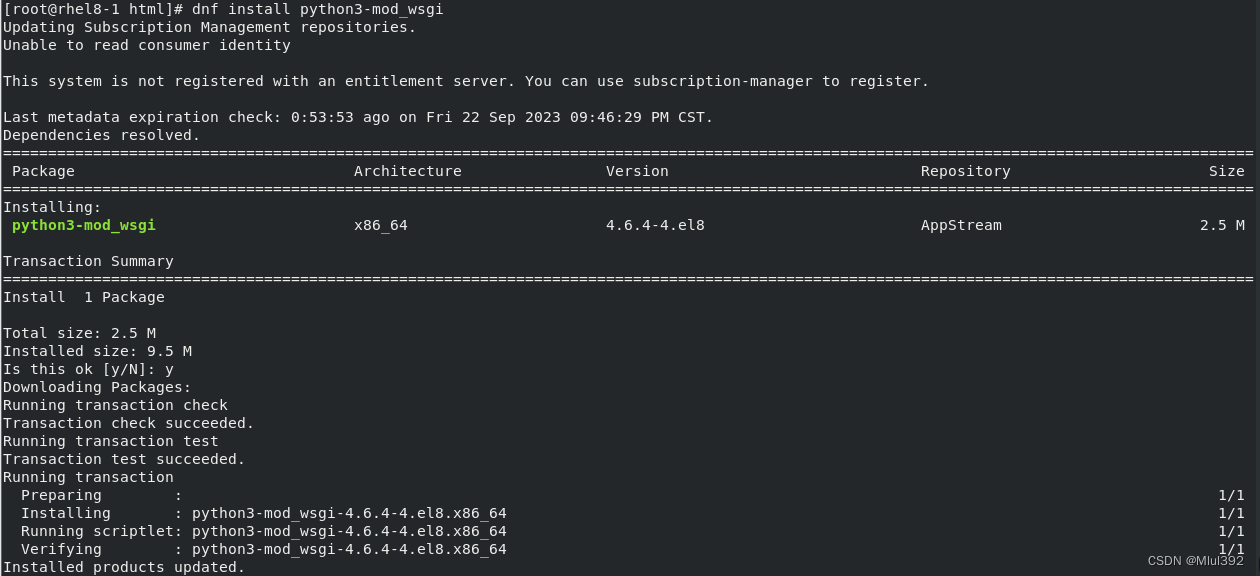
- PythonWeb服务器网关接口,是Python应用程序或框架和Web服务器之间的一种接口
- 需要下载,并编辑配置文件,在访问端做地址解析(类似于虚拟主机)
dnf search wsgi ##搜索wsgi
dnf install python3-mod_wsgi.x86_64 -y ##下载wsgi
systemctl restart httpd ##重启httpd服务
vim /var/www/wsgi/index.wsgi ##编写wsgi文件
内容:
def application(env, yyl):
yyl('200 ok',[('Content-Type', 'text/html')]) python必须严格的格式
return [b'hello yl ahhahahahah!']

vim / etc / httpd / conf.d / chost.conf<VirtualHost *:80>
ServerName wsgi.yyl.org
WSGIScriptAlias / / var / www / wsgi / index.wsgi
</VirtualHost>

安全上下文:
semanage fcontext -l | grep wsgi
semanage fcontext -a -t httpd_sys_script_exec_t /var/www/wsgi/index.wsgi
restorecon -RvvF /var/www/wsgi/index.wsgi
解析:
![]()
wsgi.yyl.org

八、Apache的加密访问
1、安装加密插件:
dnf install mod_ssl -y ##下载加密插件
systemctl restart httpd ##重启httpd服务


2、火墙设定:
firewall-cmd --permanent --add-service=https ##在火墙中永久开启https访问
firewall-cmd --reload ##刷新火墙使设定生效
3、生成证书:
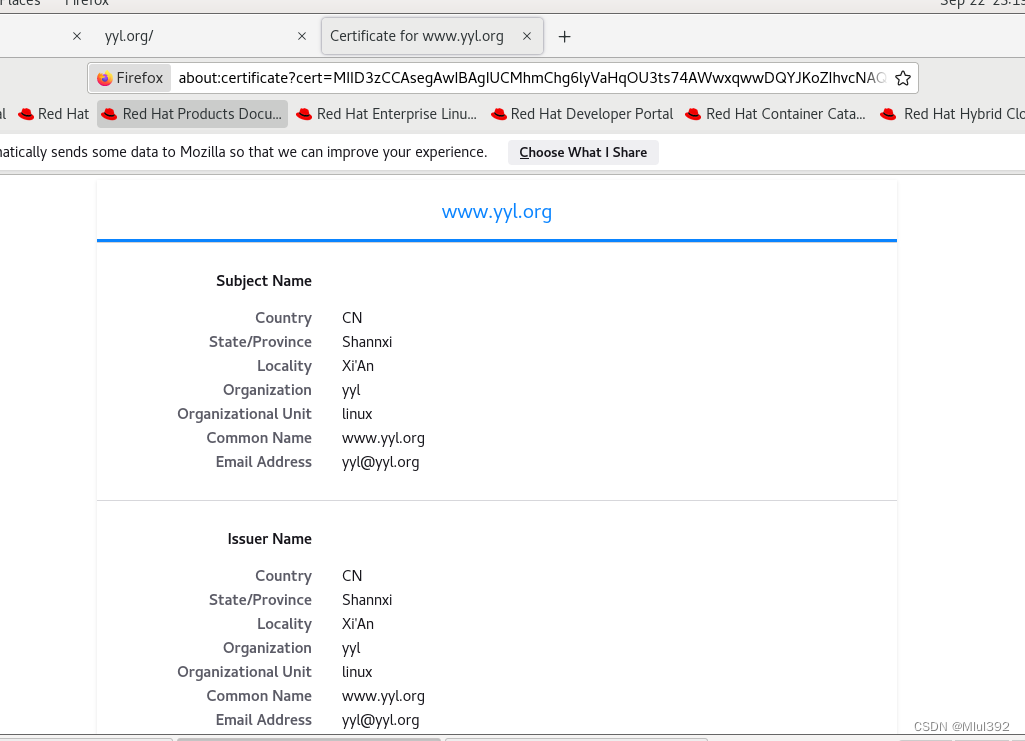
设置证书信息
openssl req --newkey rsa:2048 -nodes -sha256 -keyout /etc/httpd/yyl.org.key -x509 -days 365 -out /etc/httpd/yyl.org.crt

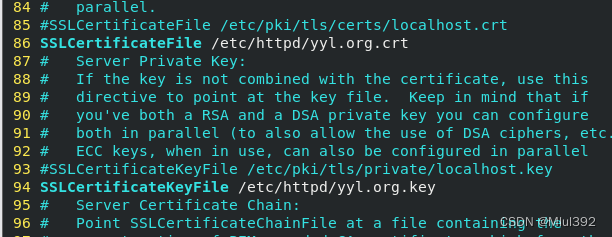
4、修改配置文件
vim /etc/httpd/conf.d/ssl.conf ##编辑ssl配置文件
systemctl restart httpd ##重启httpd服务

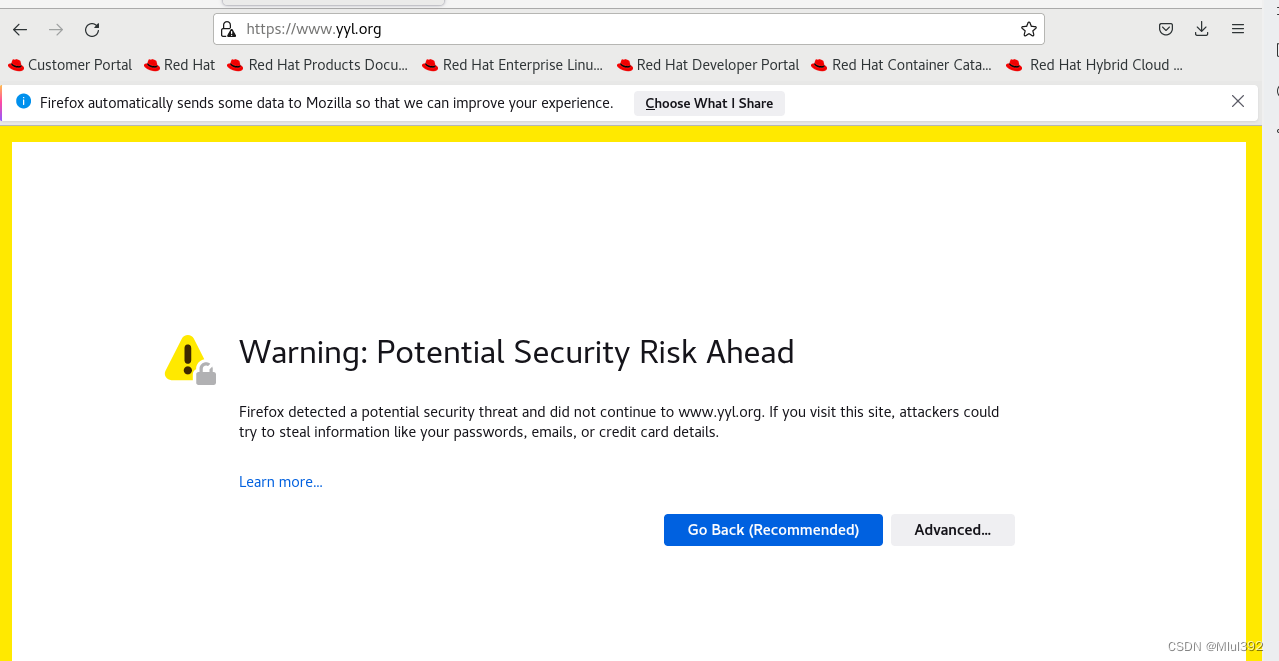
5、访问https://www.yyl.org
生成的证书


6、指定页面加密-网页重写
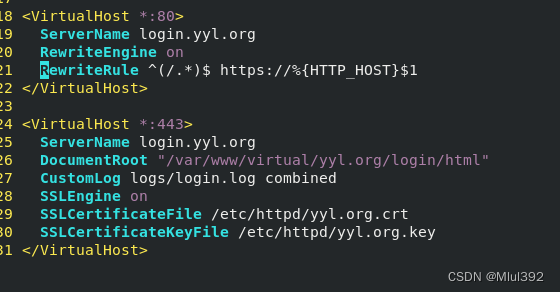
- 访问
https:www.yyl.org时会有加密 - 访问
www.yyl.org时没有加密,而用户一般不会输出https://,就需要对www.yyl.org加密,进行网页重写
vim /etc/httpd/conf.d/vhost.conf ##编辑配置文件
systemctl start httpd ##重启httpd服务
^ ( /.* )$ ## 客户地址栏中输入的地址%{HTTP_HOST} ## 客户主机$ 1##RewriteRule 后面跟的第一串字符的值
mkdir -p /var/www/virtual/yyl.org/login/html
echo "登录" > /var/www/virtual/yyl.org/login/html/index.html<VirtualHost *:443>
ServerName login.yyl.org
DocumentRoot "/var/www/virtual/yyl.org/login/html"
CustomLog logs/login.log combined
SSLEngine on
SSLCertificateFile /etc/httpd/yyl.org.crt
SSLCertificateKeyFile /etc/httpd/yyl.org.key
</VirtualHost>systemctl restart httpd

解析:
![]()

自动调整到https
< VirtualHost *: 80 >ServerName login.yyl.orgRewriteEngine onRewriteRule ^ ( /.* )$ https :// %{HTTP_HOST}$1</ VirtualHost >


九、Squid+Apache
1、squid反向代理
a主机:


b缓存主机
dnf install squid -y ##安装
vim /etc/squid/squid.conf ##编辑配置文件
systemctl restart squid ##重启squid服务
firewall-cmd --permanent --add-service=squid ##永久设定火墙添加squid服务
firewall-cmd --reload ##刷新火墙
配置:


59 http_access allow all

66 cache_dir ufs /var/spool/squid 100 16 256
![]()
增加访问信息:
![]()
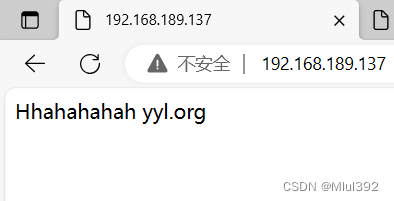
配置完成可以从138. 访问137的信息


 1万+
1万+


 被折叠的 条评论
为什么被折叠?


