


随着企业对于业务流程管理需求的增加,流程引擎在企业信息化建设中的作用越来越重要。Flowable是一个开源的轻量级业务流程管理(BPM)和工作流引擎,它支持BPMN 2.0标准。
Flowable的一些特点:
- 安装集成:Flowable可以与Spring Boot等现代开发框架集成,提供了一套完整的工具和API来支持工作流的建表、设计和实施。
- 流程设计:使用Flowable,开发者可以构建符合BPMN 2.0规范的流程定义,这些流程定义可以通过流程设计器进行可视化设计,也可以通过XML或JSON格式的文件直接编辑。
- 流程实例管理:Flowable允许用户创建和管理流程实例,查询实例状态,以及在运行时对流程实例进行干预,如启动、暂停或终止实例。
- 数据访问:Flowable提供了访问流程相关数据的API,允许应用程序在流程执行过程中存取相关数据。
- 数据库支持:Flowable支持多种数据库,这使得它可以在不同的企业环境中灵活部署和使用。
- 社区文档:作为一个开源项目,Flowable拥有一个活跃的社区,提供丰富的文档和案例,帮助开发者学习和解决问题。
今天介绍的是springboot2.3版本集成flowable。
集成flowable
pom.xml中引入以下内容:
  <dependency>
            <groupId>org.flowable</groupId>
            <artifactId>flowable-spring-boot-starter</artifactId>
            <version>${flowable.version}</version>
        </dependency>
        <dependency>
            <groupId>org.flowable</groupId>
            <artifactId>flowable-spring-boot-starter-ui-modeler</artifactId>
            <version>${flowable.version}</version>
        </dependency>

        <dependency>
            <groupId>org.flowable</groupId>
            <artifactId>flowable-spring-boot-starter-ui-admin</artifactId>
            <version>${flowable.version}</version>
        </dependency>

        <dependency>
            <groupId>org.flowable</groupId>
            <artifactId>flowable-spring-boot-starter-ui-idm</artifactId>
            <version>${flowable.version}</version>
        </dependency>

        <dependency>
            <groupId>org.flowable</groupId>
            <artifactId>flowable-spring-boot-starter-ui-task</artifactId>
            <version>${flowable.version}</version>
        </dependency>
配置文件追加配置自动建表:
spring:
  datasource:
    url: jdbc:mysql://localhost:3306/tt?useSSL=false&serverTimezone=Asia/Shanghai&nullCatalogMeansCurrent=true
    username: root
    password: pass
    driverClassName: com.mysql.cj.jdbc.Driver
flowable:
  async-executor-activate: false
  database-schema-update: true
默认会启动liquibase, 可关闭:
spring:
  liquibase:
    enabled: false
生成的表如下:
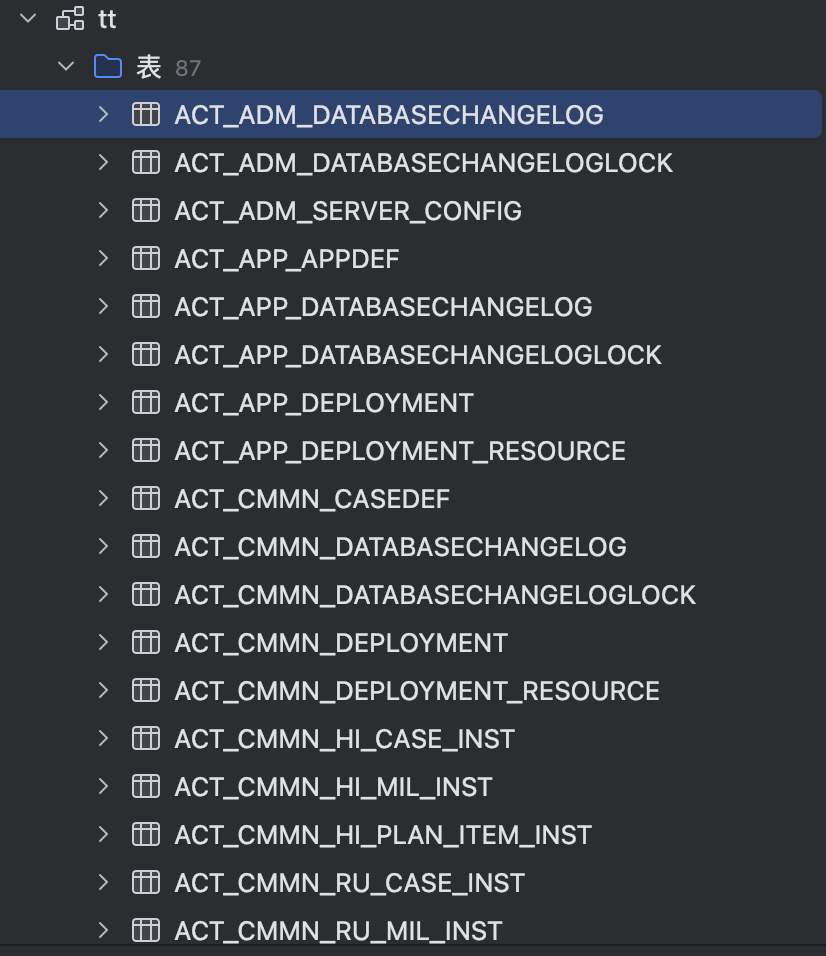
生成的表分别做什么用的
如果用过Activity的同学, 就会发现表名很多相同的, 但Flowable的表多了很多, 毕竟两者早期是同一个产品。表的功能一般可以通过第二个词语缩写来进行区分。
Flowable 生成的数据表主要用于支撑工作流引擎的运行和管理。这些表中包括但不限于以下几类:
- ACT_RE_: 以 “RE” 为前缀的表属于仓库服务(RepositoryService),它们主要存储与流程定义相关的静态信息,如流程定义、流程的资源(图片、规则等)。
- ACT_RU_: 以 “RU” 为前缀的表属于运行时服务(RuntimeService),存储着流程实例在执行期间的动态数据,包括流程变量、用户任务、变量、职责(job)等。
- ACT_ID_: 以 “ID” 为前缀的表与组织机构或用户身份有关,涉及用户、组和权限等信息。
- ACT_HI_: 是Flowable工作流引擎中使用的历史数据表。
- ACT_GE_:主要用于存储全局通用的数据和设置,这些数据在各种情况下都可能被使用
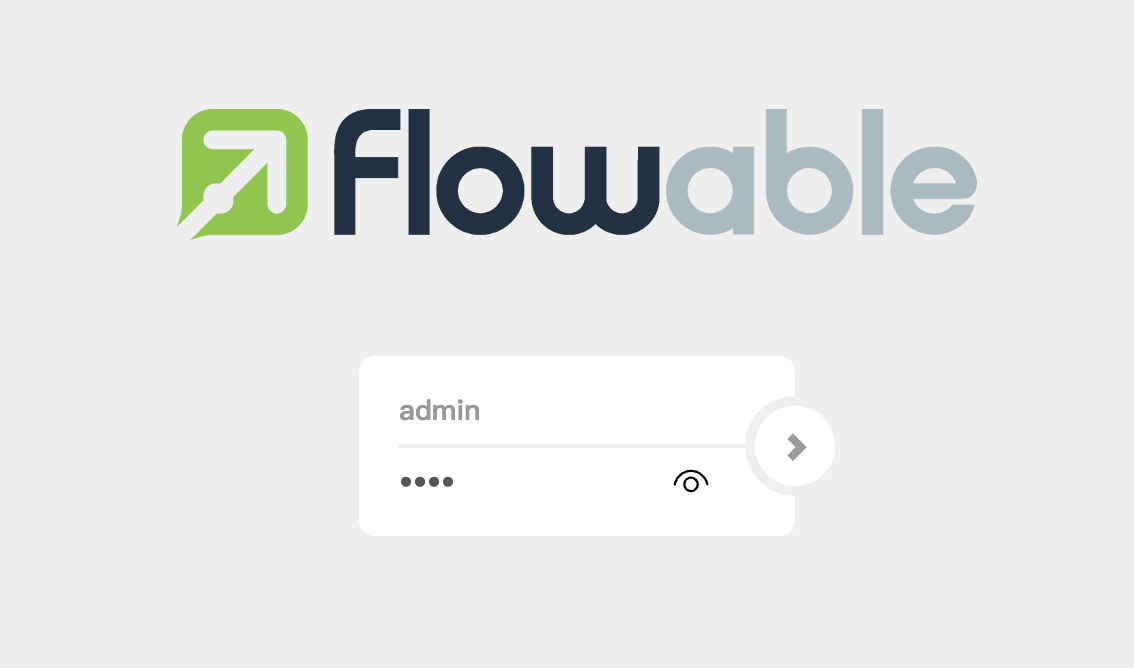
简单使用flowable
用户admin密码test:
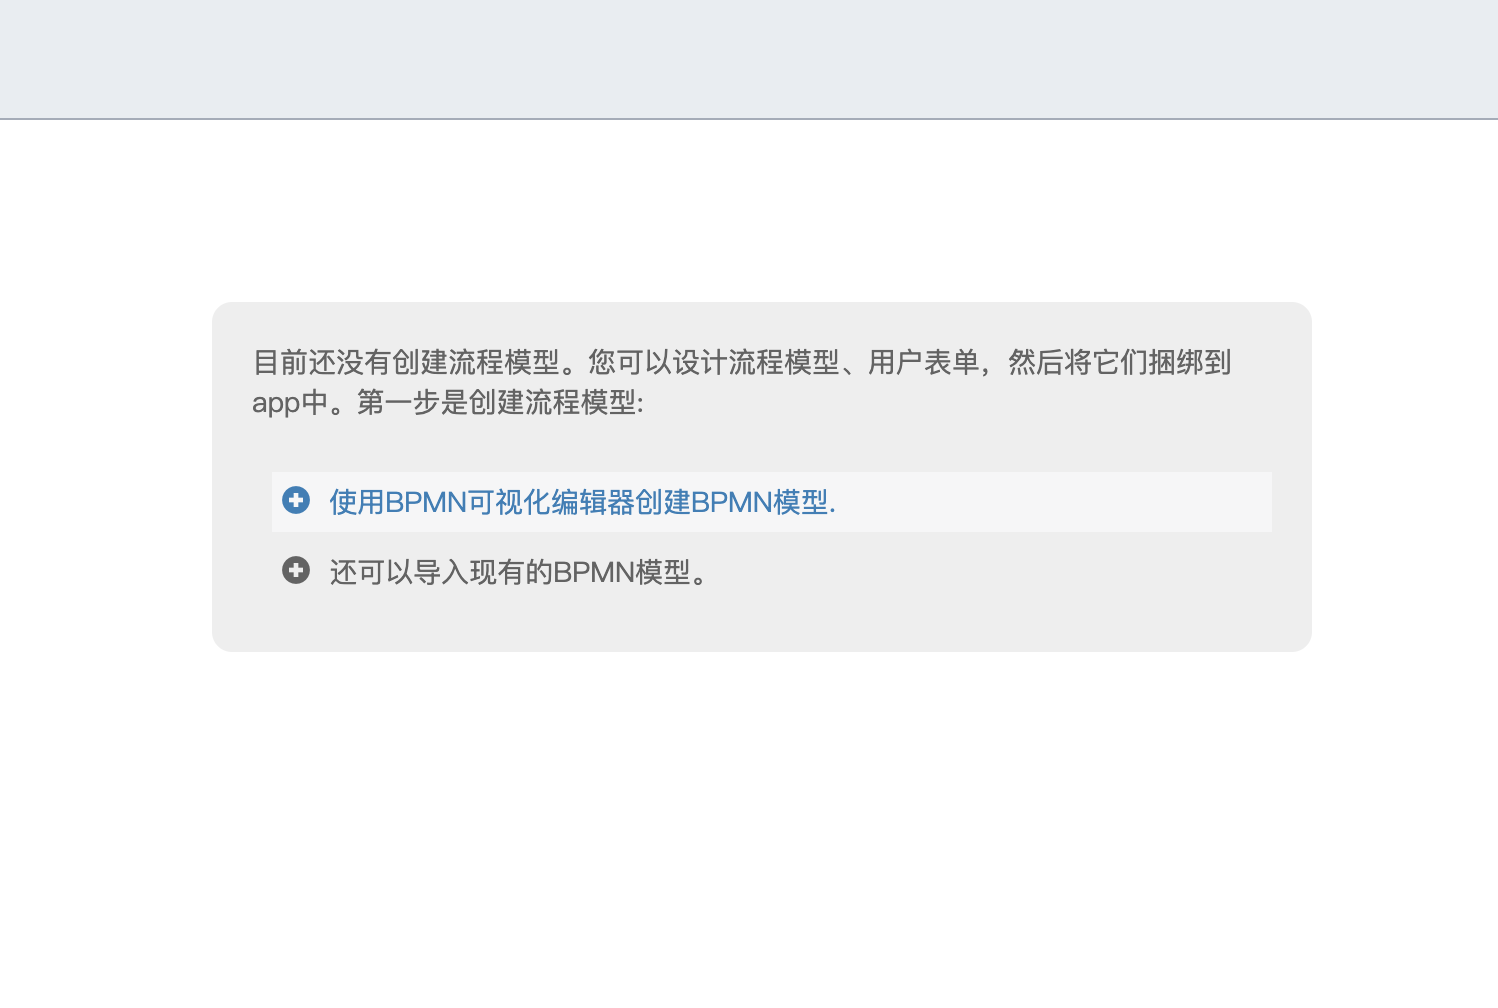
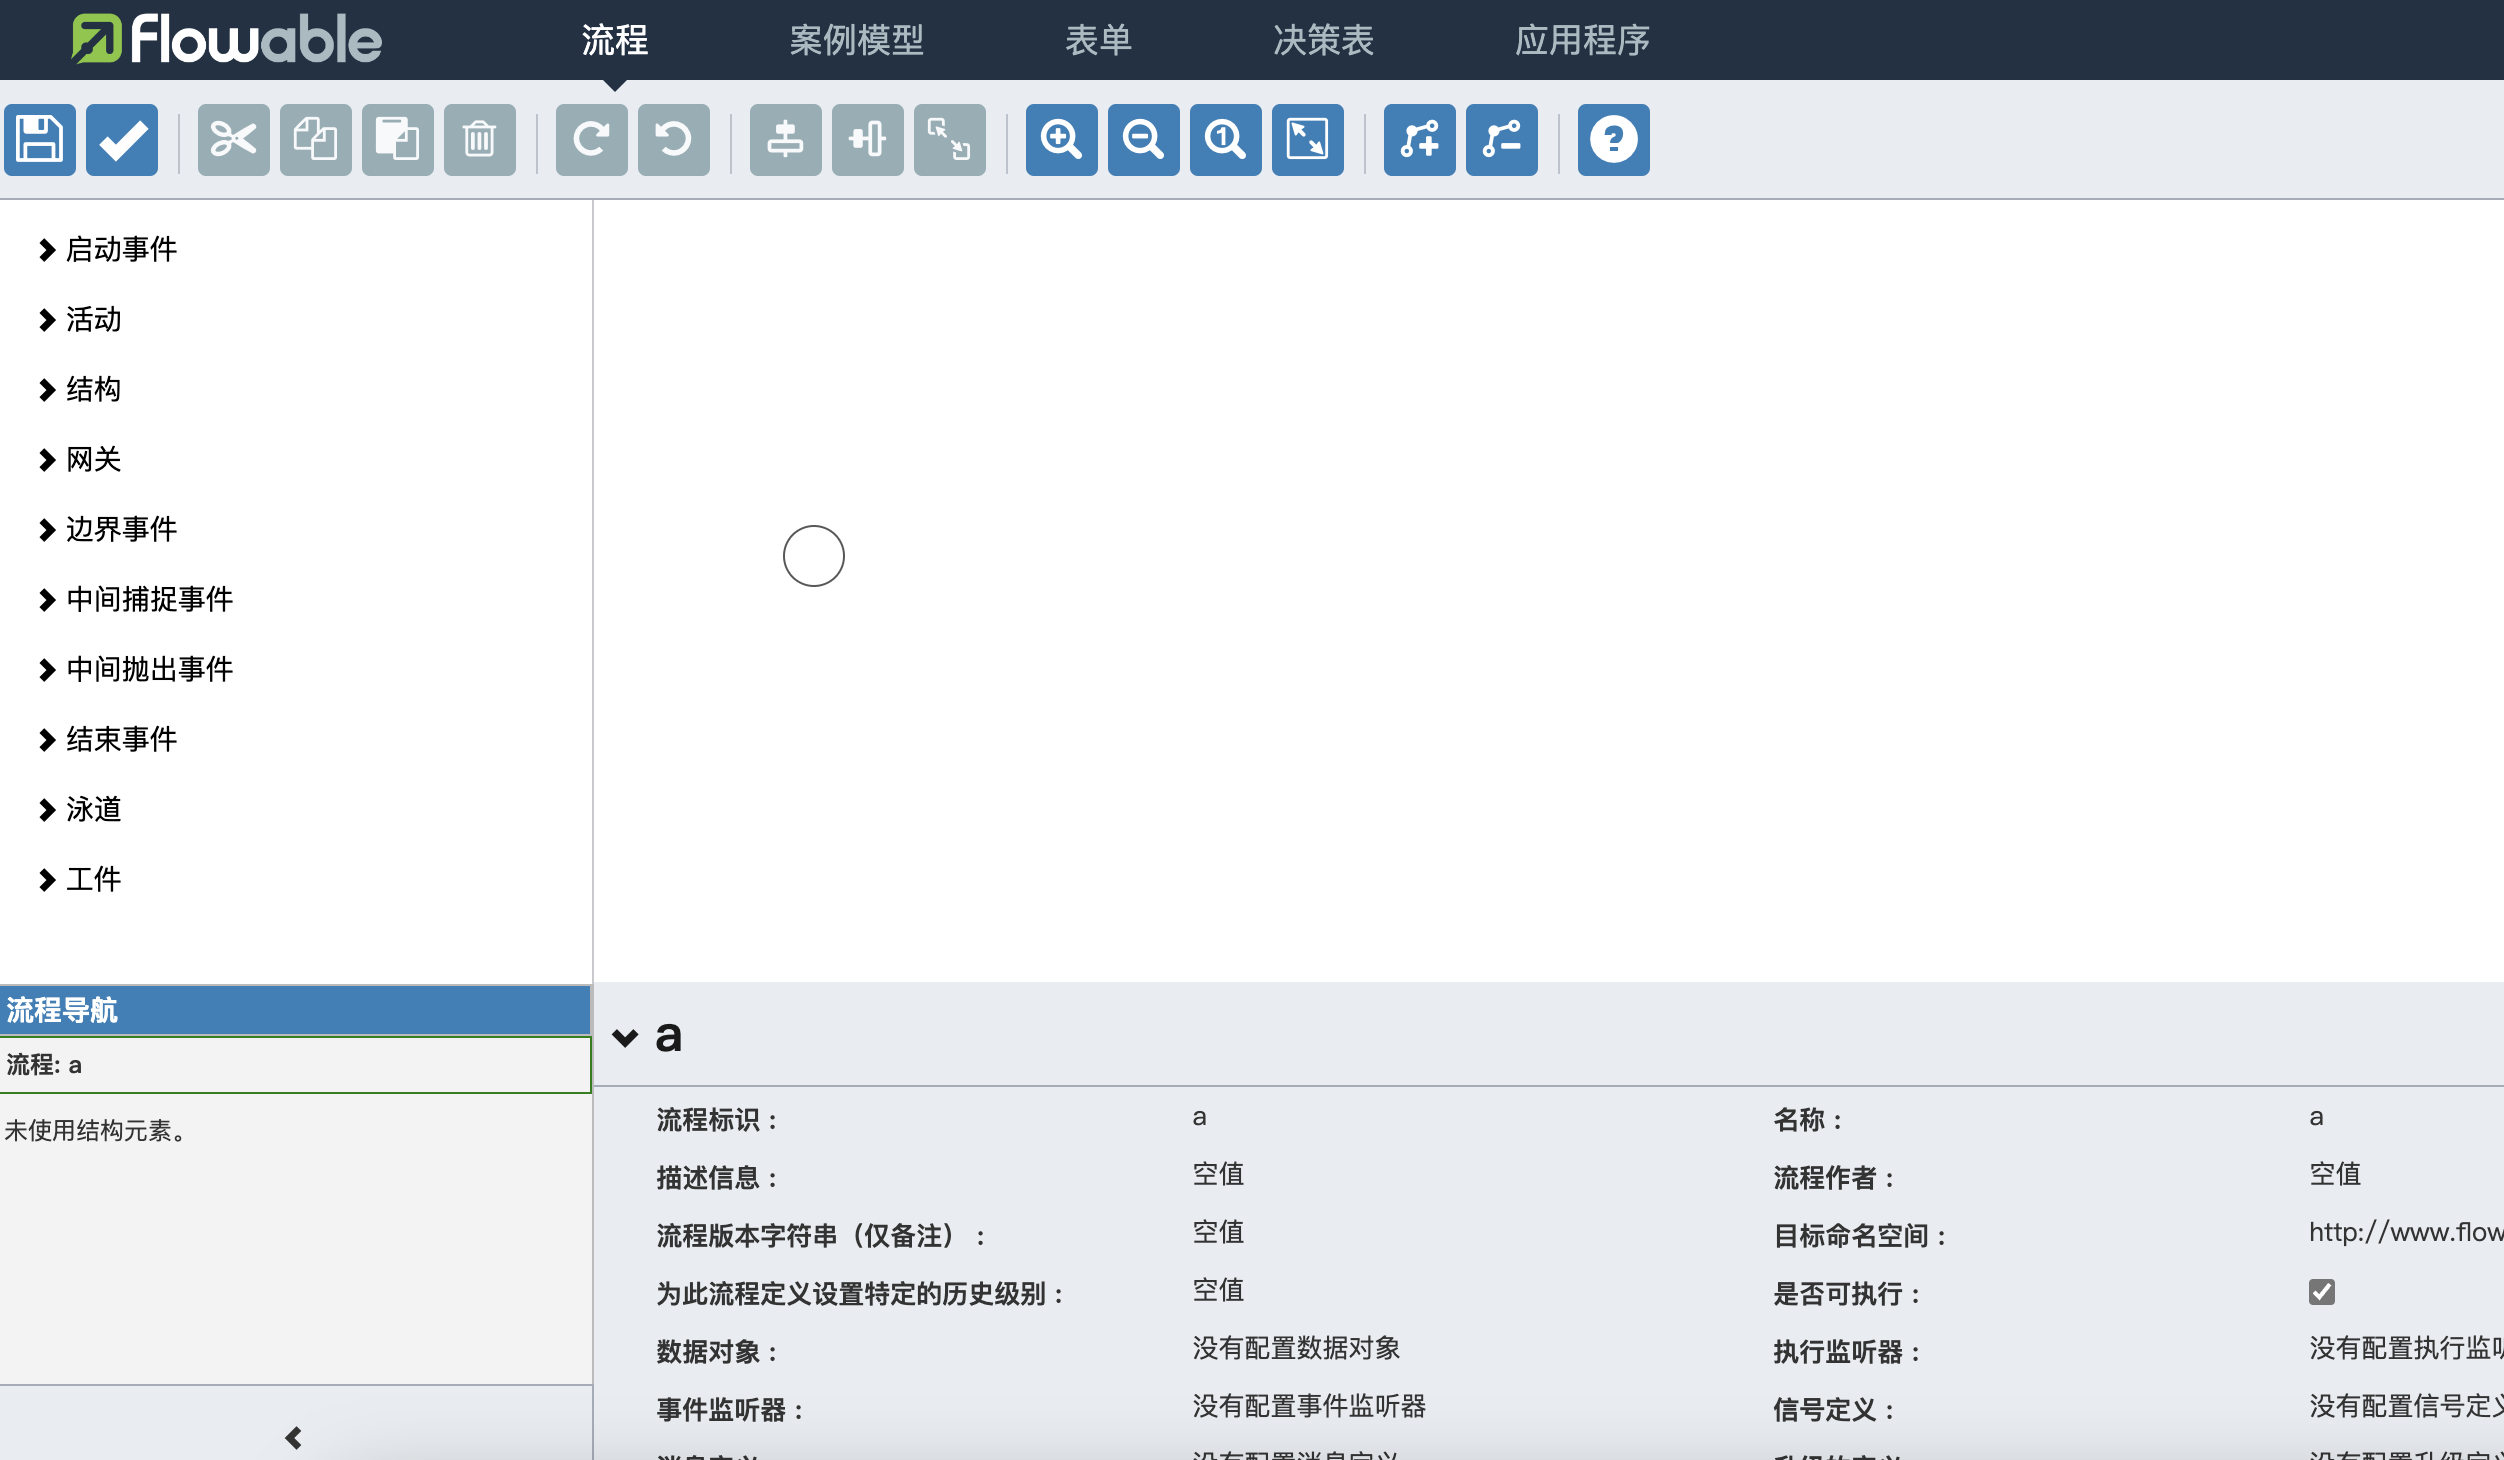
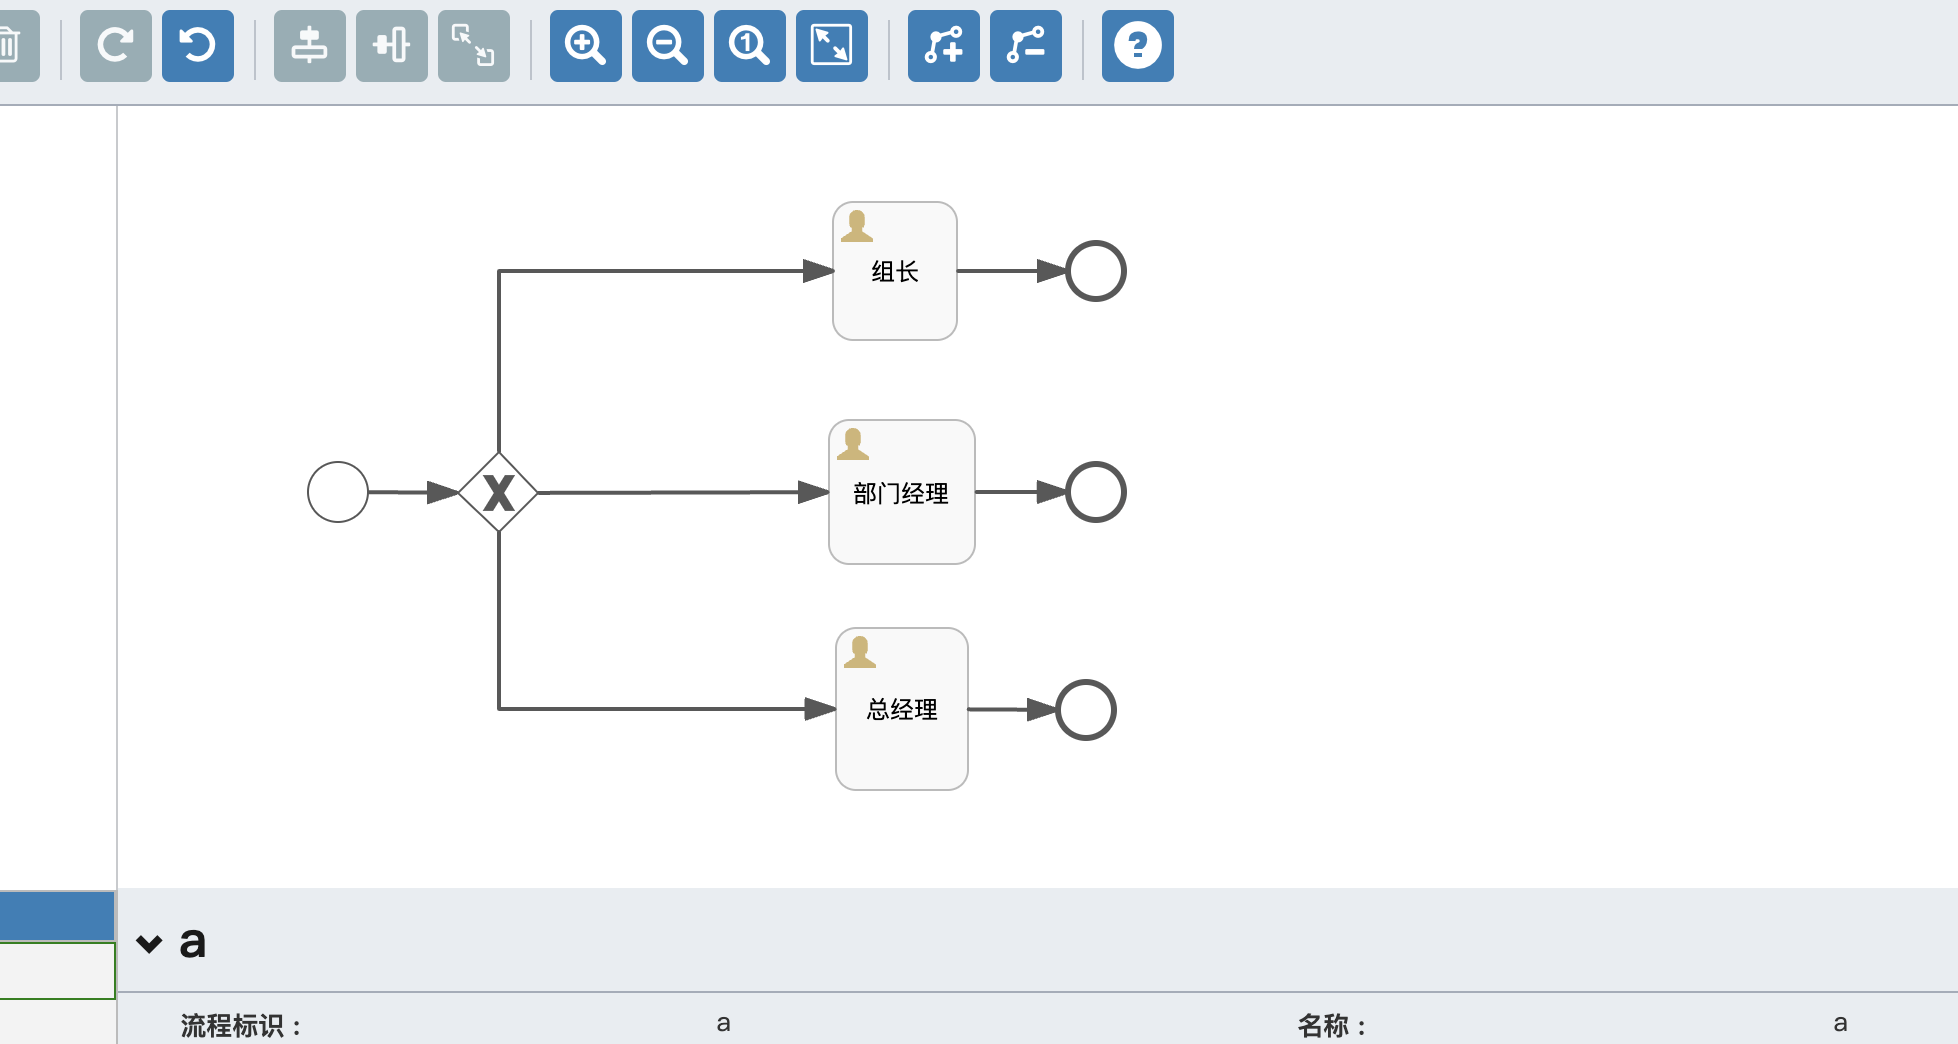
简单绘制一个请假审批:
- 部门经理线的流条件:${day>1 && day<=3}
- 组长的流条件:${day<=1}
- 总经理的流条件:${day>3}
下载该文件命名为a.bpmn20.xml:
<?xml version="1.0" encoding="UTF-8"?>
<definitions xmlns="http://www.omg.org/spec/BPMN/20100524/MODEL" xmlns:xsi="http://www.w3.org/2001/XMLSchema-instance" xmlns:xsd="http://www.w3.org/2001/XMLSchema" xmlns:flowable="http://flowable.org/bpmn" xmlns:bpmndi="http://www.omg.org/spec/BPMN/20100524/DI" xmlns:omgdc="http://www.omg.org/spec/DD/20100524/DC" xmlns:omgdi="http://www.omg.org/spec/DD/20100524/DI" typeLanguage="http://www.w3.org/2001/XMLSchema" expressionLanguage="http://www.w3.org/1999/XPath" targetNamespace="http://www.flowable.org/processdef" exporter="Flowable Open Source Modeler" exporterVersion="6.8.1">
  <process id="a" name="a" isExecutable="true">
    <startEvent id="startEvent1" flowable:formFieldValidation="true"></startEvent>
    <userTask id="sid-1728059A-DB68-4E2F-A07F-4AE72EC7F5D7" name="组长" flowable:formFieldValidation="true"></userTask>
    <exclusiveGateway id="sid-431B47DD-3932-49D2-8B5A-51FBE9C8A50B"></exclusiveGateway>
    <sequenceFlow id="sid-EA5097EB-7C3A-4295-86F5-8EFFC6F3E02A" sourceRef="startEvent1" targetRef="sid-431B47DD-3932-49D2-8B5A-51FBE9C8A50B"></sequenceFlow>
    <userTask id="sid-96F84EB8-DB79-4092-89A5-141313627020" name="部门经理" flowable:formFieldValidation="true"></userTask>
    <userTask id="sid-09FB7A15-7582-4785-B635-05E745D56438" name="总经理" flowable:formFieldValidation="true"></userTask>
    <endEvent id="sid-CF77490C-2721-4269-9A2C-301CD4DD6F15"></endEvent>
    <sequenceFlow id="sid-38EF250C-CF01-414A-BDC3-A0E2CBAB9175" sourceRef="sid-1728059A-DB68-4E2F-A07F-4AE72EC7F5D7" targetRef="sid-CF77490C-2721-4269-9A2C-301CD4DD6F15"></sequenceFlow>
    <endEvent id="sid-F9DE2B7F-F2B4-4D7A-872C-D620EC006C80"></endEvent>
    <sequenceFlow id="sid-0537C179-756A-4F54-AF48-BCD3669EC88B" sourceRef="sid-96F84EB8-DB79-4092-89A5-141313627020" targetRef="sid-F9DE2B7F-F2B4-4D7A-872C-D620EC006C80"></sequenceFlow>
    <endEvent id="sid-6224E896-E5DF-4AD8-9C5C-0BB6BBB8125C"></endEvent>
    <sequenceFlow id="sid-B4C4F1DA-257B-4206-950A-133010C19C4A" sourceRef="sid-09FB7A15-7582-4785-B635-05E745D56438" targetRef="sid-6224E896-E5DF-4AD8-9C5C-0BB6BBB8125C"></sequenceFlow>
    <sequenceFlow id="sid-669C693E-E02E-47A1-B8EF-0F6DC4AEF61C" sourceRef="sid-431B47DD-3932-49D2-8B5A-51FBE9C8A50B" targetRef="sid-96F84EB8-DB79-4092-89A5-141313627020">
      <conditionExpression xsi:type="tFormalExpression"><![CDATA[${day>1 && day<=3}]]></conditionExpression>
    </sequenceFlow>
    <sequenceFlow id="sid-2498854B-52F3-4FCE-9994-B5ED2DC350E4" sourceRef="sid-431B47DD-3932-49D2-8B5A-51FBE9C8A50B" targetRef="sid-1728059A-DB68-4E2F-A07F-4AE72EC7F5D7">
      <conditionExpression xsi:type="tFormalExpression"><![CDATA[${day<=1}]]></conditionExpression>
    </sequenceFlow>
    <sequenceFlow id="sid-9D85E323-099E-4F30-861E-0DED4491C1B8" sourceRef="sid-431B47DD-3932-49D2-8B5A-51FBE9C8A50B" targetRef="sid-09FB7A15-7582-4785-B635-05E745D56438">
      <conditionExpression xsi:type="tFormalExpression"><![CDATA[${day}>3]]></conditionExpression>
    </sequenceFlow>
  </process>


</definitions>
部署这个a.bpmn20.xml文件:
 @Test
    void test01() {
        // 配置数据库相关信息 获取 ProcessEngineConfiguration
        ProcessEngineConfiguration cfg = new StandaloneProcessEngineConfiguration()
                .setJdbcUrl("jdbc:mysql://localhost:3306/tt?serverTimezone=UTC&nullCatalogMeansCurrent=true")
                .setJdbcUsername("root")
                .setJdbcDriver("com.mysql.cj.jdbc.Driver")
                .setDatabaseSchemaUpdate(ProcessEngineConfiguration.DB_SCHEMA_UPDATE_TRUE);
        // 获取流程引擎对象
        ProcessEngine processEngine = cfg.buildProcessEngine();

        // 部署流程 获取RepositoryService对象
        RepositoryService repositoryService = processEngine.getRepositoryService();
        Deployment deployment = repositoryService.createDeployment()// 创建Deployment对象
                .addClasspathResource("a.bpmn20.xml") // 添加流程部署文件
                .name("请假") // 设置部署流程的名称
                .deploy(); // 执行部署操作
                }
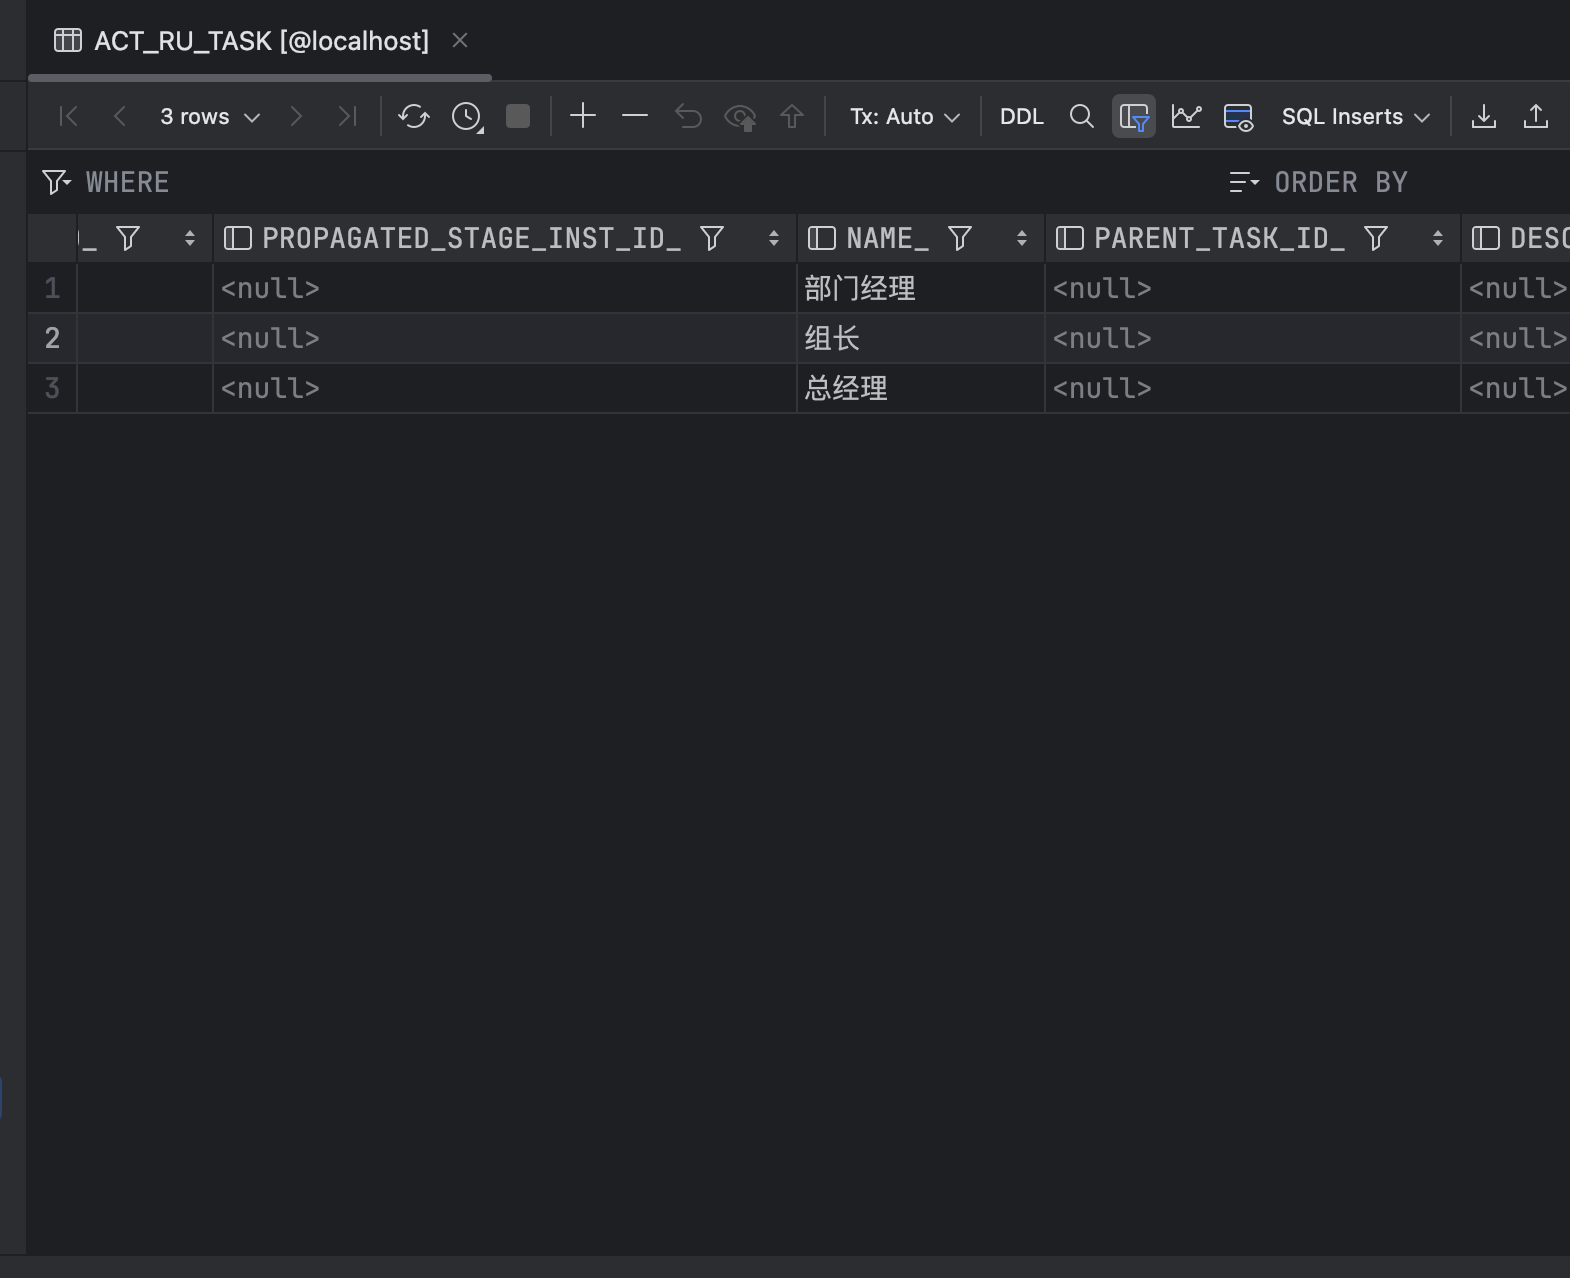
测试执行:
 Map<String, Object> variables = new HashMap<>();
        //days是流程图条件

        variables.put("day", 3);
        ProcessInstance pi = runtimeService.startProcessInstanceByKey("a", variables);
        System.out.println(pi.getName());
我们分别调整day为1,3,5时,此时ACT_RU_TASK表(ACT_RU_TASK表存储了运行时的用户任务数据)中将有三条数据:


 2008
2008


 被折叠的 条评论
为什么被折叠?
被折叠的 条评论
为什么被折叠?
 到【灌水乐园】发言


