


根据平台公告信息,2022年底wx.getUserProfile 与 wx.getUserInfo 接口被回收。新的小程序不能再授权获取头像和昵称;可以通过wx.login 接口直接获取用户的 openId 与 unionId 信息;
所以需要获取头像和昵称的同志们需要自己写一个完善资料了
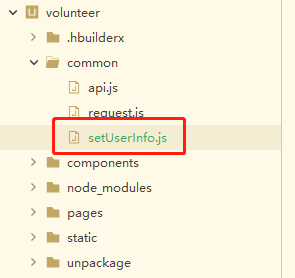
1、在 common 中创建一个 setUserInfo.js
 export default() => {
    return new Promise((resolve, reject) => {
        uni.getUserProfile({
            desc: '用于完善个人资料' // 声明获取用户个人信息后的用途,后续会展示在弹窗中,请谨慎填写
        })
        .then((response) => {
            if (response[1].errMsg === 'getUserProfile:ok') {
                uni.setStorageSync('userInfo', response[1].userInfo); //存储用户信息
                resolve(response[1]);//返回的信息
            }else {
                uni.showToast({
                    title: '授权失敗',
                    icon: 'error'
                });
            }
        }).catch((reject) => {
             console.log('拒绝授权',reject)
        })
    })
}
2、在 main.js 中全局引入

import setUserInfo from "common/setUserInfo.js" //微信用户信息
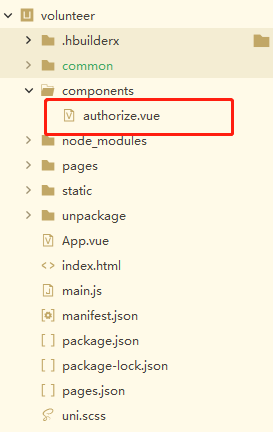
Vue.prototype.$setUserInfo = setUserInfo3、在 components 中创建一个组件 authorize.vue
html
<template>
    <view v-if="ifAuthorize" style="background: rgba(0,0,0,0.3);position: fixed;top: 0;width: 100%;height: 100%;">
        <view style="width: 320px;margin: auto;margin-top: 30px;background: #fff;border-radius: 10px;">
            <view class="header">
                需要您的授权
            </view>
            <view style="text-align: center;">
                <view style="text-align: center;padding-top: 17px;">
                    <view>为了提供更好的服务</view>
                    <view>请允许获取您的用户信息</view>
                    <view>如暂不需要,可点击取消或拒绝</view>
                </view>
                <view style="text-align: center;">
                    <image src="../static/image/shouquan.png" mode="widthFix" style="width: 230px;"></image>
                </view>
                <view style="padding-bottom: 5px;">
                    <button type="default" class="btn" @click="authorize()">授权</button>
                    <button type="default" class="btn" @click="cancel()">取消</button>
                </view>
            </view>
        </view>
    </view>
</template>
script
<script>
    export default {
        name:"authorize",
        data() {
            return {
                ifAuthorize:true
            };
        },
        methods:{
            cancel() {
                this.ifAuthorize = false
            },
            authorize() {
                this.$setUserInfo().then(res => {
                    this.ifAuthorize = false
                });
            }
        }
    }
</script>
css
<style lang="scss">
    .header {
        padding: 8px 0;
        line-height: 33px;
        border-bottom: 0.5px solid #eee;
        text-align: center;
    }
    .btn {
        background-color: #04be01 !important;
        color: #fff !important;
        border-radius: 44px;
        width: 275px;
        margin-bottom: 20px;
    }
</style>
4、在需要授权的页面中引入组件 authorize.vue

5、效果图


 8360
8360


 被折叠的 条评论
为什么被折叠?
被折叠的 条评论
为什么被折叠?
 到【灌水乐园】发言


