


一、前言
liquibase是一个数据库变更的版本控制工具。项目中通过liquibase解析用户编写的liquibase的配置文件,生成sql语句,并执行和记录。执行是根据记录确定sql语句是否曾经执行过,和配置文件里的预判断语句确定sql是否执行。
本篇文章给大家介绍springboot通过整合liquibase执行sql脚本的操作,本文使用sql方式
目标数据库以这篇文章docker部署mysql初始化数据库_crazyK.的博客-CSDN博客_docker mysql 初始化数据库中的test_db为例
二、实现
1.项目中加入liquibase依赖
        <!-- liquibase -->
        <dependency>
            <groupId>org.liquibase</groupId>
            <artifactId>liquibase-core</artifactId>
        </dependency>
2.配置文件中添加Liquibase配置
别忘了在配置文件中配置数据库连接
liquibase:
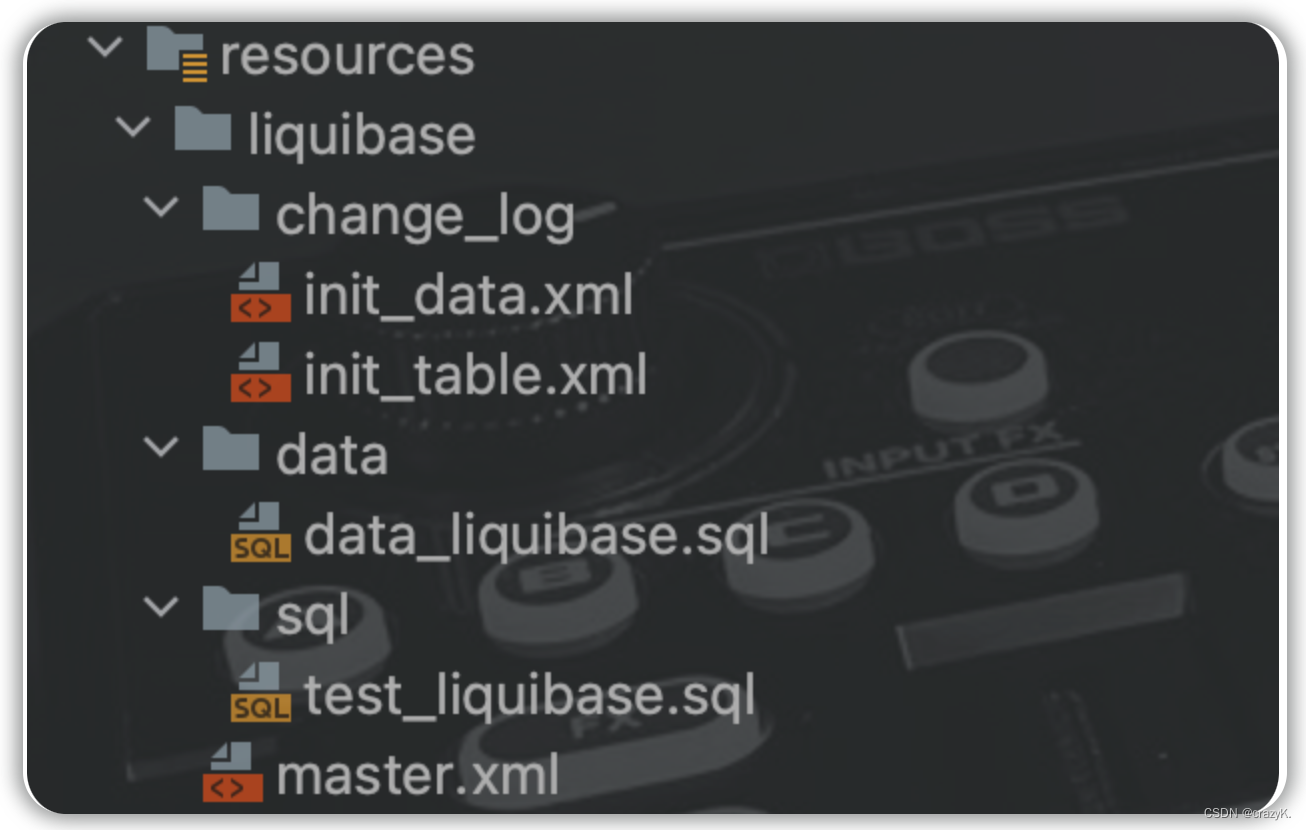
change-log: classpath:/liquibase/master.xml3.创建liquibase目录,用于存放要进行初始化的表和数据以及liquibase配置文件
目录如下
data存放数据sql脚本,sql存放建表sql脚本,change_log存放执行记录
4.在liquibase目录下创建master.xml配置文件
<?xml version="1.0" encoding="utf-8"?>
<databaseChangeLog
        xmlns="http://www.liquibase.org/xml/ns/dbchangelog"
        xmlns:xsi="http://www.w3.org/2001/XMLSchema-instance"
        xsi:schemaLocation="http://www.liquibase.org/xml/ns/dbchangelog
        http://www.liquibase.org/xml/ns/dbchangelog/dbchangelog-3.4.xsd">
    <include file="classpath:/liquibase/change_log/init_table.xml" relativeToChangelogFile="false"/>
    <include file="classpath:/liquibase/change_log/init_data.xml" relativeToChangelogFile="false"/>
</databaseChangeLog>
5.创建change_log和sql脚本
Change_log
changeSet说明日期创建人以及要执行的sql脚本
init_table.xml
<databaseChangeLog
        xmlns="http://www.liquibase.org/xml/ns/dbchangelog"
        xmlns:xsi="http://www.w3.org/2001/XMLSchema-instance"
        xsi:schemaLocation="http://www.liquibase.org/xml/ns/dbchangelog
         http://www.liquibase.org/xml/ns/dbchangelog/dbchangelog-3.1.xsd">

    <!-- id:唯一id author:修改人-->
    <changeSet id="20221226-01" author="user">
        <sqlFile path="classpath:liquibase/sql/test_liquibase.sql"/>
    </changeSet>
</databaseChangeLog>
Init_data.xml
<databaseChangeLog
        xmlns="http://www.liquibase.org/xml/ns/dbchangelog"
        xmlns:xsi="http://www.w3.org/2001/XMLSchema-instance"
        xsi:schemaLocation="http://www.liquibase.org/xml/ns/dbchangelog
         http://www.liquibase.org/xml/ns/dbchangelog/dbchangelog-3.1.xsd">
    <changeSet id="20221226-01" author="user">
        <sqlFile path="classpath:liquibase/data/data_liquibase.sql"/>
    </changeSet>
</databaseChangeLog>
sql脚本
test_liquibase.sql
SET NAMES utf8mb4;
SET FOREIGN_KEY_CHECKS = 0;

-- ----------------------------
-- Table structure for test_liquibase
-- ----------------------------
DROP TABLE IF EXISTS `test_liquibase`;
CREATE TABLE `test_liquibase` (
  `id` int(11) NOT NULL AUTO_INCREMENT COMMENT '主键',
  `name` varchar(255) DEFAULT NULL COMMENT '名称',
  `length` int(11) DEFAULT NULL COMMENT '长度',
  PRIMARY KEY (`id`)
) ENGINE=InnoDB DEFAULT CHARSET=utf8;

-- ----------------------------
-- Records of test_liquibase
-- ----------------------------
BEGIN;
COMMIT;

SET FOREIGN_KEY_CHECKS = 1;
data_liquibase.sql
SET NAMES utf8mb4;
SET FOREIGN_KEY_CHECKS = 0;

BEGIN;
INSERT INTO `test_liquibase` (`id`, `name`, `length`) VALUES (1, 'test', 10);
COMMIT;

SET FOREIGN_KEY_CHECKS = 1;
6.启动项目sql脚本会自动执行
三、验证
我在项目里写了一个接口查询刚才sql脚本插入的数据,实体类和mapper,service就不放出来了,根据数据库字段建就行,持久层用的mybaits-plus。
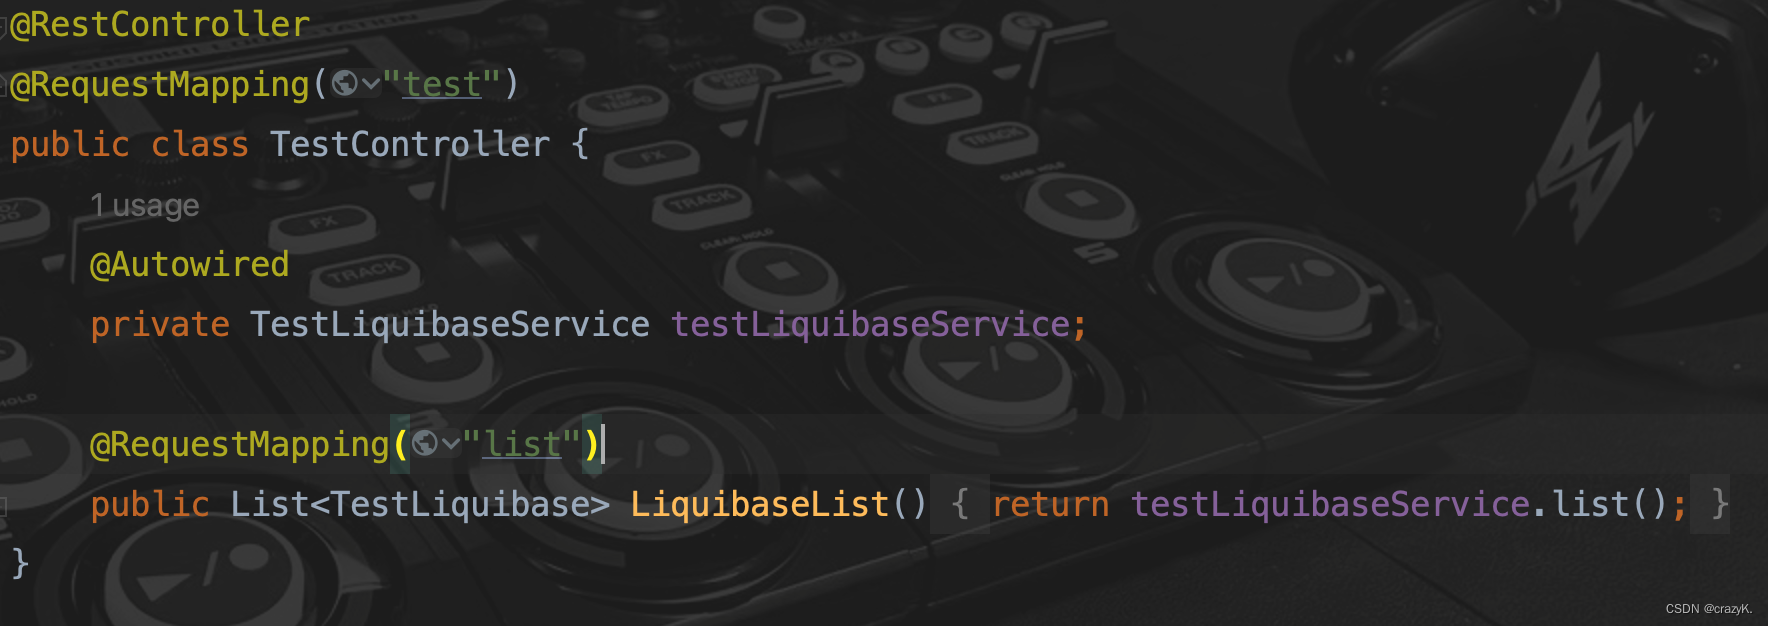
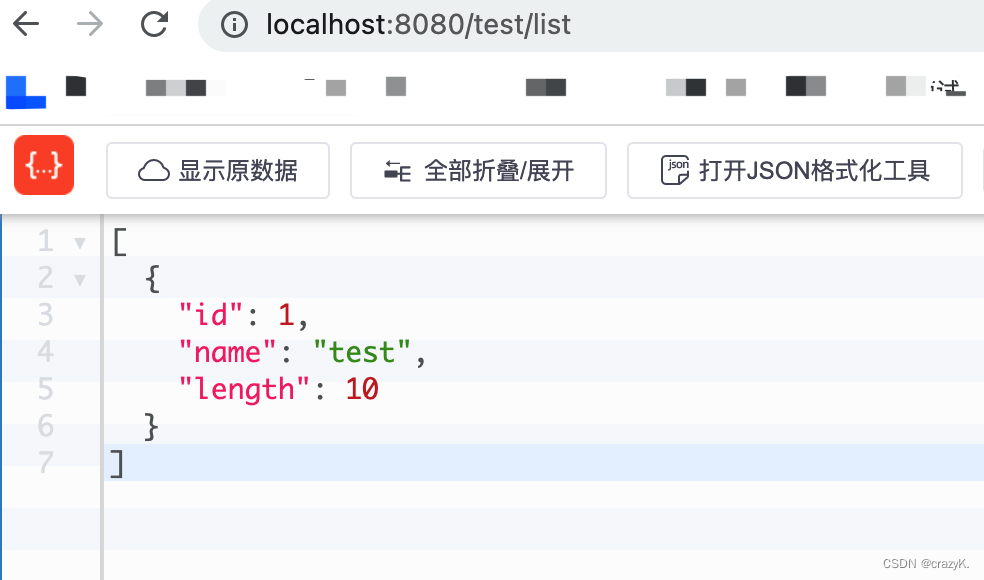
调用接口
也可以直接访问数据库验证

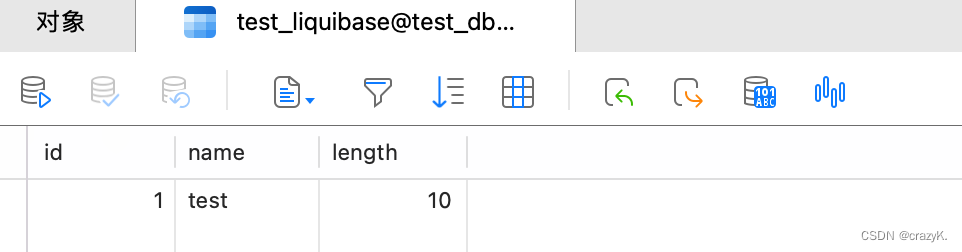
databasechangelog和databasechangeloglock是liquibase自动生成的,用于管理数据库变更。


 1056
1056

 被折叠的 条评论
为什么被折叠?
被折叠的 条评论
为什么被折叠?
 到【灌水乐园】发言


