


最近遇到一个问题,就是要用到图像增强,想的一次处理好数据,一次保存下来,找了许多博客,有个问题是怎么把图片一次保存,许多博客说了,但在我这个场景不适用,最后捣鼓了一上午才弄出来,原谅我菜,哈哈
主要参考博文为:
https://blog.csdn.net/qq_36756866/article/details/108255715
欢迎大家去阅读原作者文章,我也是在原文基础上修改,原文没有保存
话不多说,直接上代码
cv2.imshow("left", img_left)
filename3=str(number)+'n3'+'.jpg' #打印第number张图片+增值方式+保存类型
cv2.imwrite(savedpath + filename3, img_left)
"""
# 数据增强实现
"""
import cv2
import numpy as np
import os

# 图像平移
def img_translation(image):
    # 图像平移 下、上、右、左平移
     M = np.float32([[1, 0, 0], [0, 1, 100]])
     img_down = cv2.warpAffine(image, M, (image.shape[1], image.shape[0]))

     M = np.float32([[1, 0, 0], [0, 1, -100]])
     img_up = cv2.warpAffine(image, M, (image.shape[1], image.shape[0]))

     M = np.float32([[1, 0, 100], [0, 1, 0]])
     img_right = cv2.warpAffine(image, M, (image.shape[1], image.shape[0]))

     M = np.float32([[1, 0, -100], [0, 1, 0]])
     img_left = cv2.warpAffine(image, M, (image.shape[1], image.shape[0]))

    # 保存图片,需要保存上述的哪一图片,就在cv2.imwrite()中,将哪一图片名放入。
    # filename='xxx' +'.jpeg'
    # cv2.imwrite(savedpath + filename, img_left)

    # 显示图形
     cv2.imshow("down", img_down)
     filename0=str(number)+'n0'+'.jpg'
     cv2.imwrite(savedpath + filename0, img_down)
     cv2.imshow("up", img_up)
     filename1=str(number)+'n1'+'.jpg'
     cv2.imwrite(savedpath + filename1, img_up)
     cv2.imshow("right", img_right)
     filename2=str(number)+'n2'+'.jpg'
     cv2.imwrite(savedpath + filename2, img_right)
     cv2.imshow("left", img_left)
     filename3=str(number)+'n3'+'.jpg'
     cv2.imwrite(savedpath + filename3, img_left)


# 图像缩放
def img_scale(image):
    result = cv2.resize(image, (224, 224))
    cv2.imshow("scale", result)

    filename=str(number)+'n5'+'.jpg'
    cv2.imwrite(savedpath + filename, result)


# 图像翻转
def img_flip(image):
    # 0以X轴为对称轴翻转,>0以Y轴为对称轴翻转, <0X轴Y轴翻转
    horizontally = cv2.flip(image, 0)  # 水平镜像
    vertically = cv2.flip(image, 1)  # 垂直镜像
    hv = cv2.flip(image, -1)  # 水平垂直镜像

    # 显示图形
    cv2.imshow("Horizontally", horizontally)
    filename1=str(number)+'n6'+'.jpg'
    cv2.imwrite(savedpath + filename1, horizontally)
    cv2.imshow("Vertically", vertically)
    filename2=str(number)+'n7'+'.jpg'
    cv2.imwrite(savedpath + filename2, vertically)
    cv2.imshow("Horizontally & Vertically", hv)
    filename3=str(number)+'n8'+'.jpg'
    cv2.imwrite(savedpath + filename3, hv)


# 图像旋转
def img_rotation(image):
    # 原图的高、宽 以及通道数
    rows, cols, channel = image.shape

    # 绕图像的中心旋转
    # 参数:旋转中心 旋转度数 scale
    M = cv2.getRotationMatrix2D((cols / 2, rows / 2), 30, 1)
    # 参数:原始图像 旋转参数 元素图像宽高
    rotated = cv2.warpAffine(image, M, (cols, rows))

    # 显示图像
    cv2.imshow("rotated", rotated)
    filename1=str(number)+'n9'+'.jpg'
    cv2.imwrite(savedpath + filename1, rotated)
    #选装60度
    W = cv2.getRotationMatrix2D((cols / 2, rows / 2), 60, 1)
    # 参数:原始图像 旋转参数 元素图像宽高
    rotated1 = cv2.warpAffine(image, W, (cols, rows))
    cv2.imshow("rotated", rotated)
    filename2=str(number)+'n12'+'.jpg'
    cv2.imwrite(savedpath + filename2, rotated1)

        #选装145度
    W = cv2.getRotationMatrix2D((cols / 2, rows / 2), 60, 1)
    # 参数:原始图像 旋转参数 元素图像宽高
    rotated2 = cv2.warpAffine(image, W, (cols, rows))
    cv2.imshow("rotated", rotated)
    filename3=str(number)+'n13'+'.jpg'
    cv2.imwrite(savedpath + filename3, rotated2)


# 图像加噪
def img_noise(image, mean=0, var=0.001):
    '''
        添加高斯噪声
        mean : 均值
        var : 方差
    '''
    image = np.array(image / 255, dtype=float)
    noise = np.random.normal(mean, var ** 0.5, image.shape)
    out = image + noise
    if out.min() < 0:
        low_clip = -1.
    else:
        low_clip = 0.
    out = np.clip(out, low_clip, 1.0)
    out = np.uint8(out * 255)

    cv2.imshow("noise", out)
    filename3=str(number)+'n10'+'.jpg'
    cv2.imwrite(savedpath + filename3, out)


# 图像亮度调节
def img_brightness(image):
    contrast = 1  # 对比度
    brightness = 100  # 亮度
    pic_turn = cv2.addWeighted(image, contrast, image, 0, brightness)
    # cv2.addWeighted(对象,对比度,对象,对比度)
    '''cv2.addWeighted()实现的是图像透明度的改变与图像的叠加'''

    cv2.imshow('bright', pic_turn)  # 显示图片
    filename3=str(number)+'n11'+'.jpg'
    cv2.imwrite(savedpath + filename3, pic_turn)
if __name__ == '__main__':

    i = 0
    path = '../Data/'


    print(path)
    savedpath = './result_new/'

    filelist = os.listdir(path)
    total_num = len(filelist)

    for item in filelist:
        number = i + 1
        i = number
        print("######")
        print("打印到第",i,"张图片")
        src = cv2.imread(path + item)

        img_translation(src)
        img_scale(src)
        img_flip(src)
        img_rotation(src)
        img_noise(src)
        img_brightness(src)


    cv2.waitKey(0)
    cv2.destroyAllWindows()
代码较为繁琐,有空之后进行优化
输出结果
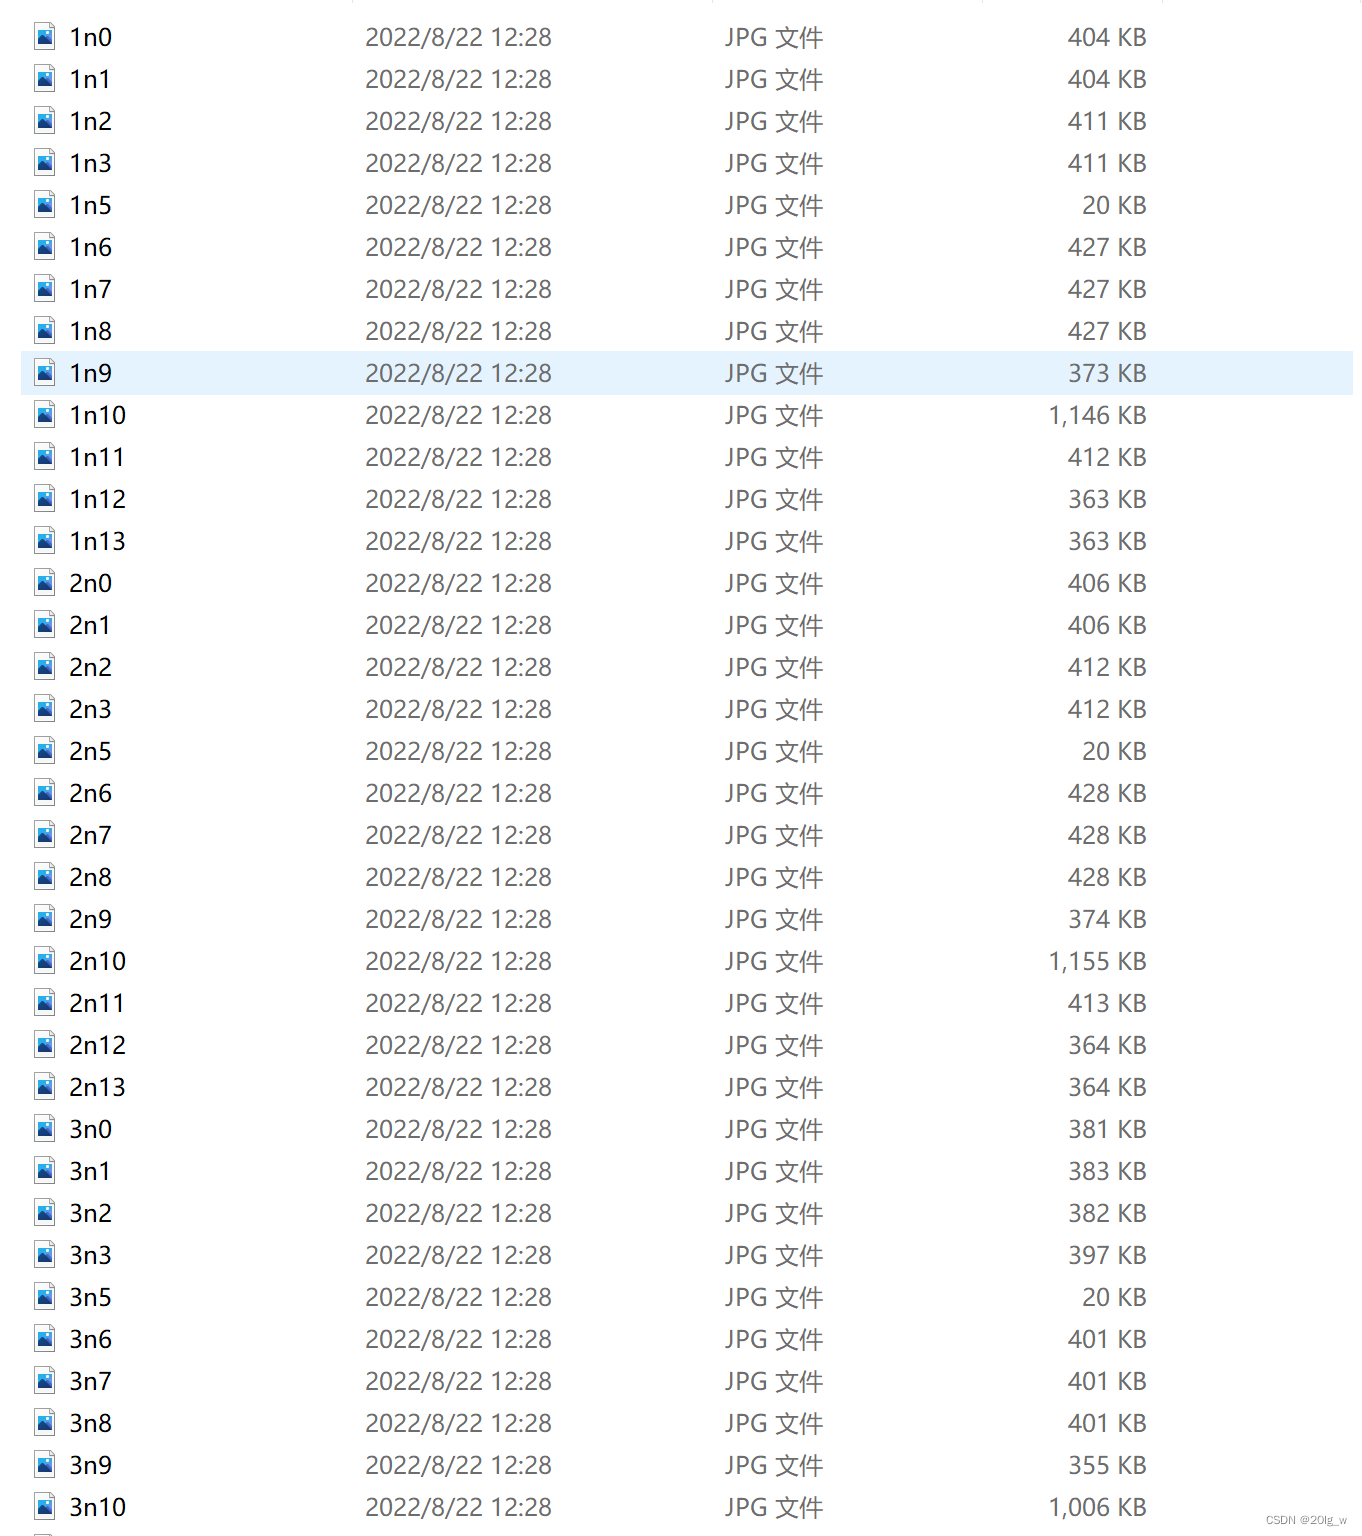
输出图片


 5850
5850


 被折叠的 条评论
为什么被折叠?
被折叠的 条评论
为什么被折叠?
 到【灌水乐园】发言


