


1.准备环境:
系统版本:Centos7.9
准备软件:
Nginx版本:nginx-1.23.3
1.1 下载阿里云网络yum源和epel扩展源
[root@localhost ~]# wget -O /etc/yum.repos.d/CentOS-Base.repo https://mirrors.aliyun.com/repo/Centos-7.repo
[root@localhost ~]# wget -O /etc/yum.repos.d/epel.repo https://mirrors.aliyun.com/repo/epel-7.repo
[root@localhost ~]# yum makeche && yum clean all
2 编译安装Nginx
2.1 安装nginx依赖包
[root@localhost ~]# yum -y install GeoIP-devel.x86_64 gd-devel.x86_64  libxslt-devel gcc gcc-c++ autoconf automake zlib zlib-devel openssl openssl-devel pcre*
2.2 创建nginx用户
[root@localhost ~]# useradd -M -s /sbin/nologin nginx
2.3 下载nginx源码包并解压
[root@localhost ~]# yum -y install wget
[root@localhost ~]# wget https://nginx.org/download/nginx-1.23.3.tar.gz
[root@localhost ~]# tar zxvf nginx-1.23.3.tar.gz -C /usr/src
                                  -C  指定解压目录
[root@localhost ~]# cd /usr/src/nginx-1.23.3
[root@localhost nginx-1.23.1]#
./configure \
    --with-threads \
    --with-file-aio \
    --with-http_ssl_module \
    --with-http_v2_module \
    --with-http_realip_module \
    --with-http_addition_module \
    --with-http_xslt_module=dynamic \
    --with-http_image_filter_module=dynamic \
    --with-http_geoip_module=dynamic \
    --with-http_sub_module \
    --with-http_dav_module \
    --with-http_flv_module \
    --with-http_mp4_module \
    --with-http_gunzip_module \
    --with-http_gzip_static_module \
    --with-http_auth_request_module \
    --with-http_random_index_module \
    --with-http_secure_link_module \
    --with-http_degradation_module \
    --with-http_slice_module \
    --with-http_stub_status_module \
    --with-stream=dynamic \
    --with-stream_ssl_module \
    --with-stream_realip_module \
    --with-stream_geoip_module=dynamic \
    --with-stream_ssl_preread_module \
    --with-compat  \
    --with-pcre-jit && make -j4 && make install
编写nginx系统启动脚本
[root@localhost ~]# vim /usr/lib/systemd/system/nginx.service
[Unit]
Description=nginx
After=network.target

[Service]
Type=forking
ExecStart=/usr/local/nginx/sbin/nginx -c /usr/local/nginx/conf/nginx.conf
ExecReload=/usr/local/nginx/sbin/nginx -s reload
ExecStop=/usr/local/nginx/sbin/nginx -s quit
PrivateTmp=true

[Install]
WantedBy=multi-user.target
2.4 启动nginx服务 并将nginx网站端口加入防火墙规则
[root@localhost ~]# systemctl enable nginx --now
[root@localhost ~]# firewall-cmd --zone=public --add-port=80/tcp --permanent
[root@localhost ~]# firewall-cmd --zone=public --add-port=443/tcp --permanent
[root@localhost ~]# firewall-cmd --reload
2.5 查看nginx是否启动
[root@localhost ~]# netstat -anptu | grep 802.6 访问nginx默认网页
用浏览器访问 192.168.43.254(访问你的服务器ip地址)
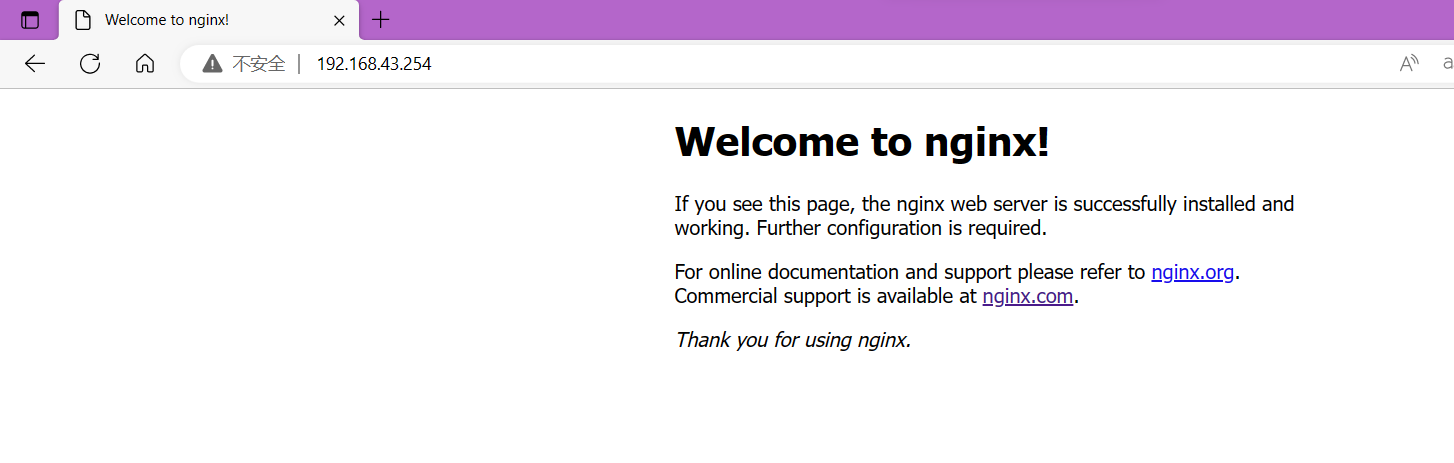
当看到这个页面就说明Nginx安装成功了


 525
525


 被折叠的 条评论
为什么被折叠?
被折叠的 条评论
为什么被折叠?
 到【灌水乐园】发言


