


接上篇
一.MyBatisPlus实现字段自动填充
 /**
     * 新增功能
     *
     * @param request
     * @param employee
     * @return
     */
    @PostMapping
    public R<String> save(HttpServletRequest request, @RequestBody Employee employee) {
        log.info(employee.toString());
        //1.设置密码初始值
        employee.setPassword(DigestUtils.md5DigestAsHex("123456".getBytes()));

        employee.setCreateTime(LocalDateTime.now());
        employee.setUpdateTime(LocalDateTime.now());
         //获取当前登录用户的ID
        Long empID = (Long) request.getSession().getAttribute("employee");

        employee.setCreateUser(empID);
        employee.setUpdateUser(empID);

        try {
            employeeService.save(employee);
        } catch (Exception e) {
           R.error("新增员工失败");
        }
        return R.success("添加成功");
    }
在进行各种增删改查操作时会记录下当前操作的时间和操作的人,这虽然没有什么难点但是代码过于繁琐MybatisPlus给我们提供了这些字段的自动填充功能具体实现如下。
@Component
@Slf4j
public class MyMetaObjectHandler implements MetaObjectHandler {
    /**
     * 新增操作自动填充
     * 需要在字段上添加注解@TableField(fill = FieldFill.INSERT)
     * @param metaObject
     */
    @Override
    public void insertFill(MetaObject metaObject) {
        log.info(metaObject.toString());
        metaObject.setValue("createTime", LocalDateTime.now());
        metaObject.setValue("updateTime", LocalDateTime.now());
        metaObject.setValue("createUser", BaseContext.getCurrentId());
        metaObject.setValue("updateUser", BaseContext.getCurrentId());

    }

    /**
     * 修改操作自动填充
     * @param metaObject
     */
    @Override
    public void updateFill(MetaObject metaObject) {
        metaObject.setValue("updateTime", LocalDateTime.now());
        metaObject.setValue("updateUser", BaseContext.getCurrentId());

        log.info(metaObject.toString());
    }
}
实现MetaObjectHandler接口里的两个方法,在这里获取当前时间很好获取,但是要获取操作人的Id就要麻烦一下,因为不能直接使用req.getSession来获取得到我们存入Session中的Id,所以又创建了BaseContext类。
/**
 * 基于ThreadLocal封装工具类,用于保存和获取当前登录的用户Id
 */
public class BaseContext {
    private static ThreadLocal<Long> threadLocal = new ThreadLocal<>();

    public static void setCurrentId(Long id){
        threadLocal.set(id);
    }

    public static Long getCurrentId(){
       return threadLocal.get();
    }
}原理是就是客户端发送的每次http请求,对应的在服务端都会分配一个新的线程来处理,在处理过程中涉及到下面类中的方法都属于相同的一个线程
ThreadLocal常用方法:
我们可以在LoginCheckFilter的doFilter方法中获取当前登录用户id,并调用ThreadLocal的set方法来设置当前线程的线程局部变量的值(用户id),然后在MyMetaObjectHandler的updateFill方法中调用ThreadLocal的get方法来获得当前线程所对应的线程局部变量的值(用户id)。
二.修改员工信息时Json数据精度丢失问题

 SQL执行的结果是更新的数据行数为0,仔细观察id的值,和数据库中对应记录的id值并不相同,原因如下:分页查询时服务端响应给页面的数据中id的值为19位数字,类型为long,页面中js处理long型数字只能精确到前16位,所以最终通过ajax请求提交给服务端的时候id变为了1391586184024604700。解决方法如下
我们可以在服务端给页面响应json数据时进行处理,将long型数据统一转为String字符串,效果如下

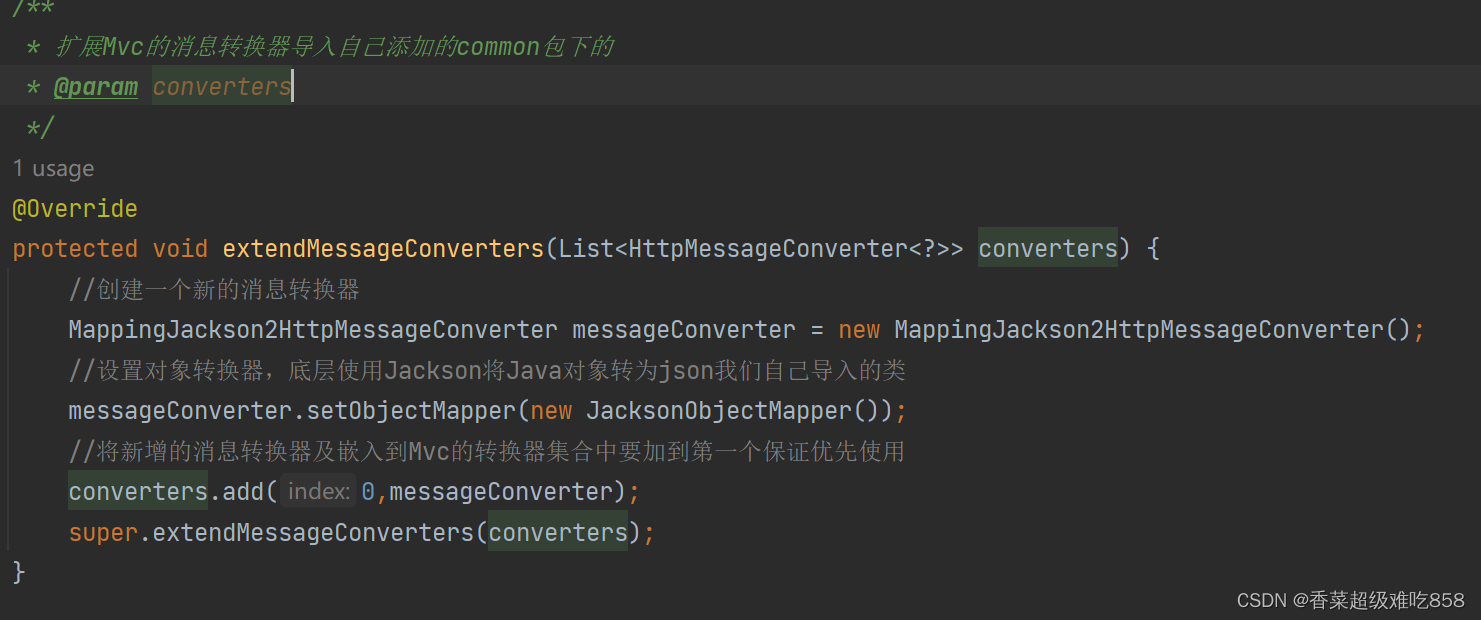
怎么实现呢,1)我们要提供一个对象转换器JacksonObjectMapper,基于Jackson进行Java对象到json数据的转换。 2)在WebMvcConfig配置类中扩展Spring mvc的消息转换器,在此消息转换器中使用提供的对象转换器进行Java对象到json数据的转换。
/**
 * 对象映射器:基于jackson将Java对象转为json,或者将json转为Java对象
 * 将JSON解析为Java对象的过程称为 [从JSON反序列化Java对象]
 * 从Java对象生成JSON的过程称为 [序列化Java对象到JSON]
 */
public class JacksonObjectMapper extends ObjectMapper {

    public static final String DEFAULT_DATE_FORMAT = "yyyy-MM-dd";
    public static final String DEFAULT_DATE_TIME_FORMAT = "yyyy-MM-dd HH:mm:ss";
    public static final String DEFAULT_TIME_FORMAT = "HH:mm:ss";

    public JacksonObjectMapper() {
        super();
        //收到未知属性时不报异常
        this.configure(FAIL_ON_UNKNOWN_PROPERTIES, false);

        //反序列化时,属性不存在的兼容处理
        this.getDeserializationConfig().withoutFeatures(DeserializationFeature.FAIL_ON_UNKNOWN_PROPERTIES);


        SimpleModule simpleModule = new SimpleModule()
                .addDeserializer(LocalDateTime.class, new LocalDateTimeDeserializer(DateTimeFormatter.ofPattern(DEFAULT_DATE_TIME_FORMAT)))
                .addDeserializer(LocalDate.class, new LocalDateDeserializer(DateTimeFormatter.ofPattern(DEFAULT_DATE_FORMAT)))
                .addDeserializer(LocalTime.class, new LocalTimeDeserializer(DateTimeFormatter.ofPattern(DEFAULT_TIME_FORMAT)))

                .addSerializer(BigInteger.class, ToStringSerializer.instance)
                .addSerializer(Long.class, ToStringSerializer.instance)
                .addSerializer(LocalDateTime.class, new LocalDateTimeSerializer(DateTimeFormatter.ofPattern(DEFAULT_DATE_TIME_FORMAT)))
                .addSerializer(LocalDate.class, new LocalDateSerializer(DateTimeFormatter.ofPattern(DEFAULT_DATE_FORMAT)))
                .addSerializer(LocalTime.class, new LocalTimeSerializer(DateTimeFormatter.ofPattern(DEFAULT_TIME_FORMAT)));

        //注册功能模块 例如,可以添加自定义序列化器和反序列化器
        this.registerModule(simpleModule);
    }
}在WebMvcConfig配置类中扩展Spring mvc的消息转换器
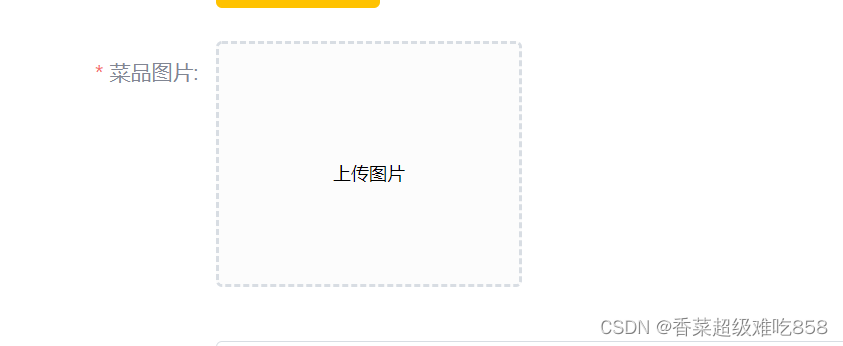
三.图片的上传和下载
@RestController
@RequestMapping("/common")
public class CommonController {

    @Value("${reggie.path}")
    private String basePath;//在配配置文件中设置了本地保存图片的路径

    /**
     * 文件上传到本地
     *
     * @param file
     * @return
     */
    @PostMapping("/upload")
    public R<String> upload(MultipartFile file) {
        //file是上传的文件临时存储地要进行保存本地

        //原始文件名称
        String originalFilename = file.getOriginalFilename();
        //截取文件后缀名
        String suffix = originalFilename.substring(originalFilename.lastIndexOf("."));
        //使用UUID给文件命名
        String fileName = UUID.randomUUID().toString() + suffix;
        //创建存储目录
        File dir = new File(basePath);
        //判断目录是否存在
        if (!dir.exists()) {

            dir.mkdirs();
        }
        try {
            //将临时文件转存到指定目录
            file.transferTo(new File(basePath + fileName));
        } catch (IOException e) {
            throw new RuntimeException(e);
        }
        return R.success(fileName);
    }

    @GetMapping("/download")
    public void download(HttpServletResponse response,String name) {
        try {
            //创建字节输入流读取本地文件
            FileInputStream fileInputStream = new FileInputStream(new File(basePath + name));
            //创建字节输出流给浏览器输出图片
            ServletOutputStream outputStream = response.getOutputStream();

            //设置响应格式
            response.setContentType("imag/jpeg");
            //将文件读取写入到浏览器
            byte[] bytes = new byte[1024];
            int len = 0;
            while ((len = fileInputStream.read(bytes)) != -1){
                outputStream.write(bytes,0,len);
                outputStream.flush();
            }
            outputStream.close();
            fileInputStream.close();
        } catch (Exception e) {
            throw new RuntimeException(e);
        }
    }
}
首先在yml配置文件中设置本地保存文件路径

Spring框架在spring-web包中对文件上传进行了封装,大大简化了服务端代码,我们只需要在Controller的方法中声明一个MultipartFile类型的参数即可接收上传的文件。
接收到文件后我们使用UUID给文件从新命名,在将页面传过来的图片格式进行截取这样就完成了图片的命名。
四.菜品分类下拉单
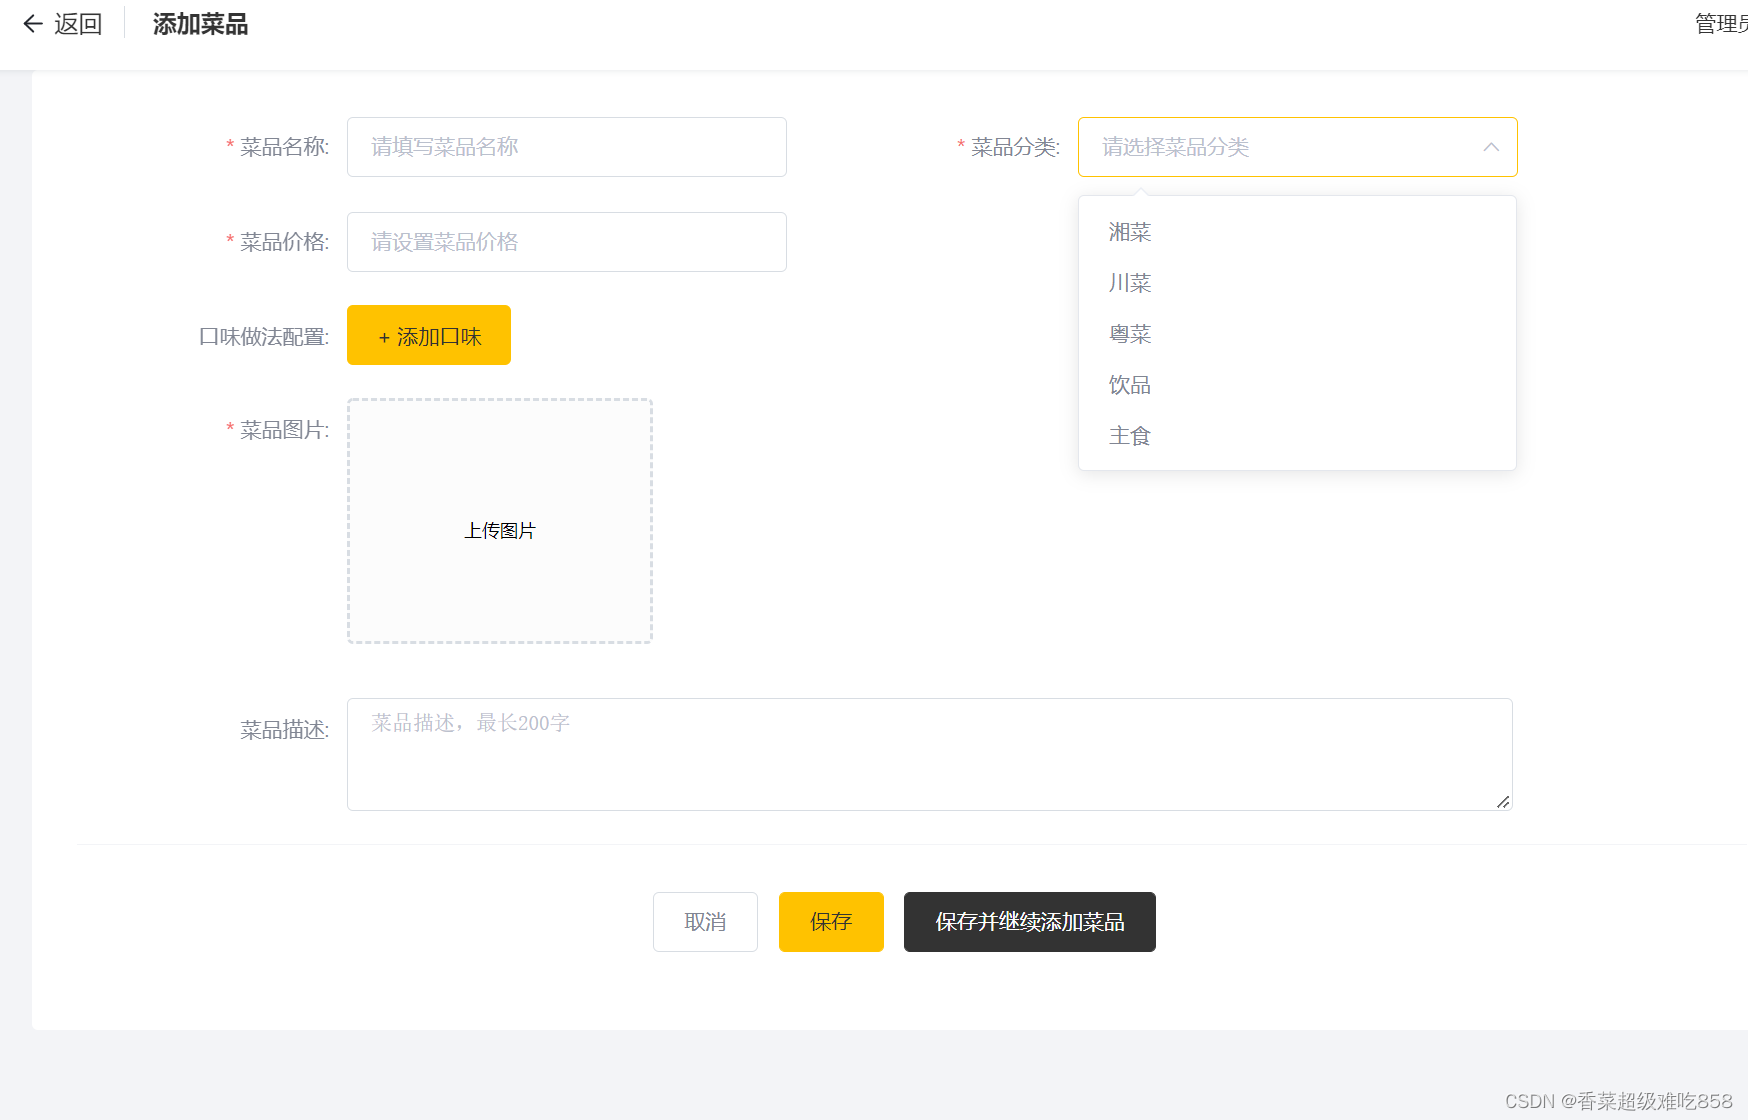
下拉单内容实际上是在当点击了新增菜品后前端页面就像后端发送了一个请求来请求后台数据
/**
     * 给新增菜品下拉框提供选项
     * @param category
     * @return
     */
    @GetMapping("/list")
    public R<List<Category>> listR(Category category){
        LambdaQueryWrapper<Category> queryWrapper = new LambdaQueryWrapper<>();

        queryWrapper.eq(category.getType() != null,Category::getType,category.getType());
        queryWrapper.orderByAsc(Category::getSort).orderByDesc(Category::getUpdateTime);

        List<Category> list = categoryService.list(queryWrapper);

        return  R.success(list);
    }


 111
111


 被折叠的 条评论
为什么被折叠?
被折叠的 条评论
为什么被折叠?
 到【灌水乐园】发言


