


1 创建应用
官网地址:https://console.cloud.google.com/
创建项目: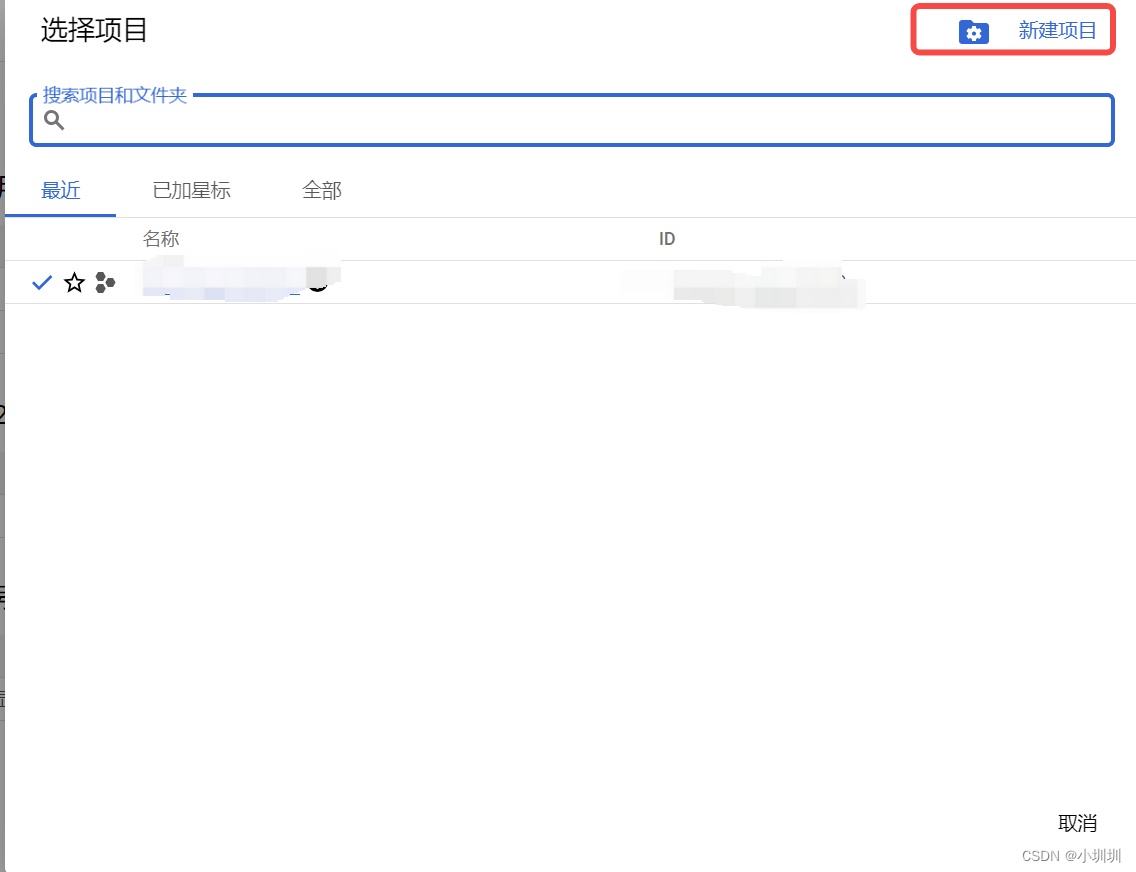
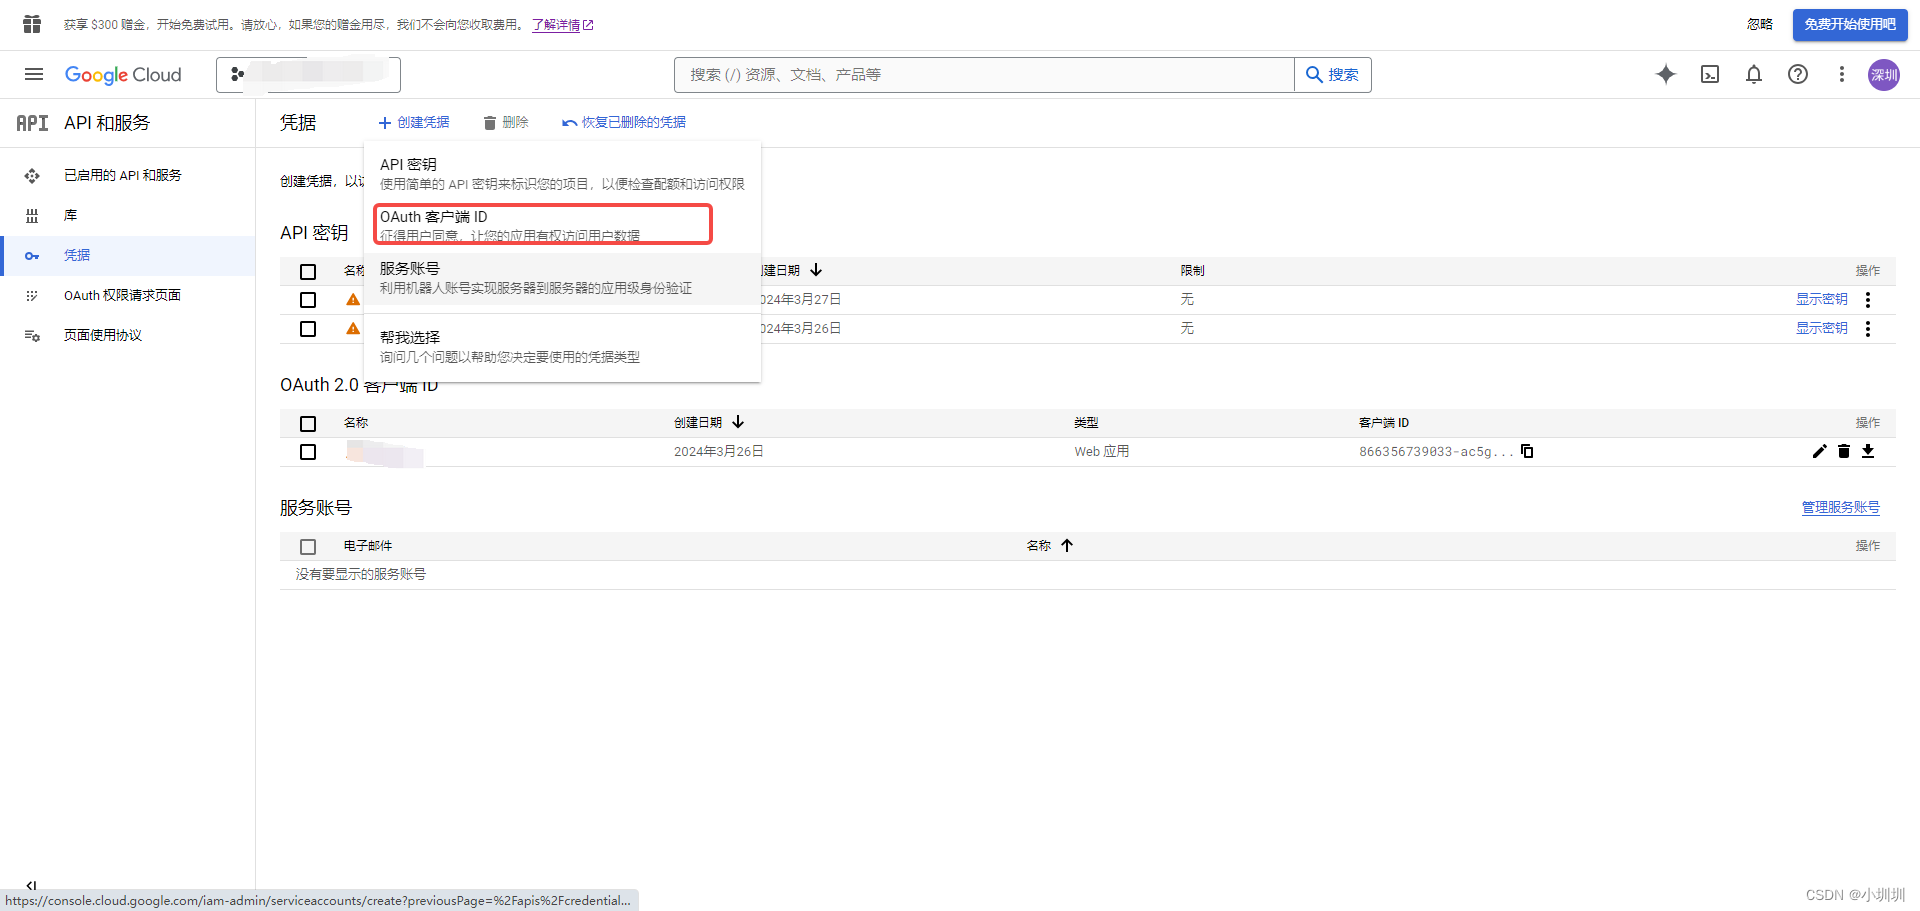
创建客户端凭据:
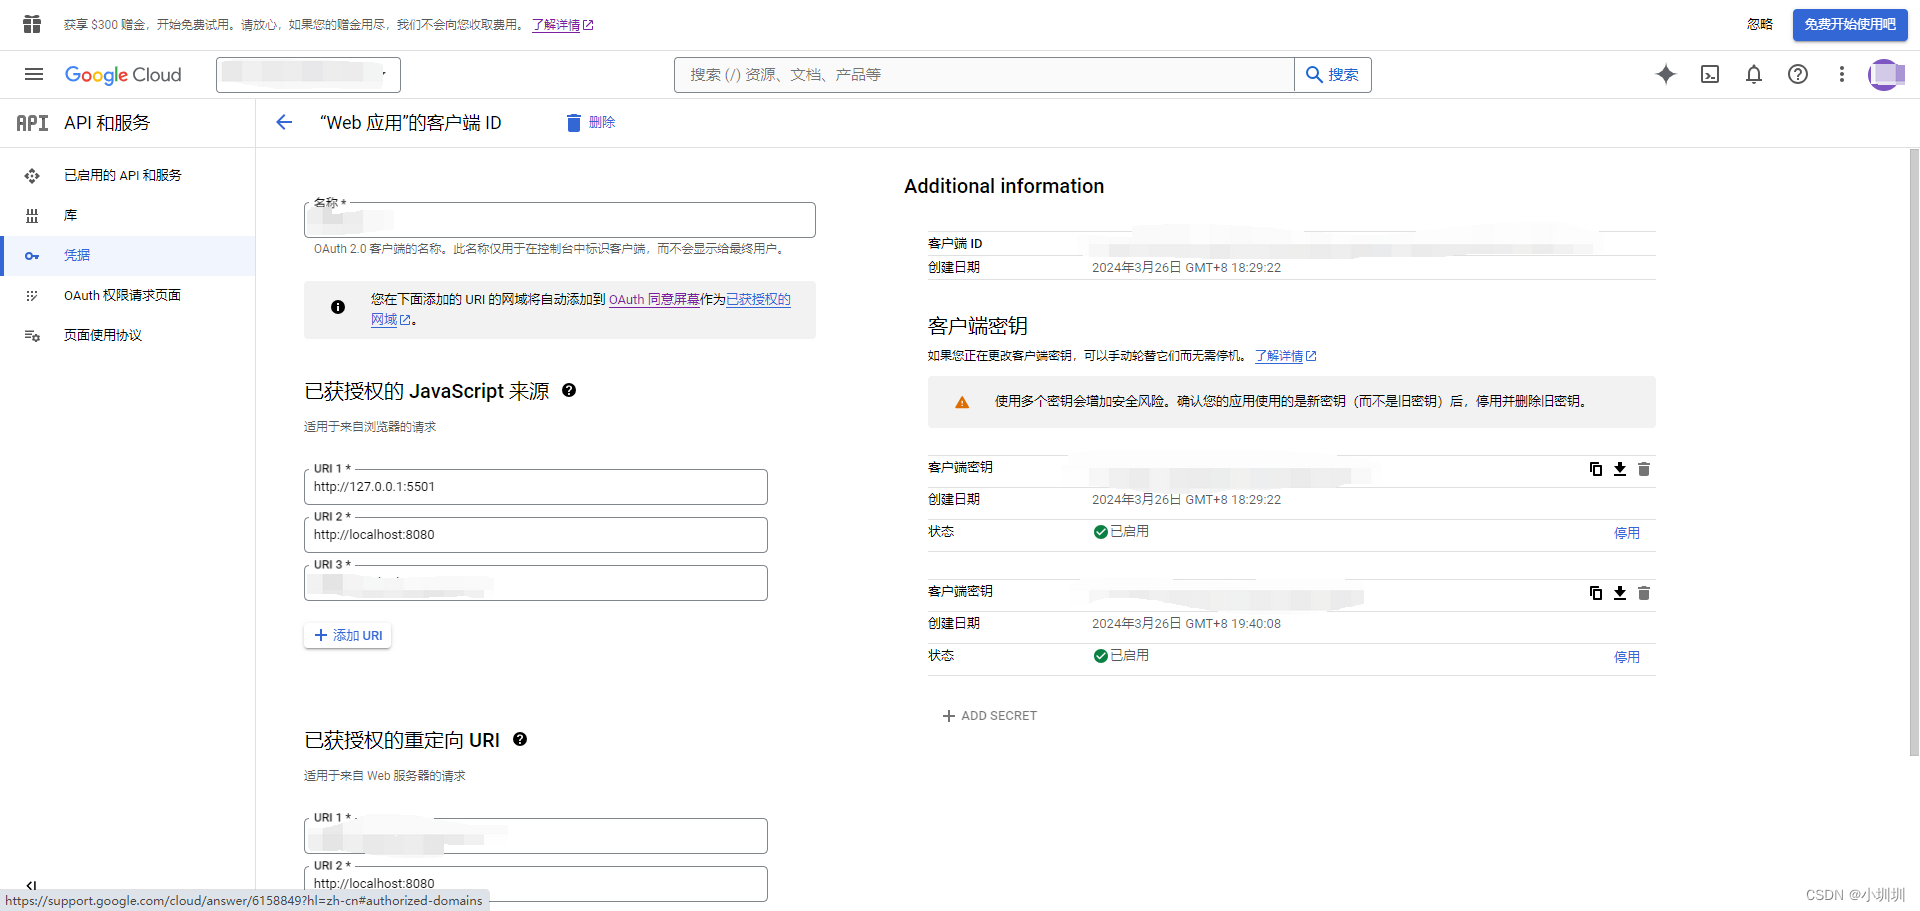
配置客户端屏据:
已获授权的 JavaScript 来源:代表从那些网址发起的Google验证登录可以被通过,可以用自己的项目地址。
已获授权的重定向 URI:代表输入完成Google账号和正确的密码后跳转的路径
这两点一定要根据自己的项目去配置
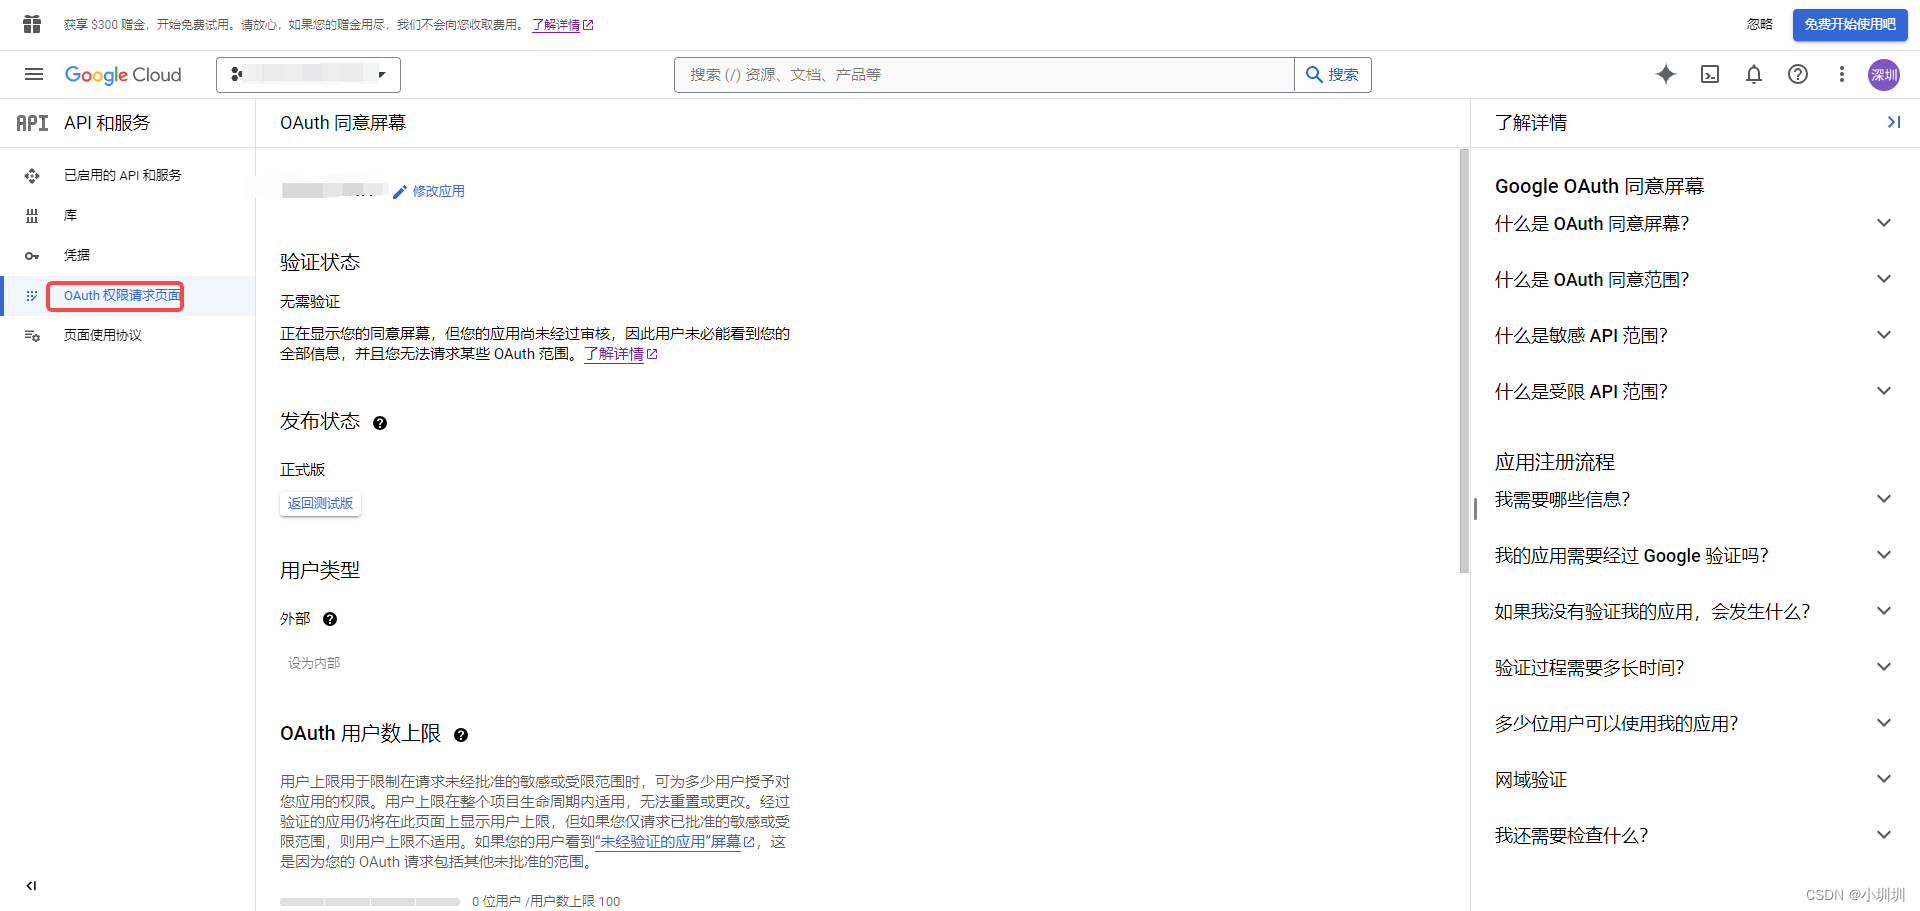
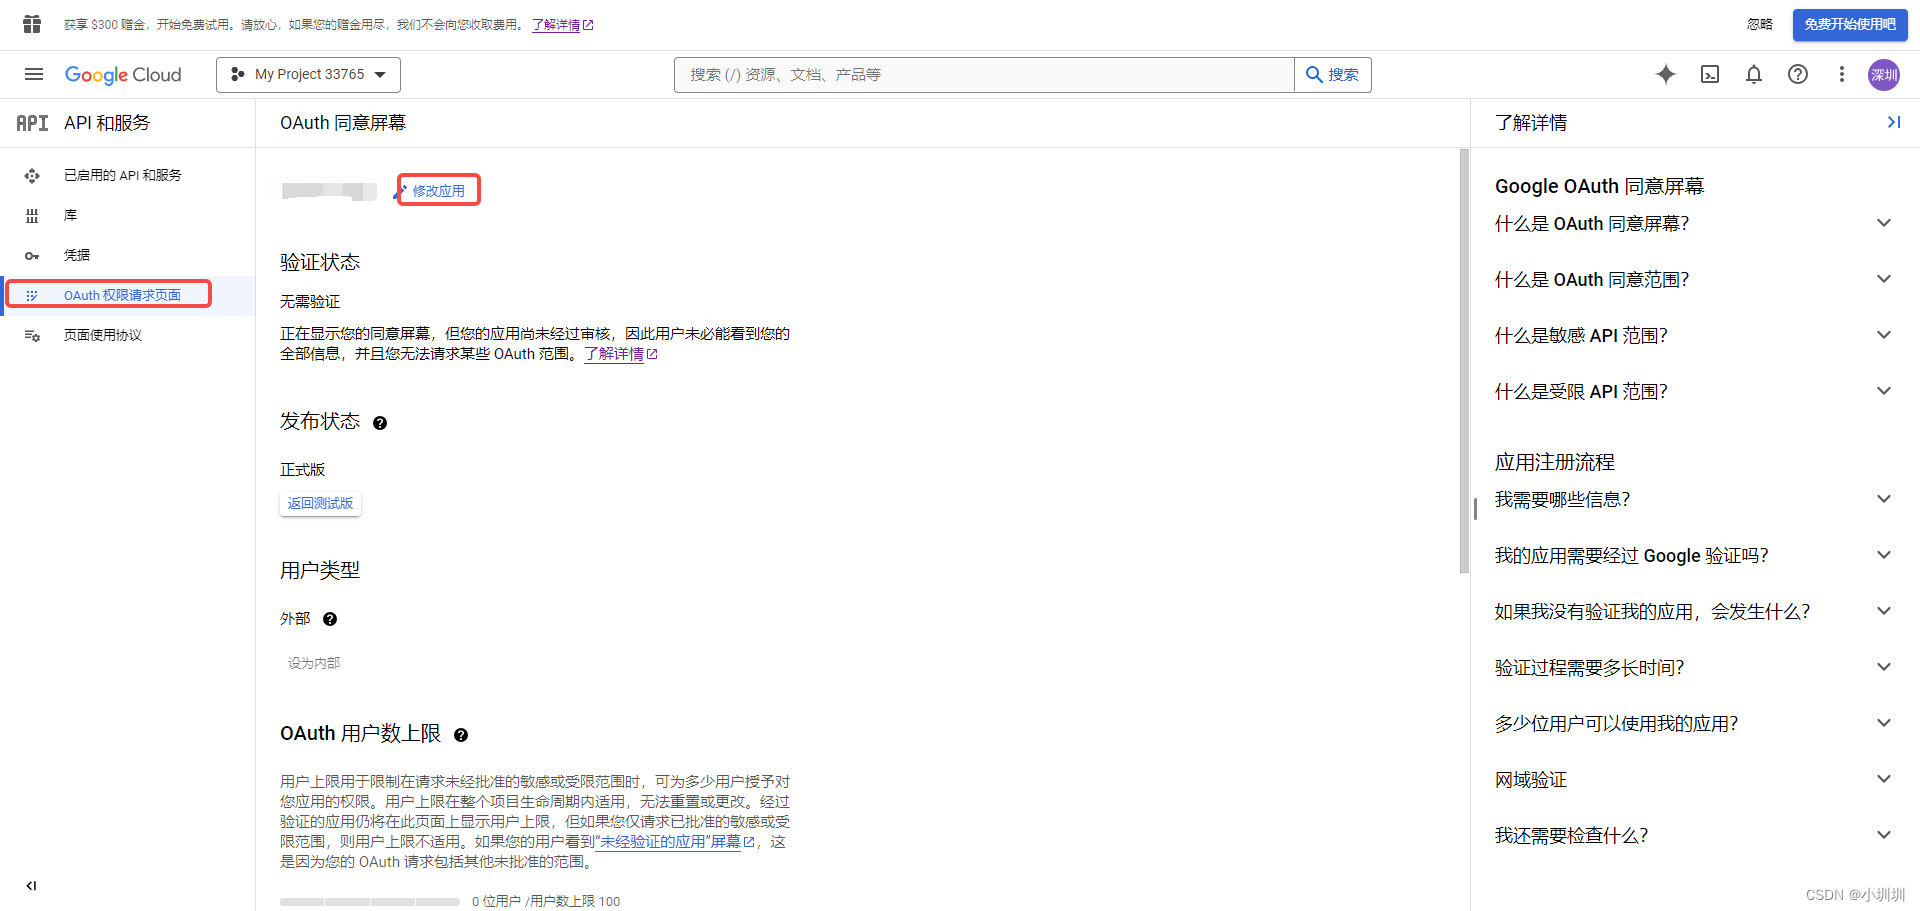
这里也要配置:注意同意屏幕哦
你可以点击下载获取参数信息

一般来说,这些配置公司都是已经配置好了的你只需要下载文件获取参数就行了
2 在代码中
 window.clientId = 'you clientId '; // 你的 Google OAuth 客户端 ID
  window.redirectUri = 'http://localhost:8080'; // 重定向 URI
  window.scope = 'email profile'; // 请求的权限范围,可以根据需求修改
  window.state = 'YOUR RTT_STATE'; // 用于防止跨站请求伪造(CSRF)攻击,可以不设置,可以随心设置
  window.responseType = 'code'; // 授权响应类型,表示要求返回授权码
  window.clientSecret = 'you clientSecret '; //Google OAuth 客户端密钥(不是api密钥)
  window.grantType = 'authorization_code';
  //&prompt=login 把它加到window.authUrl的末尾可以让用户每次都需要重新输入账号和密码
  window.authUrl = `https://accounts.google.com/o/oauth2/v2/auth?client_id=${window.clientId}&redirect_uri=${window.redirectUri}&scope=${window.scope}&state=${window.state}&response_type=${window.responseType}`;
  //点击Google登录  执行这个方法进行跳转
  window.location.href =  window.authUrl
你会跳转到这个页面:
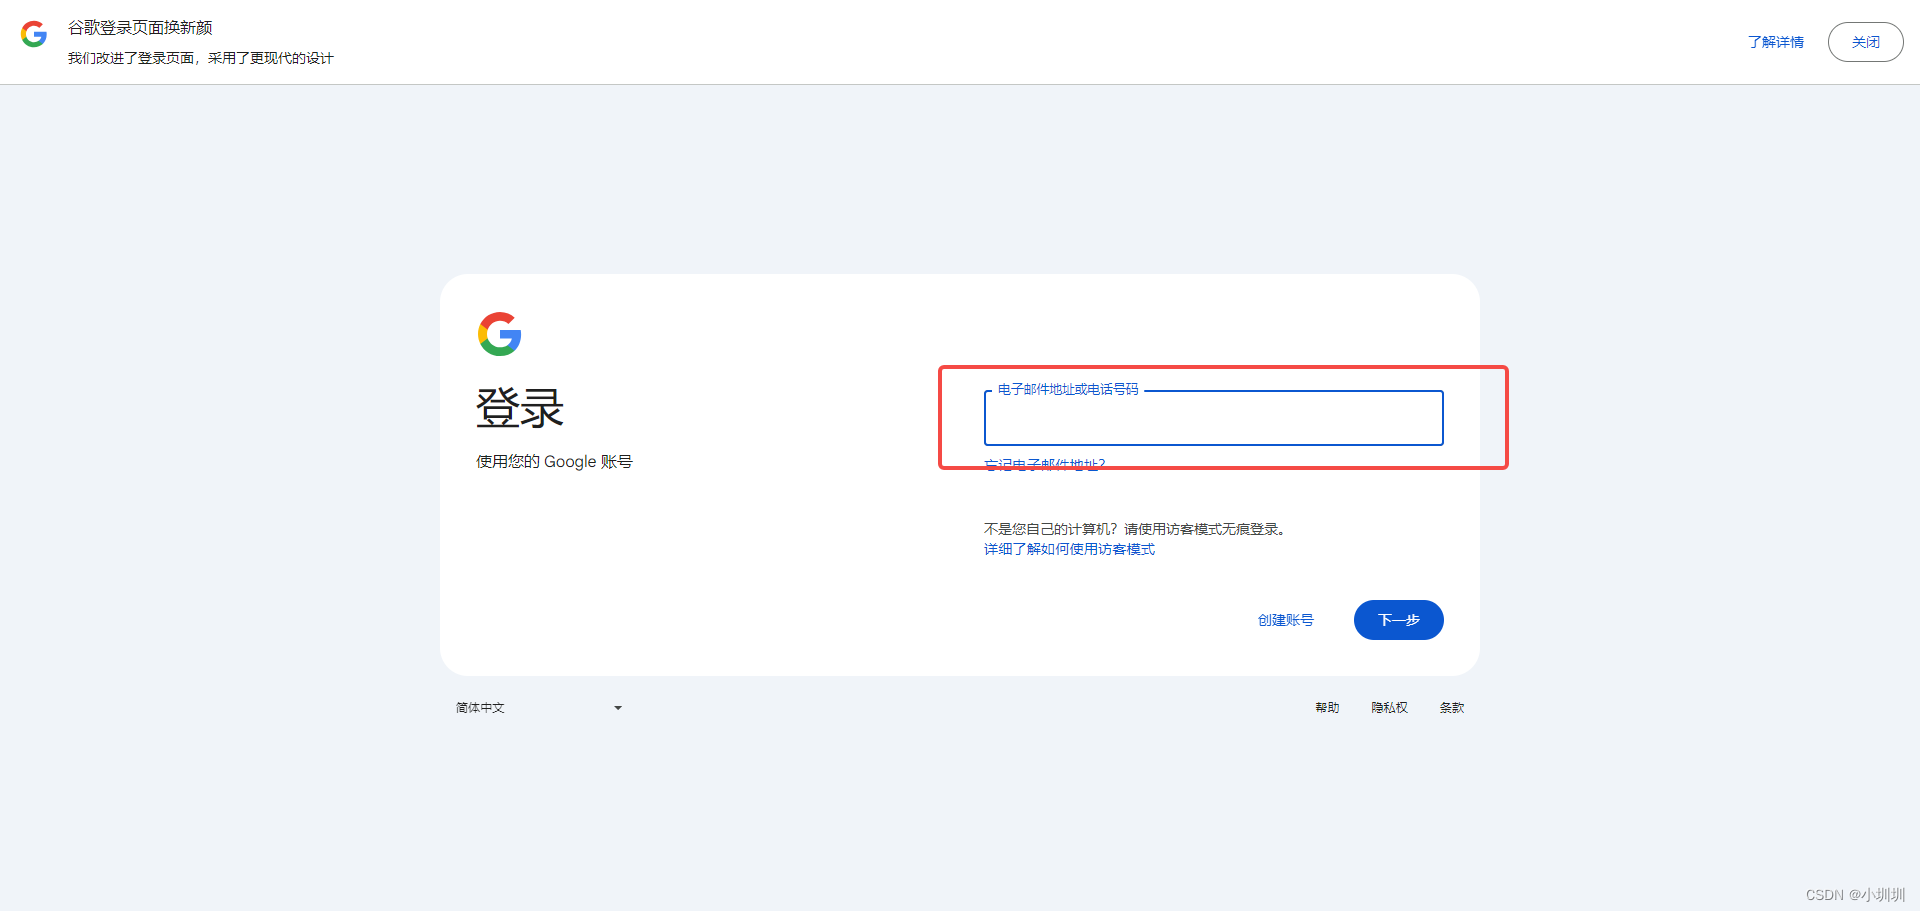
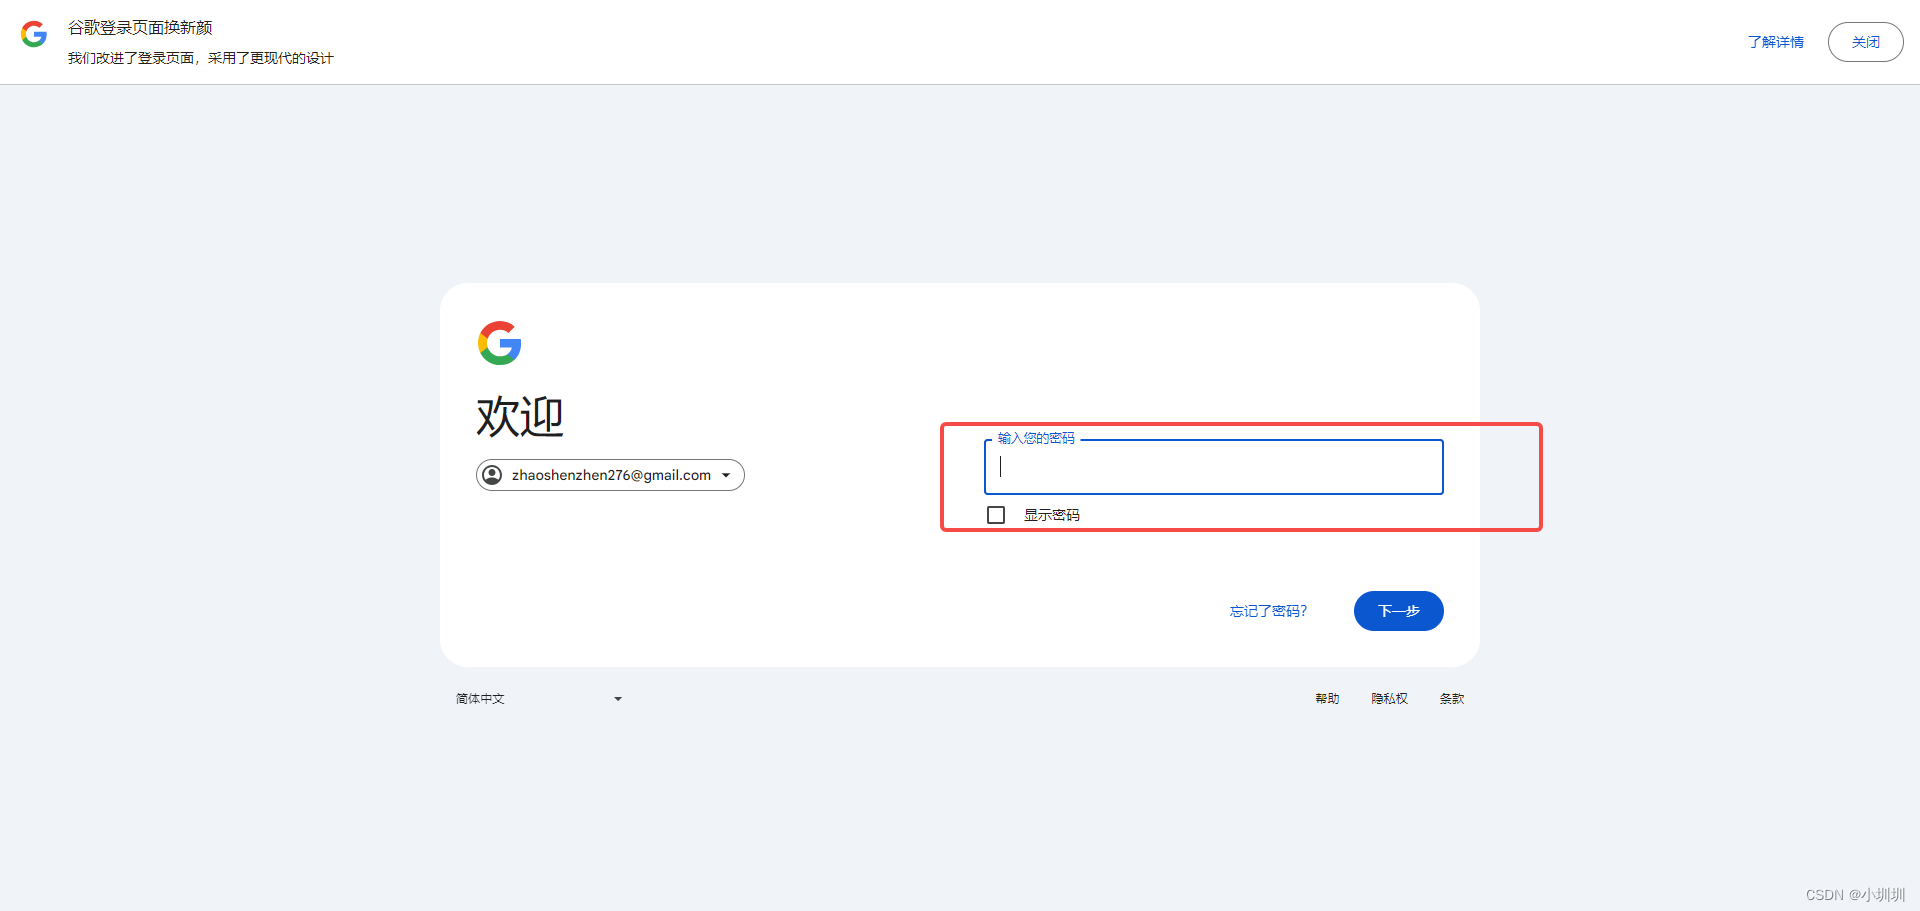
一路输入账号和密码走下去——
输入完正确的账号和密码后,系统会跳转到你在代码中配置的redirectUri,并携带一些参数,你可以通过这些参数得到token令牌等一系列信息
你会发现在跳转回去的url上多了许多参数,通过url获取这些参数,这些参数的作用是通过他们获取access_token信息(参数中最重要的就是code了)
这里列出主要使用的api
获取token信息的:https://oauth2.googleapis.com/token
获取用户信息的:https://www.googleapis.com/oauth2/v2/userinfo
先来看如何获取token信息
const urlParams = new URLSearchParams(window.location.search);
      const code = urlParams.get('code');
      if (!code) return
      const tokenEndpoint = 'https://oauth2.googleapis.com/token';
      const requestBody = new URLSearchParams();
      requestBody.append('code', code);
      requestBody.append('client_id', window.clientId);
      requestBody.append('client_secret', window.clientSecret);
      requestBody.append('redirect_uri', window.redirectUri);
      requestBody.append('grant_type', window.grantType);//这些参数在之前配置的有,看前面的代码

      fetch(tokenEndpoint, {
        method: 'POST',
        headers: {
          'Content-Type': 'application/x-www-form-urlencoded',
        },
        body: requestBody
      })
        .then(response => response.json())
        .then(data => {
          const accessToken = data.access_token;//打印data可以获得token令牌的信息
          }
          }
如果你想通过access_token获取到用户的信息:
需要在客户端配置:
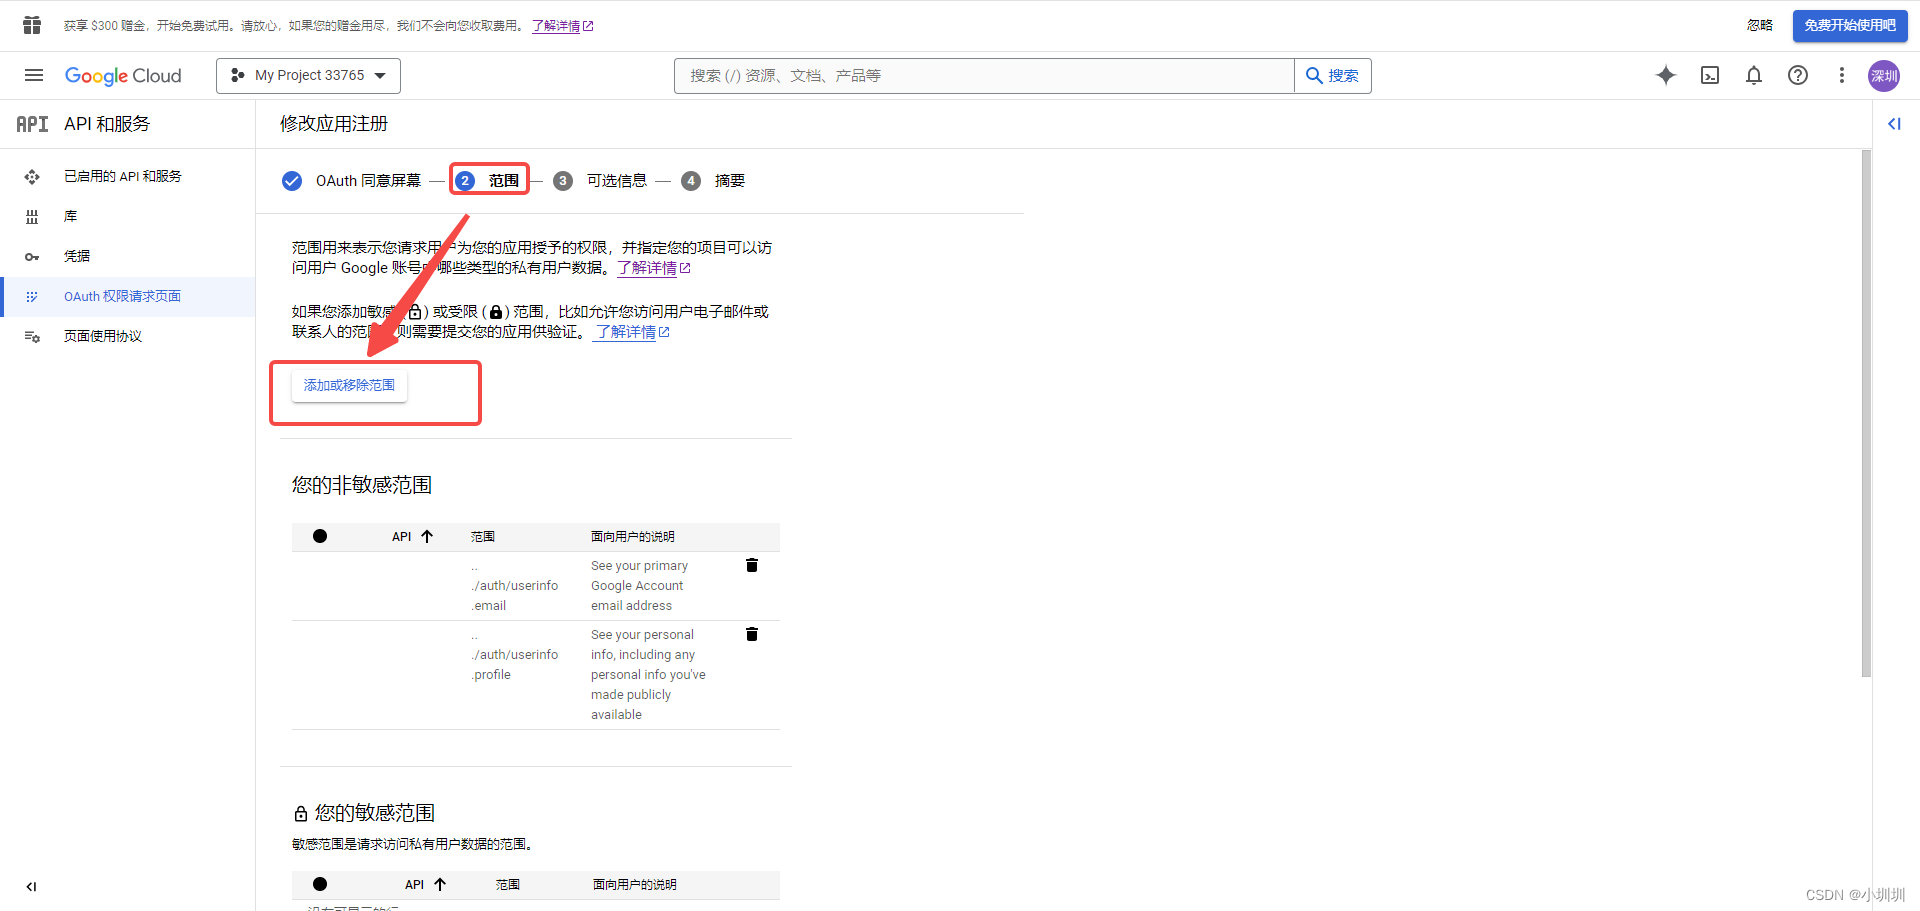
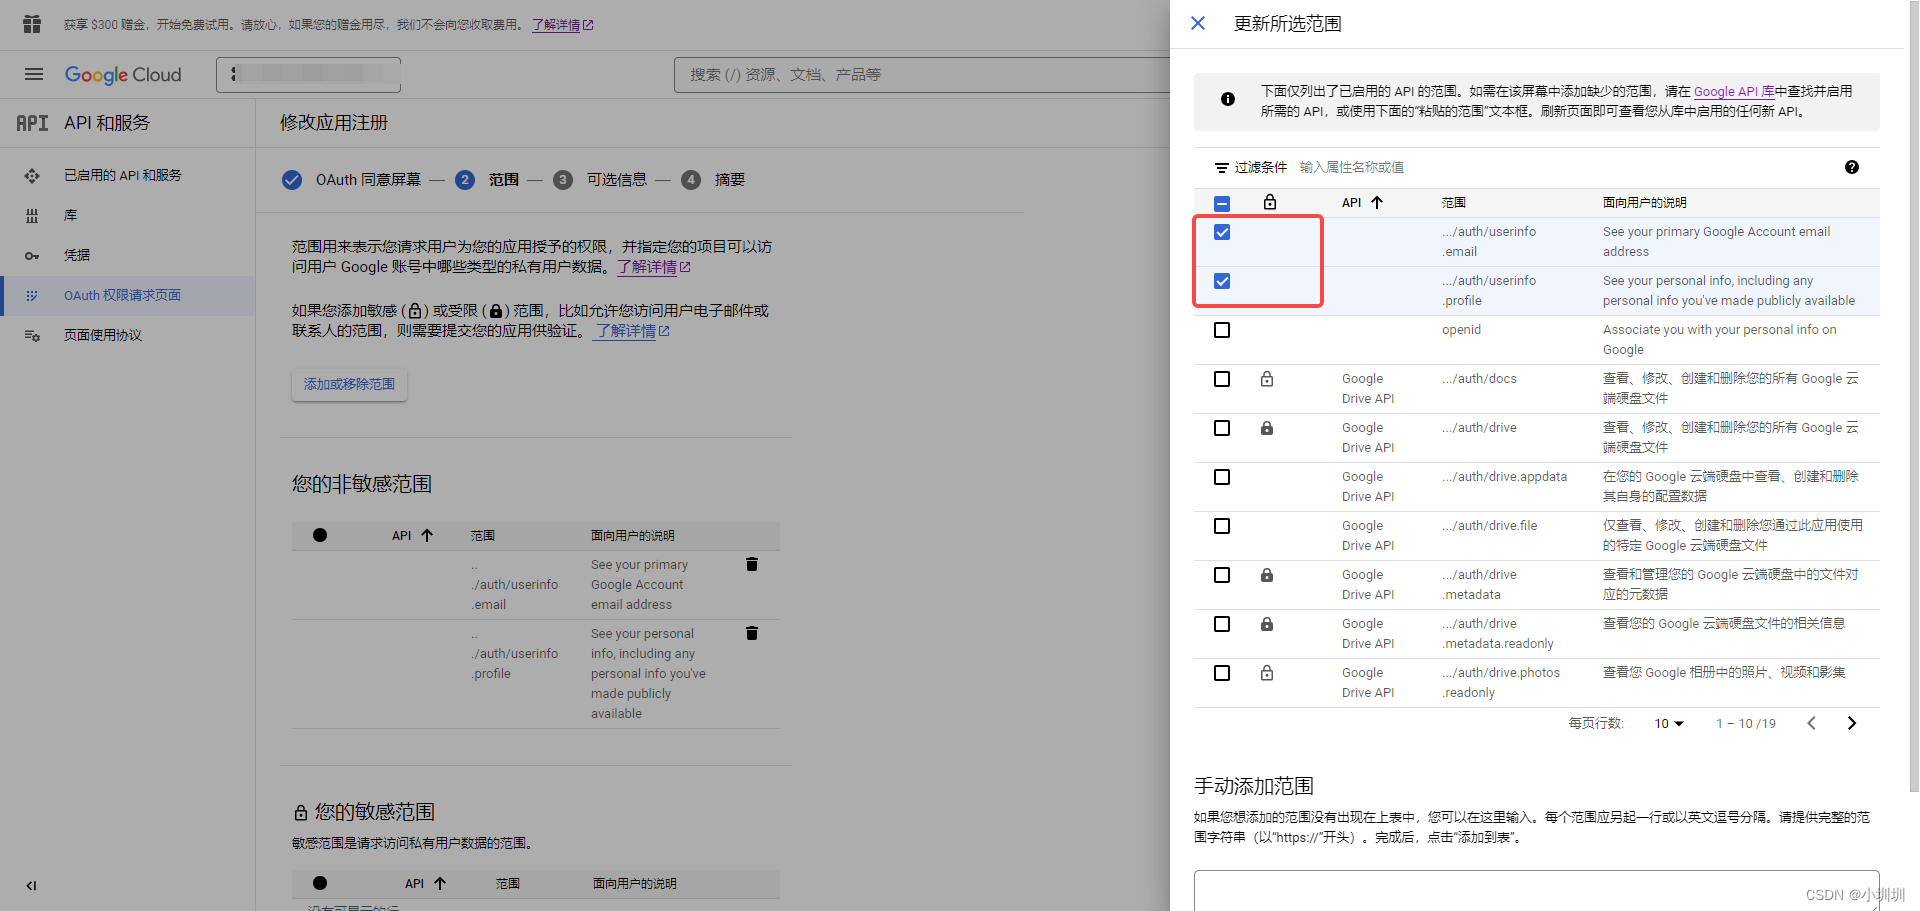
把这两个勾选了
再通过代码:
fetch('https://www.googleapis.com/oauth2/v2/userinfo', {
            headers: {
              Authorization: `Bearer ${accessToken}`
            }
          })
            .then(response => response.json())
            .then(userInfo => {
              console.log(userInfo)
            })


 1万+
1万+


 被折叠的 条评论
为什么被折叠?
被折叠的 条评论
为什么被折叠?
 到【灌水乐园】发言


