


vue3+ts+vite搭建项目
1.vite创建项目
创建项目
- 使用npm
npm init vite@latest
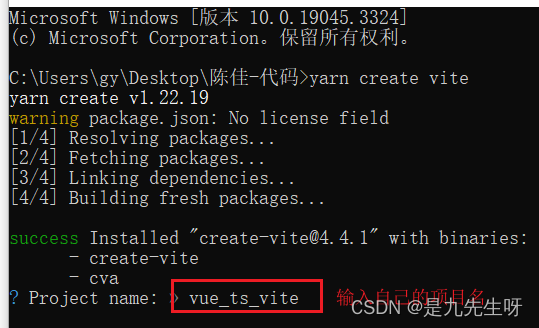
- 使用yarn(推荐)
yarn create vite
- 使用pnpm
pnpm create vite
填写项目名
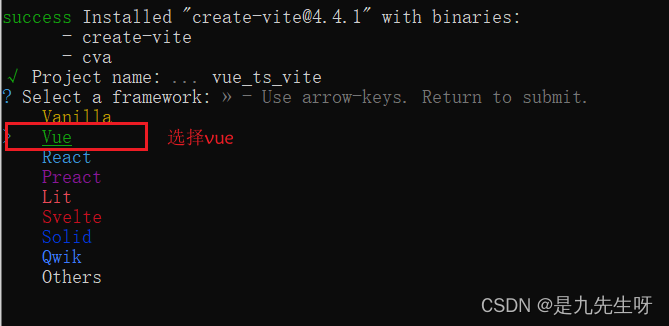
选择vue
选择ts

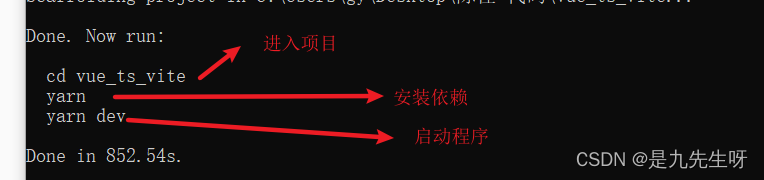
进入项目中 安装依赖启动
2.解决 Network: use --host to expose
当出现Network: use --host to expose的时候的解决方法
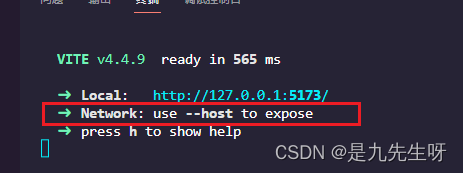
在 vite.config.js中添加 server.host 为 0.0.0.0:
export default defineConfig({
    plugins: [vue()],
    // 在文件中添加以下内容
    server: {
        host: '0.0.0.0'
    }
})
3. 清除项目 & 工程目录搭建
- src [开发工程目录 99% 在里面写代码]
- api [接口管理层]
- assets [静态资源目录]
- imgs
- fonts
- style
- components [公共小组件]
- directive [自定义指令]
- hooks [全局钩子函数]
- layout [框架]
- router [路由]
- store [vuex]
- utils [工具文件夹]
- views [页面级别组件文件夹]
4.重置样式 & 安装sass 配置预加载scss
1.以下是我的找的相对比较好的样式重置:reset.css
html,
body {
  height: 100%;
  /* 文字风格 Sans-serif 各笔画粗细相同,Serif 笔画粗细不同,monospace 等宽体,cursive草书,fantasy梦幻 */
  font-family: "Microsoft YaHei", sans-serif, "Helvetica Neue", Helvetica, Arial,
    "黑体", "宋体", Arial;
  -webkit-tap-highlight-color: transparent;
  -webkit-font-smoothing: antialiased;
  -moz-osx-font-smoothing: grayscale;
}
body {
  font-size: 14px;
  color: #333;
}

/* 重置各标签的默认样式 */
a,
body,
center,
cite,
code,
dd,
del,
div,
dl,
dt,
em,
fieldset,
figcaption,
figure,
footer,
form,
h1,
h2,
h3,
h4,
h5,
h6,
header,
hr,
html,
img,
input,
label,
legend,
li,
mark,
ol,
p,
section,
span,
textarea,
time,
td,
th,
ul {
  margin: 0;
  border: 0;
  padding: 0;
  font-style: normal;
  box-sizing: border-box;
  /*  自动换行 */
  word-wrap: break-word;
  /*  强制英文单词断行 */
  word-break: break-all;
}

/*  设置标签为块级分类 */
article,
aside,
details,
fieldset,
figcaption,
figure,
footer,
header,
main,
nav,
section {
  display: block;
}

/* 去除input标签的默认样式 */
button,
input,
textarea {
  -webkit-appearance: none;
  font-family: "Microsoft YaHei", sans-serif, "Helvetica Neue", Helvetica, Arial,
    "黑体", "宋体", Arial;
  border: 0;
  margin: 0;
  padding: 0;
  font-size: 1em;
  line-height: 1em;
  outline: none;
  background-color: transparent;
}

/*  禁止多文本框手动拖动大小 */
textarea {
  resize: none;
  -webkit-appearance: none;
}

/* 去掉按下的阴影盒子 */
input,
textarea,
a {
  -webkit-tap-highlight-color: transparent;
}

/*  清除a标签下划线 */
a,
a:visited {
  text-decoration: none;
}
a:focus,
a:active,
a:hover {
  outline: none;
}

/*  清除列表前面的点 */
ol,
li,
ul {
  list-style: none;
}

/*  清除IE下图片的边框 */
img {
  border-style: none;
  font-size: 0;
}

/*  解决chrome浏览器默认黄色背景问题 */
input:-webkit-autofill,
textarea:-webkit-autofill,
select:-webkit-autofill {
  -webkit-box-shadow: 0 0 0 1000px #fff inset;
}

/*  设置默认滚动条样式 */
::-webkit-input-placeholder {
  color: #afbdcc;
}
:-moz-placeholder {
  color: #afbdcc;
}
::-moz-placeholder {
  color: #afbdcc;
}
:-ms-input-placeholder {
  color: #afbdcc;
}
::-webkit-scrollbar {
  width: 6px;
  height: 6px;
}
::-webkit-scrollbar-track {
  background-color: #f5f5f5;
}
::-webkit-scrollbar-track-piece {
  background-color: #f5f5f5;
  border-radius: 6px;
}
::-webkit-scrollbar-thumb {
  background-color: #cccccc;
  border-radius: 6px;
}
::-webkit-scrollbar-corner {
  background-color: #f5f5f5;
}
::-webkit-resizer {
  background-repeat: no-repeat;
  background-position: bottom right;
}
2.安装less/scss
安装less依赖
npm add -D less
安装scss(个人推荐)
npm add -D sass
5.引入字体图标
推荐iconfont使用方法见官方文档
6.自动导入
npm install -D unplugin-vue-components unplugin-auto-import
- unplugin-vue-components 自动导入vue中hook reactive ref等
- unplugin-auto-import 自动导入ui-组件 比如说ant-design-vue element-plus等
在vite.config.ts里面进行相关配置
import { defineConfig } from 'vite'
import vue from '@vitejs/plugin-vue'
import AutoImport from 'unplugin-auto-import/vite'  //自动引入插件 vue 等api
import Components from 'unplugin-vue-components/vite'//自动引入组件插件
import { ElementPlusResolver } from 'unplugin-vue-components/resolvers' //自动引入ElementPlus插件

// https://vitejs.dev/config/
export default defineConfig({
  plugins: [
    vue(),
    AutoImport({
      resolvers: [ElementPlusResolver()],
      imports:[
        'vue',
        'vue-router',
        'pinia'
      ],
      dts: "src/auto-import.d.ts", //存放位置
    }),
    Components({
      resolvers: [ElementPlusResolver()],
      dts: "src/auto-import.d.ts",//存放位置
    }),
  ],
})
7.安装 & 使用element plus & 中文化
elememt官网
1.安装
//选择一个你喜欢的包管理器

//NPM
npm install element-plus --save

//Yarn
yarn add element-plus

//pnpm
pnpm install element-plus
2.完整引入
// main.ts
import { createApp } from 'vue'
import ElementPlus from 'element-plus'
import 'element-plus/dist/index.css'
import App from './App.vue'

const app = createApp(App)

app.use(ElementPlus)
app.mount('#app')
3.自动引入 推荐
// vite.config.ts
import { defineConfig } from 'vite'
import AutoImport from 'unplugin-auto-import/vite'
import Components from 'unplugin-vue-components/vite'
import { ElementPlusResolver } from 'unplugin-vue-components/resolvers'

export default defineConfig({
  // ...
  plugins: [
    // ...
    AutoImport({
      resolvers: [ElementPlusResolver()],
    }),
    Components({
      resolvers: [ElementPlusResolver()],
    }),
  ],
})
8.安装 router
vueRouter官网
// npm
npm install vue-router@4
//yarn
yarn add vue-router@4
- 在src下创建一个 routes 文件夹,再创建一个 index.ts 文件
 import { createRouter, createWebHistory } from "vue-router";


let routes= [
    {
        path: '/',
        name: 'home',
        //使用import可以路由懒加载,如果不使用,太多组件一起加载会造成白屏
        component: () => import('../view/homeView.vue')
    },
    //{
        //配置404页面
        //path: '/:catchAll(.*)',
        //name: '404',
        //component: () => import(''),
    //}
]
// 路由
const router = createRouter({
    history: createWebHistory(),
    routes
})
// 导出
export default router
- main.ts文件引入
import { createApp } from 'vue'
import App from './App.vue'

 //routes
 import router from "./routes/index";

const app= createApp(App)

 //routes
 app.use(router)
app.mount('#app')
9.别名的处理
vue3不能使用@/做路径需要再vite.config.ts进行配置
import { resolve } from 'path'
export default defineConfig({
  plugins: [vue(),],
  base: './',	//不加打包后白屏
  resolve: {
    alias: {
      '@': resolve(__dirname, 'src'), //别名 @相当于src 文件夹目录
    },
  }
})
10.pinia的安装与使用
pinia官方文档
1. 安装
yarn add pinia
// 或者使用 npm
npm install pinia
2.引入(在main.ts中引入pinia并创建容器挂载到根实例上)
import { createApp } from 'vue'
import App from './App.vue'
//pinia
import { createPinia } from 'pinia'
const pinia = createPinia()

const app = createApp(App)

//pinia
app.use(pinia)

app.mount('#app')
3.在src下创建一个 store 文件夹,再创建一个 home.ts 文件
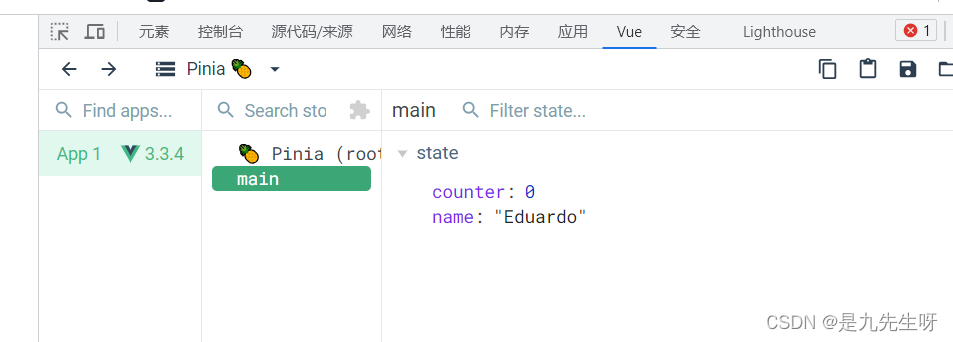
其它名也可以,因为pinia它有一个根文件,会把 defineStore 第一个参数当id值,相当于vuex中的 module 自动引入,也会在Vue.js devtools 插件中以第一个参数名展示(下面展示)
注意:defineStore第一个参数很重要,而且是唯一值。它的命名在devtools 插件能方便找到这个文件的数据,方便调试
注意:返回的函数统一使用useXXX作为命名方案,这是约定的规矩。例如上面的useCounter
import { defineStore } from 'pinia'
export const useMain = defineStore('main', {
    // 相当于data
    state: () => {
        return {
          // 所有这些属性都将自动推断其类型,如果推断失败可以试下 as xxx
          counter: 0,
          name: 'Eduardo',
        }
    },
    // 相当于计算属性
    getters: {
    },
    // 相当于vuex的 mutation + action,可以同时写同步和异步的代码
    actions: {
    },
})
4.然后再组件中使用
<template>
<div>
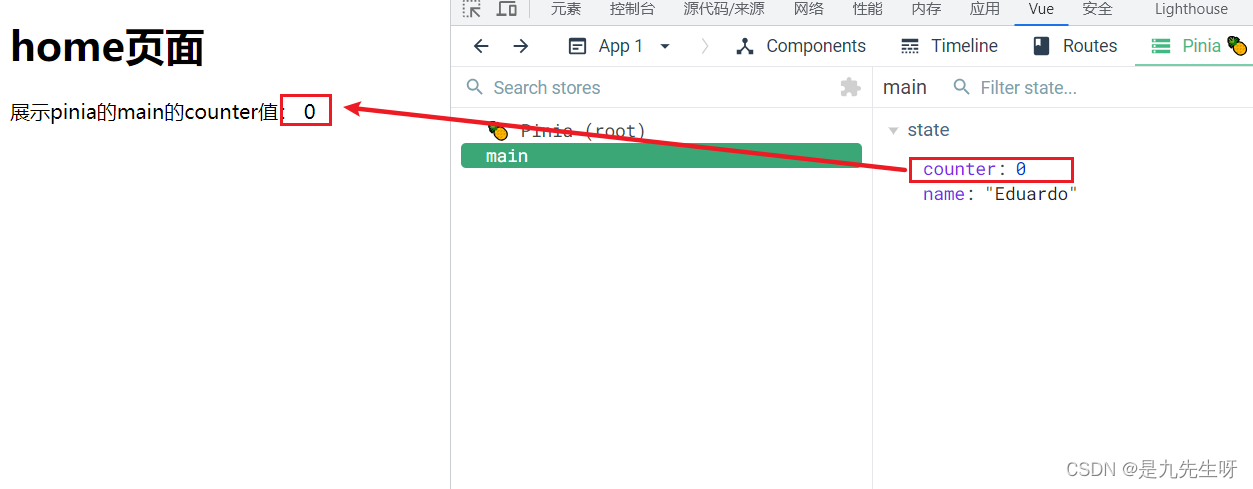
<h1>home页面</h1>
<div>展示pinia的main的counter值: {{main.counter}}</div>
</div>
</template>
<script setup lang="ts">
import { useMain } from '../store/home'
const main = useMain()
</script>
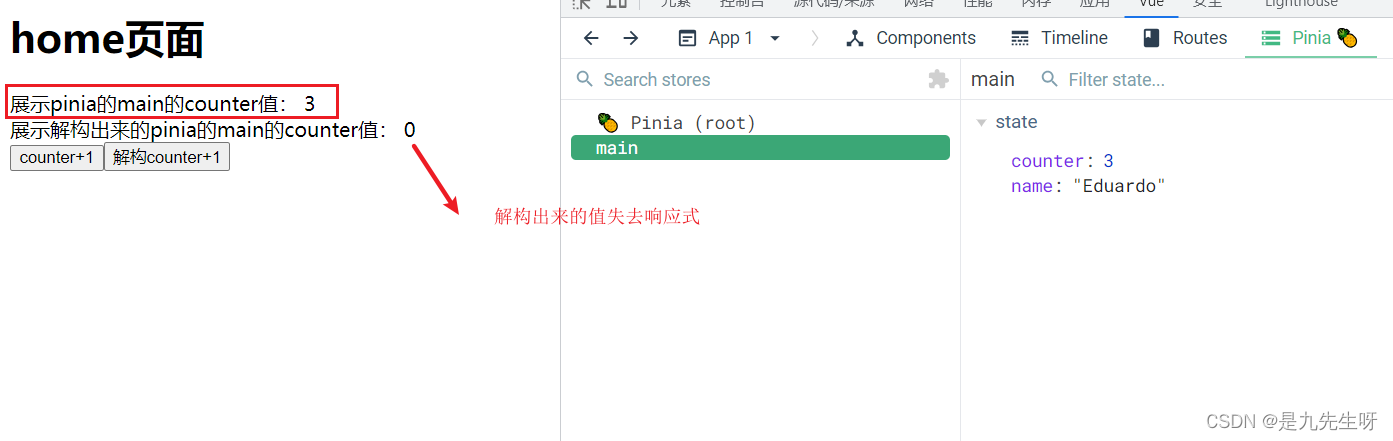
注意Store获取到后不能解构,否则失去响应式
案例需求,点击按钮加一:
一个不解构,一个不解构看看区别。
<template>
  <div>
    <h1>home页面</h1>
    <div>展示pinia的main的counter值: {{ main.counter }}</div>
    <div>展示解构出来的pinia的main的counter值: {{ counter }}</div>
    <button @click="addCount">counter+1</button>
    <button @click="counter++">解构counter+1</button>

  </div>
</template>

<script setup lang="ts">
import { useMain } from '../store/home'
const main = useMain()
const { counter } = main
const addCount = () => {
  //这里可以直接操作counter,这就是pinia好处,在vuex还要commit在mutaitions修改数据
  main.counter++
}
</script>
11.安装asiox
想要方便使用axios,想要封装统一的请求头处理,便于接口的统一管理,以及解决出现回调地狱。
具体做法参考vue3+ts对axios的封装
npm install axios
解决相关Ts报错
1.找不到模块“@/views/homeView.vue”或其相应的类型声明。ts(2307)

1.在vite-env.d.ts下面写入
/// <reference types="vite/client" />
declare module '*.vue' {
    import type { DefineComponent } from 'vue'
    const component: DefineComponent<{}, {}, any>
    export default component
 }
2.已声明“xx”,但从未读取其值。ts(6133)
2.在tsconfig.json中将noUnusedLocals改为fslse
  "compilerOptions": {
    "noUnusedLocals": false, // vue中已声明XX,但从未读取其值 解决方法
  },


 1724
1724


 被折叠的 条评论
为什么被折叠?
被折叠的 条评论
为什么被折叠?
 到【灌水乐园】发言


