


目录
示例 3-1 templates/index.html:Jinja2 模板
示例 3-2 templates/user.html:Jinja2 模板
示例 2-2 hello.py:包含动态路由的 Flask 程序
示例 3-3 hello.py:渲染模板(示例3-2已经实现)
Jinja2 能识别所有类型的变量,甚至是一些复杂的类型,例如列表、字典和对象。在模板 中使用变量的一些示例如下:
(3)Jinja2 还支持宏。宏类似于 Python 代码中的函数。例如:
(5)需要在多处重复使用的模板代码片段可以写入单独的文件,再包含在所有模板中,以避免重复:
(6)另一种重复使用代码的强大方式是模板继承,它类似于 Python 代码中的类继承。首先,创建一个名为 base.html 的基模板:
(7)block 标签定义的元素可在衍生模板中修改。在本例中,我们定义了名为 head、title 和body 的块。注意,title 包含在 head 中。下面这个示例是基模板的衍生模板:
3.1 Jinja2模板引擎
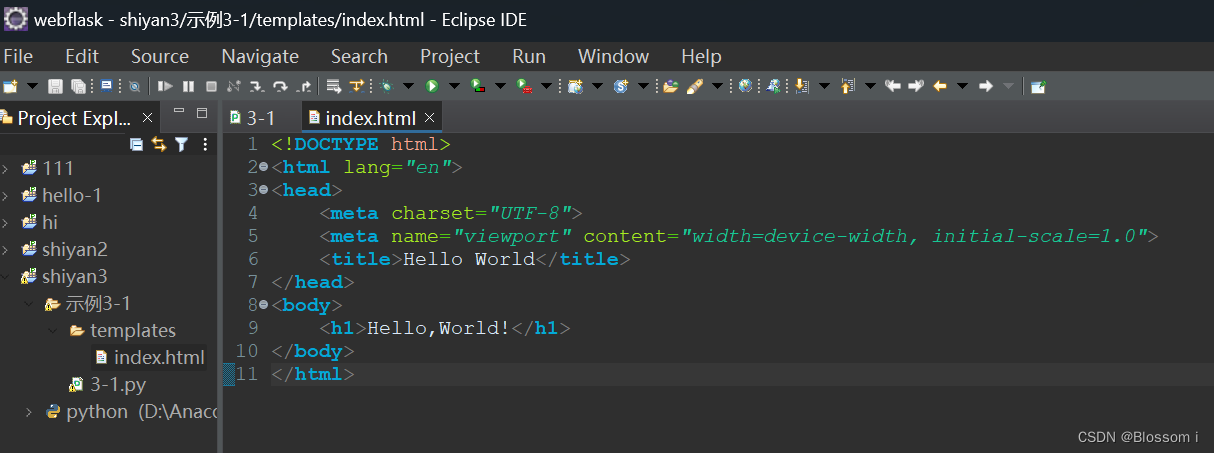
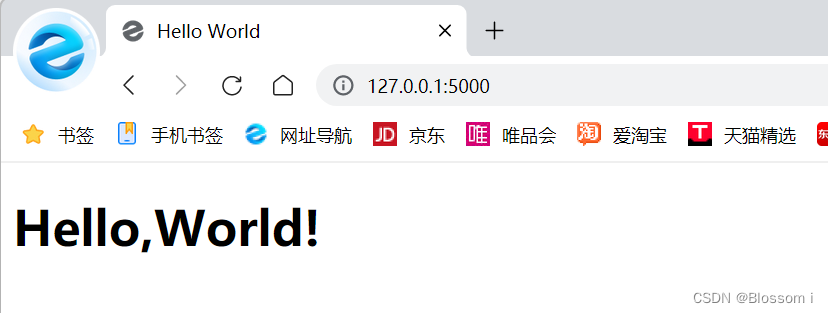
形式最简单的 Jinja2 模板就是一个包含响应文本的文件。示例 3-1 是一个 Jinja2 模板,它和示例 2-1 中 index() 视图函数的响应一样。
示例 3-1 templates/index.html:Jinja2 模板
<h1>Hello World!</h1>
3-1.py
from flask import Flask,render_template

app = Flask(__name__)

@app.route('/')
def index():
    return render_template('index.html')

@app.route('/user/<name>')
def user(name):
    return '<h1>Hello, %s!</h1>' % name

if __name__ == '__main__':
    app.run(debug=True)
index.html
<!DOCTYPE html>
<html lang="en">
<head>
<meta charset="UTF-8">
<meta name="viewport" content="width=device-width, initial-scale=1.0">
<title>Hello World</title>
</head>
<body>
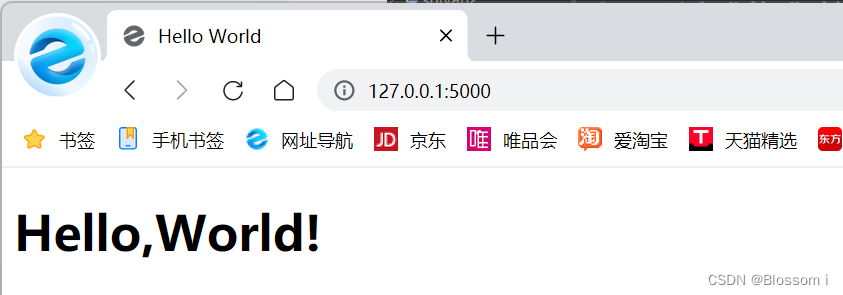
<h1>Hello,World!</h1>
</body>
</html>
示例 3-2 templates/user.html:Jinja2 模板
<h1>Hello, { { name }}!</h1>
示例
2-2
中,视图函数
user()
返回的响应中包含一个使用
变量
表示的动态部分。
示例
3-2 实现了这个响应。
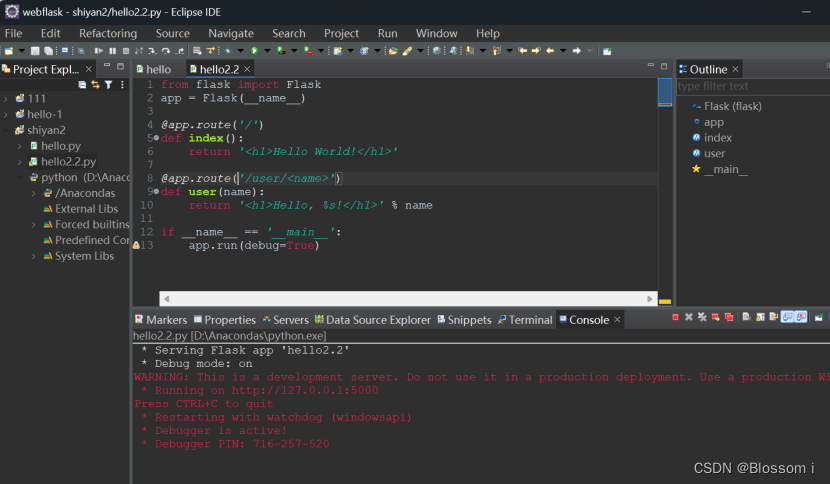
示例 2-2 hello.py:包含动态路由的 Flask 程序
from flask import Flask
app = Flask(__name__)

@app.route('/')
def index():
    return '<h1>Hello World!</h1>'

@app.route('/user/<name>')
def user(name):
    return '<h1>Hello, %s!</h1>' % name

if __name__ == '__main__':
    app.run(debug=True)
示例 2-2 是示例2.1的增强版,添加了一个动态路由。访问这个地址时,你会看到一则针
对个人的欢迎消息。
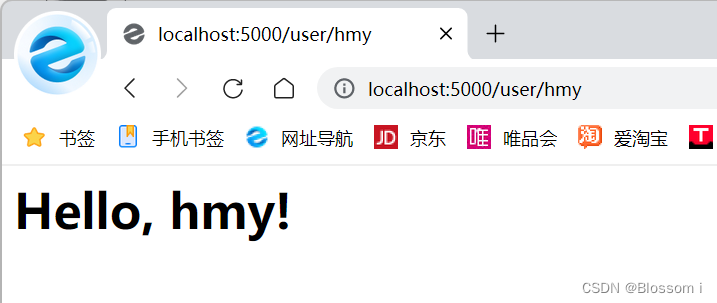
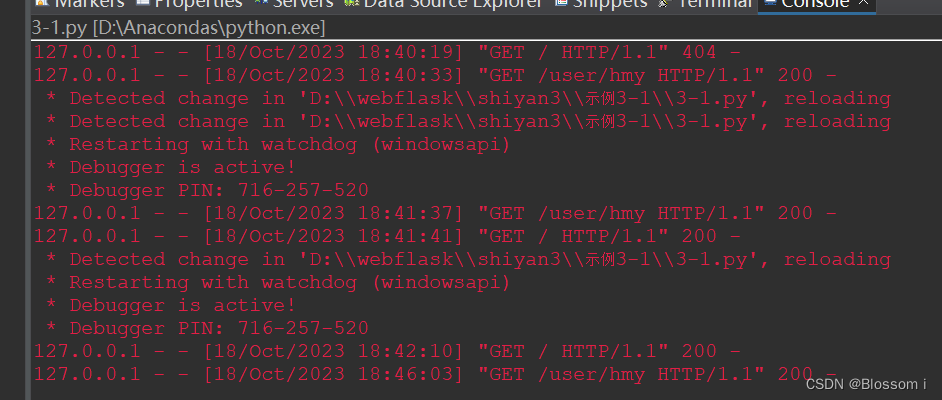
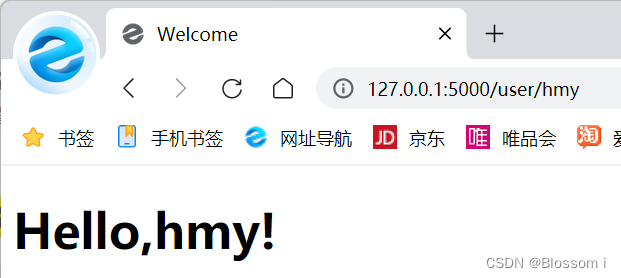
方法一:测试动态路由前,你要确保服务器正在运行中,然后访问http://127.0.0.1:5000/user/hmy

方法二:测试动态路由前,你要确保服务器正在运行中,然后访问 http://localhost:5000/user/hmy
示例2-2结束
此题在示例3-1的基础上,加上user.html,实现动态路由,3-1的完善版本
user.html
<!DOCTYPE html>
<html lang="en">
<head>
    <meta charset="UTF-8">
    <meta name="viewport" content="width=device-width, initial-scale=1.0">
    <title>Welcome</title>
</head>
<body>
    <h1>Hello,{
   {name}}!</h1>
</body>
</html>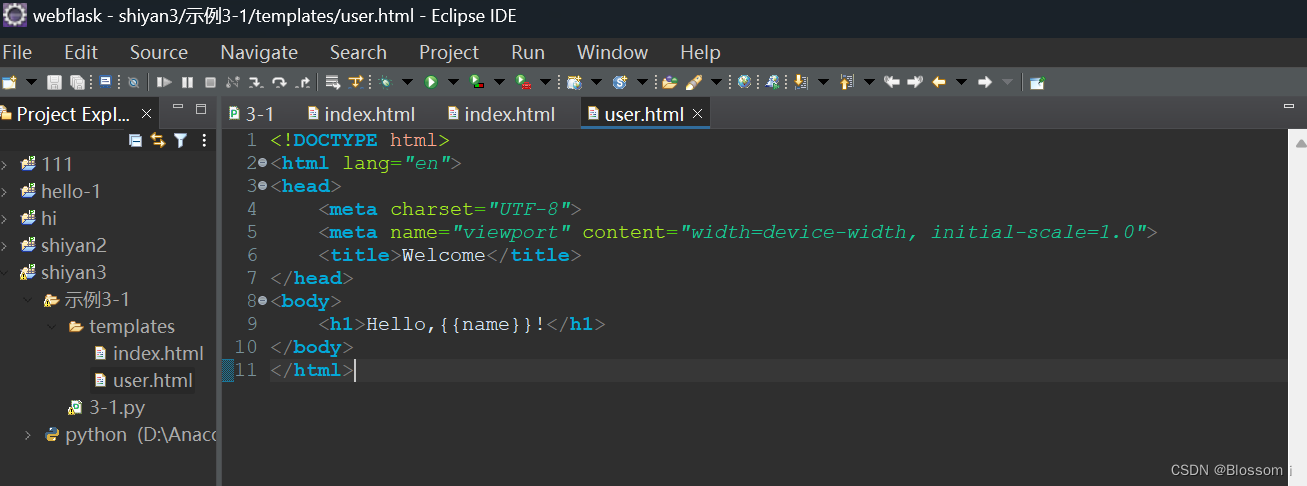
index.html与示例3-1一样
<!DOCTYPE html>
<html lang="en">
<head>
    <meta charset="UTF-8">
    <meta name="viewport" content="width=device-width, initial-scale=1.0">
    <title>Hello World</title>
</head>
<body>
    <h1>Hello,World!</h1>
</body>
</html>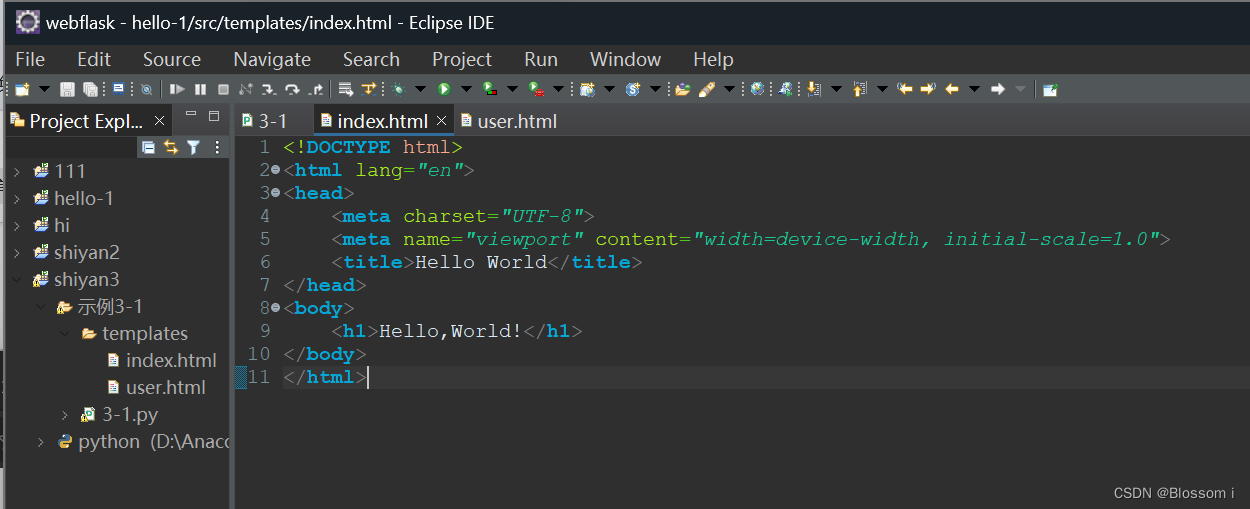
3-1.py此时为
from flask import Flask,render_template

app = Flask(__name__)

@app.route('/')
def index():
    return render_template('index.html')

@app.route('/user/<name>')
def user(name):
    return render_template('user.html', name=name)

if __name__ == '__main__':
    app.run(debug=True)
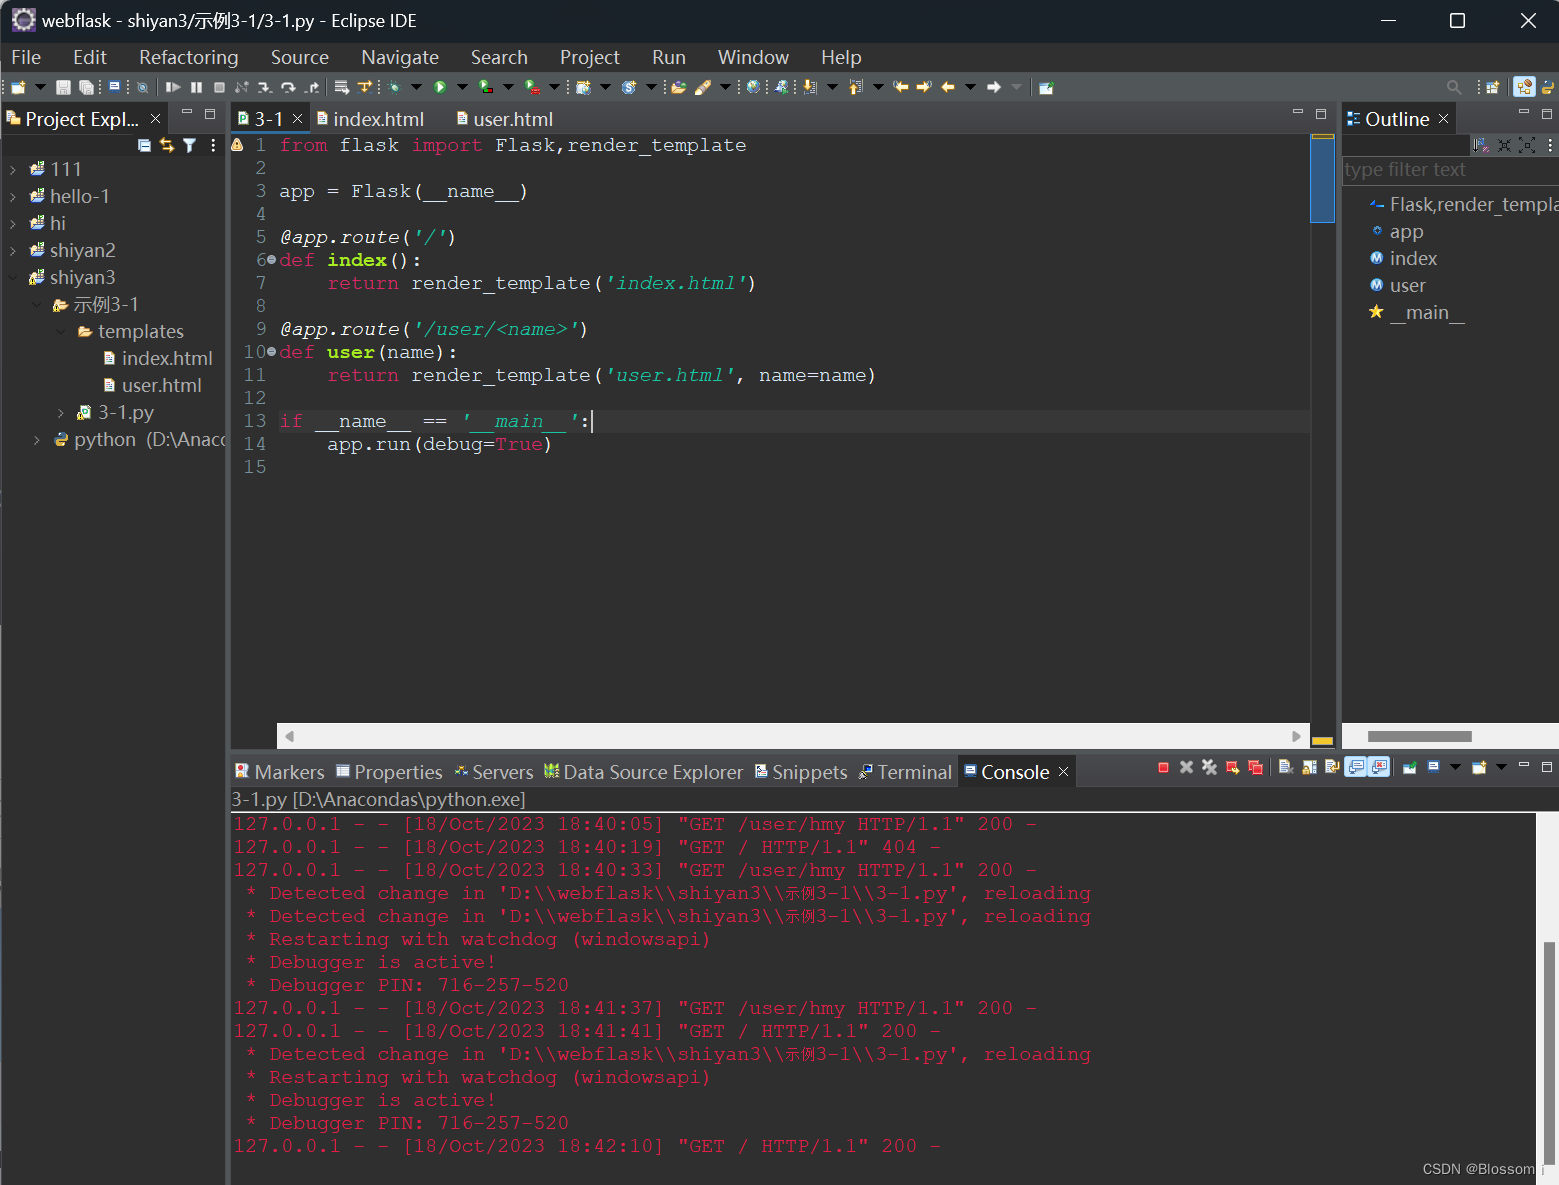
3.1.1 渲染模板
默认情况下, Flask 在程序文件夹中的 templates 子文件夹中寻找模板。在下一个 hello.py版本中,要把前面定义的模板保存在 templates 文件夹中,并分别命名为 index.html 和 user.html 。
程序中的视图函数需要修改一下,以便渲染这些模板。修改方法参见示例
3-3
。
示例 3-3 hello.py:渲染模板(示例3-2已经实现)
from flask import Flask, render_template# ...@app.route('/')def index():return render_template('index.html')
 最低0.47元/天 解锁文章


 144
144


 被折叠的 条评论
为什么被折叠?
被折叠的 条评论
为什么被折叠?
 到【灌水乐园】发言


