


1、创建文件命令练习:
(1) 在/目录下创建一个临时目录test;
(2)在临时目录test下创建五个文件,文件名分别为passwd,group,bashrc,profile,sshd_config;
(3)在/test创建/etc/motd的软链接,文件名为motd.soft;创建/etc/motd的硬链接为motd.hard
[root@localhost ~]# mkdir /test
[root@localhost ~]# touch /test/{passwd,group,bashrc,profile,sshd_config}
[root@localhost ~]# ls /test
bashrc  group  passwd  profile  sshd_config
[root@localhost ~]# ln -s /test/etc/motd  motd.soft
[root@localhost ~]# ln /etc/motd   motd.hard
[root@localhost ~]# ls
2、重定向练习:
(1)将系统内核版本信息,发行版本信息,写入到/test/motd.soft文件中
(2)将当前主机主机名,当前用户使用的shell信息追加到/test/motd.hard文件中
(3)将根目录下的文件的文件名写入/test/file文件中
(4)查看当前工作目录是否为/test目录,将当前工作目录的详细信息追加到/test/file文件中
[root@localhost ~]# uname -r > /test/motd.hard
[root@localhost ~]# cat /test/motd.hard
3.10.0-1160.el7.x86_64

[root@localhost ~]# hostname >> /test/motd.hard

[root@localhost ~]# ls / > /test/file

[root@localhost ~]# ll /test >> /test/file
[root@localhost ~]# cat /test/file
3、echo命令练习
(1)将当前时间添加至/test目录下的passwd,group,bashrc,profile,sshd_config文件中
(2)将当前用户的用户名追加至/test目录下的passwd,group,bashrc,profile,sshd_config文件中
[root@localhost ~]# echo "$(date)" > /test/passwd
[root@localhost ~]# cat /test/passwd
2022年 08月 27日 星期六 09:59:20 CST


[root@localhost ~]# echo "$(hostname)" >> /test/passwd
[root@localhost ~]# cat /test/passwd
2022年 08月 27日 星期六 09:59:20 CST
localhost.localdomain
4、vim命令练习:
(1)将/etc/passwd文件内容读入/test/passwd,并修改文件里的root字符为admin
[root@localhost ~]# cat /etc/passwd > test/passwd
[root@localhost ~]# vim test/passwd
		然后输入:%s/root/admin/g
(2)将/etc/group文件内容读入/test/group,只保留root开头的行内容
[root@localhost ~]# cat /etc/group | grep root > /test/group
[root@localhost ~]# cat /test/group
(3)将/root/.bashrc文件内容读入/test/bashrc,删除#号开头的行内容
[root@localhost ~]# grep -v "#" /root/.bashrc > /test/bashrc //使用反选(4)将/etc/ssh/sshd_config文件内容读入/test/sshd_config,在该文件的第17行后添加一行内容Port 22
[root@localhost ~]# cat /etc/ssh/sshd_config > /test/sshd_config
[root@localhost ~]# vim /test/sshd_config
:17gg
Port 22
(5)将/test/sshd_config文件中的第40-50行的yes改为no
[root@localhost ~]# vim /test/sshd_config
:40,50s/yes/no/g
(6)将/test/sshd_config文件另存为/test/sshd.conf
[root@localhost ~]# vim /test/sshd_config
w/test/sshd_conf
(7)将/test目录下的passwd,group,bashrc文件中的第一行内容复制至文档最后一行
vim /test/passwd

进入给模式后,首先gg跳转到行首,然后进行yy复制,紧接着按G调转到最后一行,按p进行粘贴
5、文件内容查看:
(1)查看/etc/passwd文件的第6行
[root@localhost ~]# head -6 /etc/passwd | tail -1
(2)查看/etc/selinux/config 以 SELINUX开头的行
[root@localhost ~]# cat /etc/selinux/config | grep ^SELINUX
SELINUX=enforcing
SELINUXTYPE=targeted
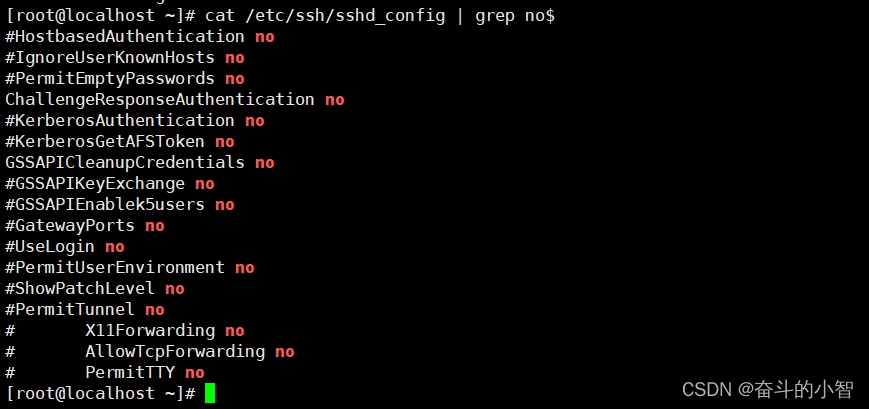
(3)查找/etc/ssh/sshd_config 以no结尾的行
(4)过滤/etc/ssh/sshd_config 包含数字的行

6、文本处理命令:
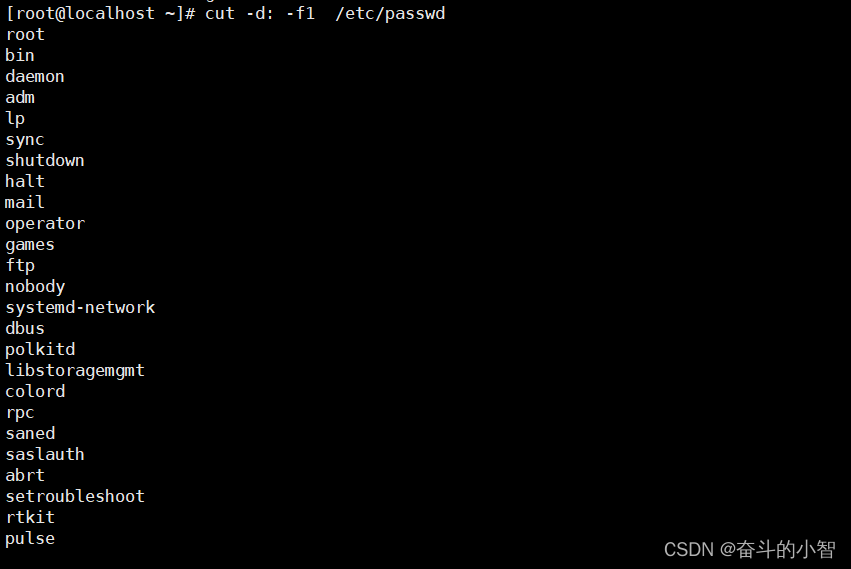
(1)查看/etc/passwd文件以 : 为分隔符的第一列内容,并按字母逆序排序
(2)使用cut命令将当前主机的ip地址切割显示

7、复制、移动
(1)在/test目录下创建一个子目录dir,将/etc/passwd复制到该目录

(2)将/etc/ssh/sshd_config文件复制到/test目录

(3)将/etc/yum.repos.d/目录复制到/test目录

(4)将/test/sshd_config文件移动到/test/dir目录下并改名为sshd.conf

8、文件查找
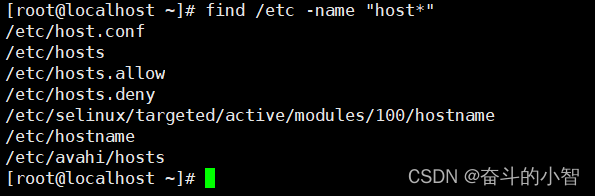
(1)在/etc/目录下寻找以host开头的文件
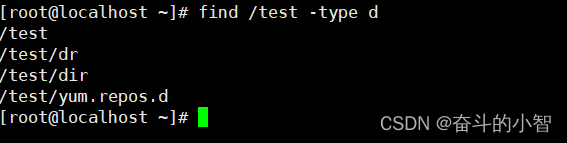
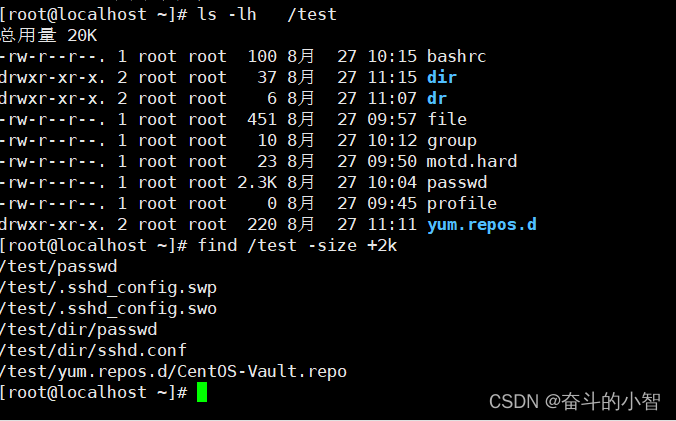
(2)在/test/下面查找目录文件
(3)在/test目录及子目录中,查找超过2KB的文件
9、打包压缩
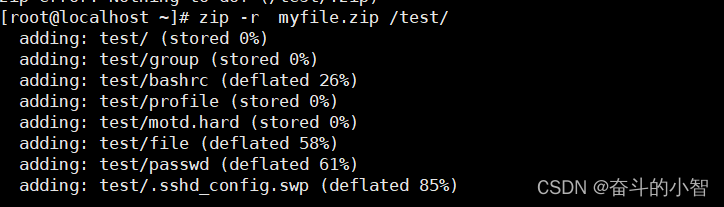
(1)将/test目录下的所有文件和文件夹全部压缩成myfile.zip文件
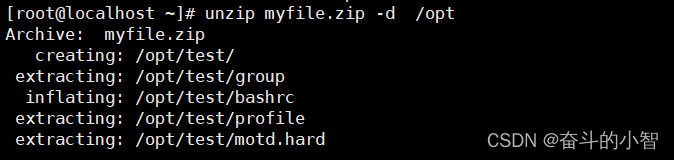
(2)把myfile.zip文件解压到 /opt
(3)将/opt目录下的文件全部打包并用gzip压缩成/test/newfile.tar.gz
tar -cvzf test/newfile.tar.gz /opt/
10、创建mygroup组,group组,GID为600的temp组及组id为40000的adminuser组

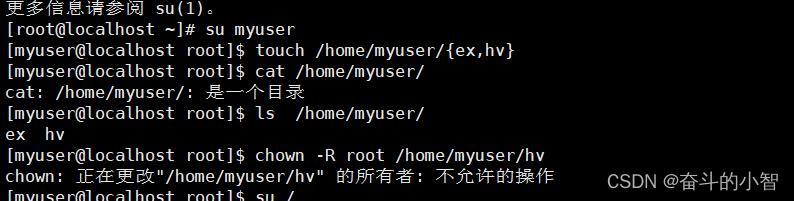
11、创建myuser用户属于mygroup组群,接着以myuser身份登录,创建ex和hv两个文件于/home/myuser目录,并使hv文件的同组用户是root。请依次写出相应执行的命令

12、添加一新用户helen并设置其用户主目录/helen,密码为空,并将temp组群作为用户helen的附加组群。请依次写出相应执行的命令

13、创建用户user,密码为“a1b2c3”,并将其加入group组群
14、新建一个名为sarah的用户,不属于adminuser组,并将其shell设置为不可登陆shell

15、创建alex用户,使alex用户满足以下要求:用户id为3456,描述名为alian,密码为glegunge,附属组为group

16、创建 admin用户,无密码,描述为teshu,设置基本组为temp

17、设置权限,要求如下:
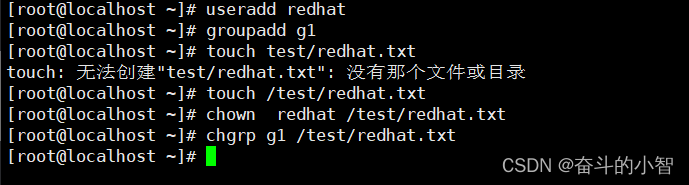
(1)创建g1组,要求创建一个属于redhat用户g1组的文件redhat.txt
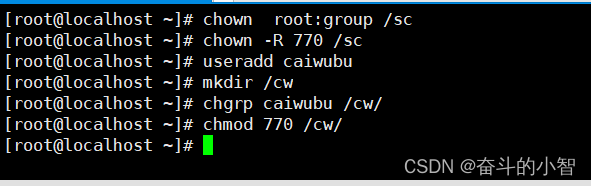
(2)新建/sc目录,所属组为group组,root用户和group组用户可在该目录下创建文件,其他人无任何权限

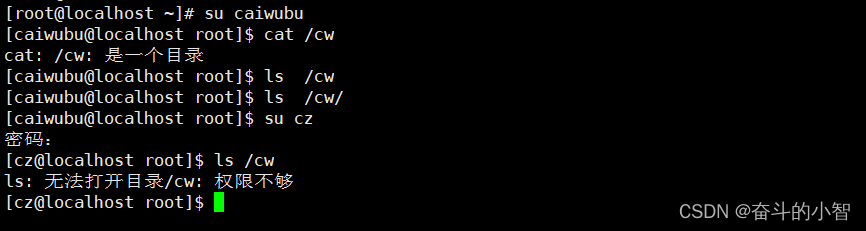
(3)新建/cw目录为财务部存储目录,只能对财务部人员可以写入,并且财务部人员所建立的文件都自动属于mygroup组中
验证:
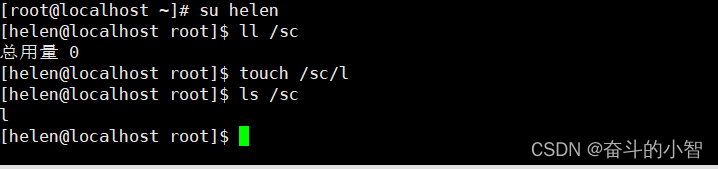
(4)设置 helen用户对于/sc和/cw目录可以读,写,执行

验证:
18、装包命令练习
1、RPM软件管理
1)通过rpm安装vsftpd软件。

2)查询vsftpd软件包的信息

3)卸载软件包vsftpd。

2、YUM软件管理
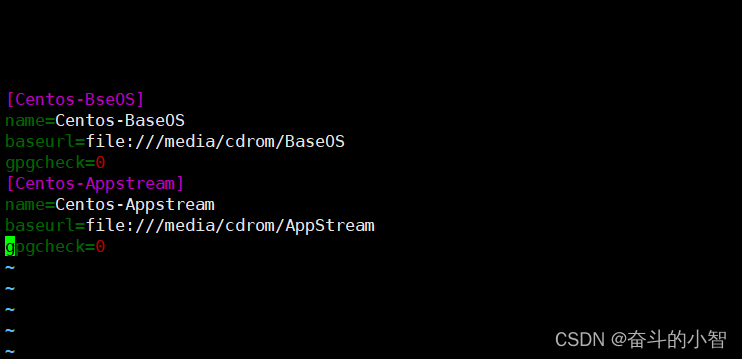
1)挂载本地光盘,配置yum源为CentOS-。
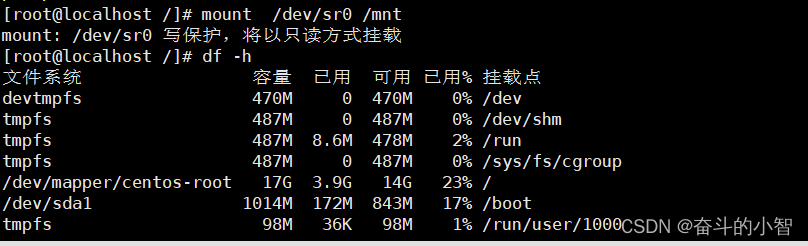
[root@localhost ~]# vim /etc/yum.repos.d/CentOS-
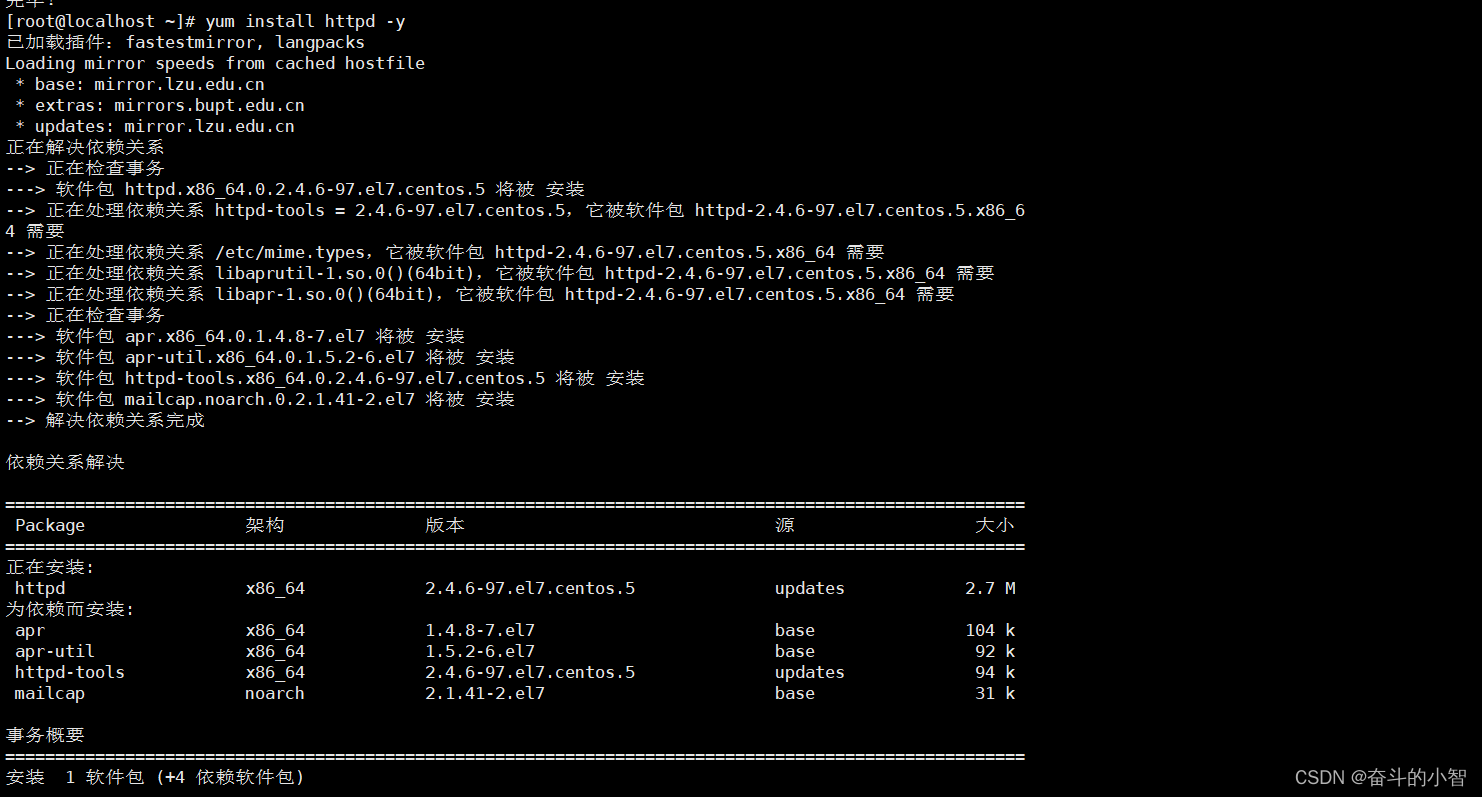
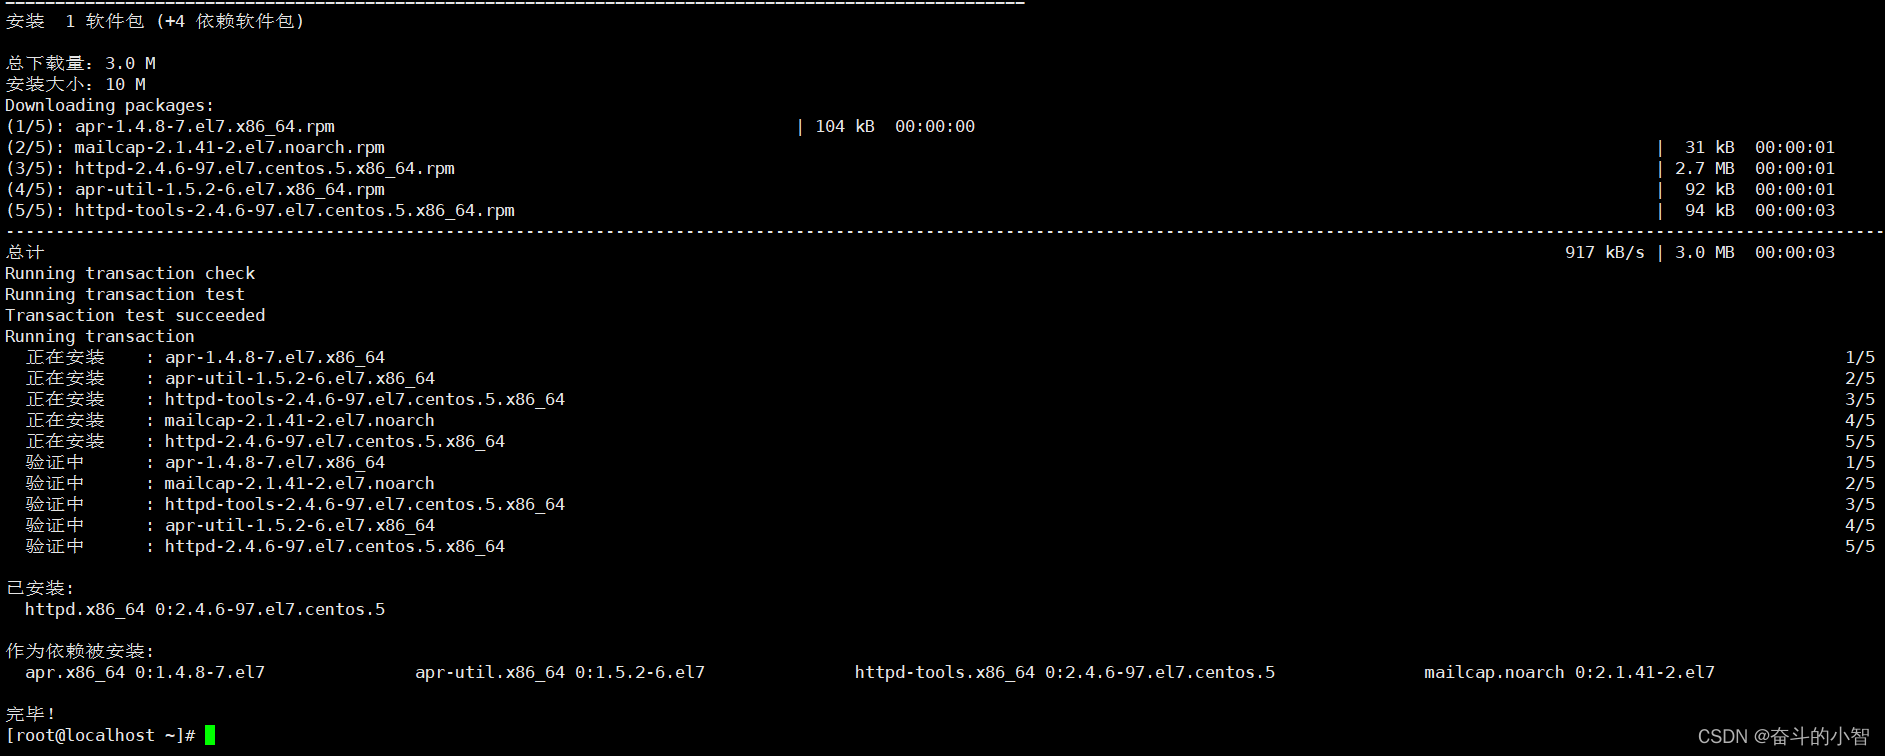
2)通过yum来安装httpd。


 439
439


 被折叠的 条评论
为什么被折叠?
被折叠的 条评论
为什么被折叠?
 到【灌水乐园】发言


