


1、观察主配置文件
#打开nginx主配置文件
vim /etc/nginx/nginx.conf
#全局核心块:配置影响nginx全局的指令。
一般有运行nginx服务器的用户组,nginx进程存放pid的路径
日志存放路径,配置文件引入,允许生成worker process数等。
user nginx;
worker_processes 1;
error_log /var/log/nginx/error.log notice;
pid /var/run/nginx.pid;
#events块:配置影响nginx服务器或与用户的网络连接。
有每个进程的最大连接数,选取哪种事件驱动模型处理连接请求,
是否允许同时接收多个网路连接,开启多个网络连接序列化等。
events {
worker_connections 10240;
}
#可以嵌套多个server,配置代理,缓存,日志定义等绝大多数功能和第三方模块的配置。
如文件引入,mime-type定义,日志自定义,是否使用sendfile传输文件,连接超时时间,
单连接请求数等。
http {
include /etc/nginx/mime.types;
default_type application/octet-stream;
log_format main '$remote_addr - $remote_user [$time_local] "$request" '
'$status $body_bytes_sent "$http_referer" '
'"$http_user_agent" "$http_x_forwarded_for"';
access_log /var/log/nginx/access.log main;
sendfile on;
#tcp_nopush on;
keepalive_timeout 65;
#gzip on;
include /etc/nginx/conf.d/*.conf;
}2、观察默认虚拟主机的配置文件
由于nginx的版本的不同,有的主配置文件里面有server和location模块,没有的话,我们可以去默认虚拟主机的配置文件里面看
#默认虚拟主机的配置文件
vim /etc/nginx/conf.d/default.conf
#server块:配置虚拟主机的相关参数,一个http中可以有多个server
server {
listen 80;
server_name localhost;
#access_log /var/log/nginx/host.access.log main;
#location块:配置请求的路由,以及各种页面的处理情况
location / {
root /usr/share/nginx/html;
index index.html index.htm;
}
#error_page 404 /404.html;
# redirect server error pages to the static page /50x.html
#
error_page 500 502 503 504 /50x.html;
location = /50x.html {
root /usr/share/nginx/html;
}
# proxy the PHP scripts to Apache listening on 127.0.0.1:80
#
#location ~ \.php$ {
# proxy_pass http://127.0.0.1;
#}
# pass the PHP scripts to FastCGI server listening on 127.0.0.1:9000
#
#location ~ \.php$ {
# root html;
# fastcgi_pass 127.0.0.1:9000;
# fastcgi_index index.php;
# fastcgi_param SCRIPT_FILENAME /scripts$fastcgi_script_name;
# include fastcgi_params;
#}
# deny access to .htaccess files, if Apache's document root
# concurs with nginx's one
#
#location ~ /\.ht {
# deny all;
#}
}
3、启动一个新的虚拟主机
1)配置新的虚拟主机的配置文件
# 注意:新创建的虚拟主机的文件必须要放在/etc/nginx/conf.d下
     且配置文件的名字一定不能相同
[root@localhost ~]# vim /etc/nginx/conf.d/lisi.conf
# 在文件中写入server和location部分

server {
listen   80;               # 端口号
server_name    lisi.com;   # 务器名称

location / {               # 网站目录设置
root /lisilinux;
index index.html;          # 主页文件名
}
}
#创建一个存放网站文件的文件夹
[root@localhost ~]# mkdir /lisilinux
[root@localhost ~]# vi /lisilinux/index.html # 打开网站内容文件
# 写入你想让网站体现出来的内容
It's a beautiful day! 2024.5.122)重启nginx服务
systemctl restart nginx3) 域名解析和访问
这里采用的是本地的真机作为客户机
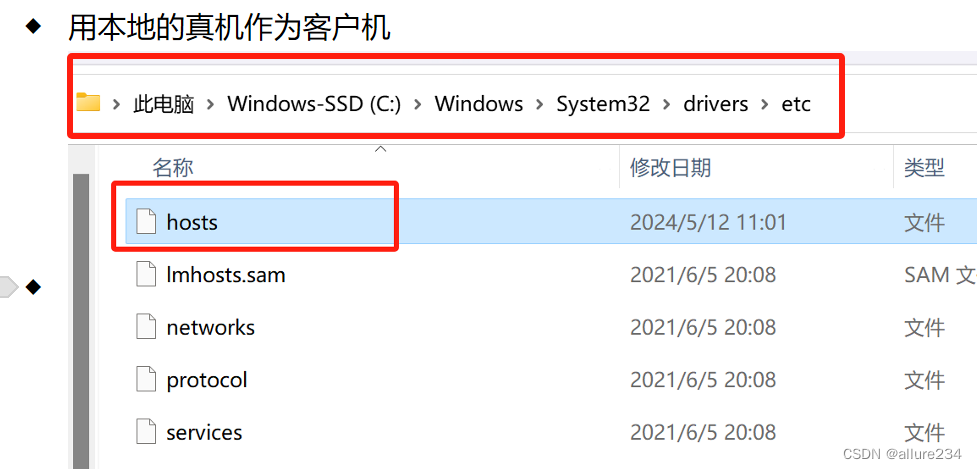
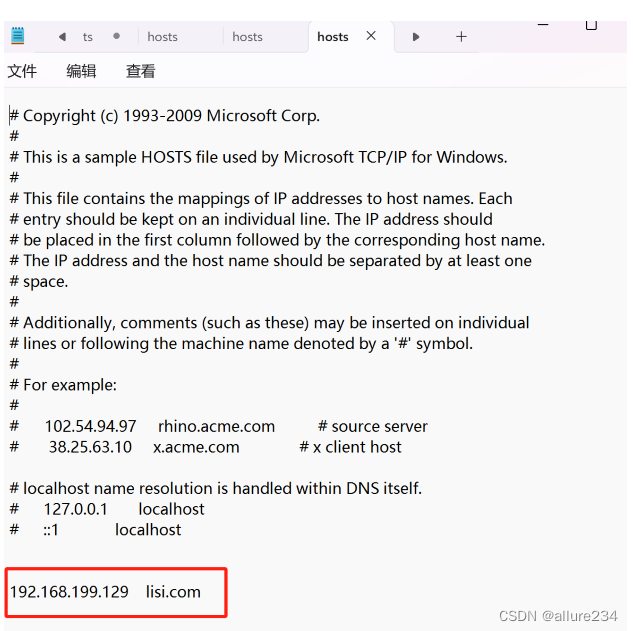
注意:使用win11系统的宝子们修改完hosts文件会出现无法保存的情况,如下图
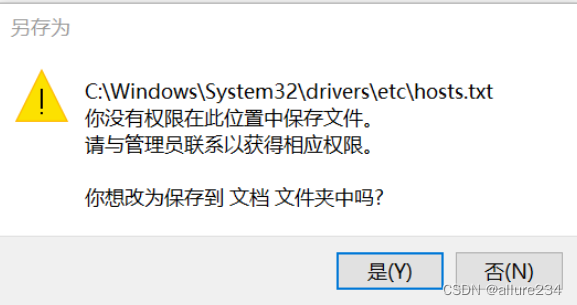
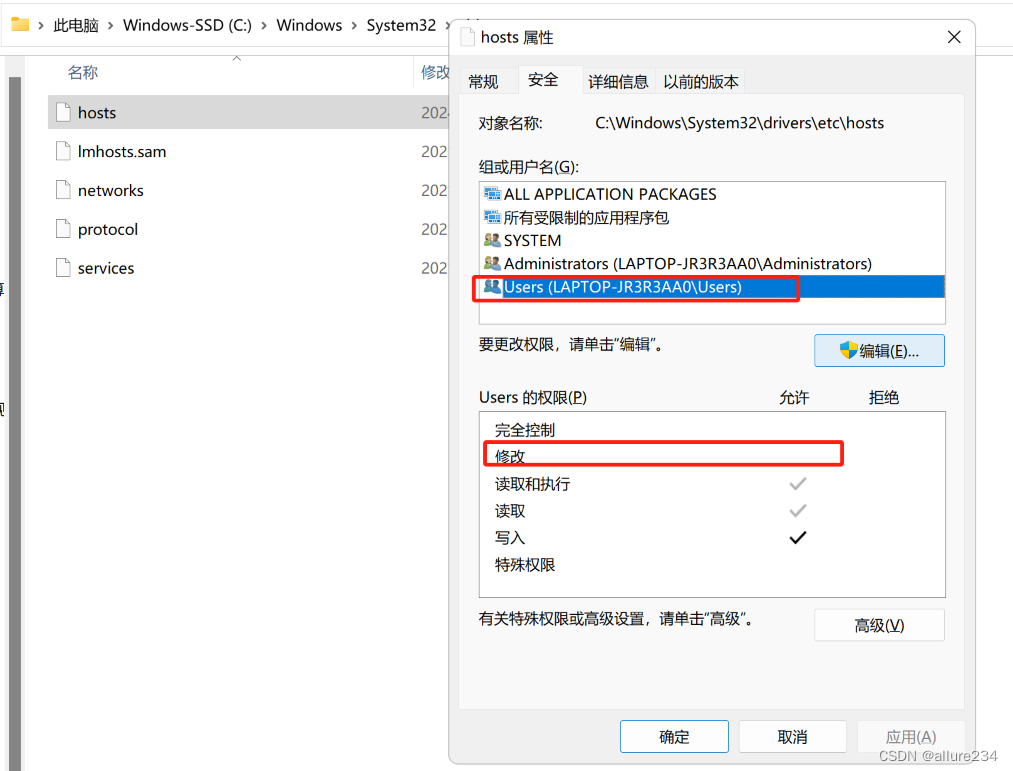
解决方法:直接修改这个文件的权限,给这个文件加上可以修改的权限,问题解决
4)测试
 Success!


 743
743

 被折叠的 条评论
为什么被折叠?
被折叠的 条评论
为什么被折叠?
 到【灌水乐园】发言


