


前言
使用环境为VMware Workstation 16 Player +CentOS7
其使用环境详细可见联邦学习FATE(单机部署)案例搭建+安装(超详细)中的前半部分。
环境部署
进入终端
部署前环境检查
本地8080、9360、9380端口是否被占用
终端中输入
netstat -apln|grep 8080;
netstat -apln|grep 9360;
netstat -apln|grep 9380
未被占用,则不会显示任何东西
登录,获取权限
su root如果提示鉴定故障,则说明没有设置密码。输入如下代码设置密码。
sudo passwd root获取安装包
wget https://webank-ai-1251170195.cos.ap-guangzhou.myqcloud.com/fate/1.10.0/release/standalone_fate_install_1.10.0_release.tar.gz;
tar -xzvf standalone_fate_install_1.10.0_release.tar.gz
安装
进入解压后的目录并使用 bin/init.sh 进行安装
该脚本将自动完成:
安装必要的操作系统依赖包
安装python36环境
安装pypi依赖包
安装jdk环境
配置FATE环境变量脚本
配置fateflow
配置fateboard
安装fate client
cd standalone_fate_install_1.10.0_release;
bash bin/init.sh init
启动
bash bin/init.sh status;
bash bin/init.sh start
测试
加载环境变量
source bin/init_env.sh测试项
Toy测试
flow test toy -gid 10000 -hid 10000如果成功,屏幕显示类似下方的语句:
success to calculate secure_sum, it is 2000.0
单元测试
fate_test unittest federatedml --yes如果成功,屏幕显示类似下方的语句:
there are 0 failed test
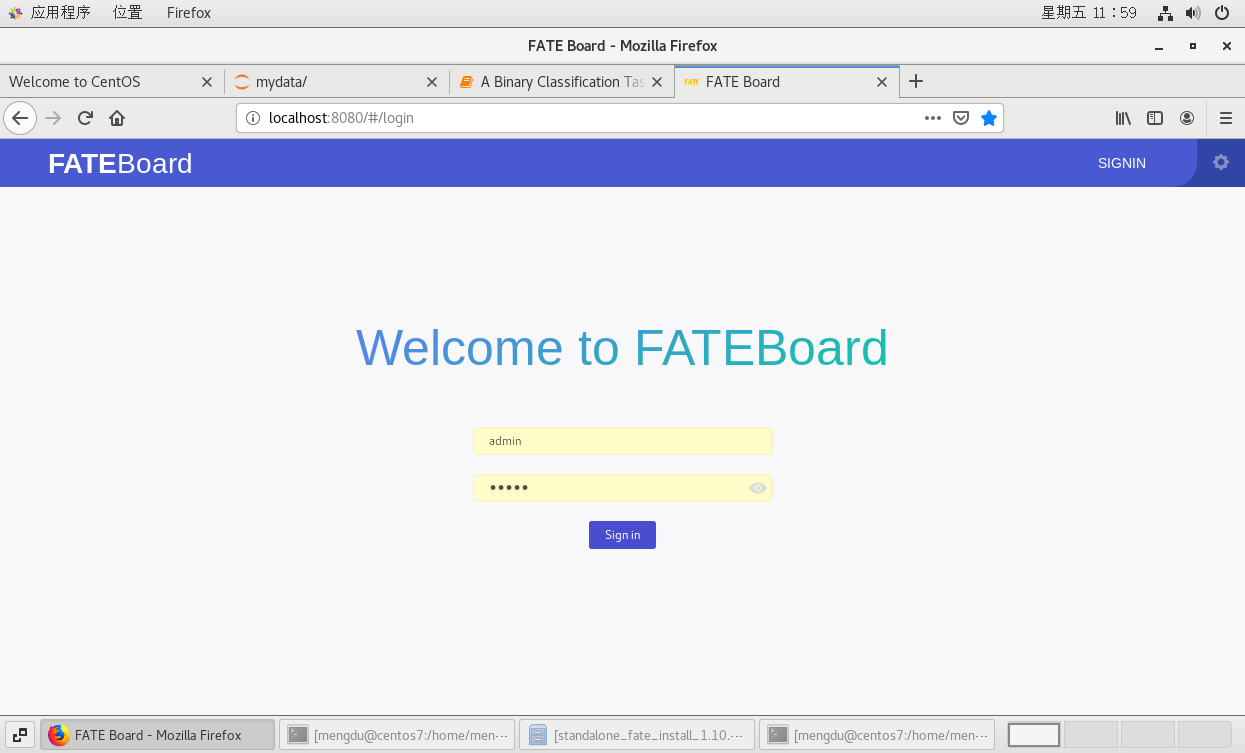
FATEBoard
以上运行完毕后,可以打开FATEBoard进行登录,方便后续开发
账户和密码均为admin
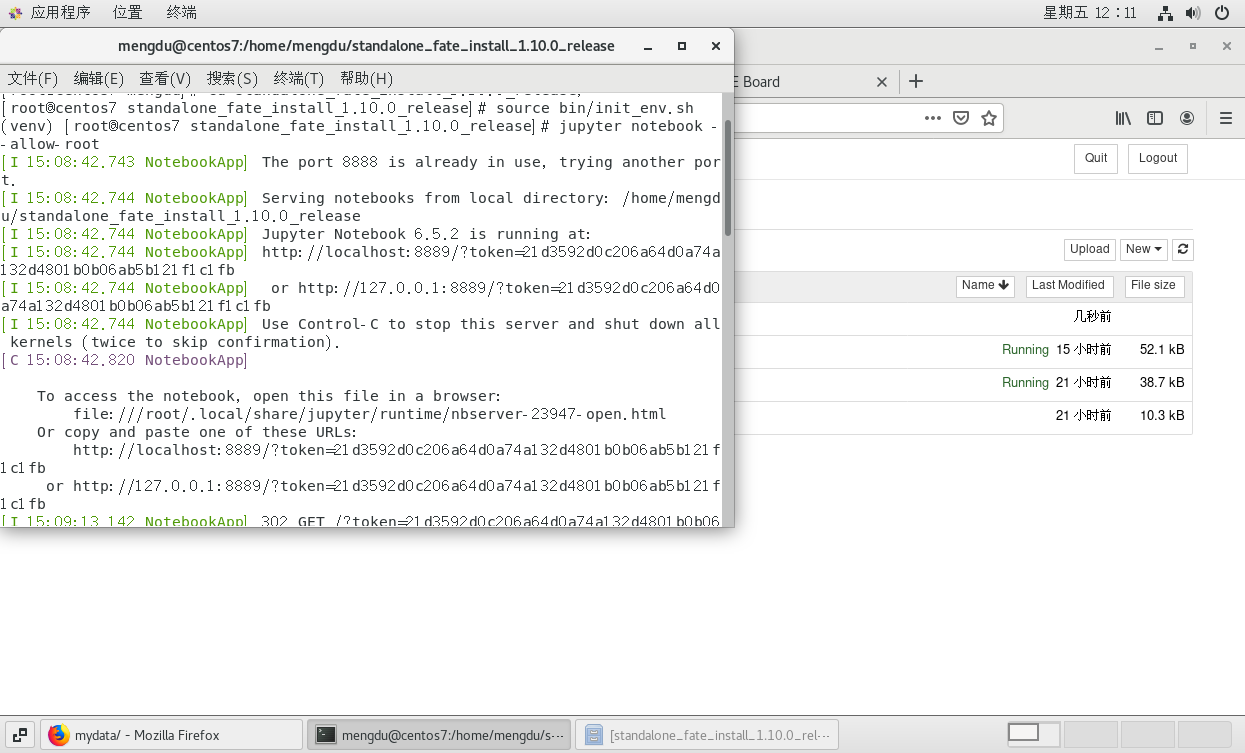
jupyter notebook
由于框架使用的是Minconda,所以进入环境后,进行jupyter notebook的安装即可。
pip install jupyter notebook运行
直接运行 jupyter notebook会报错警告,所以需要绕过进行运行。
jupyter notebook --allow-root打开网址后将其复制到浏览器运行即可。


 976
976


 被折叠的 条评论
为什么被折叠?
被折叠的 条评论
为什么被折叠?
 到【灌水乐园】发言


