


硬件及环境支持:
硬件: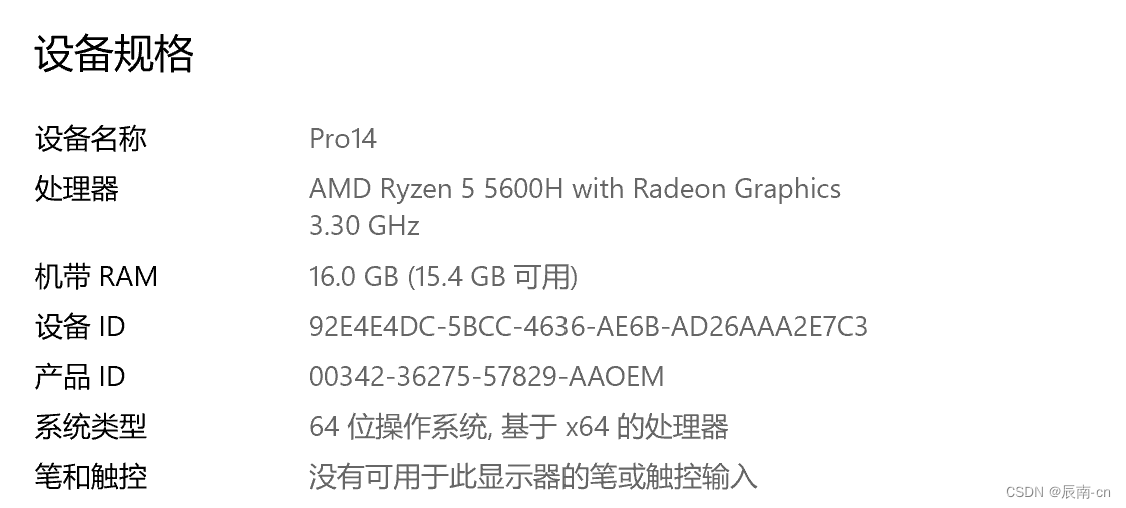

软件: Anaconda3(自行安装)
部署环境配置:
-
下载yolo源码可以从GitHub下载-这里以此链接里的源码为参考,测试基于此源码http://链接:https://pan.baidu.com/s/14BMGAmwdcYSABdouFLcuPg?pwd=1234 提取码:1234 --来自百度网盘超级会员V2的分享
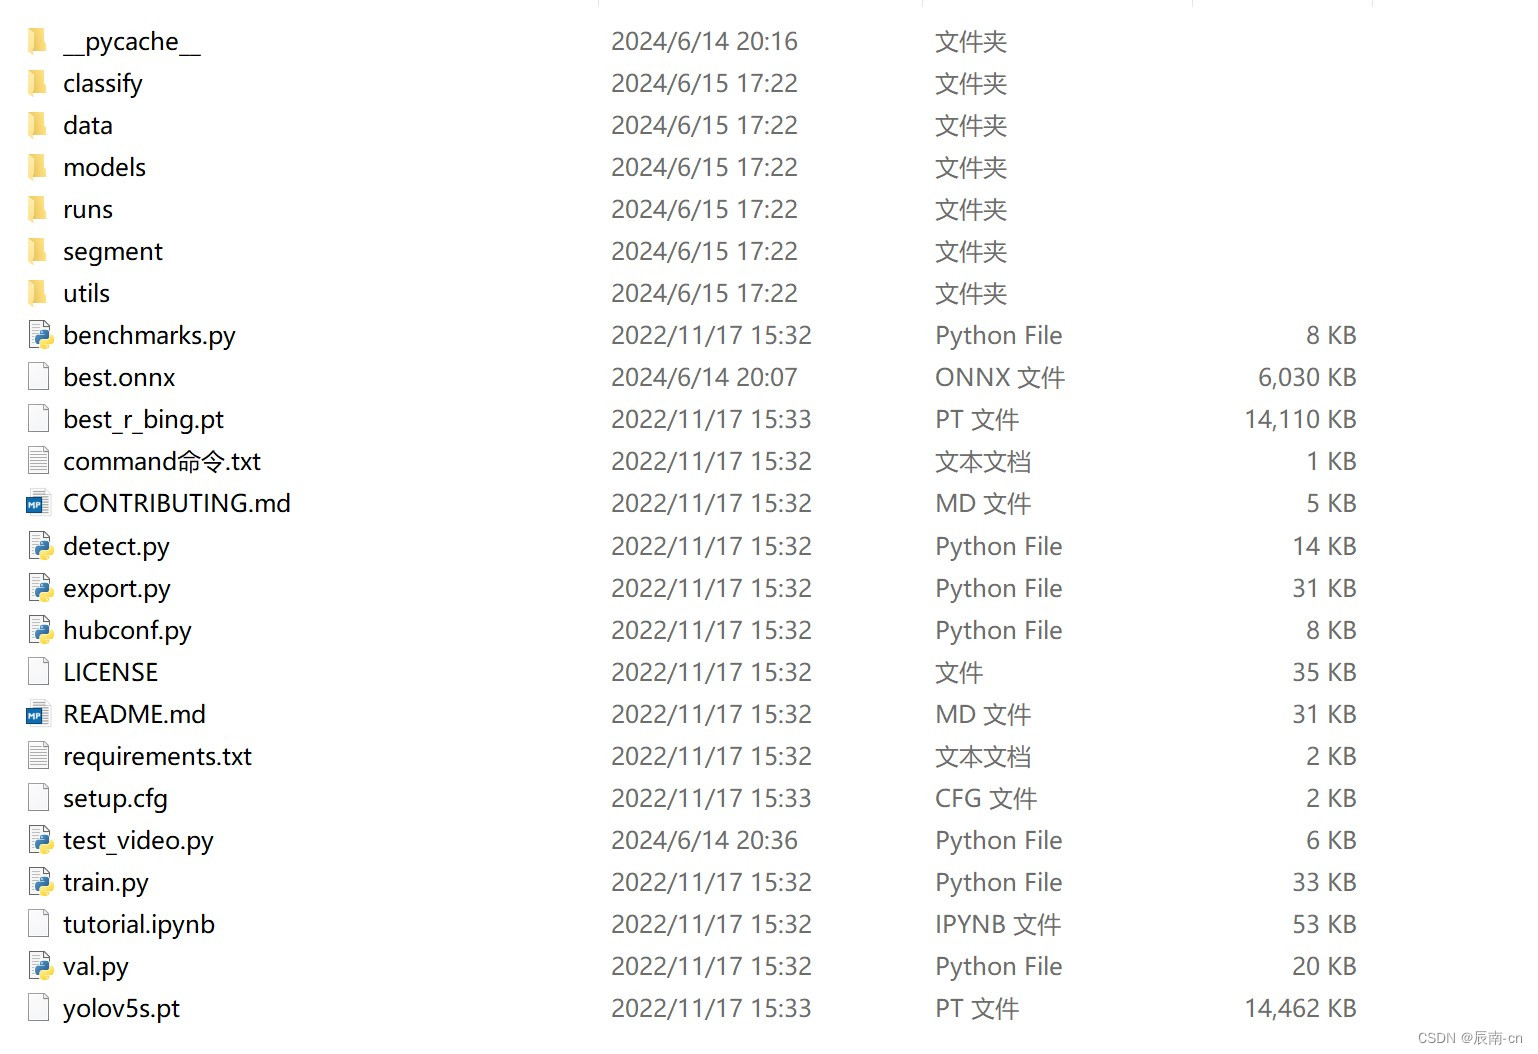
打开文件夹后如下图:
具体了解各文件,代码等可参考以下博主的优秀博客:【Yolov5】1.认真总结6000字Yolov5保姆级教程(2022.06.28全新版本v6.1)_yolov5教程-CSDN博客
-
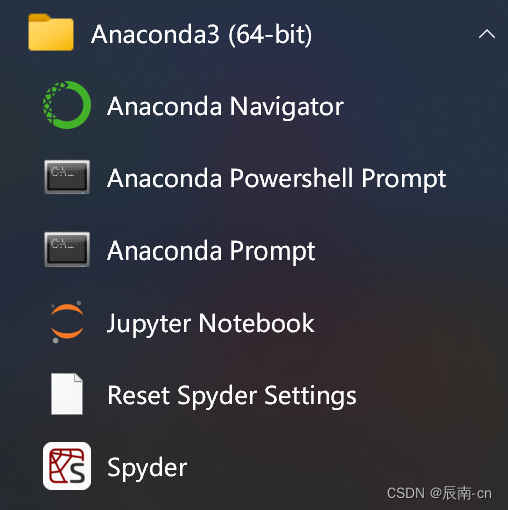
下一步就是运行此源码,这里我们利用 Anaconda3搭建环境,电脑开始菜单栏下找到Anaconda3文件夹,点击如下:

打开后如图所示:

接下来创建环境、激活环境:
创建环境、如下:
conda create -n yolov5s python=3.11 
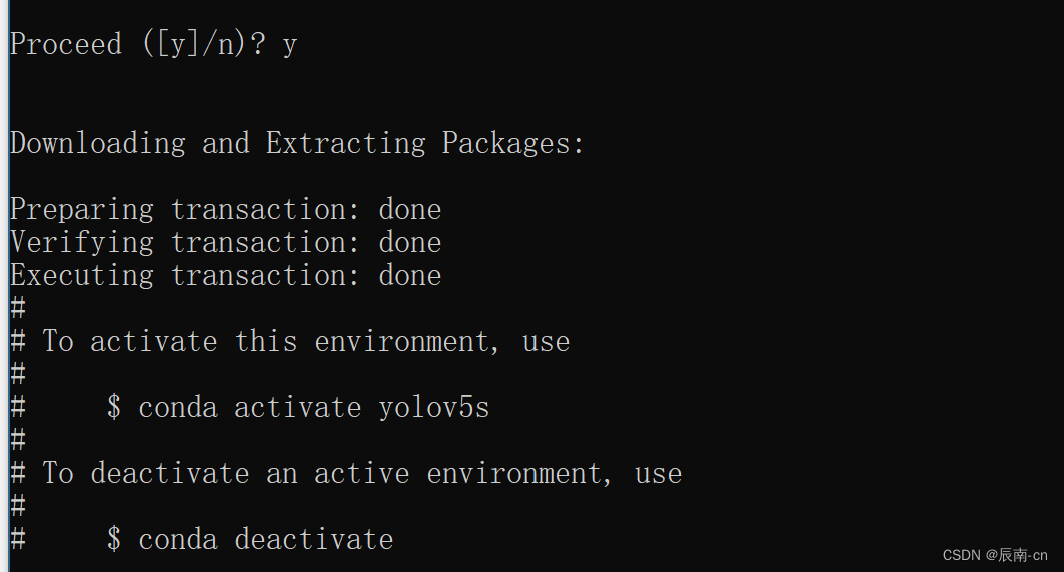
输入y确定: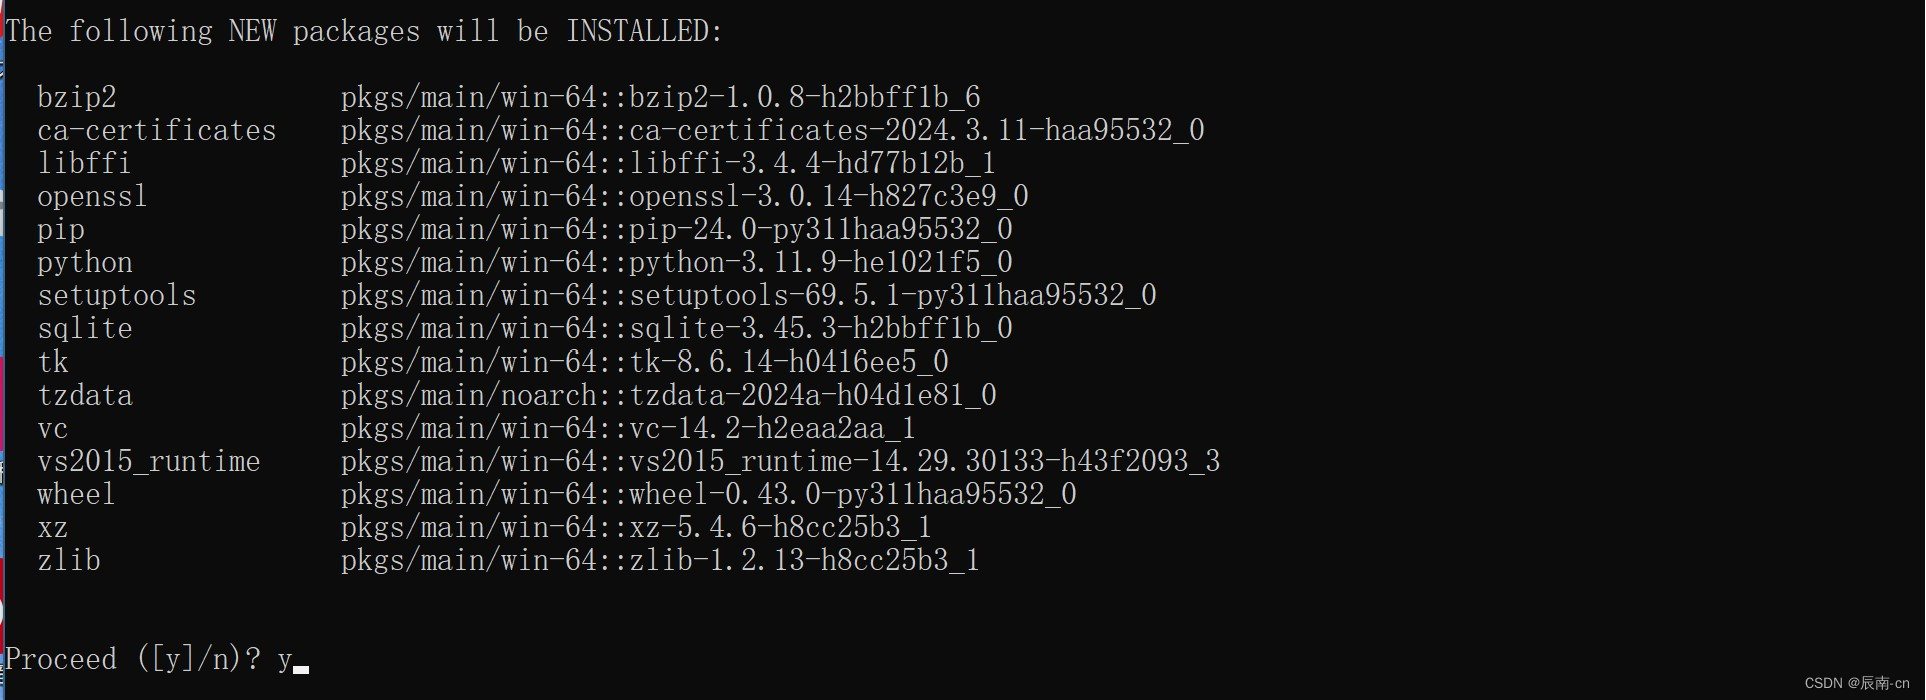
出现如下界面,环境创建完成:
激活环境:
conda activate yolov5s如下为成功激活:环境由base切换为yolov5s:

-
下载安装yolov5s需要的依赖:
cd 到下载的yolovs源码文件夹:
完成后如下:
我们可以通过ls指令查看该目录下的内容:
通过下面标志的这个txt下载安装依赖:指令为:
pip install -r requirements.txt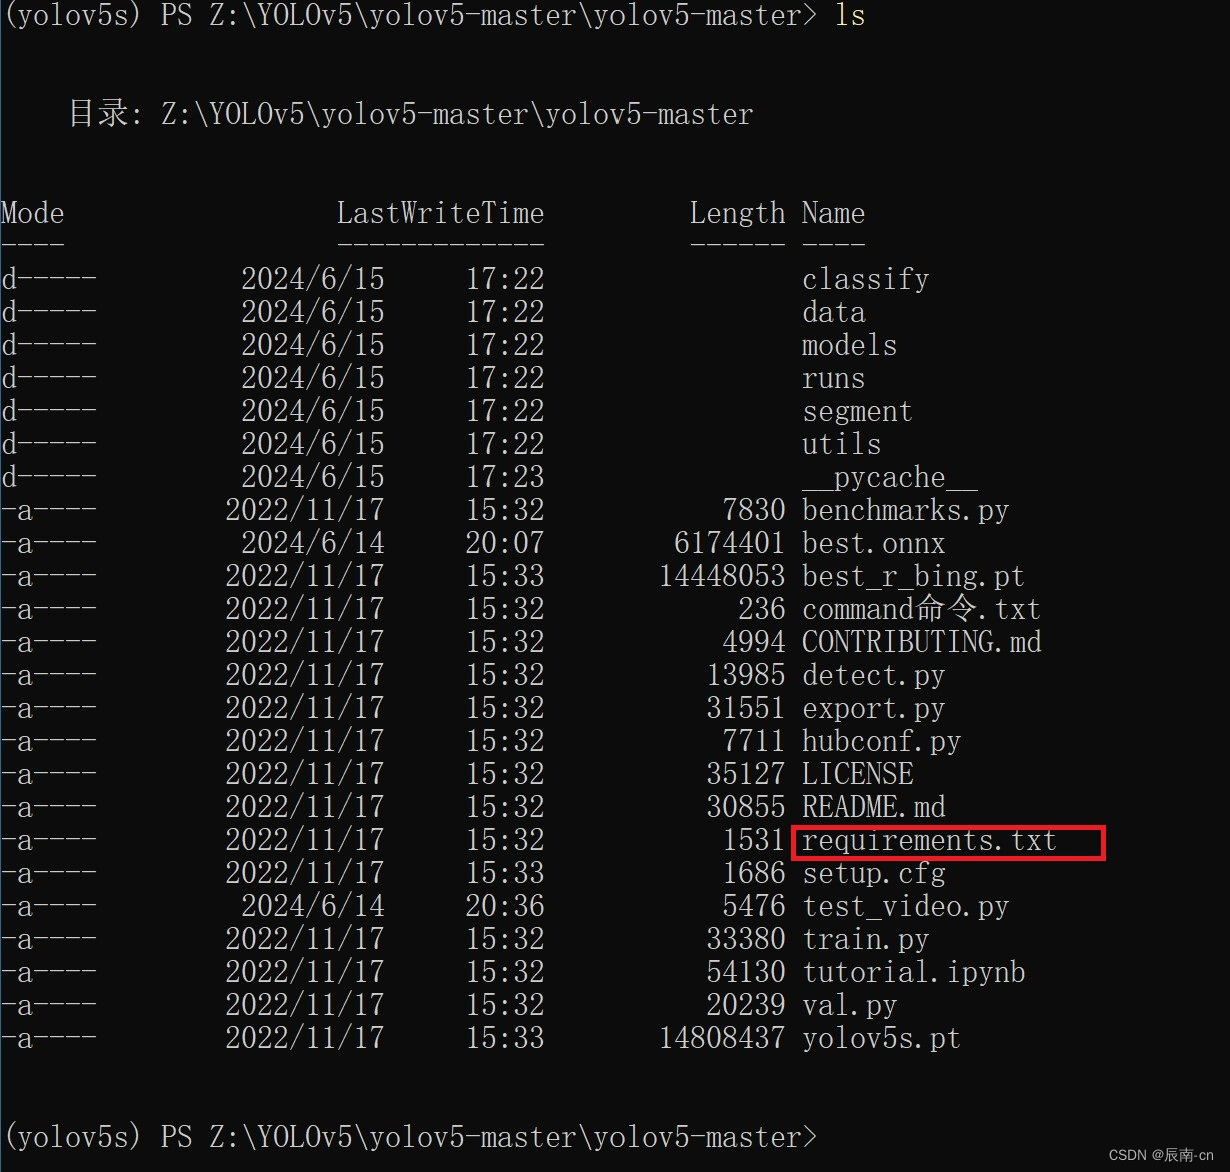
运行后发现指令有错误:

解决方法为输入pip install -r requ后直接按Tab键补齐、如下:
pip install -r .\requirements.txt 
安装完成后,查看依赖:
pip list
此时可成功运行yolov5s,但是为了后续转换为onnx模型的成功部署,我们还需导入onnx、onnxruntime
pip install onnx
pip install onnxruntime
成功安装: Successfully installed onnx-1.16.1

成功安装:Successfully installed coloredlogs-15.0.1 flatbuffers-24.3.25 humanfriendly-10.0 onnxruntime-1.18.0 pyreadline3-3.4.1

运行yolov5s识别程序
默认数据集在此路径下:\yolov5-master\data\images

直接对其进行识别:
python detect.py可以看到识别结果保存在 runs\detect\exp3这个文件夹下: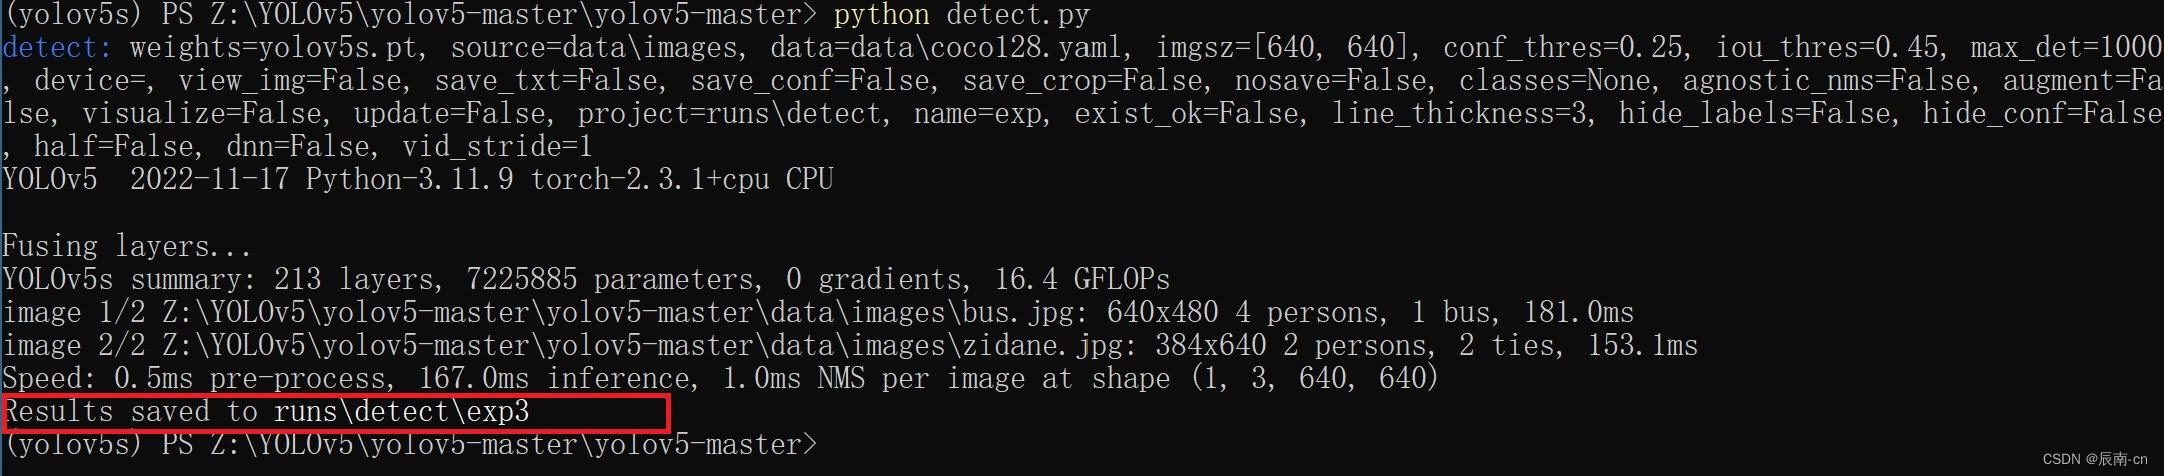
可以看到图像被成功识别:
若想采用摄像头实时识别可以运行以下代码:
source 0;0为摄像头索引,笔记本只有一个摄像头的应该都为0,有外接摄像头的可以尝试1或者2...等。
python .\detect.py --source 0
识别FPS感觉略低
接下来我们尝试运行onnx模型对黑色砝码进行识别:
代码及onnx模型:

代码引用以下博主的博客,如何修改及应用也可参考:http://t.csdnimg.cn/qxEwm
onnx 模型由export.py转换得到
import cv2
import numpy as np
import onnxruntime as ort
import time

def plot_one_box(x, img, color=None, label=None, line_thickness=None):
    """
    description: Plots one bounding box on image img,
                 this function comes from YoLov5 project.
    param:
        x:      a box likes [x1,y1,x2,y2]
        img:    a opencv image object
        color:  color to draw rectangle, such as (0,255,0)
        label:  str
        line_thickness: int
    return:
        no return
    """
    tl = (
        line_thickness or round(0.002 * (img.shape[0] + img.shape[1]) / 2) + 1
    )  # line/font thickness
    color = color or [random.randint(0, 255) for _ in range(3)]
    c1, c2 = (int(x[0]), int(x[1])), (int(x[2]), int(x[3]))
    cv2.rectangle(img, c1, c2, color, thickness=tl, lineType=cv2.LINE_AA)
    if label:
        tf = max(tl - 1, 1)  # font thickness
        t_size = cv2.getTextSize(label, 0, fontScale=tl / 3, thickness=tf)[0]
        c2 = c1[0] + t_size[0], c1[1] - t_size[1] - 3
        cv2.rectangle(img, c1, c2, color, -1, cv2.LINE_AA)  # filled
        cv2.putText(
            img,
            label,
            (c1[0], c1[1] - 2),
            0,
            tl / 3,
            [225, 255, 255],
            thickness=tf,
            lineType=cv2.LINE_AA,
        )

def _make_grid( nx, ny):
        xv, yv = np.meshgrid(np.arange(ny), np.arange(nx))
        return np.stack((xv, yv), 2).reshape((-1, 2)).astype(np.float32)

def cal_outputs(outs,nl,na,model_w,model_h,anchor_grid,stride):

    row_ind = 0
    grid = [np.zeros(1)] * nl
    for i in range(nl):
        h, w = int(model_w/ stride[i]), int(model_h / stride[i])
        length = int(na * h * w)
        if grid[i].shape[2:4] != (h, w):
            grid[i] = _make_grid(w, h)

        outs[row_ind:row_ind + length, 0:2] = (outs[row_ind:row_ind + length, 0:2] * 2. - 0.5 + np.tile(
            grid[i], (na, 1))) * int(stride[i])
        outs[row_ind:row_ind + length, 2:4] = (outs[row_ind:row_ind + length, 2:4] * 2) ** 2 * np.repeat(
            anchor_grid[i], h * w, axis=0)
        row_ind += length
    return outs


def post_process_opencv(outputs,model_h,model_w,img_h,img_w,thred_nms,thred_cond):
    conf = outputs[:,4].tolist()
    c_x = outputs[:,0]/model_w*img_w
    c_y = outputs[:,1]/model_h*img_h
    w  = outputs[:,2]/model_w*img_w
    h  = outputs[:,3]/model_h*img_h
    p_cls = outputs[:,5:]
    if len(p_cls.shape)==1:
        p_cls = np.expand_dims(p_cls,1)
    cls_id = np.argmax(p_cls,axis=1)

    p_x1 = np.expand_dims(c_x-w/2,-1)
    p_y1 = np.expand_dims(c_y-h/2,-1)
    p_x2 = np.expand_dims(c_x+w/2,-1)
    p_y2 = np.expand_dims(c_y+h/2,-1)
    areas = np.concatenate((p_x1,p_y1,p_x2,p_y2),axis=-1)

    areas = areas.tolist()
    ids = cv2.dnn.NMSBoxes(areas,conf,thred_cond,thred_nms)
    if len(ids)>0:
        return  np.array(areas)[ids],np.array(conf)[ids],cls_id[ids]
    else:
        return [],[],[]
def infer_img(img0,net,model_h,model_w,nl,na,stride,anchor_grid,thred_nms=0.4,thred_cond=0.5):
    # 图像预处理
    img = cv2.resize(img0, [model_w,model_h], interpolation=cv2.INTER_AREA)
    img = cv2.cvtColor(img, cv2.COLOR_BGR2RGB)
    img = img.astype(np.float32) / 255.0
    blob = np.expand_dims(np.transpose(img, (2, 0, 1)), axis=0)

    # 模型推理
    outs = net.run(None, {net.get_inputs()[0].name: blob})[0].squeeze(axis=0)

    # 输出坐标矫正
    outs = cal_outputs(outs,nl,na,model_w,model_h,anchor_grid,stride)

    # 检测框计算
    img_h,img_w,_ = np.shape(img0)
    boxes,confs,ids = post_process_opencv(outs,model_h,model_w,img_h,img_w,thred_nms,thred_cond)

    return  boxes,confs,ids


if __name__ == "__main__":

    # 模型加载
    model_pb_path = "best.onnx"
    so = ort.SessionOptions()
    net = ort.InferenceSession(model_pb_path, so)

    # 标签字典
    dic_labels= {0:'weight'

          }

    # 模型参数
    model_h = 320
    model_w = 320
    nl = 3
    na = 3
    stride=[8.,16.,32.]
    anchors = [[10, 13, 16, 30, 33, 23], [30, 61, 62, 45, 59, 119], [116, 90, 156, 198, 373, 326]]
    anchor_grid = np.asarray(anchors, dtype=np.float32).reshape(nl, -1, 2)

    video = 0
    cap = cv2.VideoCapture(video)
    flag_det = False
    while True:
        success, img0 = cap.read()
        if success:

            if flag_det:
                t1 = time.time()
                det_boxes,scores,ids = infer_img(img0,net,model_h,model_w,nl,na,stride,anchor_grid,thred_nms=0.4,thred_cond=0.5)
                t2 = time.time()


                for box,score,id in zip(det_boxes,scores,ids):
                    label = '%s:%.2f'%(dic_labels[id],score)

                    plot_one_box(box.astype(np.int16), img0, color=(255,0,0), label=label, line_thickness=None)

                str_FPS = "FPS: %.2f"%(1./(t2-t1))

                cv2.putText(img0,str_FPS,(50,50),cv2.FONT_HERSHEY_COMPLEX,1,(0,255,0),3)


            cv2.imshow("video",img0)
        key=cv2.waitKey(1) & 0xFF
        if key == ord('q'):

            break
        elif key & 0xFF == ord('s'):
            flag_det = not flag_det
            print(flag_det)

    cap.release()
运行代码:
按键s开始识别,按键q退出
python .\test.py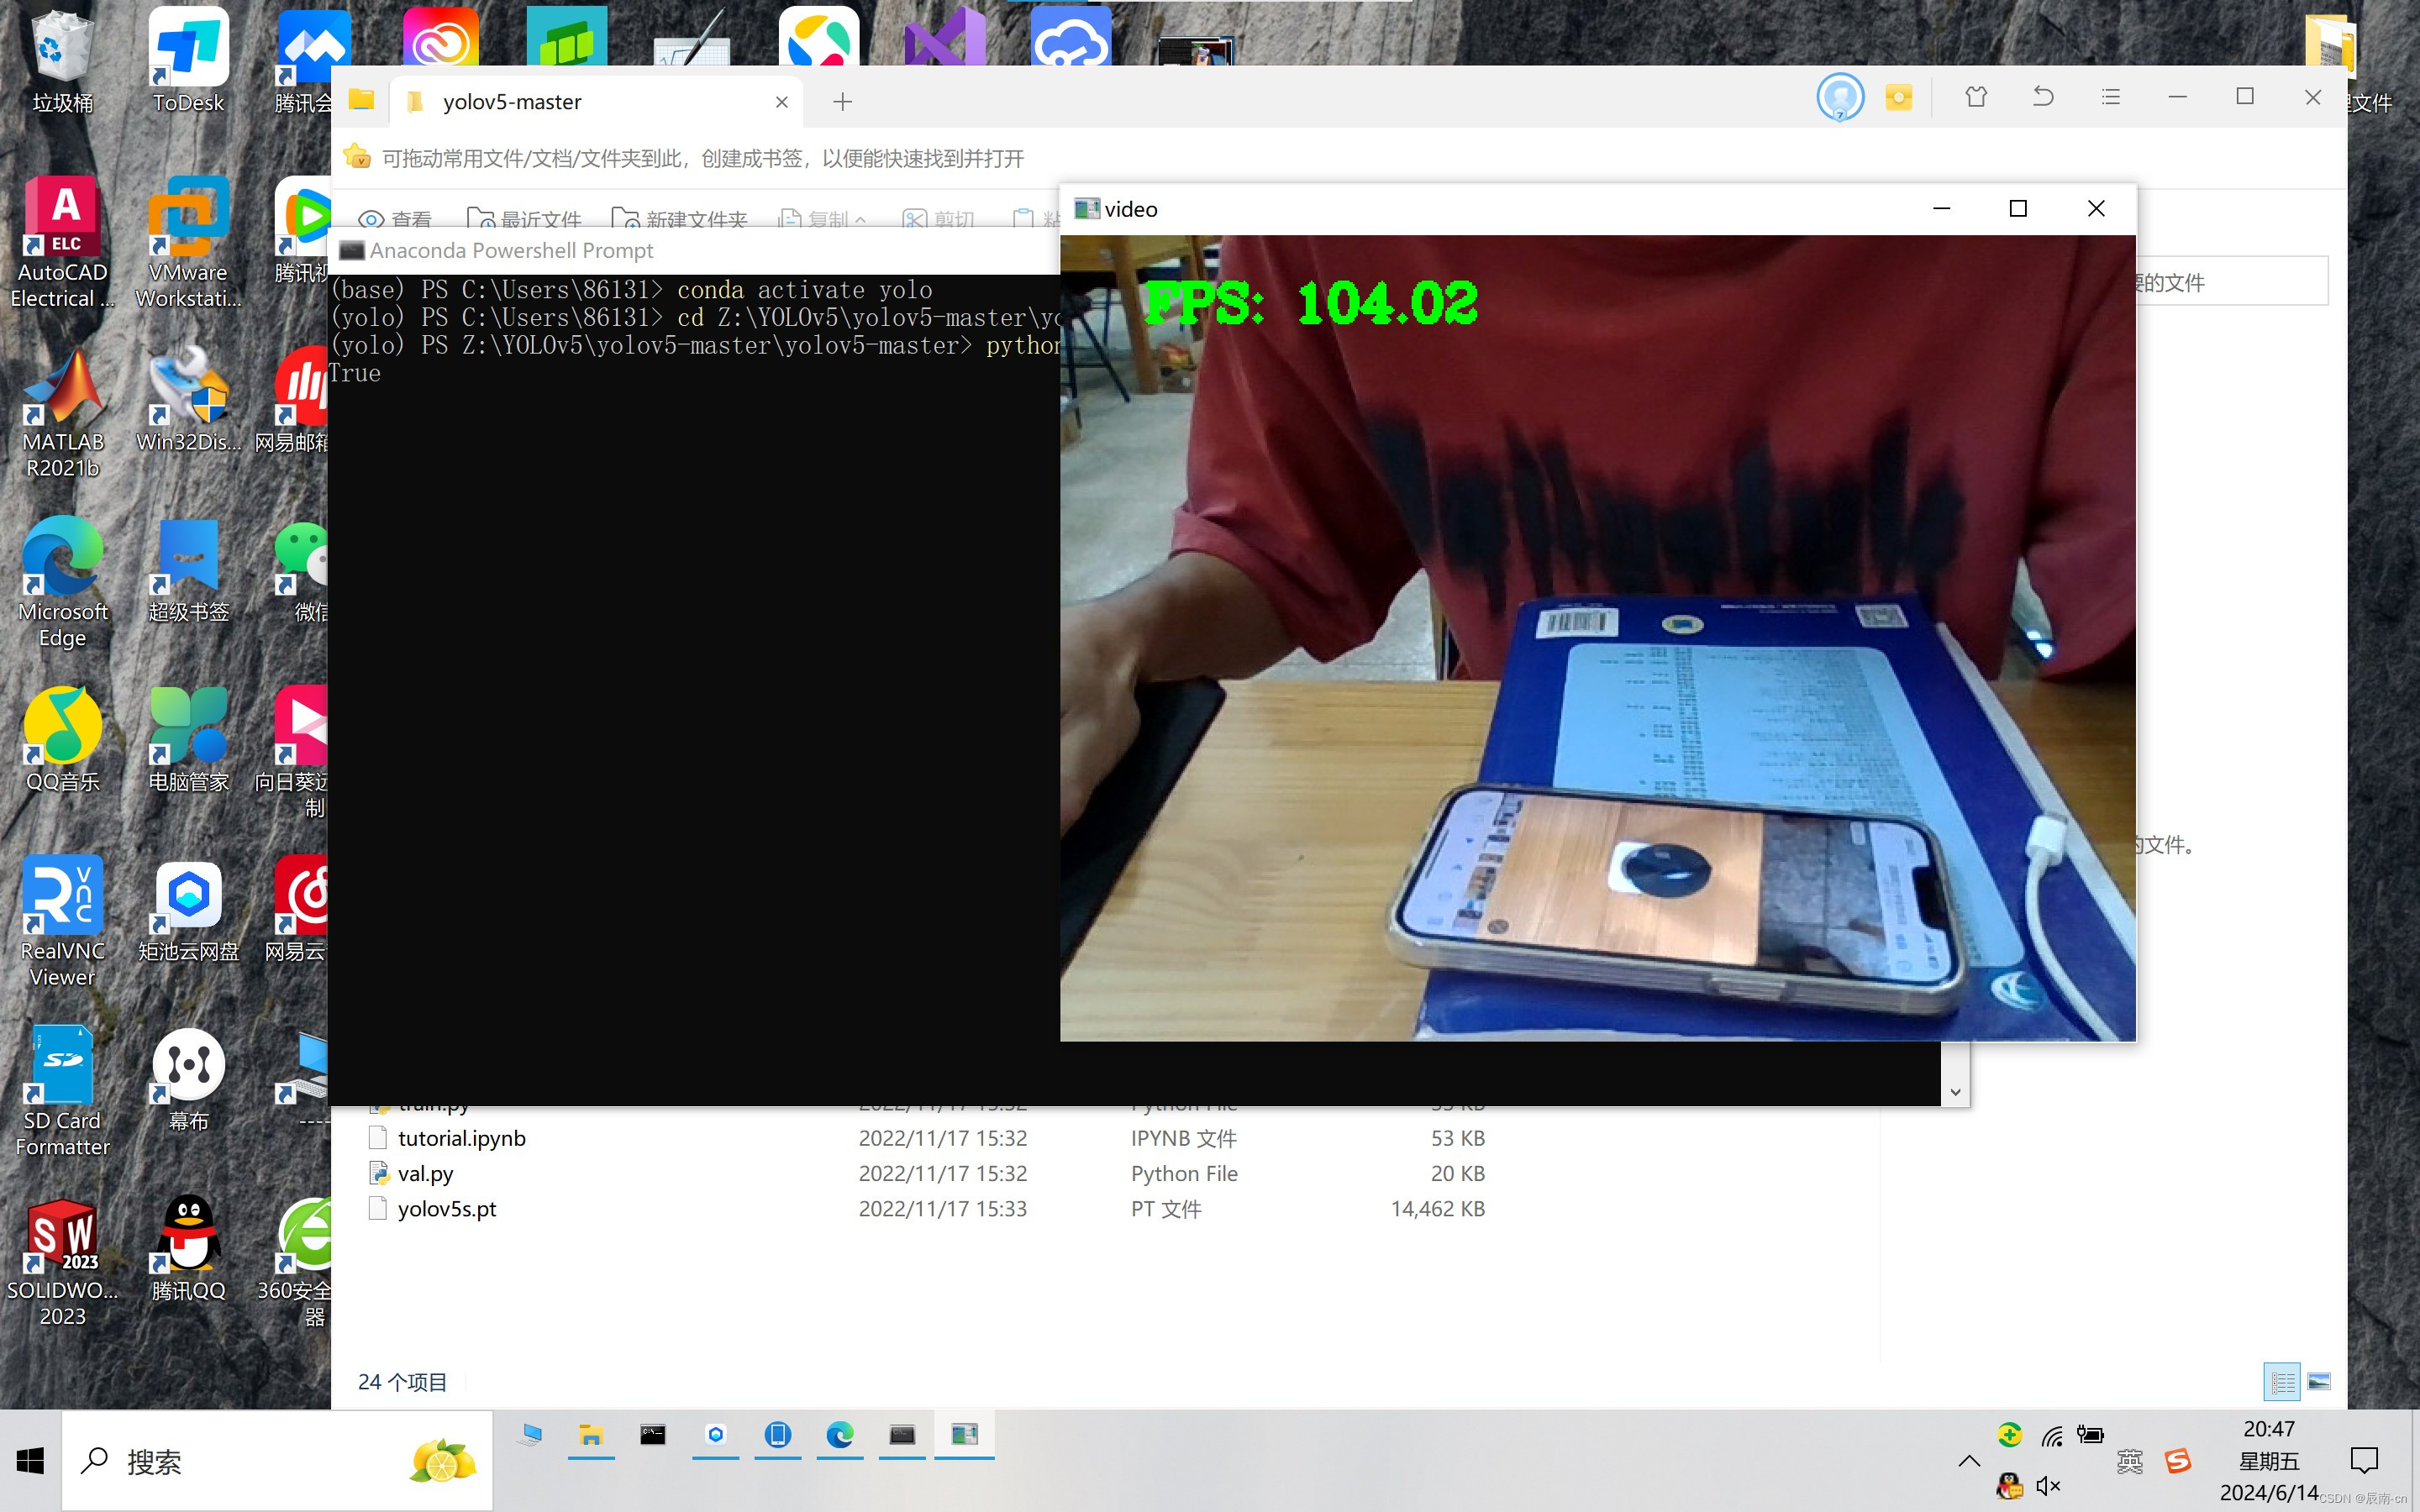
 同时部署于树莓派5等嵌入式设备也是类似的步骤,亲测有效:

最后也是成功部署完成识别,此文章为自己学习记录时撰写,后续会更新基于距池云训练砝码及树莓派5部署的应用,有需要的可以关注参考学习,有疑问欢迎联系交流QQ:3470445202,若有侵权可联系删。


 9775
9775


 被折叠的 条评论
为什么被折叠?
被折叠的 条评论
为什么被折叠?
 到【灌水乐园】发言


