


Mac安装及卸载MySQL
本教程基于Homebrew操作,没安装的可以看一下这篇博客 MacOS上Homebrew 安装、配置、更改国内镜像源及使用教程
0. 卸载 MySQL
如果没有安装过 mysql 可以直接跳到下载
0.1 停止 mysql 服务
brew services stop mysql

0.2 卸载
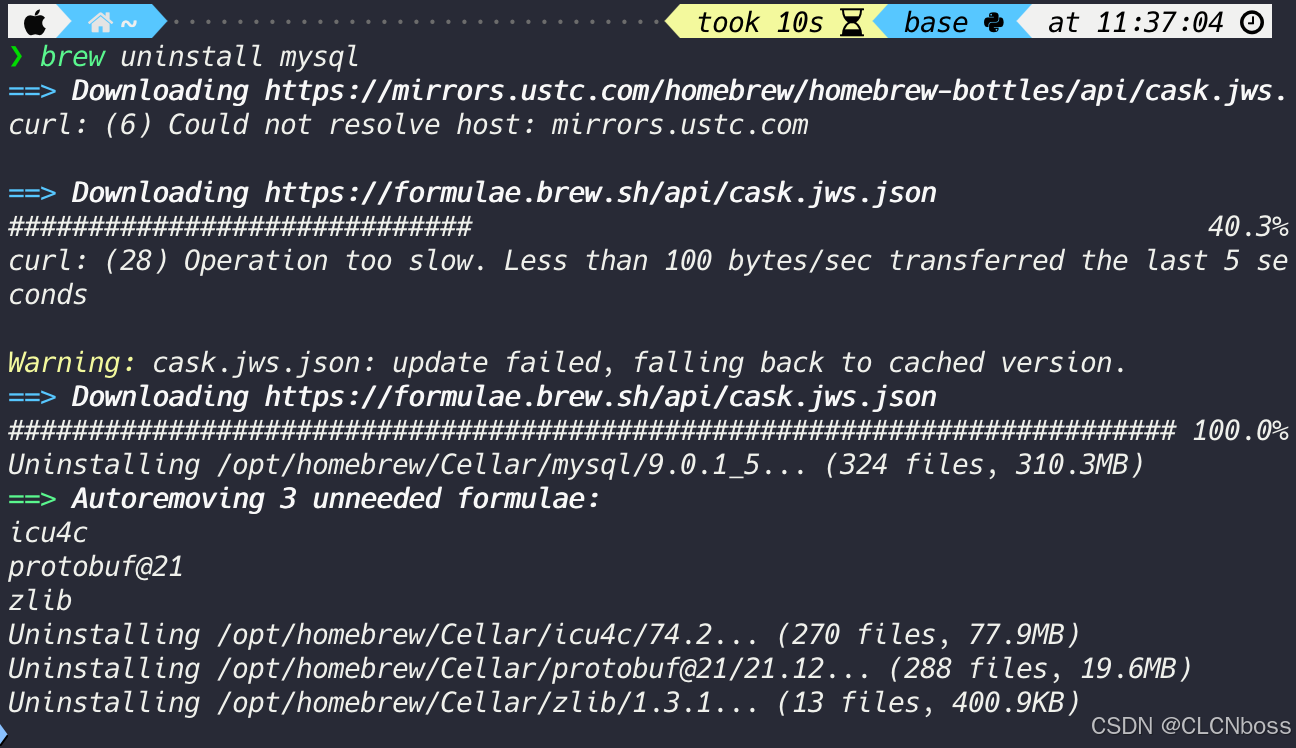
brew uninstall mysql
0.3 删除残留文件
rm -rf /usr/local/var/mysql
rm -rf /usr/local/etc/my.cnf

0.4 清理缓存
brew cleanup --prune=all mysql

1. 介绍
MySQL 是一种广泛应用的关系型数据库管理系统。它具有诸多优点,对于用户来说,MySQL 易于使用,安装和配置相对简单。其性能出色,能够高效地处理大量数据和高并发的请求。MySQL 支持多种操作系统,具有良好的可移植性。在功能方面,它提供了强大的数据存储、检索和管理功能,可以通过 SQL 语言进行灵活的操作。无论是小型项目还是大型企业级应用,MySQL 都能发挥重要作用,为数据的安全存储和快速访问提供可靠保障。
2. 安装
brew install mysql
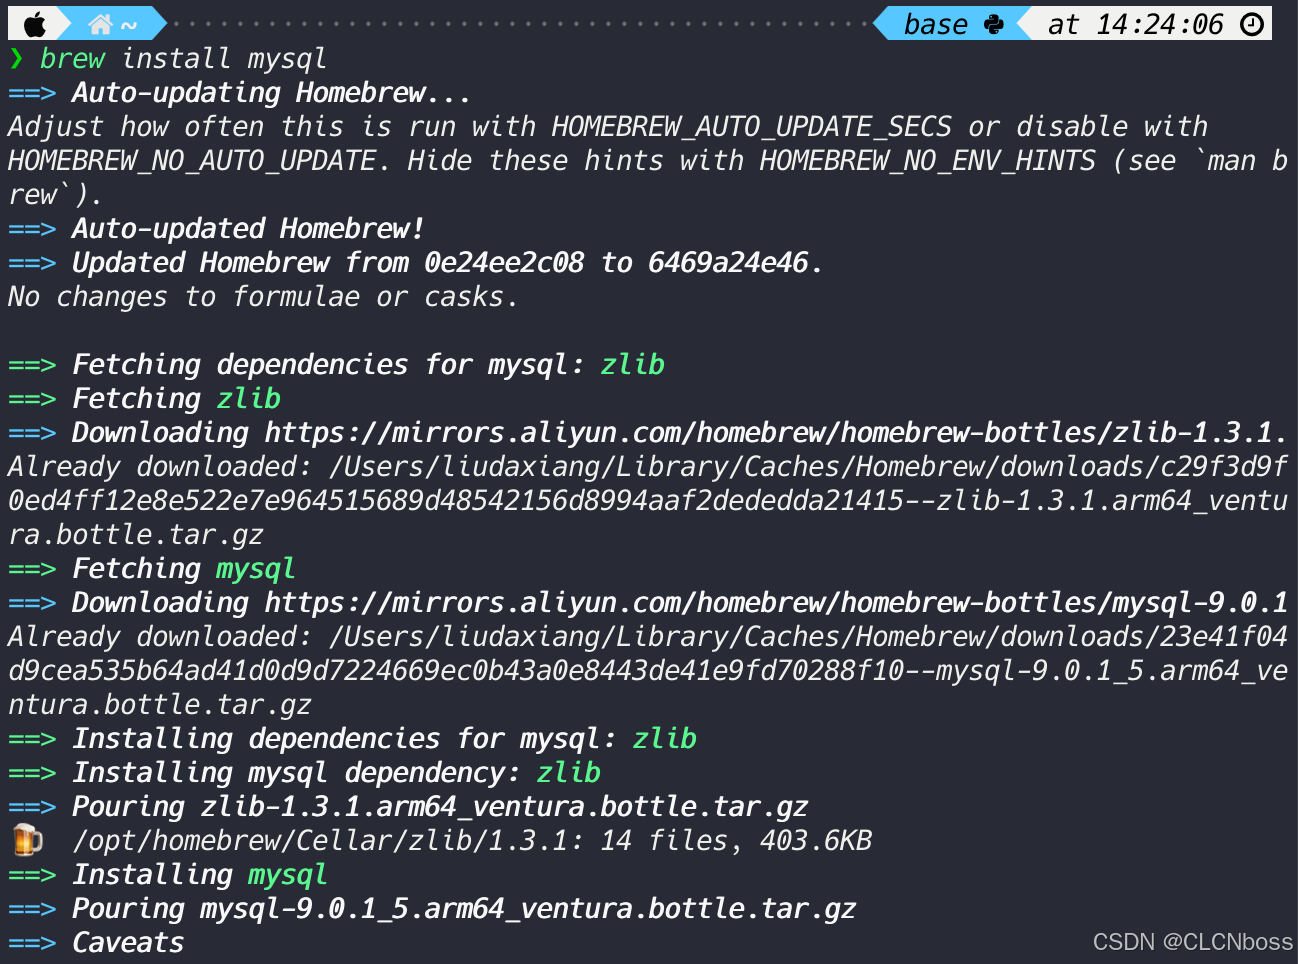
以下是所有输出内容
❯ brew install mysql
==> Auto-updating Homebrew...
Adjust how often this is run with HOMEBREW_AUTO_UPDATE_SECS or disable with
HOMEBREW_NO_AUTO_UPDATE. Hide these hints with HOMEBREW_NO_ENV_HINTS (see `man brew`).
==> Auto-updated Homebrew!
==> Updated Homebrew from 0e24ee2c08 to 6469a24e46.
No changes to formulae or casks.

==> Fetching dependencies for mysql: zlib
==> Fetching zlib
==> Downloading https://mirrors.aliyun.com/homebrew/homebrew-bottles/zlib-1.3.1.
Already downloaded: /Users/liudaxiang/Library/Caches/Homebrew/downloads/c29f3d9f0ed4ff12e8e522e7e964515689d48542156d8994aaf2dededda21415--zlib-1.3.1.arm64_ventura.bottle.tar.gz
==> Fetching mysql
==> Downloading https://mirrors.aliyun.com/homebrew/homebrew-bottles/mysql-9.0.1
Already downloaded: /Users/liudaxiang/Library/Caches/Homebrew/downloads/23e41f04d9cea535b64ad41d0d9d7224669ec0b43a0e8443de41e9fd70288f10--mysql-9.0.1_5.arm64_ventura.bottle.tar.gz
==> Installing dependencies for mysql: zlib
==> Installing mysql dependency: zlib
==> Pouring zlib-1.3.1.arm64_ventura.bottle.tar.gz
🍺  /opt/homebrew/Cellar/zlib/1.3.1: 14 files, 403.6KB
==> Installing mysql
==> Pouring mysql-9.0.1_5.arm64_ventura.bottle.tar.gz
==> Caveats
Upgrading from MySQL <8.4 to MySQL >9.0 requires running MySQL 8.4 first:
 - brew services stop mysql
 - brew install mysql@8.4
 - brew services start mysql@8.4
 - brew services stop mysql@8.4
 - brew services start mysql

We've installed your MySQL database without a root password. To secure it run:
    mysql_secure_installation

MySQL is configured to only allow connections from localhost by default

To connect run:
    mysql -u root

To start mysql now and restart at login:
  brew services start mysql
Or, if you don't want/need a background service you can just run:
  /opt/homebrew/opt/mysql/bin/mysqld_safe --datadir\=/opt/homebrew/var/mysql
==> Summary
🍺  /opt/homebrew/Cellar/mysql/9.0.1_5: 324 files, 310.3MB
==> Running `brew cleanup mysql`...
Disable this behaviour by setting HOMEBREW_NO_INSTALL_CLEANUP.
Hide these hints with HOMEBREW_NO_ENV_HINTS (see `man brew`).
==> Caveats
==> mysql
Upgrading from MySQL <8.4 to MySQL >9.0 requires running MySQL 8.4 first:
 - brew services stop mysql
 - brew install mysql@8.4
 - brew services start mysql@8.4
 - brew services stop mysql@8.4
 - brew services start mysql

We've installed your MySQL database without a root password. To secure it run:
    mysql_secure_installation

MySQL is configured to only allow connections from localhost by default

To connect run:
    mysql -u root

To start mysql now and restart at login:
  brew services start mysql
Or, if you don't want/need a background service you can just run:
  /opt/homebrew/opt/mysql/bin/mysqld_safe --datadir\=/opt/homebrew/var/mysql
3. 发现报错
如果没有出现下方启动没成功错误直接到下方配置即可

启动 mysql 服务
brew services start mysql

初始化执行命令,因为 mysql 默认没有密码,我们这里直接回车即可结果报错了。我查了一下资料,应该是没有正确启动 mysql
mysql_secure_installation

我通过命令在执行,报错了发现是没有用户权限
brew services start mysql

Bootstrap failed: 5: Input/output error
Try re-running the command as root for richer errors.
Error: Failure while executing; /bin/launchctl bootstrap gui/501 /Users/jimmy/Library/LaunchAgents/homebrew.mxcl.mysql.plist exited with 5.
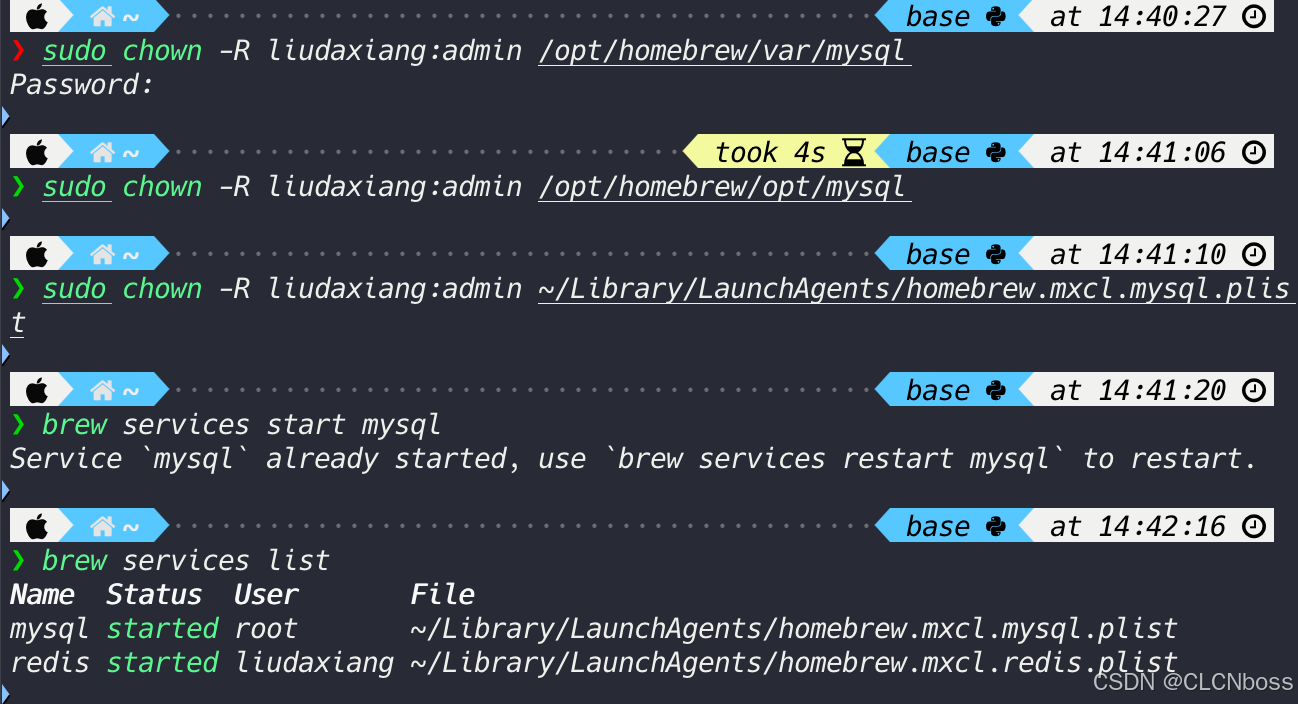
通过一顿找资料可算解决了,只执行中间区域三行命令即可换成自己的用户名(在终端输入 whoami 并换行即可查看),最后通过 brew services list 查看服务运行就可以继续了。
sudo chown -R $(whoami):admin /opt/homebrew/var/mysql
sudo chown -R $(whoami):admin /opt/homebrew/opt/mysql
sudo chown -R $(whoami):admin ~/Library/LaunchAgents/homebrew.mxcl.mysql.plist

sudo chown -R 自己的用户名:admin /opt/homebrew/var/mysql
sudo chown -R 自己的用户名:admin /opt/homebrew/opt/mysql
sudo chown -R 自己的用户名:admin ~/Library/LaunchAgents/homebrew.mxcl.mysql.plist

brew services list
4. 配置
4.1 是否使用密码组件
然后输入命令开始配置,问题大概意思是你是否希望使用该插件来测试密码强度并提高安全性,可以输入 “y” 或 “Y” 表示同意安装;如果不想安装,可以输入其他任意键表示拒绝。我选的 y
mysql_secure_installation
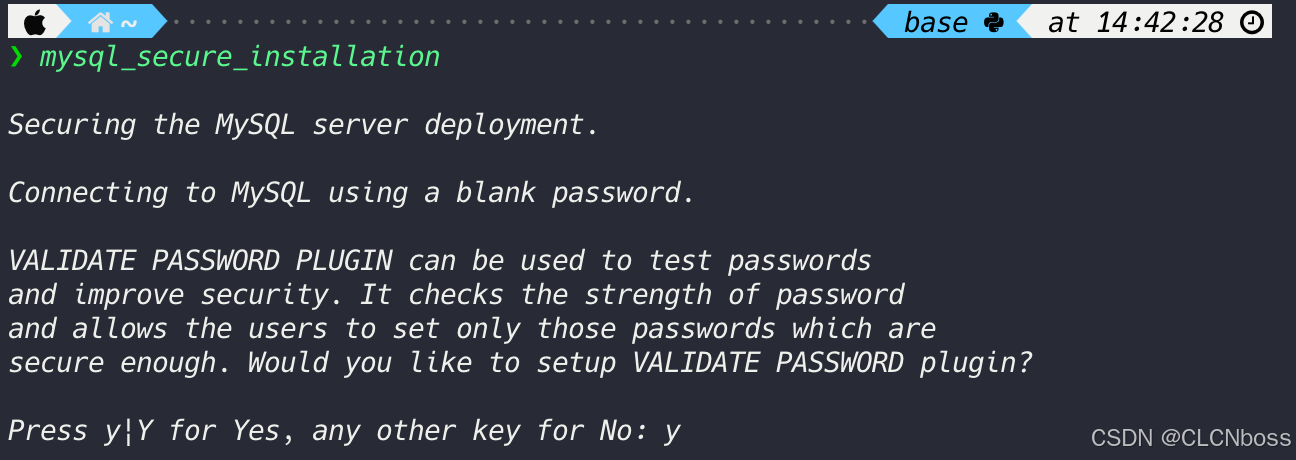
ecuring the MySQL server deployment.

Connecting to MySQL using a blank password.

VALIDATE PASSWORD PLUGIN can be used to test passwords
and improve security. It checks the strength of password
and allows the users to set only those passwords which are
secure enough. Would you like to setup VALIDATE PASSWORD plugin?

Press y|Y for Yes, any other key for No: y
4.2 密码强度
接下来是选择三种密码强度的策略,我选择了 0;本地 mysql 密码强度低一些即可。然后输入 root 密码 12345678 并确认一下 root 密码
❯ mysql_secure_installation

Securing the MySQL server deployment.

Connecting to MySQL using a blank password.

VALIDATE PASSWORD PLUGIN can be used to test passwords
and improve security. It checks the strength of password
and allows the users to set only those passwords which are
secure enough. Would you like to setup VALIDATE PASSWORD plugin?

Press y|Y for Yes, any other key for No: y

There are three levels of password validation policy:

LOW    Length >= 8
MEDIUM Length >= 8, numeric, mixed case, and special characters
STRONG Length >= 8, numeric, mixed case, special characters and dictionary                  file

Please enter 0 = LOW, 1 = MEDIUM and 2 = STRONG: 0
Please set the password for root here.

New password:

Re-enter new password:
4.3 密码强度确认
提示你的密码强度为 50,我选择继续使用这个密码

Estimated strength of the password: 50
Do you wish to continue with the password provided?(Press y|Y for Yes, any other key for No) : y
4.4 是否删除匿名用户
默认情况下,MySQL 安装有一个匿名用户,这使得任何人都可以登录 MySQL 而无需为他们创建用户帐户。这仅用于测试目的,并且可以使安装过程更加顺畅。在进入生产环境之前,你应该删除这些匿名用户。我选择 y
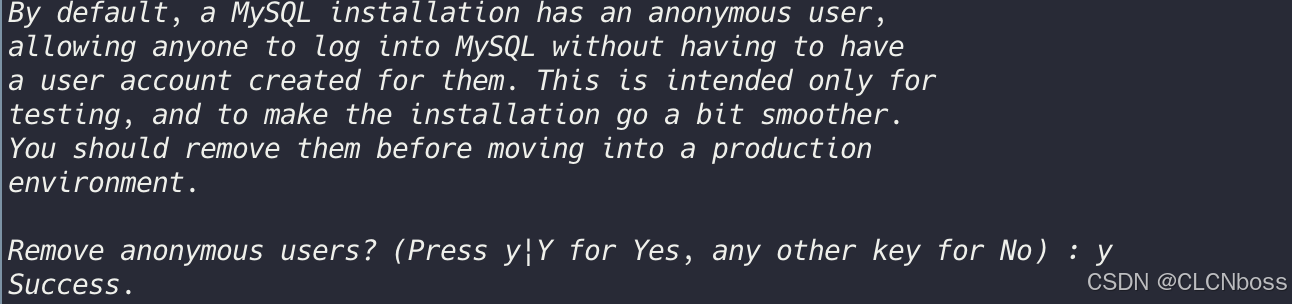
By default, a MySQL installation has an anonymous user,
allowing anyone to log into MySQL without having to have
a user account created for them. This is intended only for
testing, and to make the installation go a bit smoother.
You should remove them before moving into a production
environment.

Remove anonymous users? (Press y|Y for Yes, any other key for No) : y
Success.
4.5 是否可以异地登录
通常情况下,应该只允许 root 用户从 “localhost”(本地主机)连接。这可以确保没有人能够从网络上猜测 root 用户的密码。我选择 y

Normally, root should only be allowed to connect from
'localhost'. This ensures that someone cannot guess at
the root password from the network.

Disallow root login remotely? (Press y|Y for Yes, any other key for No) : y
Success.
4.6 是否删除 test 数据库
默认情况下,MySQL 带有一个名为 “test” 的数据库,任何人都可以访问它。这也仅用于测试目的,在进入生产环境之前应该将其删除。
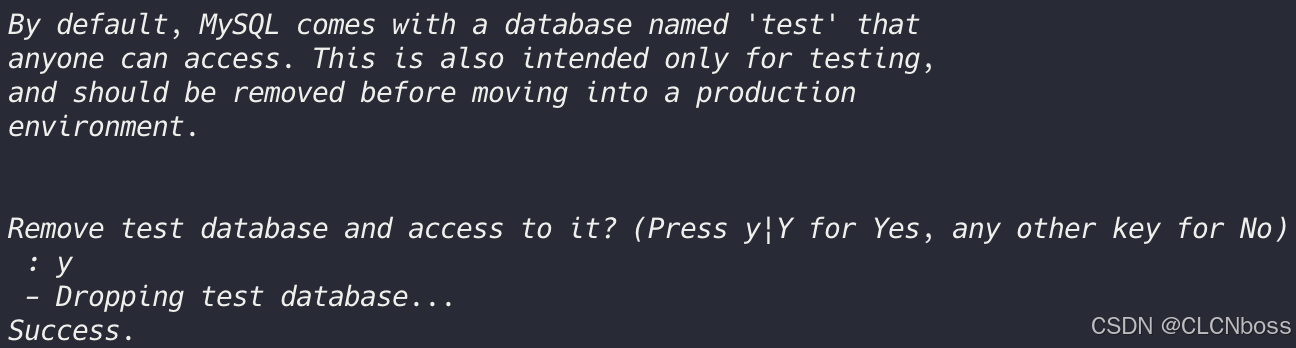
By default, MySQL comes with a database named 'test' that
anyone can access. This is also intended only for testing,
and should be removed before moving into a production
environment.


Remove test database and access to it? (Press y|Y for Yes, any other key for No) : y
 - Dropping test database...
Success.
4.7 加载权限表
重新加载权限表将确保到目前为止所做的所有更改立即生效。我选择的 y。建议选 y,因为之后我也不知道会如何在配置生效。
Reloading the privilege tables will ensure that all changes
made so far will take effect immediately.

Reload privilege tables now? (Press y|Y for Yes, any other key for No) : y
Success.

All done!
到此加载成功
5. 验证
我使用 Navicat 测试一下连接 MySQL ,发现连接成功

并看到初始的 4 个数据库

到此安装结束
参考
- https://blog.csdn.net/chenpy/article/details/142644556 安装教程
- https://www.cnblogs.com/Flat-White/p/18166721
- https://www.cnblogs.com/superip/p/17242921.html 卸载 mysql
- https://blog.51cto.com/u_16175458/7336974 卸载 mysql
- https://zhuanlan.zhihu.com/p/577420130 卸载 mysql
- https://blog.csdn.net/qq_48642405/article/details/139700640 解决报错


 534
534

 被折叠的 条评论
为什么被折叠?
被折叠的 条评论
为什么被折叠?
 到【灌水乐园】发言


