


centos web服务器:apache或者naginx都比较好,下面是用apache
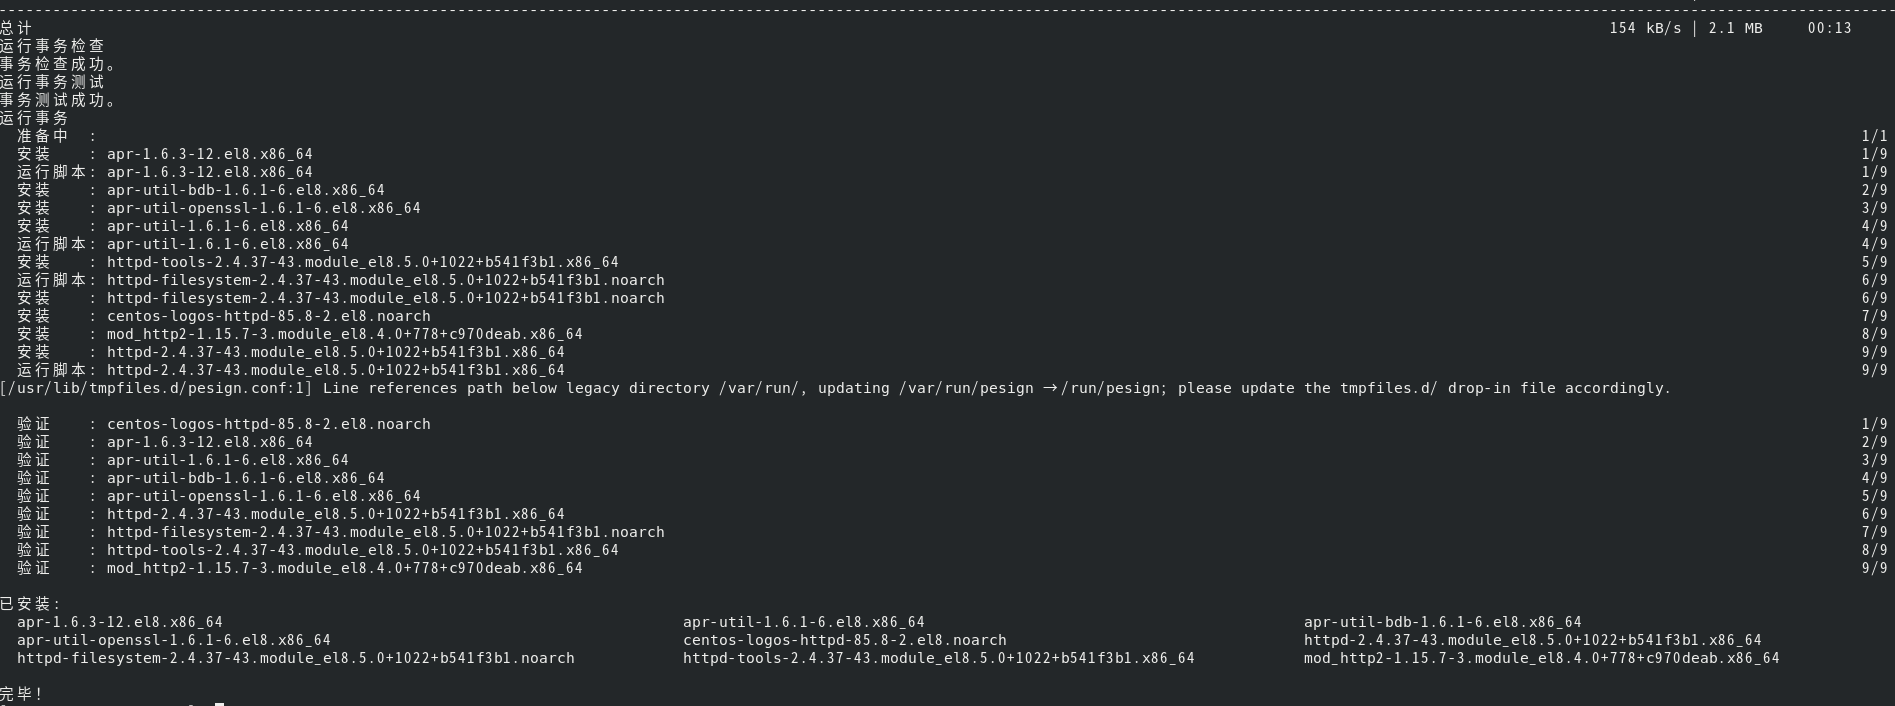
输入yum install -y httpd来进行web服务器服务的下载(nat)
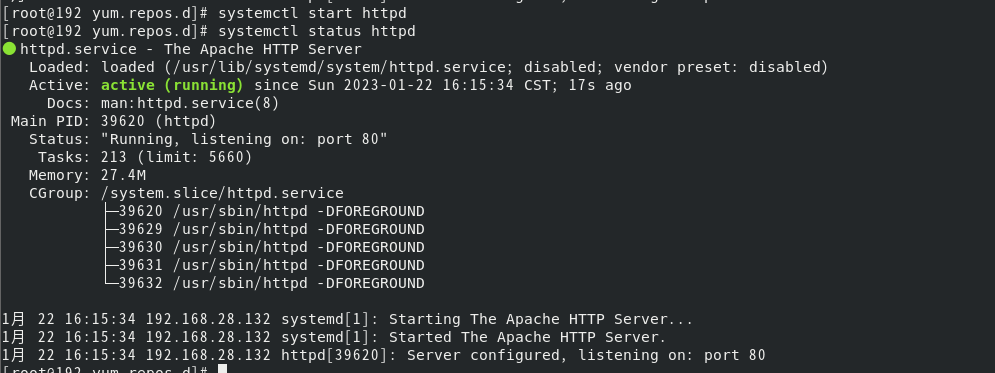
systemctl start httpd # 启动httpd服务
systemctl status httpd # 查看httpd服务
查看此时防火墙的状态,如果防火墙是开启的状态就有可能导致web服务器无法使用,即没法客户机没法用浏览器来访问web服务器
systemctl status firewalld.service

(active(running))如果显示这个就说明防火墙处于激活状态,所以我们得关闭防火墙
systemctl stop firewalld.service #执行停止运行防火墙命令
systemctl status firewalld.service

如果在active显示dead就说明防火墙服务关闭成功
systemctl disable firewalld.service #禁止防火墙自启动
systemctl start firewalld.service #开启防火墙
systemctl enable firewalld.service #防火墙随系统开启启动
防火墙有关的命令
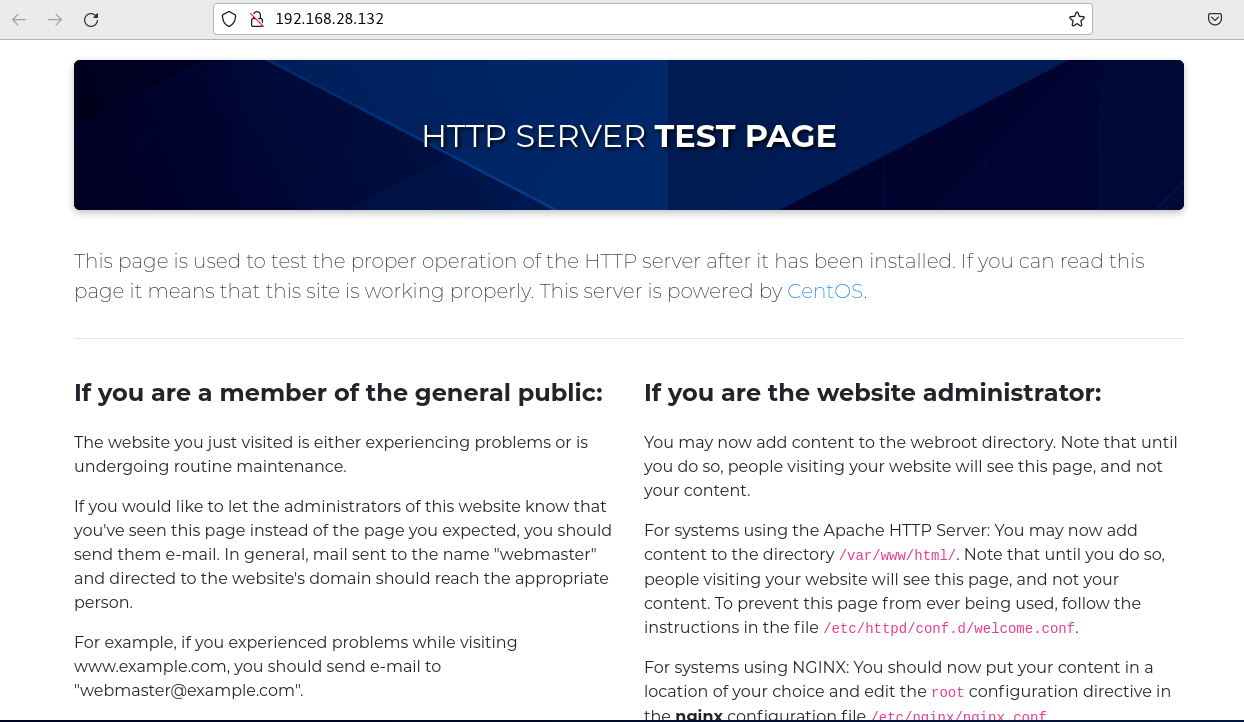
查看centos的IP地址

用浏览器访问
配置apache:httpd的默认配置文件为:/etc/httpd/conf/httpd.conf 由三部分组成;
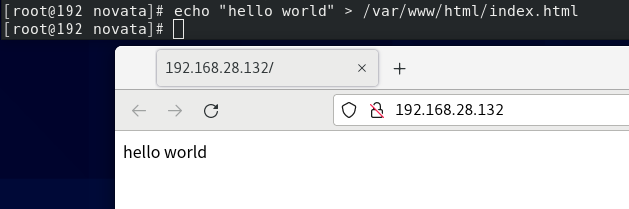
在/var/www/html/新建一个index.html并进行编辑;浏览器测试;
基于域名的多站点配置
编写/etc/httpd/conf.d/domain1.conf
<VirtualHost 192.168.28.132:80>
ServerName www.domain1.com
DocumentRoot "/var/www/domain1/html"
customlog "logs/domain1.log" combined
</VirtualHost>
<directory /var/www/domain1/html>
require all granted
</directory>
在/var/www/domain1/html/index.html写上测试网页

编写/etc/httpd/conf.d/domain2.conf
<VirtualHost 192.168.28.132:80>
ServerName www.domain2.com
DocumentRoot "/var/www/domain2/html"
customlog "logs/domain2.log" combined
</VirtualHost>
<directory /var/www/domain2/html>
require all granted
</directory>
在/var/www/domain2/html/index.html写上测试网页

然后就是vim /etc/hosts
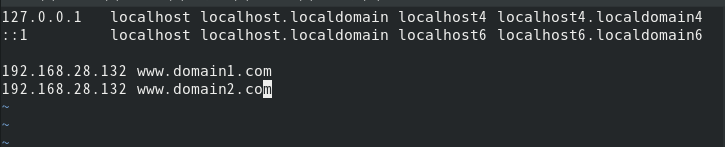
修改完配置文件后重启apache使配置文件生效
systemctl restart httpd
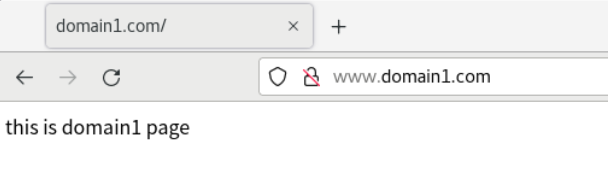
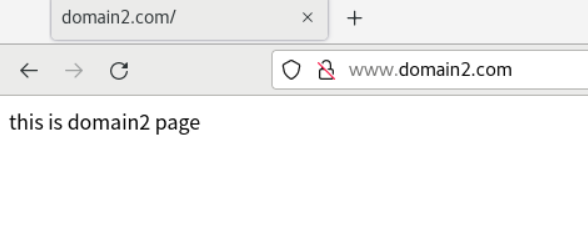
打开虚拟机的浏览器依次输入www.domain1.com 和 www.domain2.com
基于ip的多站点配置
添加临时ip
[root@localhost www]# ifconfig ens33:1 192.168.135.158 netmask 255.255.255.0 up
[root@localhost www]# ifconfig ens33:2 192.168.135.159 netmask 255.255.255.0 up

编写/etc/httpd/conf.d/ip1.conf
<VirtualHost 192.168.135.158:80>
DocumentRoot "/var/www/ip1/html"
customlog "logs/ip1.log" combined
</VirtualHost>
<directory /var/www/ip1/html>
require all granted
</directory>
在/var/www/ip1/html/index.html写上测试网页

编写/etc/httpd/conf.d/ip2.conf
<VirtualHost 192.168.135.159:80>
DocumentRoot "/var/www/ip2/html"
customlog "logs/ip2.log" combined
</VirtualHost>
<directory /var/www/ip2/html>
require all granted
</directory>
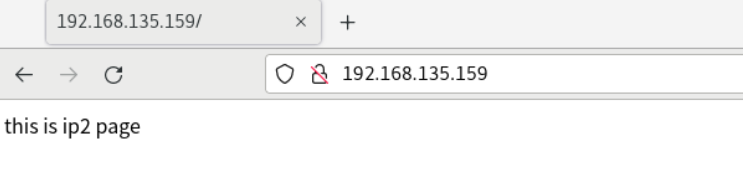
在/var/www/ip2/html/index.html写上测试网页

重启Apache使配置文件生效 systemctl restart httpd
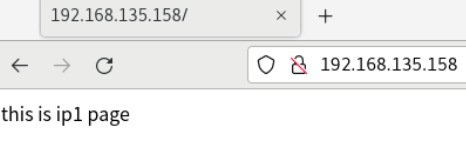
分别访问192.168.135.158 和 192.168.135.159 (这两个ip是我们加上的临时ip)
基于端口的多站点配置
我们使用8080和8081端口作为网站的端口
编写/etc/httpd/conf.d/port1.conf
Listen 8080
<VirtualHost 192.168.28.132:8080>
DocumentRoot "/var/www/port1/html"
customlog "logs/port1.log" combined
</VirtualHost>
<directory /var/www/port1/html>
require all granted
</directory>
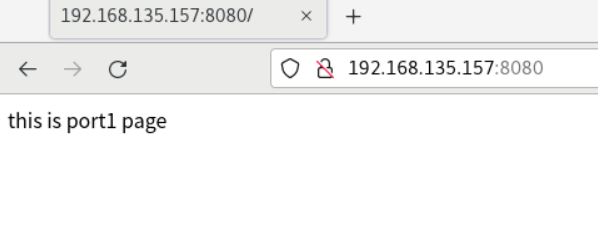
在/var/www/port1/html/index.html写上测试网页

编写/etc/httpd/conf.d/port2.conf
Listen 8081
<VirtualHost 192.168.28.132:8081>
DocumentRoot "/var/www/port2/html"
CustomLog "logs/port2.log" combined
</VirtualHost>
<Directory /var/www/port2/html>
Require all granted
</Directory>
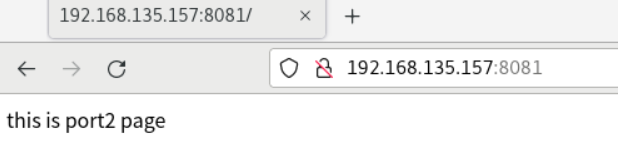
在/var/www/port2/html/index.html写上测试网页

在我们监听端口的过程中,由于centos8中的Selinux机制,可能操作系统不让我们监听一些特定的端口,我们需要把他关掉
setenforce 0 #临时关闭,重启恢复
重启
systemctl restart httpd
分别访问http://192.168.135.157:8080/ 和 http://192.168.135.157:8081/


 9077
9077


 被折叠的 条评论
为什么被折叠?
被折叠的 条评论
为什么被折叠?
 到【灌水乐园】发言


