


 starter 是 SpringBoot 中一种非常重要的机制,它可以繁杂的配置统一集成到 starter 中,我们只需要通过 maven 将 starter 依赖引入到项目中,SpringBoot 就能自动扫描并加载相应的默认配置。starter 的出现让开发人员从繁琐的框架配置中解放出来,将更多的精力专注于业务逻辑的开发,极大的提高了开发效率。在一些特殊情况下,我们也可以将一些通用功能封装成自定义的 starter 进行使用,本节我们将为您详细介绍如何自定义 starter。命名规范SpringB
starter 是 SpringBoot 中一种非常重要的机制,它可以繁杂的配置统一集成到 starter 中,我们只需要通过 maven 将 starter 依赖引入到项目中,SpringBoot 就能自动扫描并加载相应的默认配置。starter 的出现让开发人员从繁琐的框架配置中解放出来,将更多的精力专注于业务逻辑的开发,极大的提高了开发效率。
在一些特殊情况下,我们也可以将一些通用功能封装成自定义的 starter 进行使用,本节我们将为您详细介绍如何自定义 starter。
命名规范
SpringBoot 提供的 starter 以 spring-boot-starter-xxx 的形式命名。为了与 SpringBoot 生态提供的 starter 进行区分,官方建议第三方开发者或技术(例如 Druid、Mybatis 等等)厂商自定义的 starter 使用 xxx-spring-boot-starter 的形式命名,例如 mybatis-spring-boot-starter、druid-spring-boot-starter 等等。
模块规范
Spring Boot 官方建议我们在自定义 starter 时,创建两个 Module :autoConfigure Module 和 starter Module,其中 starter Module 依赖于 autoConfigure Module。当然,这只是 Spring Boot 官方的建议,并不是硬性规定,若不需要自动配置代码和依赖项目分离,我们也可以将它们组合到同一个 Module 里。
自定义 starter
自定义 starter 可以分为以下 7 步:
创建工程
添加 POM 依赖
定义 propertie 类
定义 Service 类
定义配置类
创建 spring.factories文件
构建 starter
创建工程
- 使用 IntelliJ IDEA 创建一个空项目(Empty Project),如下图。
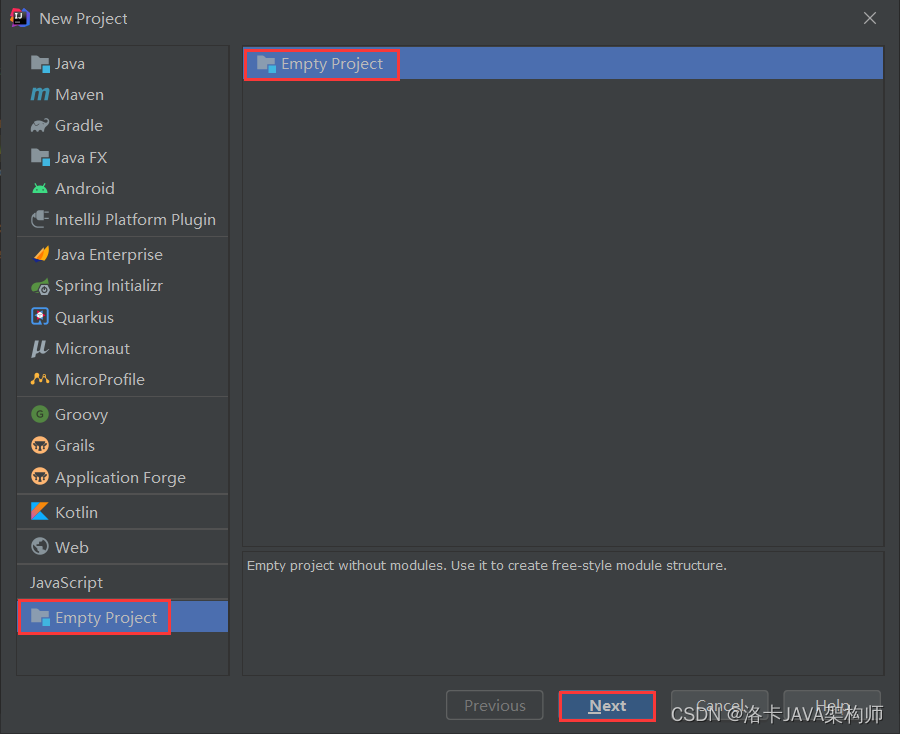
IDEA 创建一个空项目
图1:IDEA 创建空项目
- 在 Project Structure 界面,点击左上角的“+”按钮,选择“New Module”,新建一个名为 tangyu9880-hello-spring-boot-starter 的 Maven Module 和一个名为 tangyu9880-helllo-spring-boot-starter-autoconfiguration 的 Spring Boot Module,如下图。
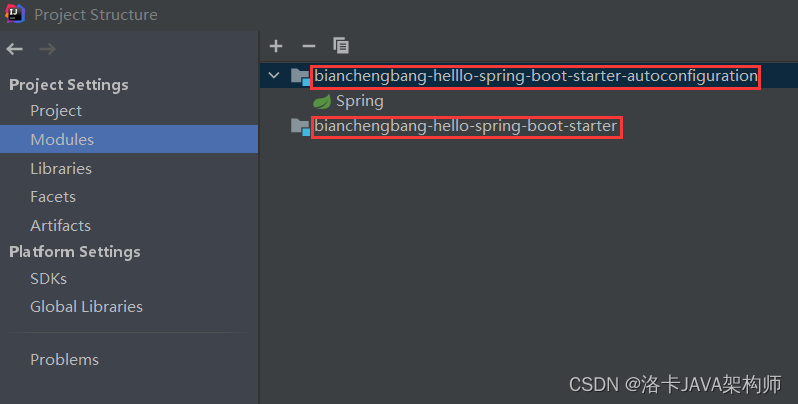
IDEA 创建两个 Module
图2:新建 Module
添加 POM 依赖
在 tangyu9880-hello-spring-boot-starter 的 pom.xml 中添加以下代码,将tangyu9880-helllo-spring-boot-starter-autoconfiguration 作为其依赖项。
HelloProperties 类上使用了 @ConfigurationProperties(“net.biancheng.www.hello”),其含义是将该类中的属性与配置文件中的以 tangyu9880.hello 开头的配置进行绑定。
定义 Service 类
在 tangyu9880-helllo-spring-boot-starter-autoconfiguration 的 net.biacheng.www.service 中,创建一个 Service 类:HelloService,供其他项目使用,代码如下。
package tangyu9880.service;
import tangyu9880.properties.HelloProperties;
import org.springframework.beans.factory.annotation.Autowired;
/**
- servcie 类,供外部调用
*/
public class HelloService {
@Autowired
HelloProperties helloProperties;
public String sayHello(String userN
 最低0.47元/天 解锁文章


 1067
1067


 被折叠的 条评论
为什么被折叠?
被折叠的 条评论
为什么被折叠?
 到【灌水乐园】发言


