


1.
创建
Maven
项目
点击file-> new->project

选择maven --->next
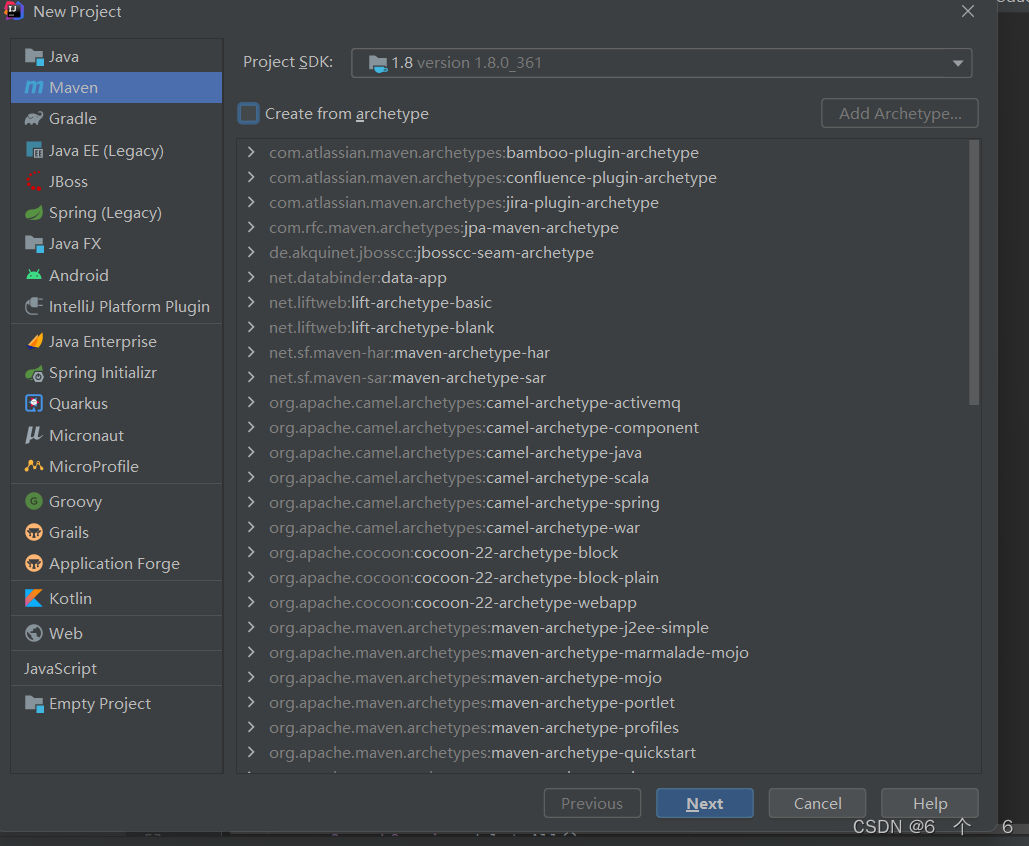
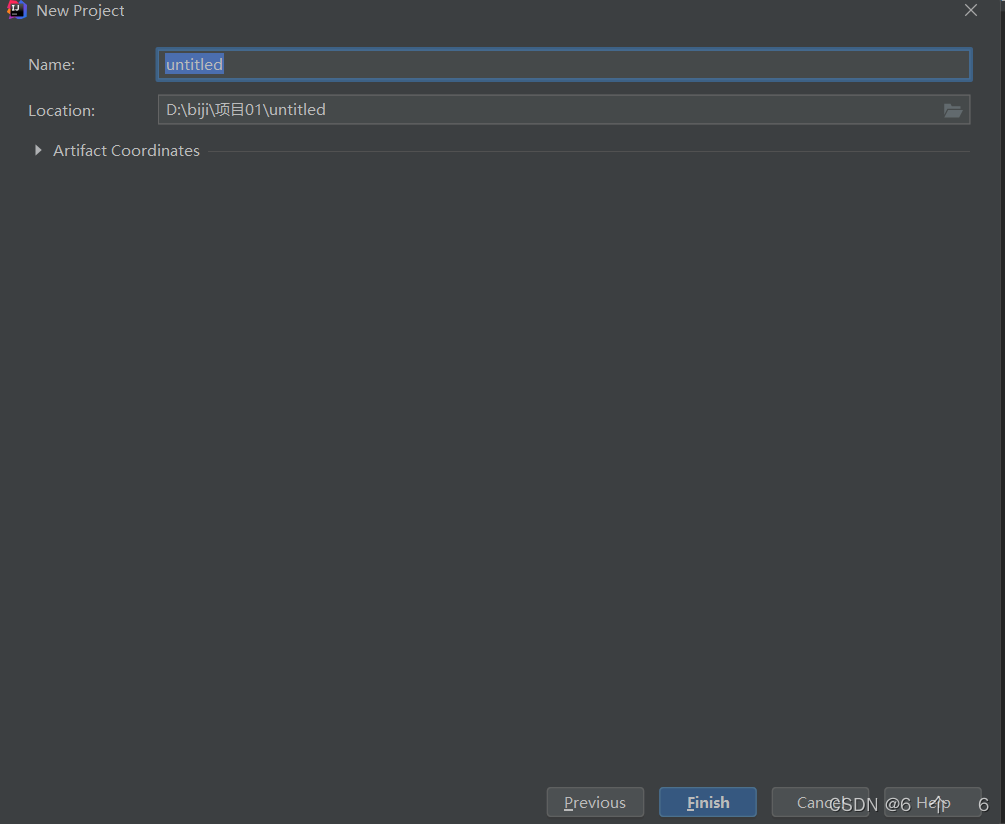
起个名字 直接点击 -->finish
2.
修改
pom
文件,增加依赖关系
<?xml version="1.0" encoding="UTF-8"?>
<project xmlns="http://maven.apache.org/POM/4.0.0"
 xmlns:xsi="http://www.w3.org/2001/XMLSchema-instance"
 xsi:schemaLocation="http://maven.apache.org/POM/4.0.0
http://maven.apache.org/xsd/maven-4.0.0.xsd">
 <modelVersion>4.0.0</modelVersion>
 <parent>
 <groupId>org.springframework.boot</groupId>
 <artifactId>spring-boot-starter-parent</artifactId>
 <version>2.3.6.RELEASE</version>
 <relativePath/>
 </parent>
 <groupId>com.atguigu.es</groupId>
 <artifactId>springdata-elasticsearch</artifactId>
 <version>1.0</version>
 <properties>
 <maven.compiler.source>8</maven.compiler.source>
 <maven.compiler.target>8</maven.compiler.target>
 </properties>
 <dependencies>
 <dependency>
 <groupId>org.projectlombok</groupId>
 <artifactId>lombok</artifactId>
 </dependency>
 <dependency>
 <groupId>org.springframework.boot</groupId>
 <artifactId>spring-boot-starter-data-elasticsearch</artifactId>
 </dependency>
 <dependency>
 <groupId>org.springframework.boot</groupId>
 <artifactId>spring-boot-devtools</artifactId>
 <scope>runtime</scope>
 <optional>true</optional>
 </dependency>
 <dependency>
 <groupId>org.springframework.boot</groupId>
 <artifactId>spring-boot-starter-test</artifactId>
 <scope>test</scope>
 </dependency>
 <dependency>
 <groupId>org.springframework.boot</groupId>
 <artifactId>spring-boot-test</artifactId>
 </dependency>
 <dependency>
 <groupId>junit</groupId>
 <artifactId>junit</artifactId>
 </dependency>
 <dependency>
 <groupId>org.springframework</groupId>
 <artifactId>spring-test</artifactId>
 </dependency>
 &
最低0.47元/天 解锁文章


 1127
1127


 被折叠的 条评论
为什么被折叠?
被折叠的 条评论
为什么被折叠?
 到【灌水乐园】发言


