


Thymeleaf
通常写前端都要用jsp文件去写,但是SpringBoot写前端必须使用Thymeleaf
Thymeleaf 是一个跟 Velocity、FreeMarker 类似的模板引擎,它可以完全替代 JSP ,
与其他的模
板引擎,例如
FreeMarker
、
JSP
等相比,
Thymeleaf
语法更简单,功能更强大,
SpringBoot
官方
推荐使用
Thymeleaf
。
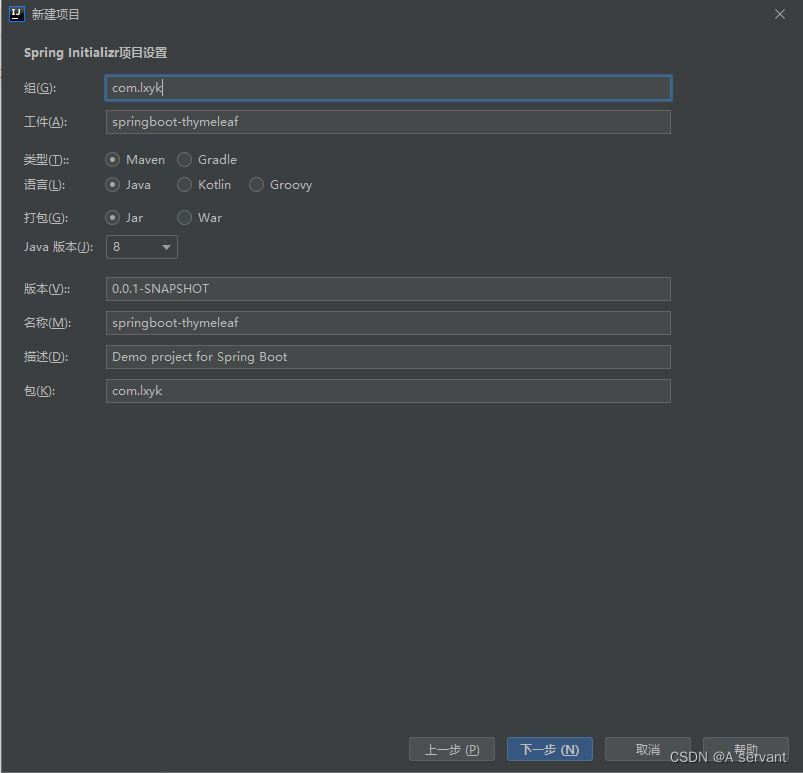
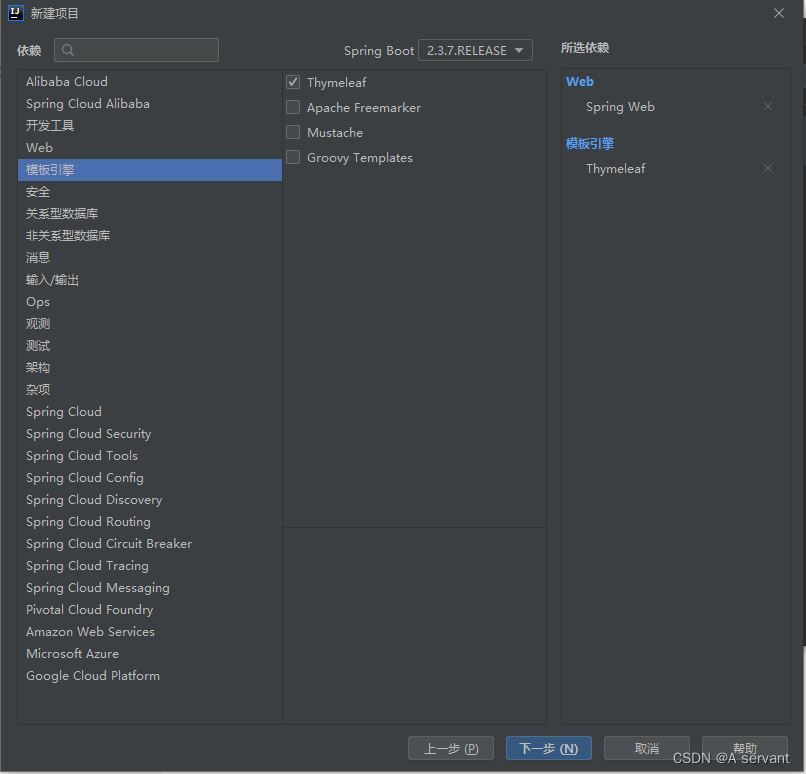
1.创建项目
2.导入依赖
        <dependency>
            <groupId>net.sourceforge.nekohtml</groupId>
            <artifactId>nekohtml</artifactId>
            <version>1.9.22</version>
        </dependency>
        <dependency>
            <groupId>org.projectlombok</groupId>
            <artifactId>lombok</artifactId>
        </dependency>
3.在 application.yml 中配置 Thymeleaf
#Tomcat 服务
server:
    port: 8080
###ThymeLeaf配置
spring:
    application:
        name: springboot-thymeleaf
    thymeleaf:
        cache: false                   # 开发时关闭缓存,不然没法看到实时页面
        check-template: true
        check-template-location: true
        content-type: text/html
        enabled: true
        #编码 可不用配置
        encoding: UTF-8
        excluded-view-names: ''
        #模板的模式,支持 HTML, XML TEXT JAVASCRIPT
        mode: HTML5                     # 用非严格的 HTML
        prefix: classpath:/templates/
        suffix: .html
        #内容类别,可不用配置
        servlet:
            content-type: text/html
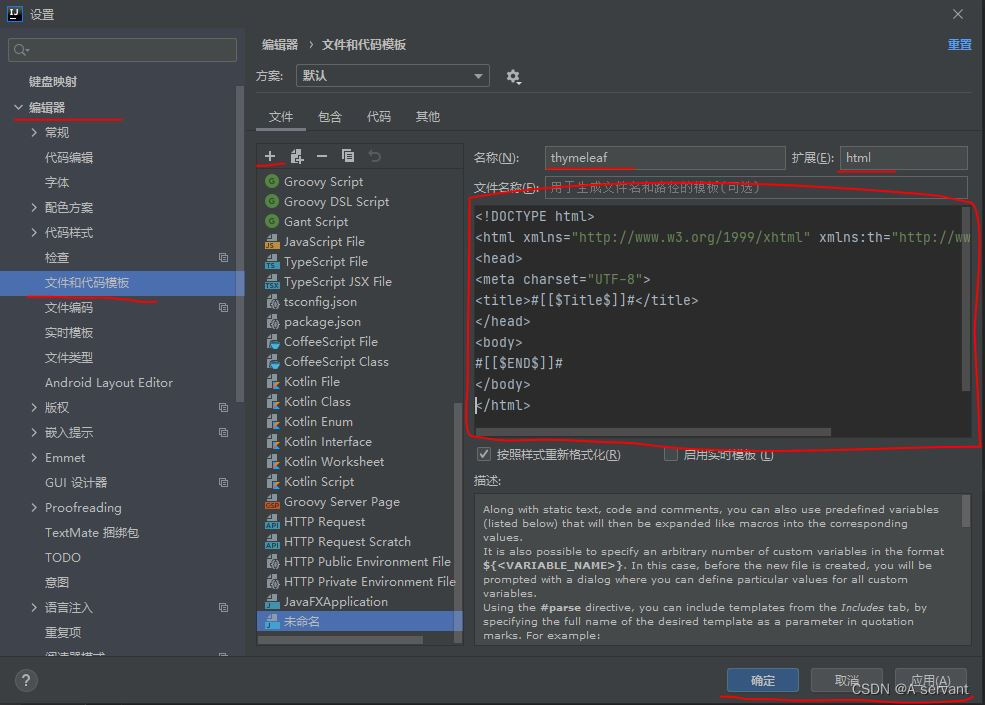
4.IDEA添加thymeleaf视图模板
5.templates文件夹下新建index页面
前端一般都写在资源文件夹下的templates文件夹下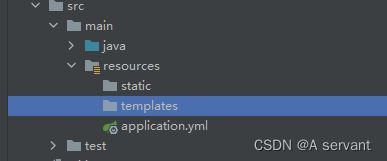
点击它新建的时候就以及有了这个页面了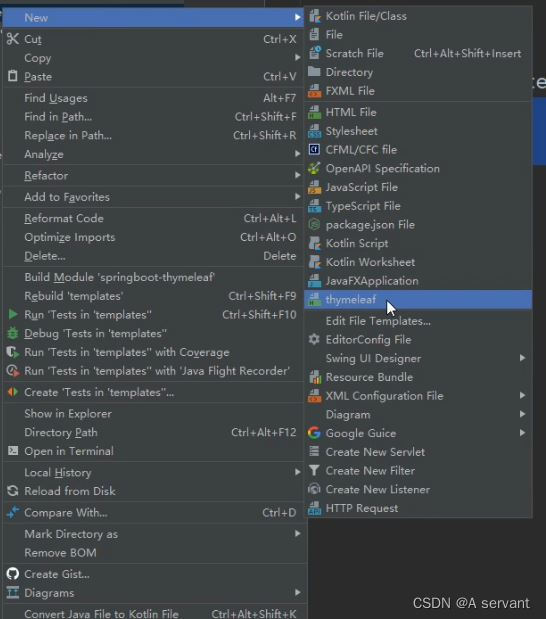
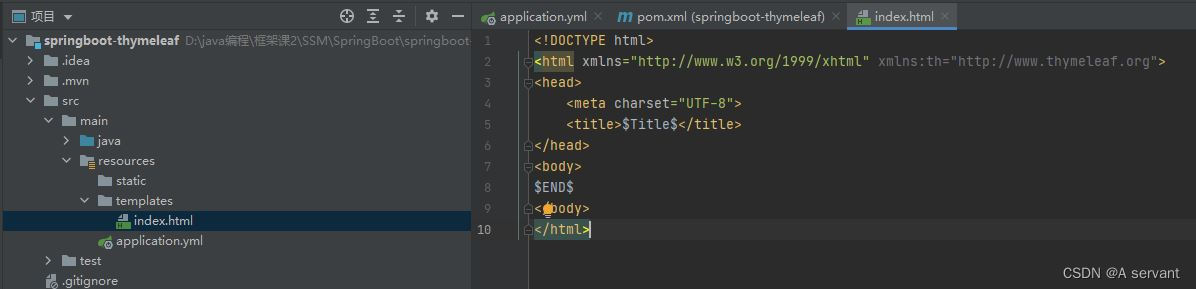
内容:
<!DOCTYPE html>
<html xmlns="http://www.w3.org/1999/xhtml" xmlns:th="http://www.thymeleaf.org">
<head>
<meta charset="UTF-8">
<title th:text="${title}">默认的</title>
<meta th:content="${description}" name="description" content="默认的description">
<meta th:content="${keywords}" name="keywords" content="默认的keywords">
</head>
<body>
hello,你好呀!
</body>
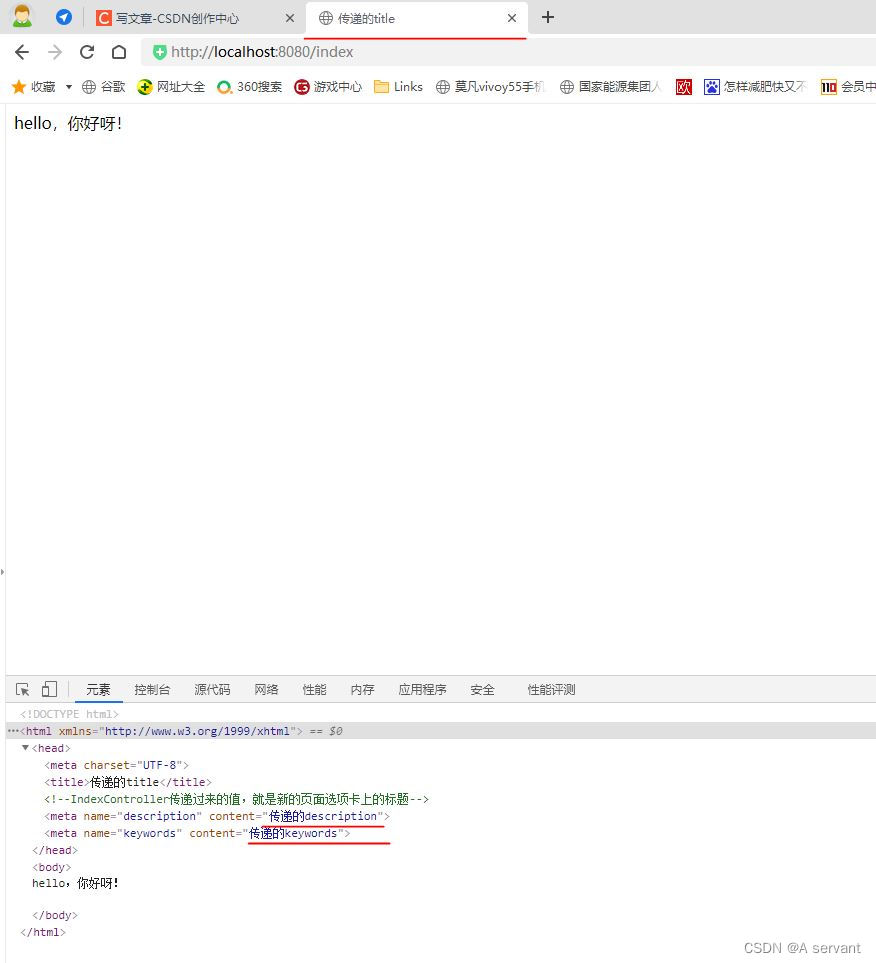
</html>6.新建IndexController
@Controller
public class IndexController {
    @GetMapping("/index")
    public String index(Model model) {            //为啥放model
        model.addAttribute("title", "传递的title");
        model.addAttribute("description","传递的description");
        model.addAttribute("keywords","传递的keywords");
        return "index";
    }
}
Controller层传递过去的键(值),被index页面接收
Thymeleaf常用方法
1.User实体类
@Data
@NoArgsConstructor
@AllArgsConstructor
public class User {
    private String username;
    private Integer age;
    private Integer sex;
    private boolean isVip;
    private Date createTime;
    private List<String> tags;
}
2.IndexController(在写一个方法)
    @GetMapping("/basicTrain")
    public String basicTrain(Model model){
        //给实体类设置参数
        User user = new User();
        user.setUsername("fbb");
        user.setAge(3);
        user.setSex(1);
        user.setVip(true);
        user.setCreateTime(new Date());
        user.setTags(Arrays.asList("Java","Html","PHP"));
        //把user放进模型容器(model)中
        model.addAttribute("user",user);
        return "basic";
    }
3.basic.html
<!DOCTYPE html>
<html xmlns="http://www.w3.org/1999/xhtml" xmlns:th="http://www.thymeleaf.org">
<head>
    <meta charset="UTF-8">
    <title>$Title$</title>
</head>
<body>
<div>
    <!-- 也可以这样写:<h2 th:text="${user.getUsername()}"></h2>-->
    <h2 th:text="${user.username}"></h2>
    <h2 th:text="${user.age}"></h2>
</div>
<!--还可以这样写-->
<div th:object="${user}">
    <h2 th:text="*{username}"></h2>       <!--因为user给到了div,所以这里可以写*-->
    <p th:text="*{age}"></p>
</div>
</body>
</html>
不同的取值方式
<!--th:if !取反 不显示 (让它变成false),在前端控制台连代码都不显示-->
<p th:if="${!user.isVip}">会员显示</p>

<!--th:each (有序列表)-->
<ul>
    <li th:each="tag:${user.tags}" th:text="${tag}"></li>   <!--把${user.tags}赋给了tag,然后th:text(文本信息)中取到赋值的tag-->
</ul>
<!--th:switch-->
<div th:switch="${user.sex}">                              <!--后端:Controller中写的是1,这里就是1-->
    <p th:case="1">男</p>
    <p th:case="2">女</p>
    <p th:case="*">默认</p>
</div>
4.Thymeleaf中javaScript,css的使用
resources资源文件中的static包下面建 app.css
.app{
    height: 200px;
    width: 200px ;
    background-color: black;
}basic.html页面引入 这个app.css
在头部标签中<head>中加入
<!--stylesheet:样式表 用@把app.css文件引入进来-->
<link rel="stylesheet" th:href="@{app.css}">
然后在<body>标签中加入
<div class="app"></div>就把风格文件引入进来了
5.javaScript使用 (js的使用)
在头部标签中<head>中加入
    <!--js的使用 获取user(注意格式)-->
    <script th:inline="javascript">
         const user = /*[[${user}]]*/{};
         console.log(user);
         </script>
最后进行测试就可以了


 3359
3359


 被折叠的 条评论
为什么被折叠?
被折叠的 条评论
为什么被折叠?
 到【灌水乐园】发言


