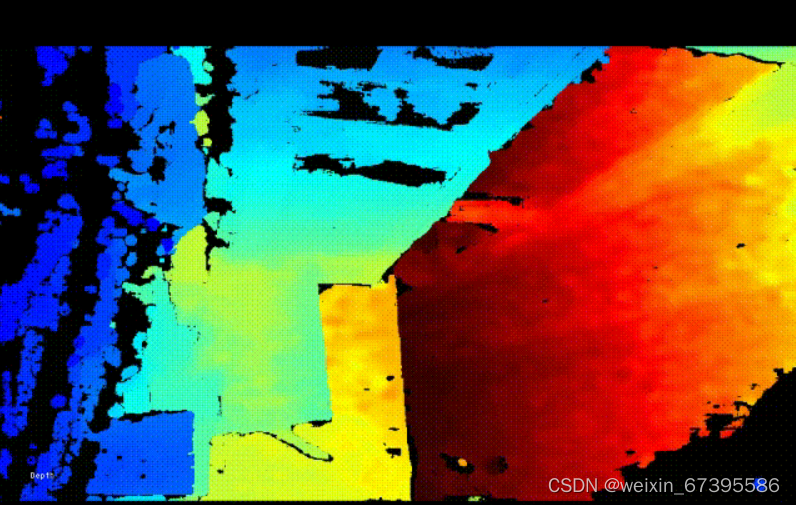
1.深度相机使用的基本代码
D415深度相机的基本功能可以靠Intel提供的
<librealsense2/rs.hpp>头文件实现
(1)相机视野中心物体到相机的距离:
#include <librealsense2/rs.hpp>
rs2::pipeline p;//创建管道,用于传输流和每一帧的数据
p.start();
rs2::frameset frames = p.wait_for_frames();//(深度相机通常提供多个视频流),等待用于接受每一个源流的帧
rs2::depth_frame depth = frames.get_depth_frame();//获得总帧数
float width = depth.get_width();
float height = depth.get_height();
float dist_to_center = depth.get_distance(width / 2, height / 2);//获取距离
(2)对齐
作用:将图像从一种视图转变为另一种视图(例如从深度—颜色转变为颜色—深度)

代码:
#include <librealsense2/rs.hpp>
#include "../example.hpp"
#include "imgui.h"
#include "imgui_impl_glfw.h"
rs2::pipeline pipe;
rs2::config cfg;
cfg.enable_stream(RS2_STREAM_DEPTH);
cfg.enable_stream(RS2_STREAM_COLOR);//创建深度流和颜色流
pipe.start(cfg);//配置
rs2::align align_to_depth(RS2_STREAM_DEPTH);
rs2::align align_to_color(RS2_STREAM_COLOR);
frameset = align_to_depth.process(frameset);
glEnable(GL_BLEND);//使用OpenGL 混合功能渲染两个重叠的流
// 使用 Alpha 通道进行混合
glBlendFunc(GL_SRC_ALPHA, GL_ONE_MINUS_SRC_ALPHA);
if (dir == direction::to_depth)
{
// 对齐深度,首先渲染深度,然后用底片在上面覆盖颜色
depth_image.render(colorized_depth, { 0, 0, app.width(), app.height() });
color_image.render(color, { 0, 0, app.width(), app.height() }, alpha);
}
else
{
// 同上
color_image.render(color, { 0, 0, app.width(), app.height() });
depth_image.render(colorized_depth, { 0, 0, app.width(), app.height() }, 1 - alpha);
}
glColor4f(1.f, 1.f, 1.f, 1.f);
glDisable(GL_BLEND);
//Imgui用于设置UI
ImGui_ImplGlfw_NewFrame(1);
render_slider({ 15.f, app.height() - 60, app.width() - 30, app.height() }, &alpha, &dir);
ImGui::Render();
(3)将深度和 RGB 数据流传输到屏幕
#include <librealsense2/rs.hpp>


 最低0.47元/天 解锁文章


 1万+
1万+


 被折叠的 条评论
为什么被折叠?


