


我在阿里云上部署的k8s
master 4c/8g/40g rocky linux8.9
node1/node2 2c/4g/40g rocky linux8.9
安装docker (我安装的是v1.19.1版本,是旧版本,可以装新版本,docker的版本和kubeadm,kubectl,kubelet版本相同)
1.所有k8s节点都要干的事情
1)docker的安装包路径
docker-ce-linux-centos-8.9-x86_64-stable-Packages安装包下载_开源镜像站-阿里云
centos(rocky inux8.9相当于centos8)
如果是centos8安装docker
wget https://mirrors.aliyun.com/docker-ce/linux/centos/8.9/x86_64/stable/Packages/docker-ce-19.03.15-3.el8.x86_64.rpm
wget https://mirrors.aliyun.com/docker-ce/linux/centos/8.9/x86_64/stable/Packages/containerd.io-1.4.3-3.2.el8.x86_64.rpm
wget  https://mirrors.aliyun.com/docker-ce/linux/centos/8.9/x86_64/stable/Packages/docker-ce-cli-19.03.15-3.el8.x86_64.rpm
yum -y install containerd.io-1.4.3-3.2.el8.x86_64.rpm   docker-ce-cli-19.03.15-3.el8.x86_64.rpm docker-ce-19.03.15-3.el8.x86_64.rpm
centos7安装docker
wget https://mirrors.aliyun.com/docker-ce/linux/centos/7/x86_64/stable/Packages/docker-ce-19.03.9-3.el7.x86_64.rpm
wget https://mirrors.aliyun.com/docker-ce/linux/centos/7/x86_64/stable/Packages/docker-ce-cli-19.03.9-3.el7.x86_64.rpm
wget https://mirrors.aliyun.com/docker-ce/linux/centos/7/x86_64/stable/Packages/containerd.io-1.4.3-3.2.el7.x86_64.rpm
yum -y install docker-ce-19.03.9-3.el7.x86_64.rpm  docker-ce-cli-19.03.9-3.el7.x86_64.rpm containerd.io-1.4.3-3.2.el7.x86_64.rpm
swapoff -a
vim /etc/fstab #把有swap那行注释
systemctl stop firewalld
sed -i -r 's/^(SELINUX=).*/\1disabled/' /etc/selinux/config

[root@node1 ~]# cat /etc/hosts
127.0.0.1   localhost localhost.localdomain localhost4 localhost4.localdomain4
::1         localhost localhost.localdomain localhost6 localhost6.localdomain6
10.8.0.24  master1
10.8.0.23  node1
10.8.0.26  node2


cat <<EOF > /etc/yum.repos.d/kubernetes.repo
[kubernetes]
name=Kubernetes
baseurl=https://mirrors.aliyun.com/kubernetes/yum/repos/kubernetes-el7-x86_64
enabled=1
gpgcheck=0
repo_gpgcheck=0
gpgkey=https://mirrors.aliyun.com/kubernetes/yum/doc/yum-key.gpg https://mirrors.aliyun.com/kubernetes/yum/doc/rpm-package-key.gpg
EOF

yum list kubelet showduplicate|sort -r  #可以查看可用的kubelet的软件包
yum install -y kubelet-1.19.1-0.x86_64 kubeadm-1.19.1-0.x86_64 kubectl-1.19.1-0.x86_64 ipvsadm
#ipvsadm 是一个用于管理 Linux 内核中的 IP 虚拟服务器(IPVS)模块的工具。
2) 加载ipvs内核模块
modprobe ip_vs && modprobe ip_vs_rr && modprobe ip_vs_wrr && modprobe ip_vs_sh && modprobe nf_conntrack && modprobe br_netfilter
可以写在/etc/rc.local 中开机自动执行
chmod u+x /etc/rc.local

3)配置相关转发规则
cat <<EOF > /etc/sysctl.d/k8s.conf
net.bridge.bridge-nf-call-ip6tables = 1
net.bridge.bridge-nf-call-iptables = 1
net.ipv4.ip_forward = 1
vm.swappiness=0
EOF

sysctl -p /etc/sysctl.d/k8s.conf
4)docker和kubectl 的cgroups的驱动配置设置为systemd
 cat <<EOF> /etc/docker/daemon.json
{
  "exec-opts": ["native.cgroupdriver=systemd"]
}
EOF

cat >/etc/sysconfig/kubelet <<EOF
KUBELET_EXTRA_ARGS="--cgroup-driver=systemd --pod-infra-container-image=k8s.gcr.io/pause:3.2"
EOF


systemctl restart docker
systemctl daemon-reload
docker info|grep -i cgroup #查看docker的cgroups的驱动配置
5)安装tc工具
安装iproute2,iproute2中包含tc工具
#可以看这篇文章进行安装
CentOS 7 编译安装 iproute2 - 青枫博客![]() https://www.vdj.me/archives/259.html
https://www.vdj.me/archives/259.html
# 或者下载最新版 iproute2 源码包(含 TC 工具)
wget https://mirrors.edge.kernel.org/pub/linux/utils/net/iproute2/iproute2-5.9.0.tar.gz
tar -zxvf iproute2-5.9.0.tar.gz
查看tc是否安装成功

2.在主master的工作
kubeadm config images list //可列出kubeadm初始化的需要的相关镜像
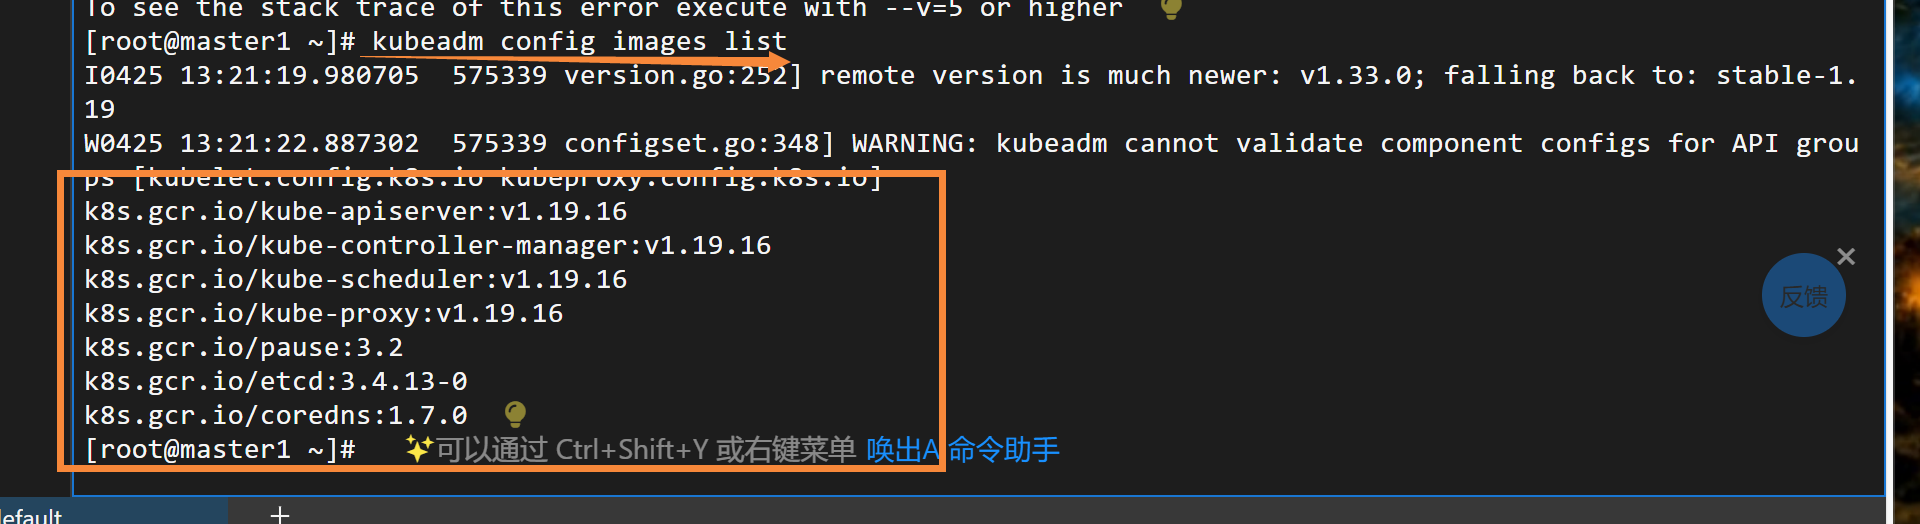
docker默认直接去官网拉镜像是拉不下来的
#去阿里云的同步镜像仓库拉取镜像
#!/bin/bash

docker pull registry.cn-hangzhou.aliyuncs.com/google_containers/kube-controller-manager:v1.19.1
docker pull registry.cn-hangzhou.aliyuncs.com/google_containers/kube-proxy:v1.19.1
docker pull registry.cn-hangzhou.aliyuncs.com/google_containers/kube-apiserver:v1.19.1
docker pull registry.cn-hangzhou.aliyuncs.com/google_containers/kube-scheduler:v1.19.1
docker pull registry.cn-hangzhou.aliyuncs.com/google_containers/coredns:1.7.0
docker pull registry.cn-hangzhou.aliyuncs.com/google_containers/etcd:3.4.13-0
docker pull registry.cn-hangzhou.aliyuncs.com/google_containers/pause:3.2


#给镜像重新打标签,满足k8s初始化需要的镜像
#!/bin/bash

docker tag registry.cn-hangzhou.aliyuncs.com/google_containers/kube-controller-manager:v1.19.1 k8s.gcr.io/kube-controller-manager:v1.19.1
docker tag registry.cn-hangzhou.aliyuncs.com/google_containers/kube-proxy:v1.19.1 k8s.gcr.io/kube-proxy:v1.19.1
docker tag registry.cn-hangzhou.aliyuncs.com/google_containers/kube-apiserver:v1.19.1 k8s.gcr.io/kube-apiserver:v1.19.1
docker tag registry.cn-hangzhou.aliyuncs.com/google_containers/kube-scheduler:v1.19.1 k8s.gcr.io/kube-scheduler:v1.19.1
docker tag registry.cn-hangzhou.aliyuncs.com/google_containers/coredns:1.7.0 k8s.gcr.io/coredns:1.7.0
docker tag registry.cn-hangzhou.aliyuncs.com/google_containers/etcd:3.4.13-0 k8s.gcr.io/etcd:3.4.13-0
docker tag registry.cn-hangzhou.aliyuncs.com/google_containers/pause:3.2 k8s.gcr.io/pause:3.2
执行脚本后再进行初始化k8s

kubeadm init --apiserver-advertise-address=10.8.0.24 --apiserver-bind-port=6443 --kubernetes-version=v1.19.1 --pod-network-cidr=172.168.64.0/20 --service-cidr=172.168.32.0/20 --service-dns-domain=dami.local --image-repository=registry.cn-hangzhou.aliyuncs.com/google_containers --ignore-preflight-errors=swap
初始化成功后
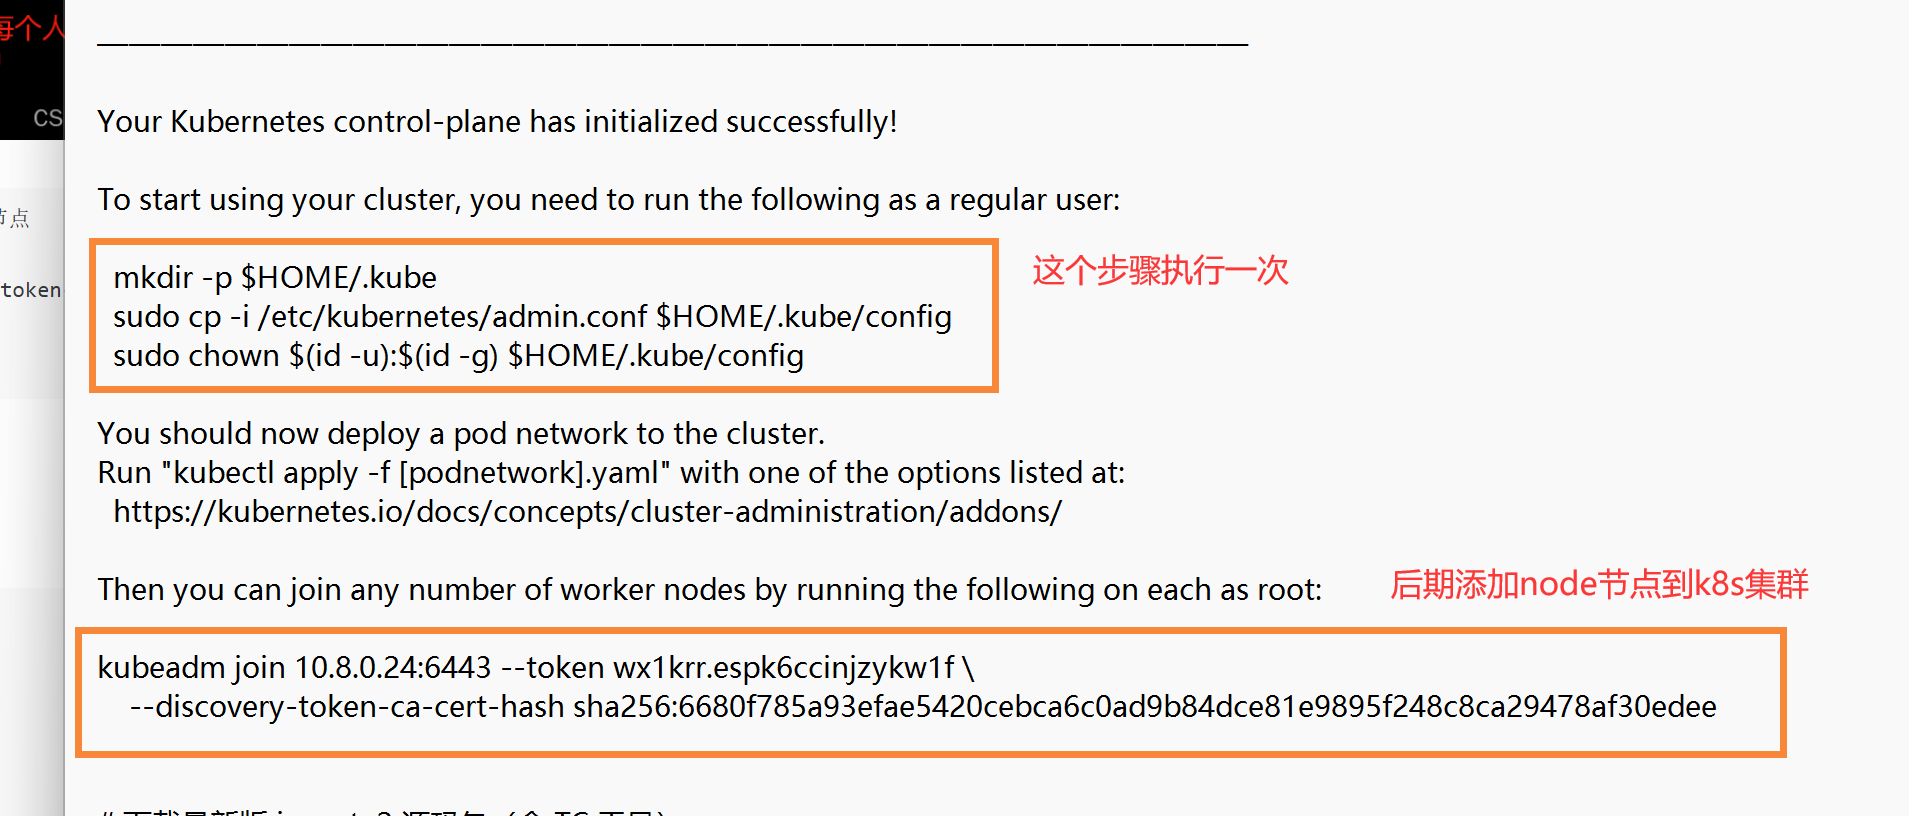
kubectl get nodes #查看集群中的的节点部署网络插件
先去github上选择要安装的网络插件flannel的版本
https://github.com/flannel-io/flannel/releases/![]() https://github.com/flannel-io/flannel/releases/
https://github.com/flannel-io/flannel/releases/
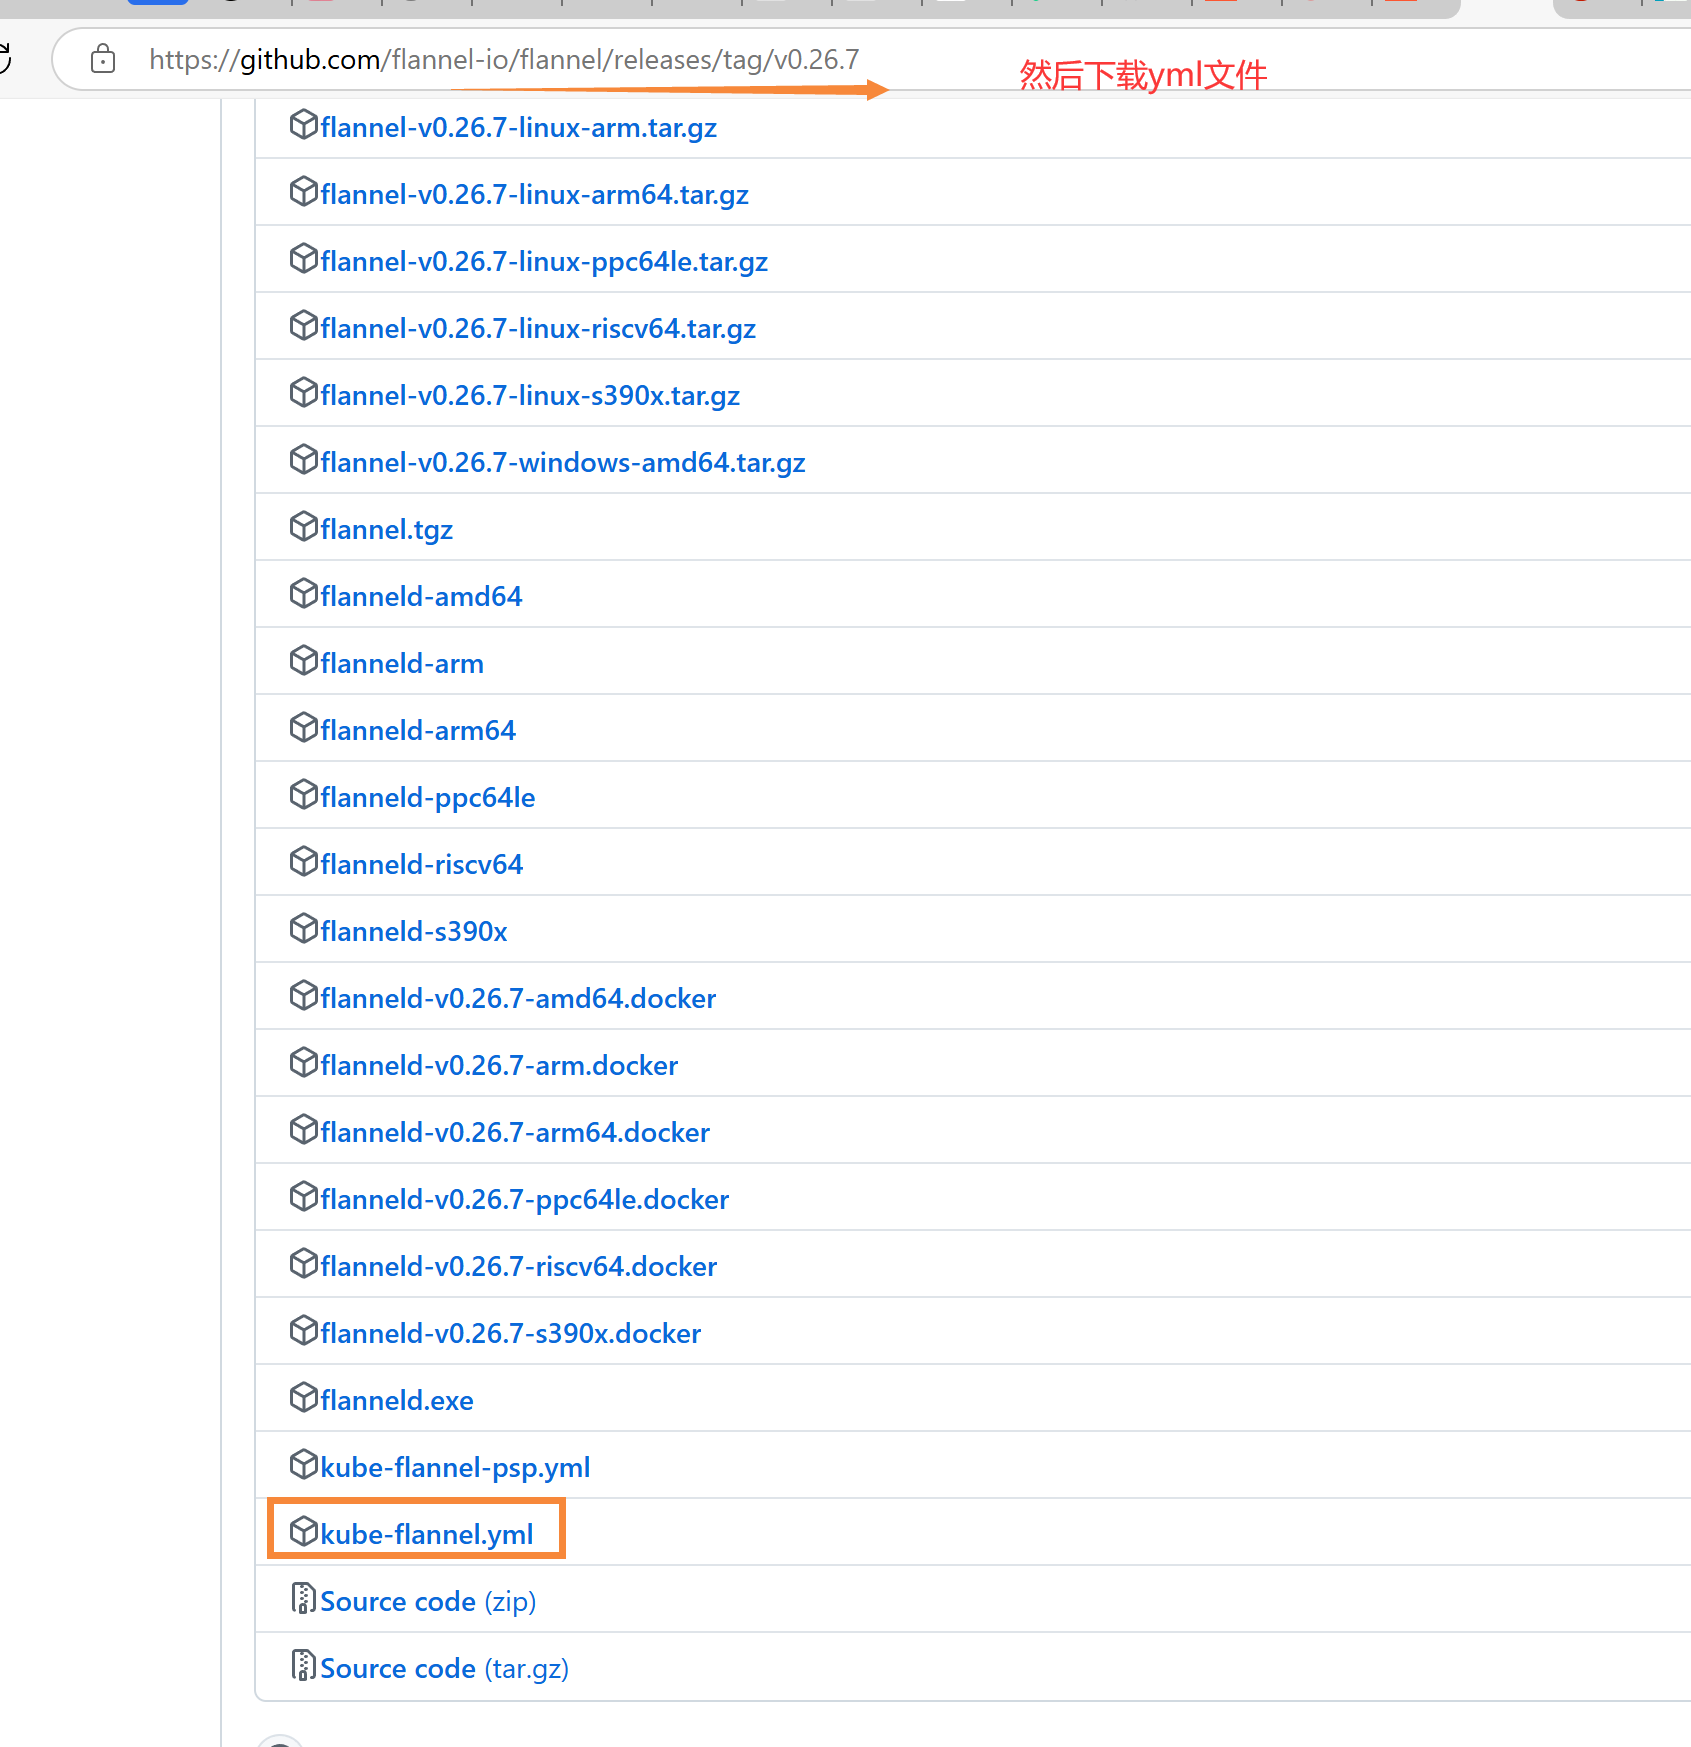
yml文件要简单的更改一下
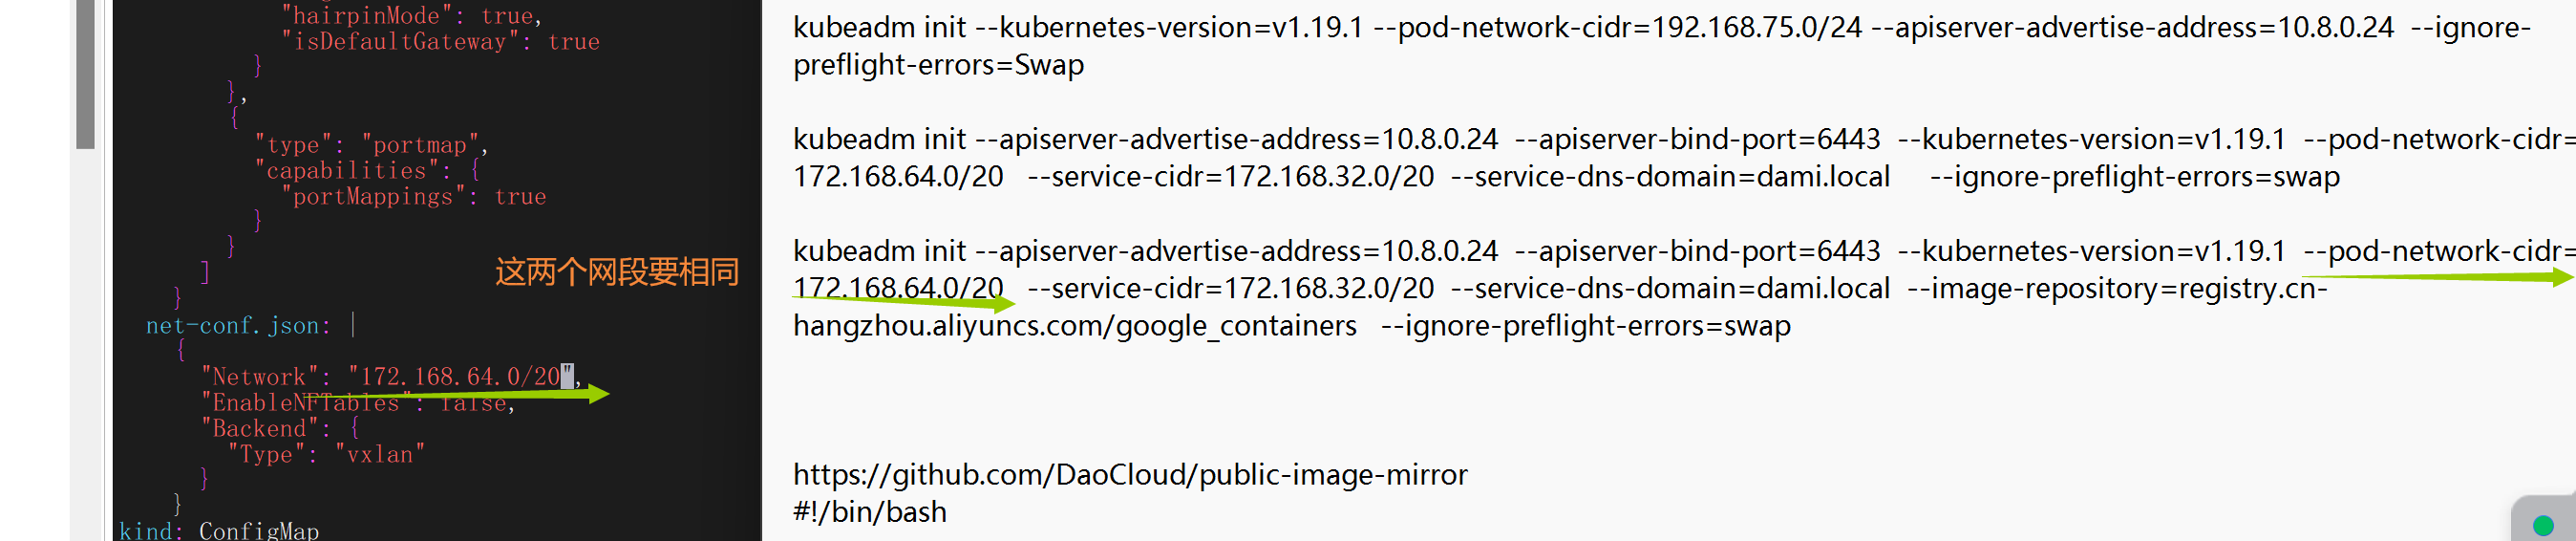
然后把对应的镜像拉下来
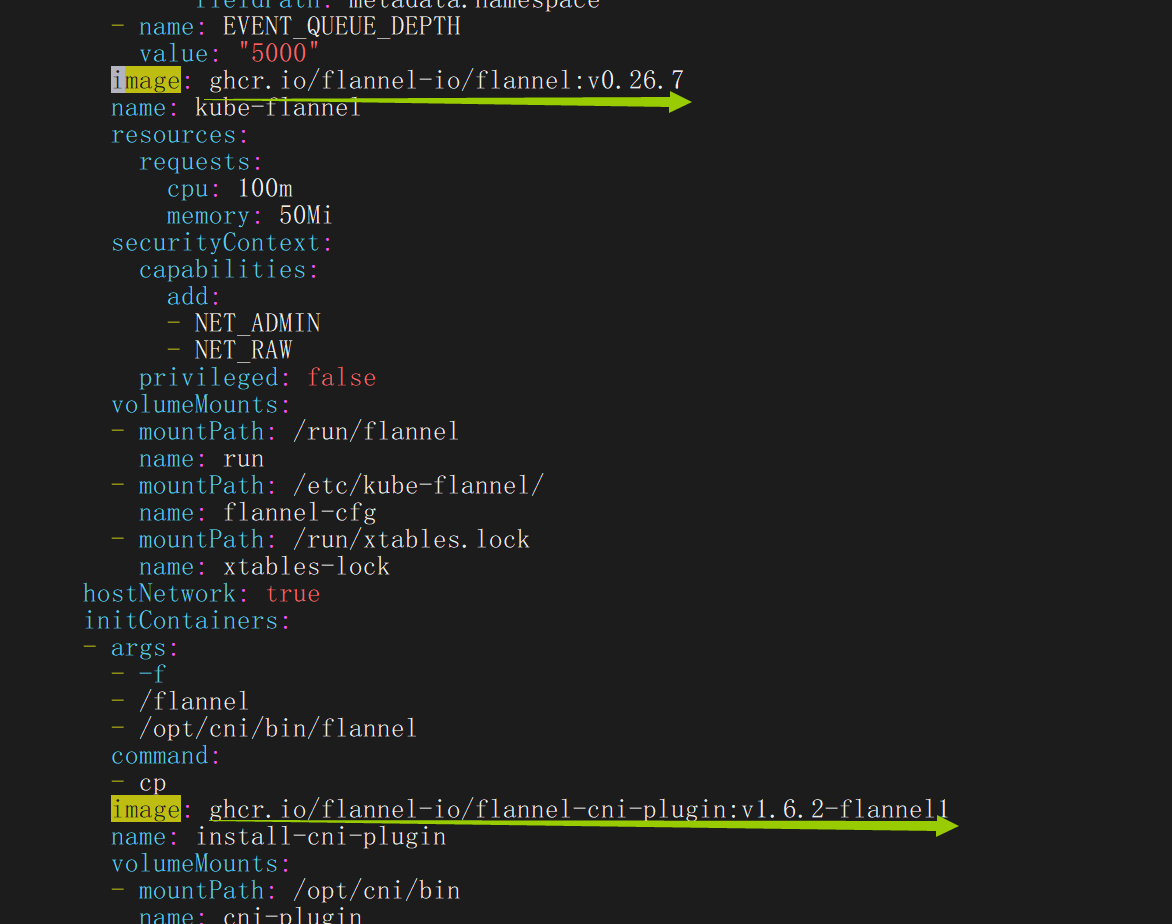
国内访问不了docker.io
docker pull   m.daocloud.io/docker.io/flannel/flannel:v0.23.0
#可以加m.daocloud.io然后把需要的镜像先拉下来
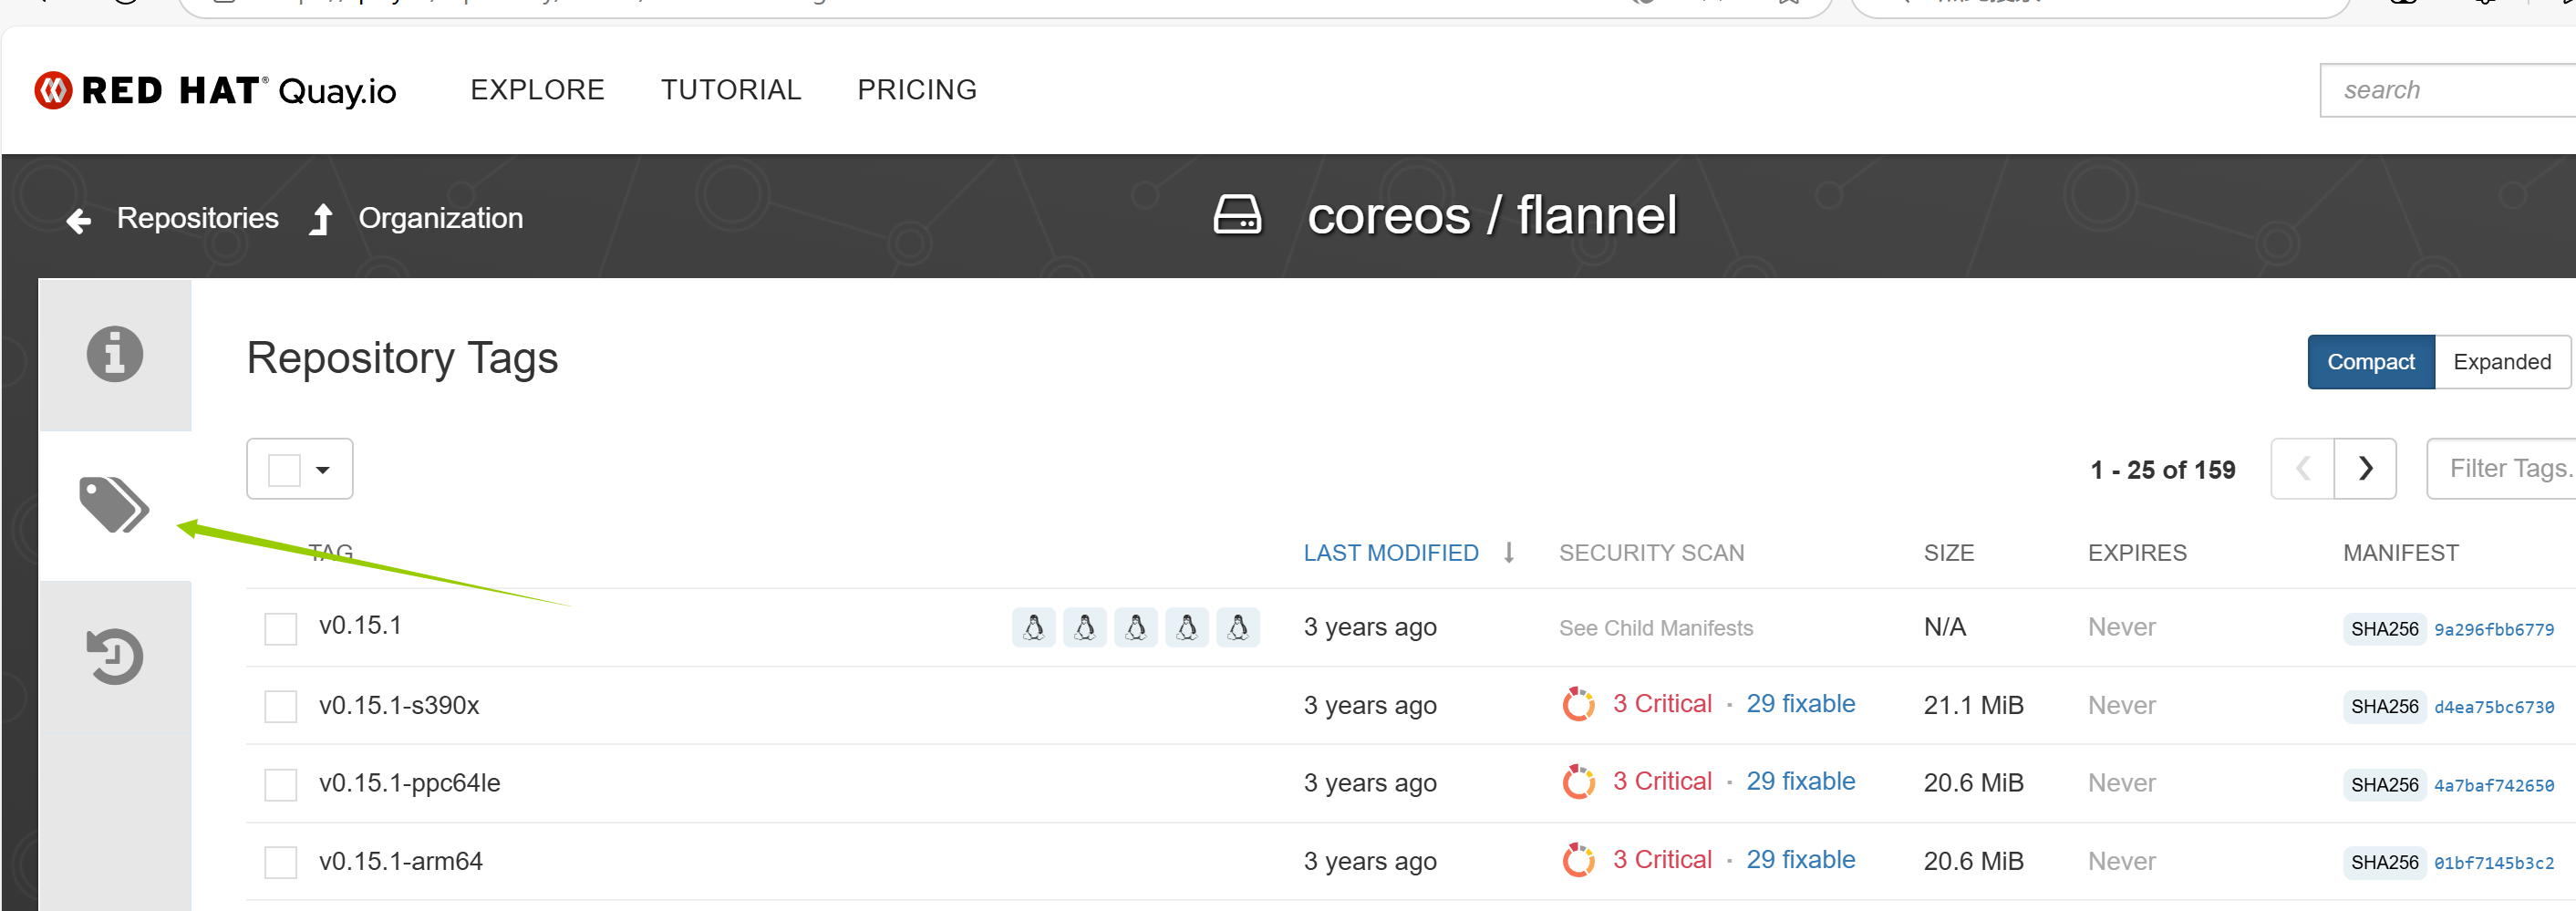
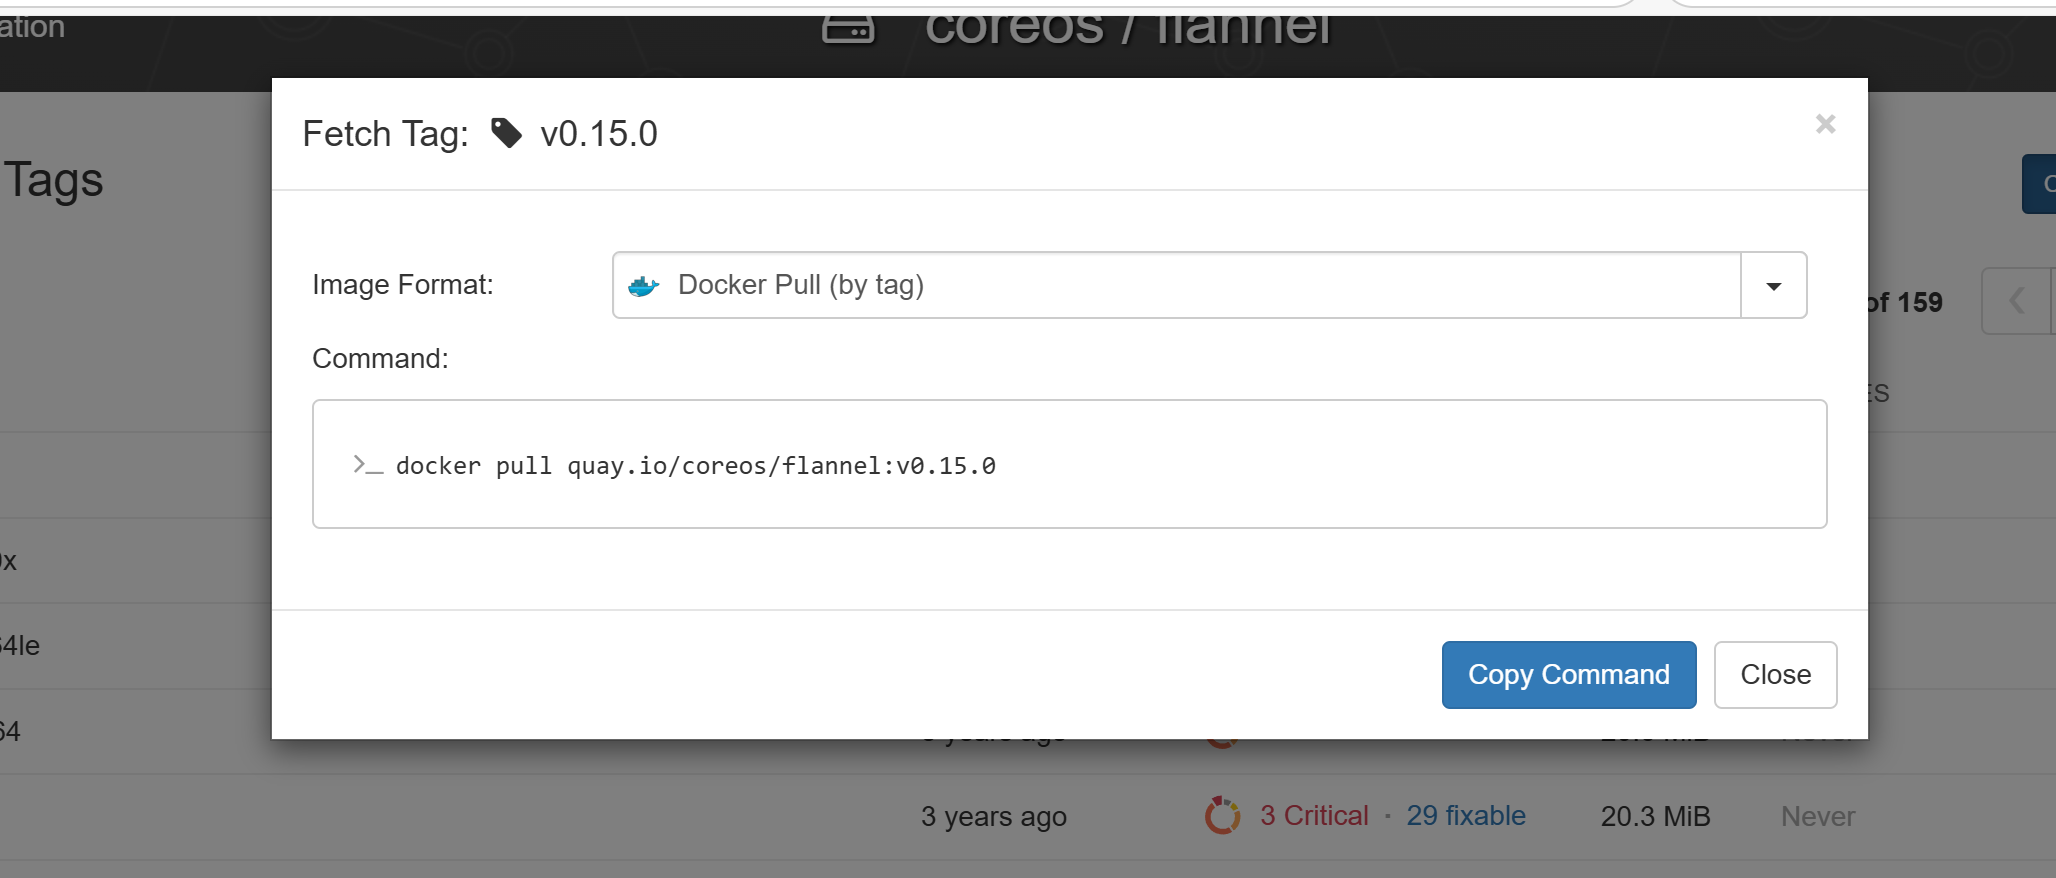
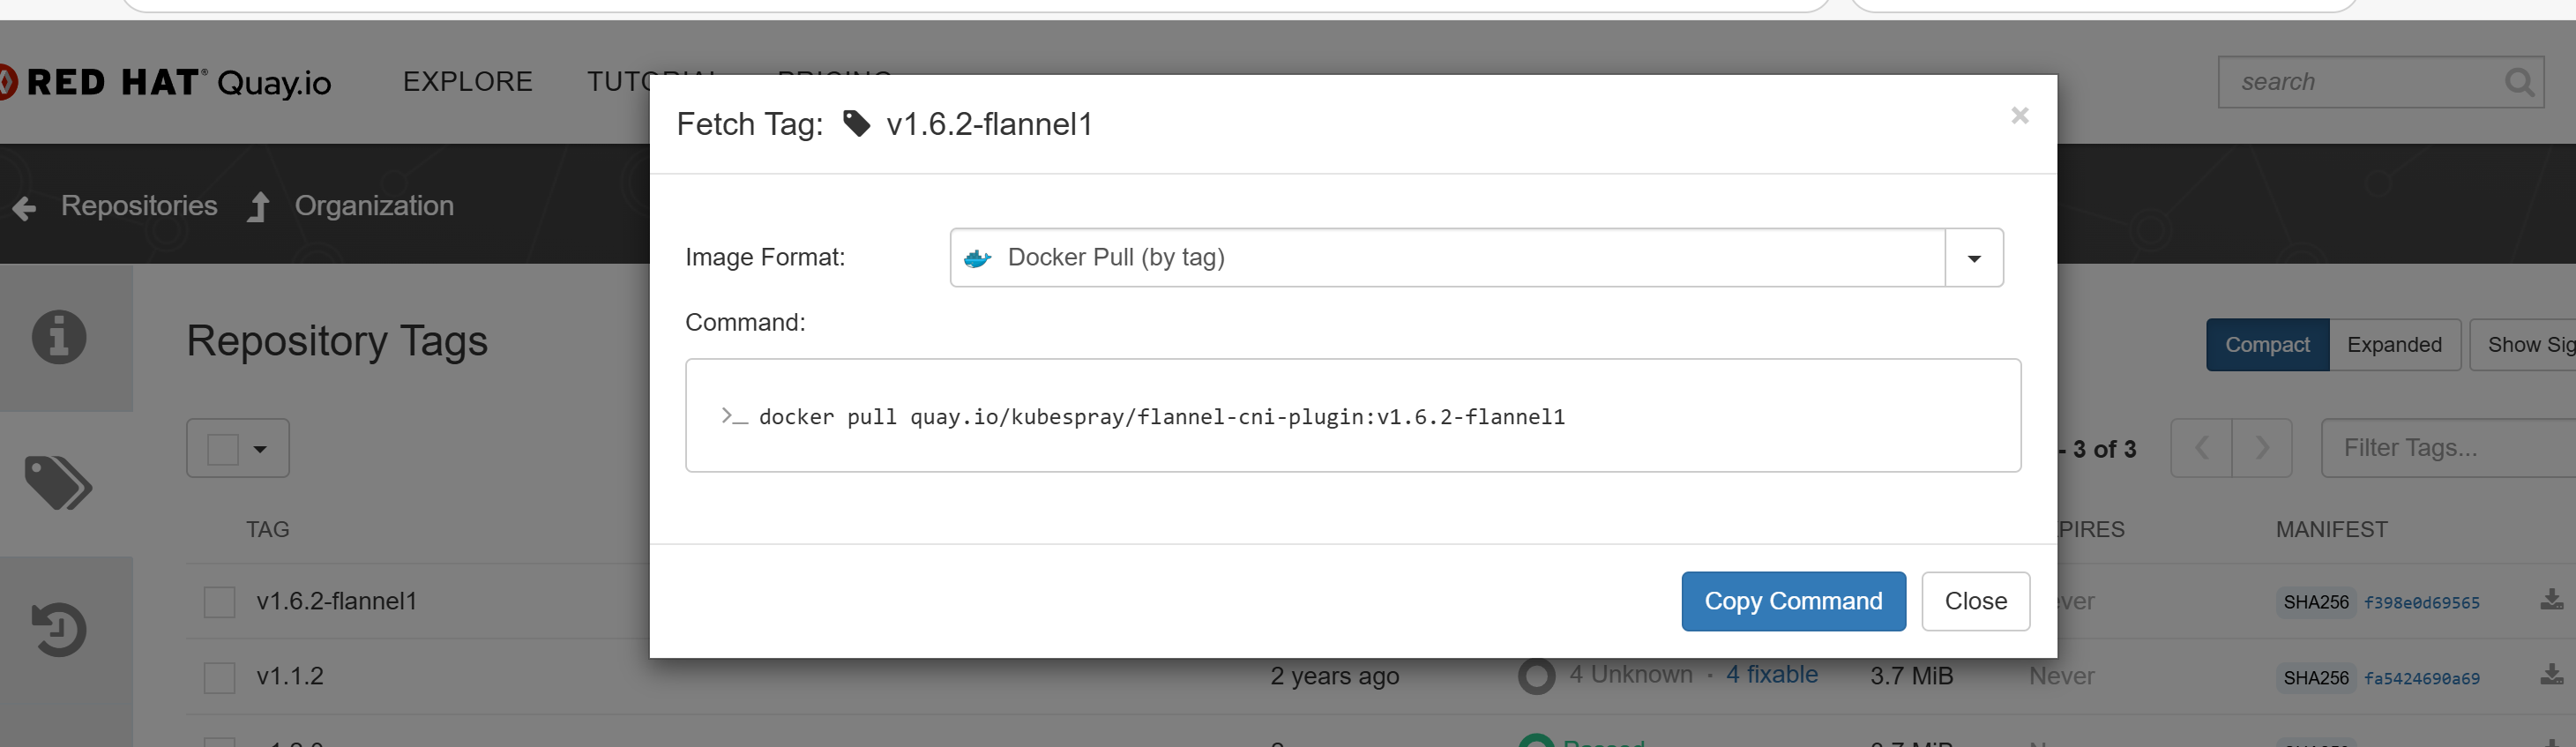
也可以去这里拉镜像(但是这个网站可能有些版本没有)
coreos/flannel · Quay![]() https://quay.io/repository/coreos/flannel?tab=tags
https://quay.io/repository/coreos/flannel?tab=tags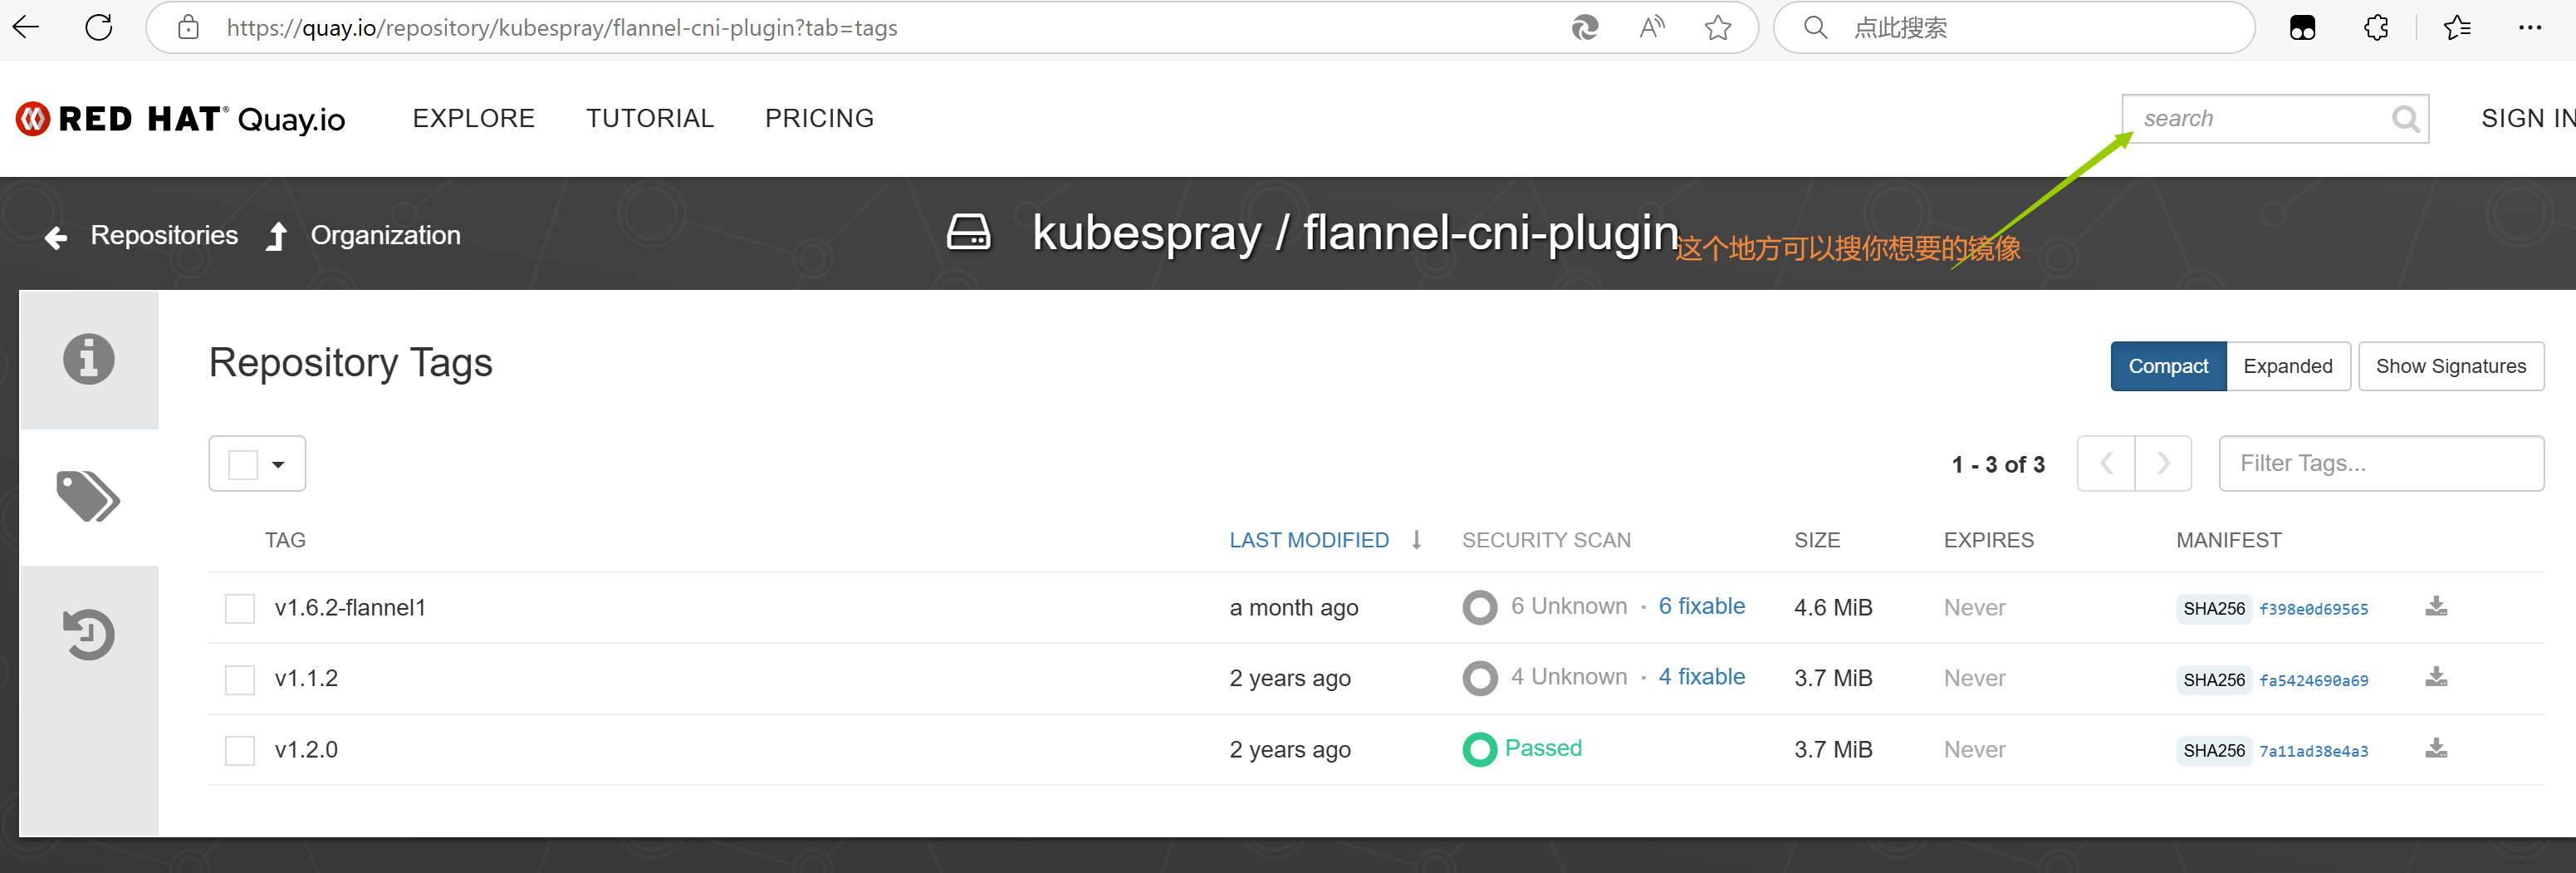
kubectl apply -f kube-flannel.yml
kubectl get pod -n kube-system -o wide
systemctl status kubelet       #查看kubelet是否正常运行


sysctl -w net.ipv4.ip_forward=1


#将node加入到master集群
kubeadm join 10.8.0.24:6443 --token wx1krr.espk6ccinjzykw1f \
    --discovery-token-ca-cert-hash sha256:6680f785a93efae5420cebca6c0ad9b84dce81e9895f248c8ca29478af30edee


kubectl  get nodes  #查看集群中的master node是否Ready
参考


 499
499

 被折叠的 条评论
为什么被折叠?
被折叠的 条评论
为什么被折叠?
 到【灌水乐园】发言


