


 本文介绍了如何在Vue项目中实现一个基础登录页面,涉及数据请求时的跨域问题,包括使用axios进行POST请求、配置VueRouter和vue.config.js以处理CORS,以及使用ElementUI组件。
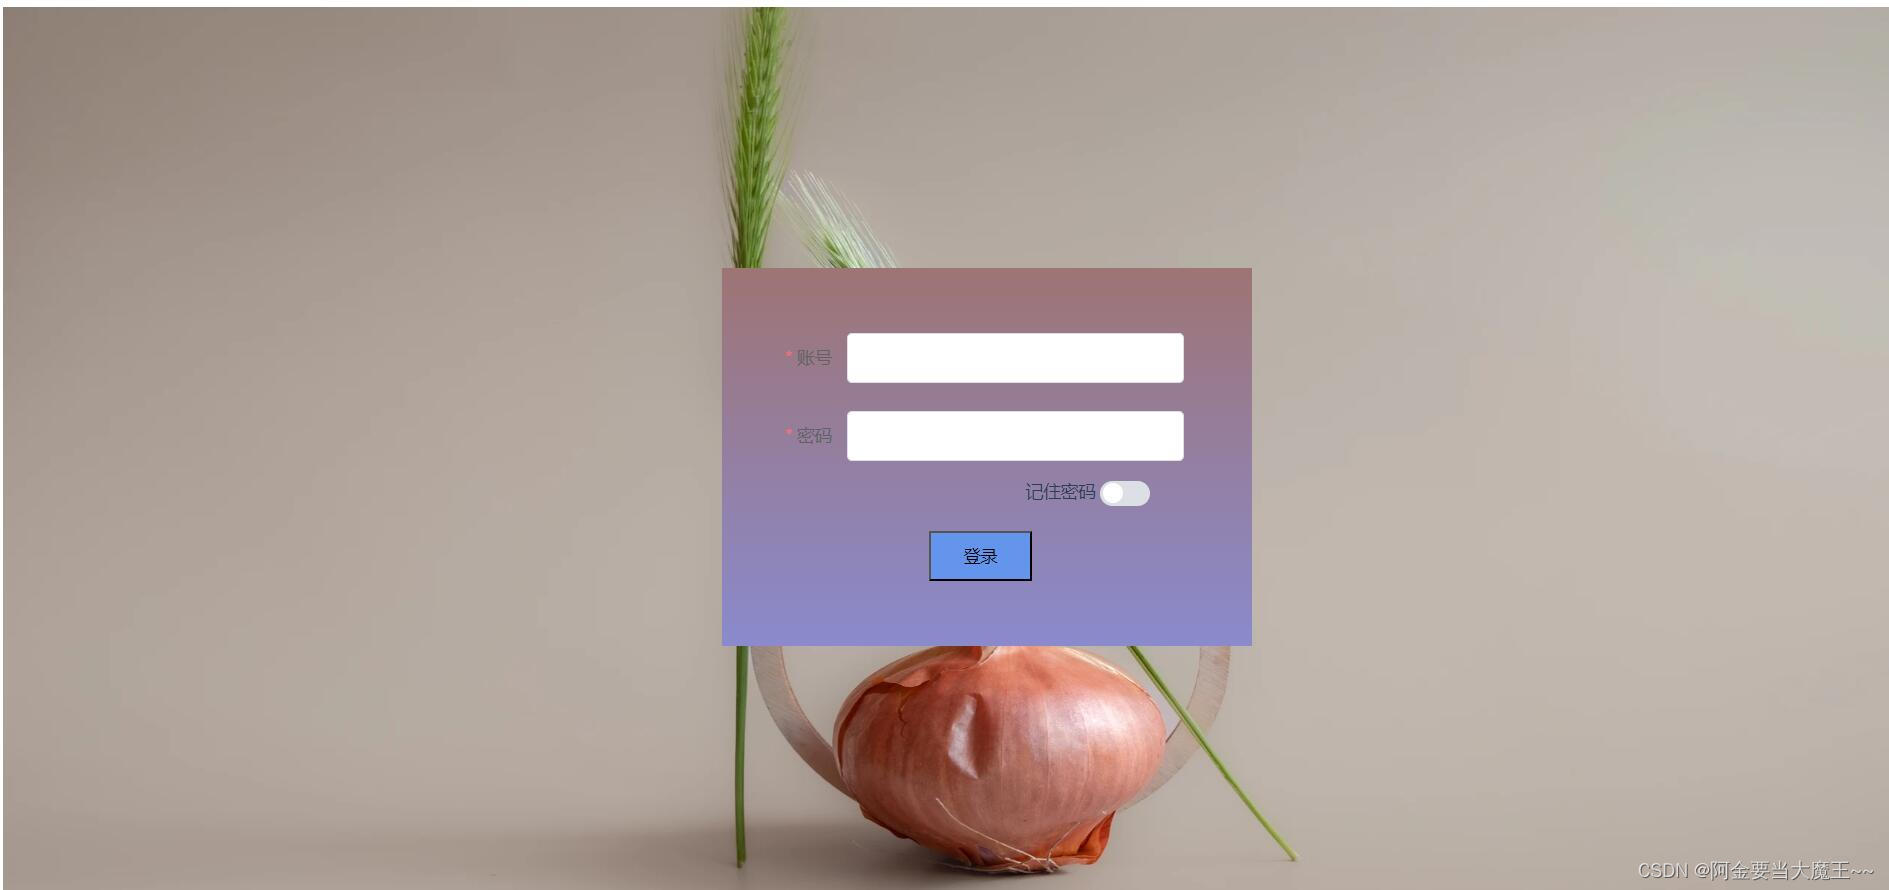
一,效果展示 介绍一个大概 就是一个基础的登录页面
二,我自己模拟的数据 不会可以参考我下边的 教程

-----------------------------------------------------------------------------------------------------------------------------
三,首先我们创建程序 然后引进ui库 然后我们需要配置一些东西
- 如果有路由的话 我们需要配置路由 router.js
- 跨域了的话 我们需要配置同源的数据 vue.config.js
- 配置main的引入数据 main.js
router.js
import Vue from 'vue'
import Router from 'vue-router'
import Home from './views/Home.vue'

Vue.use(Router)

export default new Router({
  routes: [
    {
      path: '/',
      name: 'home',
      component: Home
    },
    {
      path: '/about',
      name: 'about',
      component: () => import(/* webpackChunkName: "about" */ './views/About.vue')
    },
    {
      path: '/demo',
      name: 'Demo',
      component: () => import(/* webpackChunkName: "about" */'./views/Demo.vue')
    },
    {
      path: '/helloworld',
      name: 'HelloWorld',
      component: () => import(/* webpackChunkName: "about" */'./components/HelloWorld.vue')
      // 子级路由
      // children: [
      //   {
      //     path: '/demo',
      //       name: 'Demo',
      //       component: () => import(/* webpackChunkName: "about" */'./views/Demo.vue')
      //   }
      // ]
    }
  ]
})
main.js
import Vue from 'vue'
import App from './App.vue'
import router from './router'
import store from './store'

import ElementUI from 'element-ui'
import 'element-ui/lib/theme-chalk/index.css'

Vue.config.productionTip = false

Vue.use(ElementUI)


var axios = require('axios')
axios.default.baseURL = '/api'

Vue.prototype.$http = axios //正确的使用


new Vue({
  router,
  store,
  render: h => h(App)
}).$mount('#app')
vue.config.js
module.exports = {
    devServer: {
      open: true, //是否自动弹出浏览器页面
      host: "0.0.0.0",  //也可以换成localhost      host: "localhost",
    //   port: 8080,
      // https: true,
      hotOnly: false,
       //以上的ip和端口是我们本机的;下面为需要跨域的
       proxy:{ //配置跨域
          '/api': {
              target: 'https://postman-echo.com/post',   //你的后端端口前部分 ?之前的部分
              changeOrigin: true, // 虚拟的站点需要更管origin     //允许跨域
              pathRewrite: {
                  '^/api': ''  //请求的时候使用这个api就可以
              }
          }
      },
  },
}
四,登陆页面
<template>
  <div class="img">
    <el-form :model="ruleForm" :rules="rules" ref="ruleForm" label-width="100px">
      <div class="nav">
        <el-form-item label="账号" prop="namea">
          <el-input v-model="ruleForm.namea"></el-input>
        </el-form-item>
        <!-- <el-form-item label="密码" prop="pass" style="width:20rem ;margin: 5rem 40rem;"> -->
        <el-form-item label="密码" prop="pass">
          <el-input v-model="ruleForm.pass"></el-input>
        </el-form-item>
        <el-form-item class="jizhu">记住密码
          <el-switch v-model="ruleForm.delivery"></el-switch>
        </el-form-item>
        <button @click="denglu" class="but"> 登录</button>
      </div>
    </el-form>
  </div>
</template>
<script>
// 引入axios
import axios from 'axios';
export default {
  data() {
    return {
      ruleForm: {
        namea: '',  //账号
        pass: '',   //密码
        delivery: false  //记住密码

      },
      rules: {
        namea: [
          { required: true, message: '请输入活动名称', trigger: 'blur' },
          { min: 3, max: 10, message: '长度在 3 到 10 个字符', trigger: 'blur' }
        ],
        pass: [
          { required: true, message: '请输入活动名称', trigger: 'blur' },
          { min: 3, max: 10, message: '长度在 3 到 10 个字符', trigger: 'blur' }
        ],


      }
    };
  },
  methods: {
    denglu() {
      // axios数据请求
      axios.post("/api?name=zhou&pass=zhou123&delivery=true") //路径换成自己的
        .then(response => {    //监听返回
          console.log(response.data, 'get 正常接口数据请求');
          // 存储token
          document.cookie = "token=your_token";  // 存储在cookie
          sessionStorage.setItem("token", "your_token");  // 存储在sessionStorage
          localStorage.setItem("token", "your_token");  // 存储在localStorage

          // 我也不知道这个位置生效了没有
          let token = localStorage.getItem("x-auth-token")
          if (token) {
            config.headers["x-auth-token"] = token
          }

          // 判断输入的数据 和后台数据有没有对上
          if (this.ruleForm.namea === response.data.args.name && this.ruleForm.pass === response.data.args.pass && this.ruleForm.delivery === true) {
            console.log('登录成功 ')
            alert('成功')
            this.$router.push({ path: "/Demo" });  //判断成功  跳转到新的页面
          } else {
            alert('登录失败')
            console.log('登录失败')
          }
        })
        .catch(error => {
          console.log(error, '失败');
        });
    }
  }
}
</script>
<style lang="less">
.img {
  height: 45rem;
  display: flex;
  justify-content: center;
  /*水平居中*/
  align-items: center;
  /*垂直居中*/
  background: url('../assets/photo-1684341326866-ad9fdde2314c.webp')center center no-repeat;
  background-size: 100% 100%
}

.nav {
  padding: 52px 54px 52px 0;
  width: 100%;
  // background-color: #8d6969;
  background: linear-gradient(rgb(158, 116, 116), rgb(138, 138, 205));
  /* 标准的语法 */
}

.but {
  margin-left: 44px;
  margin-top: -22px;
  width: 83px;
  height: 40px;
  background-color: cornflowerblue;
}

.jizhu {
  margin-top: -17px;
  margin-left: 116px;
}</style>


 被折叠的 条评论
为什么被折叠?
被折叠的 条评论
为什么被折叠?
 到【灌水乐园】发言


