


准备数据库的数据
create database leq_sc;
CREATE TABLE if not exists products(
 id INT PRIMARY KEY AUTO_INCREMENT,
 name VARCHAR(50), #商品名称
price DOUBLE,
 flag VARCHAR(2), #上架状态
goods_desc VARCHAR(100), #商品描述
 images VARCHAR(400), #商品图?
 goods_stock INT, #商品库存
 goods_type VARCHAR(20) #商品类型
);

INSERT INTO products VALUES (NULL, 'HUAWEI P60', 6999, '1', '华为P60 5G?机 分期 麒麟990曦?8+256GB','https://img14.360buyimg.com/n0/jfs/t1/133822/33/8832/135985/5f4da578E7c6efde1/2cd53a53083ab2ed.jpg', 99, '1');
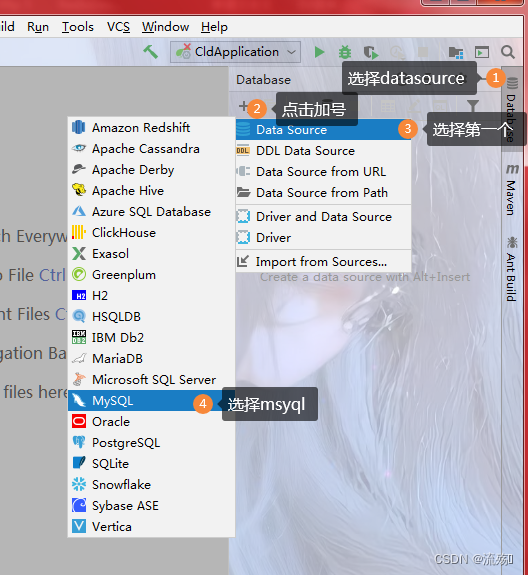
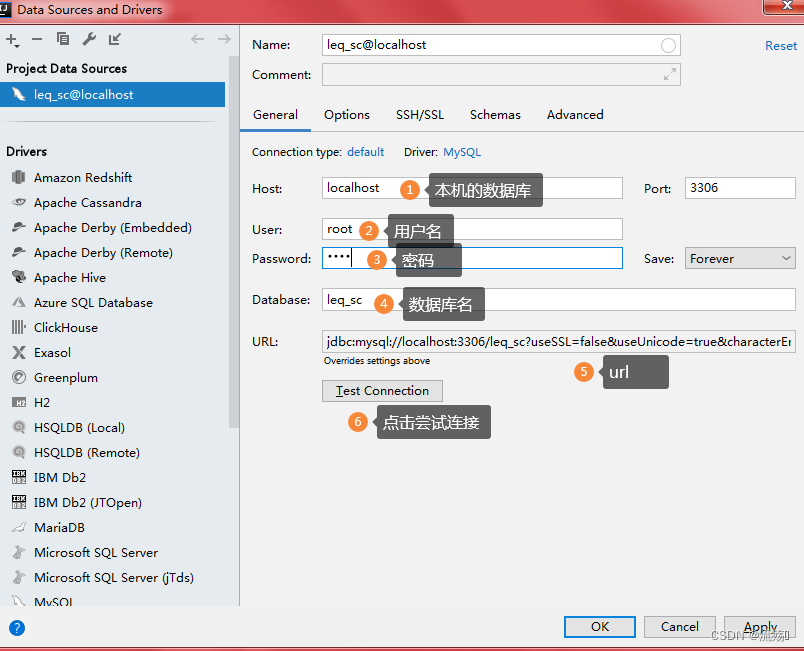
1.在上一篇文件创建的微服务项目中连接mysql
mysql连接的url:
jdbc:mysql://localhost:3306/leq_sc?useSSL=false&useUnicode=true&characterEncoding=utf8&serverTimezone=UTC
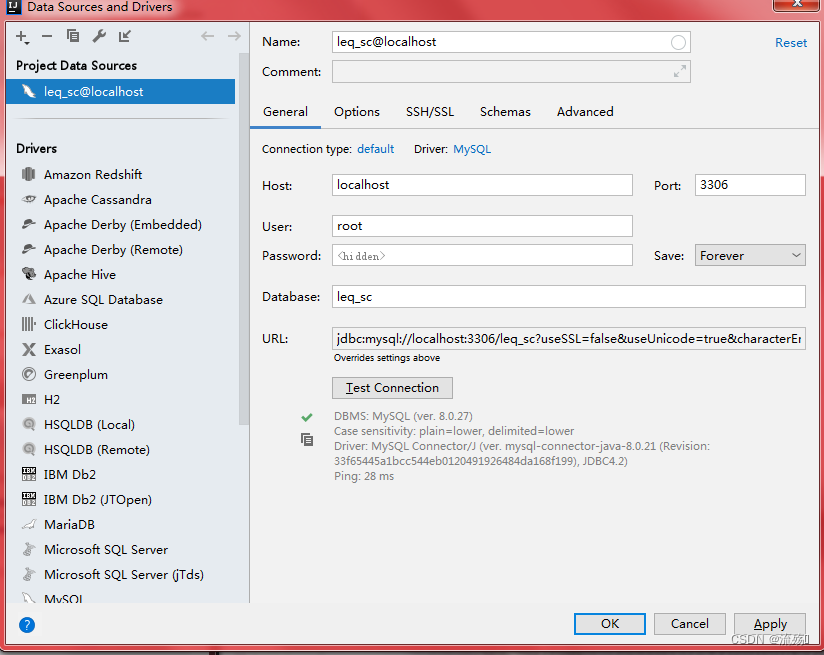
成功后点击ok即可
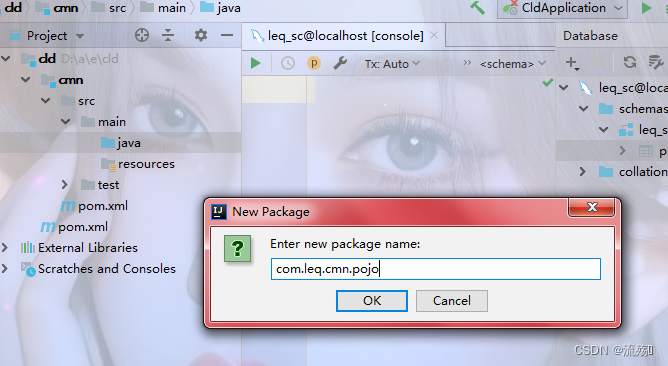
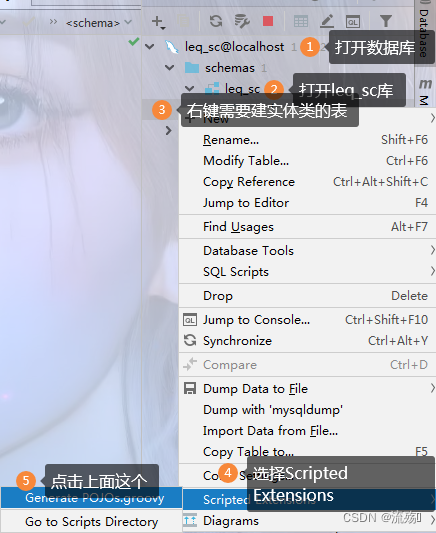
2.创建pojo目录 ,自动生成对应实体类
选择刚刚创建的pojo目录
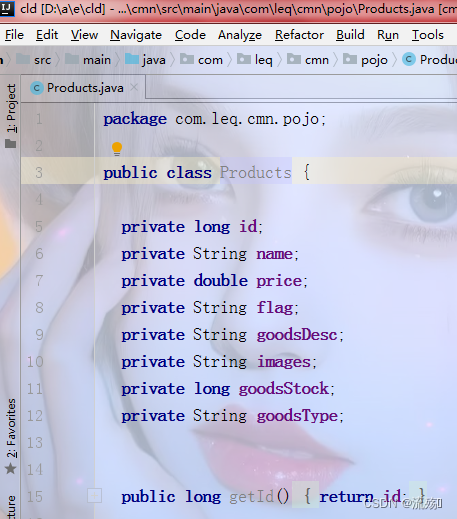
就可以看到自动生成的实例类,它自动生成的包路径是错误的,需要我们手动改一下

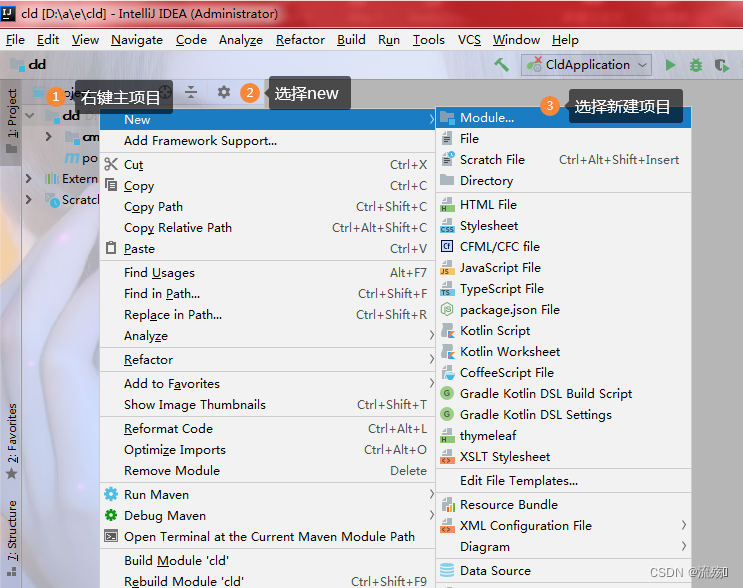
创建生产的项目
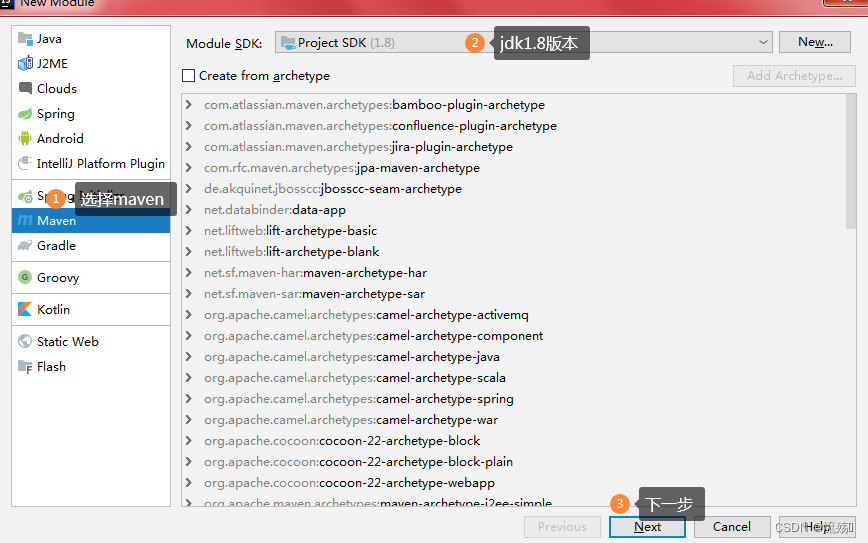
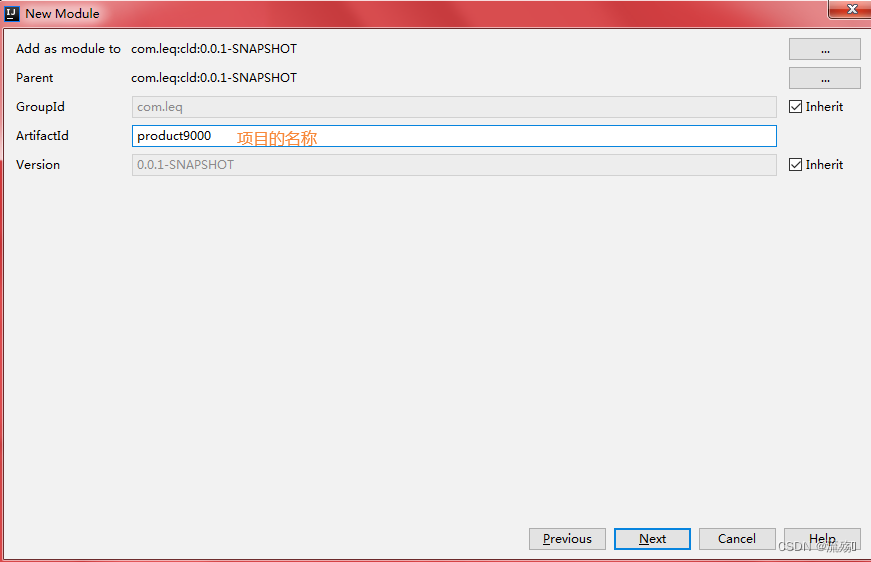
1.创建product9000项目
下一步ok就好了
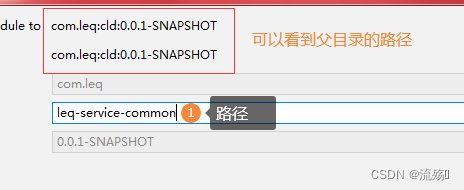
2.导入pom文件,那个通用的项目,这个pom的路径是我们上一篇创建的通过项目的
    <dependencies>
        <dependency>
            <groupId>com.leq</groupId>
            <artifactId>leq-service-common</artifactId>
            <version>0.0.1-SNAPSHOT</version>
        </dependency>
    </dependencies>
3.编写配置文件,在resources下创建application.properties配置文件
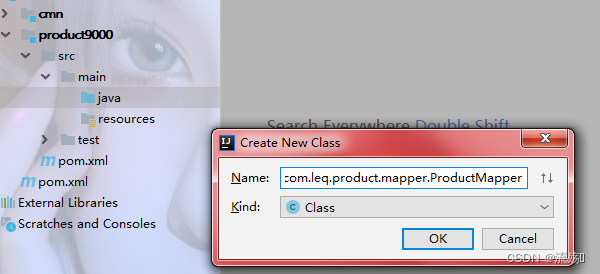
server.port=9000
spring.application.name=leq-service-product
spring.datasource.url=jdbc:mysql://localhost:3306/leq_sc?useSSL=false&useUnicode=true&characterEncoding=utf-8&serverTimezone=UTC
spring.datasource.username=root
spring.datasource.password=0216
4.创建ProductMapper接口,继承BaseMapper
public interface ProductMapper extends BaseMapper<Products> {

}
5.创建ProductService接口,写一个查询通过id查询的方法
public interface ProductService {
 Products findById(Integer id);
}
创建该接口的实现类,并实现查询的方法
@Service
public class ProductServiceImpl implements ProductService {
   @Autowired
   private ProductMapper productMapper;
    @Override
    public Products findById(Integer id) {
        return productMapper.selectById(id);
    }
}
6.创建 ProductController类,编写接口
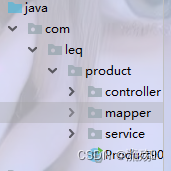
@RestController
@RequestMapping("product")
public class ProductController {
    @Autowired
    private ProductService productService;


    @RequestMapping("findById/{id}")
    public Products findById(@PathVariable Integer id){
        return productService.findById(id);
    }
}
7.创建项目启动类Product900Application,注意要在第一个目录下
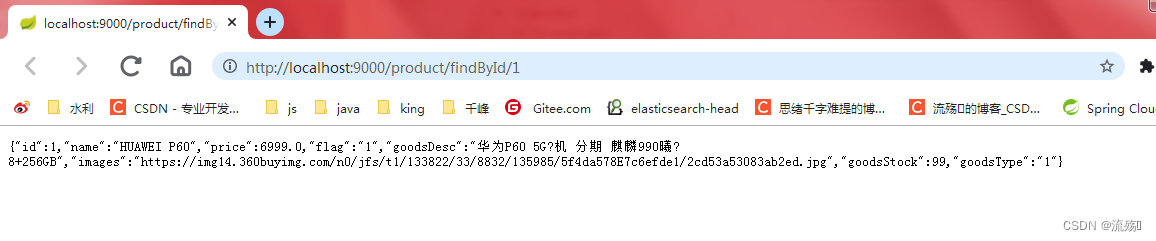
@MapperScan("com.leq.product.mapper")
@SpringBootApplication
public class Product900Application {
    public static void main(String[] args) {
        SpringApplication.run(Product900Application.class,args);
    }
}
8.启动该项目,在浏览器访问
创建前端的项目
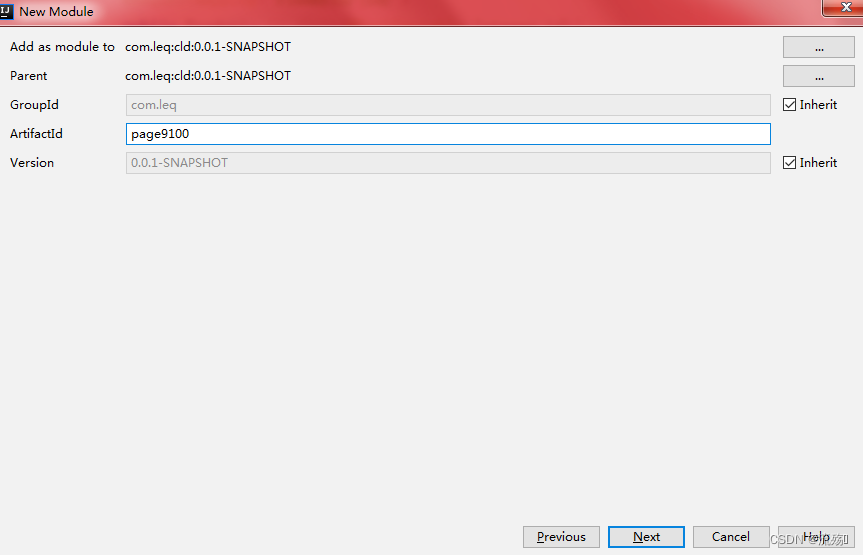
1.创建page9100的项目
2.导入pom文件,通用的那个项目
<dependencies>
    <dependency>
        <groupId>com.leq</groupId>
        <artifactId>leq-service-common</artifactId>
        <version>0.0.1-SNAPSHOT</version>
    </dependency>
</dependencies>
3.创建核心配置文件application.properties
server.port=9100
spring.application.name=leq-service-page
spring.datasource.driver-class-name=com.mysql.cj.jdbc.Driver
spring.datasource.url=jdbc:mysql://localhost:3306/leq_sc?useSSL=false&useUnicode=true&characterEncoding=utf-8&serverTimezone=UTC
spring.datasource.username=root
spring.datasource.password=0216
4.创建ProductController控制层类
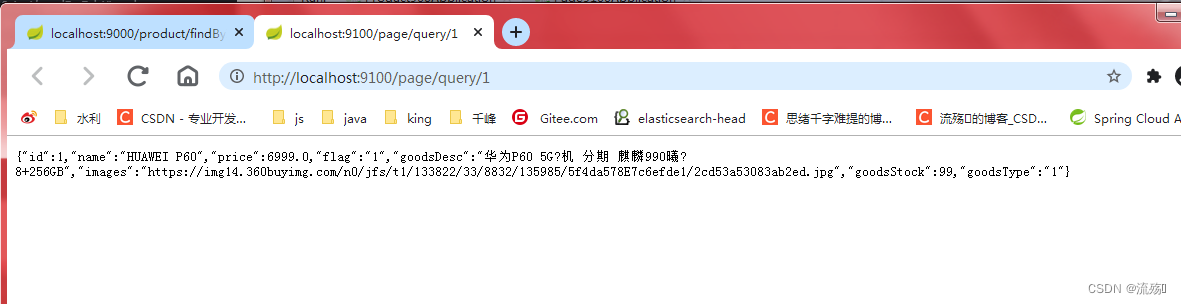
@RestController
@RequestMapping("page")
public class ProductController {
    @Autowired//可以访问别的项目中的方法
    private RestTemplate restTemplate;

    @RequestMapping("query/{id}")
    public Products findById(@PathVariable Integer id){
        //Product木块的conroller层
        String url ="http://localhost:9000/product/findById/"+id;
        //获取目标url地址对应的那个请求方法的返回值
        return restTemplate.getForObject(url,Products.class);
    }
}
5.创建启动类Page9100Application
@SpringBootApplication
public class Page9100Application {
    public static void main(String[] args) {
        SpringApplication.run(Page9100Application.class,args);
    }

    @Bean//该类被spring容器管理
    public RestTemplate restTemplate(){
        return new RestTemplate();
    }
}
6.启动该项目,在浏览器访问


 1512
1512


 被折叠的 条评论
为什么被折叠?
被折叠的 条评论
为什么被折叠?
 到【灌水乐园】发言


