


1.vim docker-entrypoint.sh
chmod 777 /usr/share/nginx/wordpress -R
nginx
/opt/remi/php80/root/usr/sbin/php-fpm
echo "nginx 和 php 启动成功"
tail -f /var/log/nginx/*
2.dockerfile
#latest-zh_CN.tar.gz 需要自己下载一个中文包
# 设置基础镜像

FROM centos:7.9.2009

# 安装环境

RUN yum install -y epel-release
RUN yum install -y nginx
RUN yum install -y http://rpms.remirepo.net/enterprise/remi-release-7.rpm
RUN yum install -y php80-php-xsl php80-php php80-php-cli php80-php-devel php80-php-gd php80-php-pdo php80-php-mysql php80-php-fpm

# 将代码包拷贝到镜像中

ADD latest-zh_CN.tar.gz /usr/share/nginx

# 将配置文件拷贝到镜像中

COPY nginx.conf /etc/nginx/

# 将启动脚本拷贝到镜像中

COPY docker-entrypoint.sh /

# 在启动容器时执行脚本

CMD ["sh","/docker-entrypoint.sh"]
3.nginx 配置文件
# For more information on configuration, see:
#   * Official English Documentation: http://nginx.org/en/docs/
#   * Official Russian Documentation: http://nginx.org/ru/docs/

user nginx;
worker_processes auto;
error_log /var/log/nginx/error.log;
pid /run/nginx.pid;

# Load dynamic modules. See /usr/share/doc/nginx/README.dynamic.
include /usr/share/nginx/modules/*.conf;

events {
    worker_connections 1024;
}

http {
    log_format  main  '$remote_addr - $remote_user [$time_local] "$request" '
                      '$status $body_bytes_sent "$http_referer" '
                      '"$http_user_agent" "$http_x_forwarded_for"';

    access_log  /var/log/nginx/access.log  main;

    sendfile            on;
    tcp_nopush          on;
    tcp_nodelay         on;
    keepalive_timeout   65;
    types_hash_max_size 4096;

    include             /etc/nginx/mime.types;
    default_type        application/octet-stream;

    # Load modular configuration files from the /etc/nginx/conf.d directory.
    # See http://nginx.org/en/docs/ngx_core_module.html#include
    # for more information.

server {
        listen      80;
        server_name www.itnzs.top;
        location / {
			root /usr/share/nginx/wordpress;
			index index.php;
		}
        location ~ \.php$ {
            root          /usr/share/nginx/wordpress;  #指定网站目录
            fastcgi_pass   127.0.0.1:9000;    #指定访问地址
            fastcgi_index  index.php;		#指定默认文件
            fastcgi_param  SCRIPT_FILENAME  $document_root$fastcgi_script_name; #站点根目录,取决于root配置项
            include        fastcgi_params;  #包含nginx常量定义
        		}
        }

# Settings for a TLS enabled server.
#
#    server {
#        listen       443 ssl http2;
#        listen       [::]:443 ssl http2;
#        server_name  _;
#        root         /usr/share/nginx/html;
#
#        ssl_certificate "/etc/pki/nginx/server.crt";
#        ssl_certificate_key "/etc/pki/nginx/private/server.key";
#        ssl_session_cache shared:SSL:1m;
#        ssl_session_timeout  10m;
#        ssl_ciphers HIGH:!aNULL:!MD5;
#        ssl_prefer_server_ciphers on;
#
#        # Load configuration files for the default server block.
#        include /etc/nginx/default.d/*.conf;
#
#        error_page 404 /404.html;
#            location = /40x.html {
#        }
#
#        error_page 500 502 503 504 /50x.html;
#            location = /50x.html {
#        }
#    }

}
4. 构建过程
docker build -f Dockerfile -t wordpress:1.0 .

5.
查看镜像

docker images 
6.
#拉取mysql:5.7镜像
#这是自己配置的阿里云仓库的mysql:5.7镜像
docker pull registry.cn-hangzhou.aliyuncs.com/rsp/mysql:5.7
7.启动数据库
#映射本地端口 创建数据库名字,密码
docker run -d --name mysql1 -p 3306:3306 -e MYSQL_ROOT_PASSWORD=123456 -e MYSQL_DATABASE=wordpress registry.cn-hangzhou.aliyuncs.com/rsp/mysql:5.7
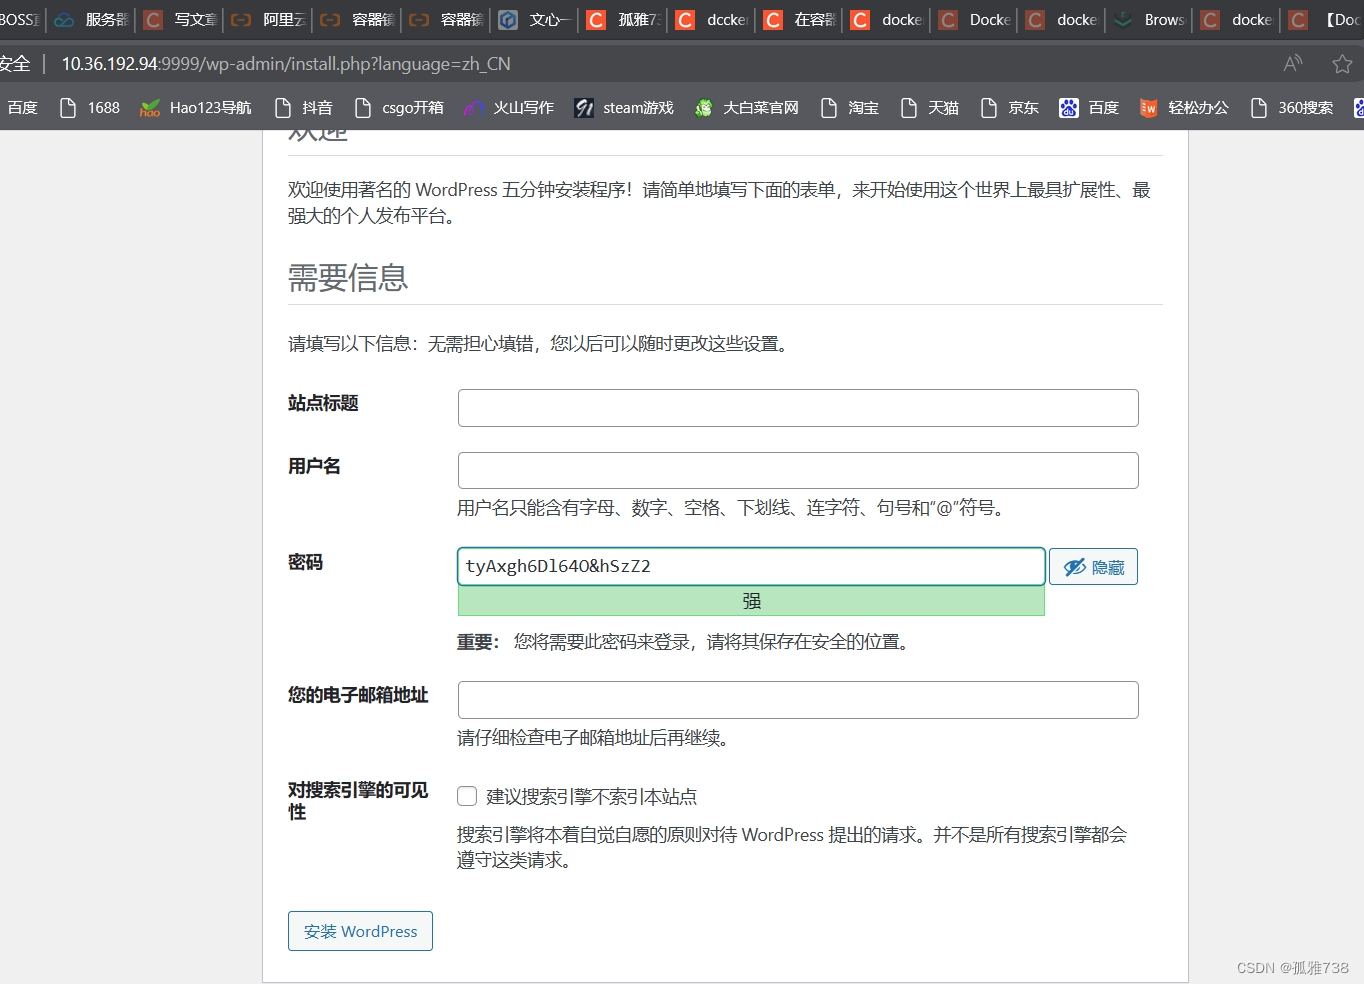
8.启动wordpress
#映射本地端口9999
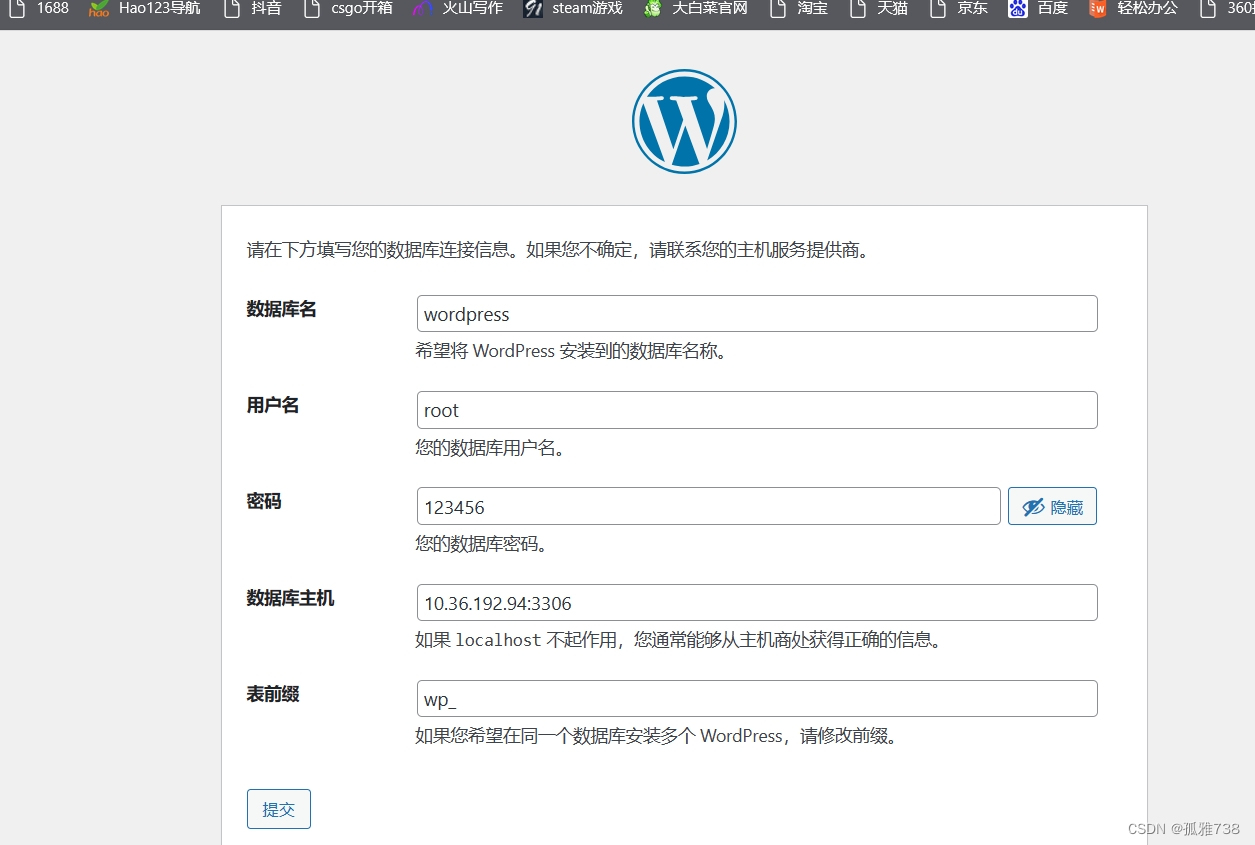
docker run -it --name mywordpress -p 9999:80 -d wordpress:1.09.注意这里的数据库主机:因为映射本地的端口


 377
377


 被折叠的 条评论
为什么被折叠?
被折叠的 条评论
为什么被折叠?
 到【灌水乐园】发言


