


 本文介绍了Benchmark在机器学习中的定义,它是评估算法和模型性能的标准方法。文章详细阐述了Benchmark的度量指标,包括硬件和软件性能,以及在云计算和大数据场景下的应用。同时提供了使用Benchmark的示例,如JMH和TPC-DS等工具,并强调了它在选择硬件、软件和优化算法中的重要性。
目录
一、Benchmark引入——Benchmark在机器学习里的定义
一、Benchmark引入——Benchmark在机器学习里的定义
Benchmarking measures performance using a specific indicator, resulting in a metric that is then compared to others.Key performance indicators typically measured here are data capacity, training speed, inference speed, and model precision.
Benchmark翻译为中文大概为:基准;基准点。在我们专业的领域中,我们称benchmark为“基准测试”。
二、什么是Benchmark?
在Wikipedia上的解释为:
In computing, a benchmark is the act of running a computer program, a set of programs, or other operations, in order to assess the relative performance of an object, normally by running a number of standard tests and trials against it. The term 'benchmark' is also mostly utilized for the purposes of elaborately-designed benchmarking programs themselves.
Benchmarking is usually associated with assessing performance characteristics of computer hardware, for example, the floating point operation performance of a CPU, but there are circumstances when the technique is also applicable to software. Software benchmarks are, for example, run against compilers or database management systems.
Benchmarks provide a method of comparing the performance of various subsystems across different chip/system architectures.
我对此解释的译文如下:
在计算机学科中,Benchmark是运行计算机程序、一组程序或其他操作,以评估对象的相对性能的行为,通常是通过对对象进行一些标准测试和试验。“Benchmark”一词也主要用于精心设计的基准程序本身。
Benchmark测试通常与评估计算机硬件的性能特征有关,例如CPU的浮点运算性能,但在某些情况下,该技术也适用于软件。例如,对软件进行Benchmark测试是针对编译器或数据库管理系统运行的。
Benchmark提供了一种在不同芯片/系统架构中比较各种子系统性能的方法。
由此看出,Benchmark在计算机领域是一种性能基准测试,通过一系列的测试和评估,来衡量计算机硬件或软件性能的过程。Benchmark可以用来比较不同计算机系统或不同软件的性能,从而帮助用户选择最适合自己需求的计算机或软件。
Benchmark允许我们以客观的方式测量不同算法、模型或方法在特定任务上的表现,就像比较两种产品的性能一样。在机器学习中,通常指的是一种对算法、模型或方法性能的标准化评估和比较方法。这是一种重要的工具,用于衡量和比较不同机器学习算法或模型的表现,以确定哪个方法在特定任务或数据集上表现最佳。
简单理解来说,可以将Benchmark类比为衡量电脑、手机等电子产品的性能的跑分软件。
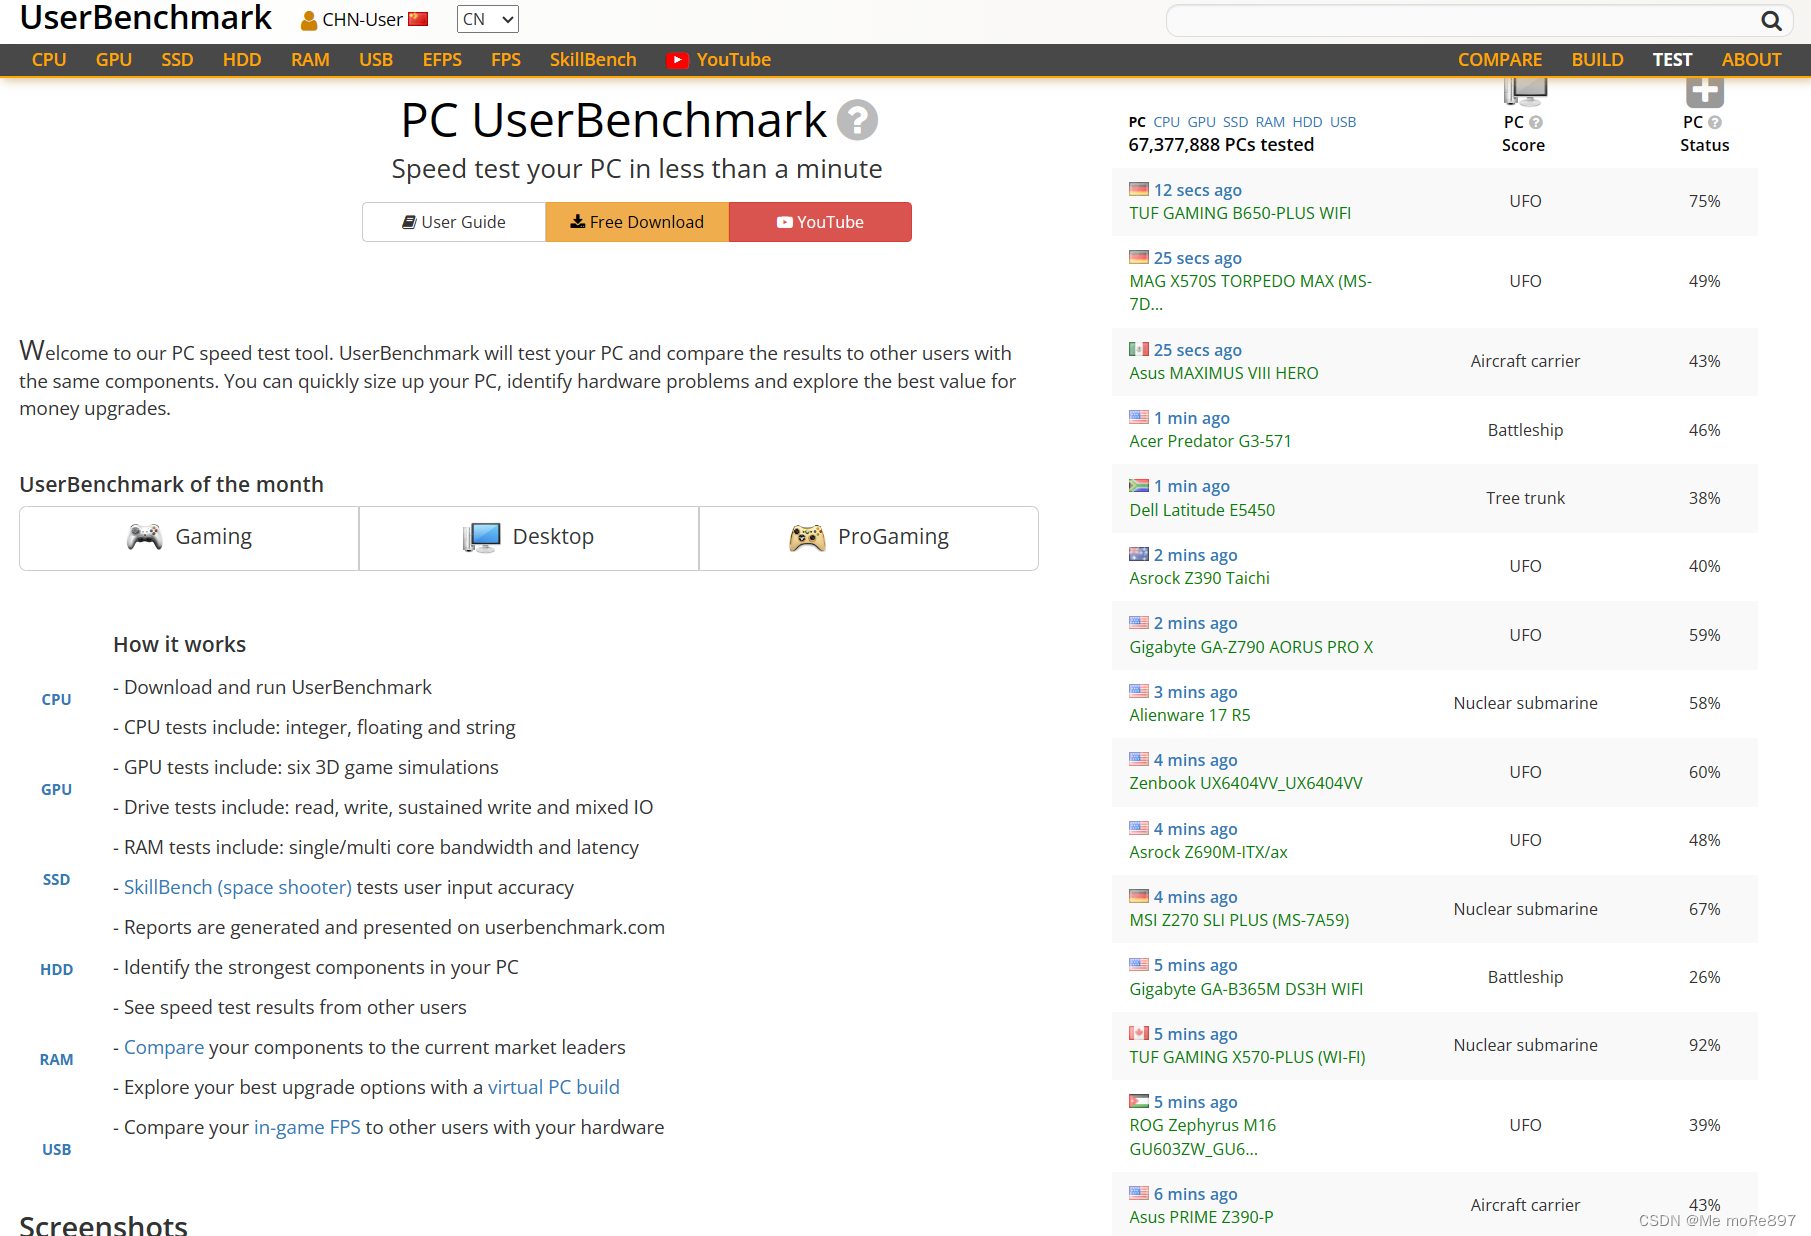
市面上有许多Benchmark测试软件,例如:JMH、Cinebench、UserBenchmark、FurMark、3Dmark等等。
三、Benchmark的度量指标
Benchmark中除了dataset和基准算法外,评估标准也是其不可忽视的一个方面。Benchmark用压力测试挖掘整个系统的性能状况。
Benchmark对不同的设备性能进行测试时有不同层面的指标:
1.从架构角度度量:
1.浮点型操作密度
2.整数型操作密度
3.指令中断
4.cache命中率
5.TLB命中;
2.从Spark系统执行时间和吞吐的角度度量:
1.Job作业执行时间
2.Job吞吐量
3.Stage执行时间
4.Stage吞吐量
5.Task执行时间
6.Task吞吐量;
3.从Spark系统资源利用率的角度度量:
1.CPU在指定时间段的利用率
2.内存在指定时间段的利用率
3.磁盘在指定时间段的利用率
4.网络带宽在指定时间段的利用率;
4.从扩展性的角度度量:
1.数据量扩展
2.集群节点数据扩展(scale out)
3.单机性能扩展(scale up)
若是从CPU、GPU、内存、磁盘等考虑的话,我们又可以将指标表示为:
1.处理器性能:
1.时钟周期: 指令执行所需的时钟周期数。
2.指令每周期: 每个时钟周期完成的指令数量。
3.IPS: 每秒执行的指令数量。
2.内存性能:
1.内存带宽: 内存系统每秒传输的数据量。
2.延迟: 内存访问的响应时间。
3.内存吞吐量: 每秒读/写的数据量。
3.存储性能:
1.IOPS: 每秒的输入/输出操作数量。
2.吞吐量: 存储系统每秒传输的数据量。
4.网络性能:
1.带宽: 网络连接每秒传输的数据量。
2.时延: 数据从发送端到接收端所需的时间。
5.整体系统性能:
1.响应时间: 系统对用户请求的响应时间。
2.吞吐量: 系统每秒完成的任务数量。
6.能效性能:
1.性能功耗比: 系统性能与其能耗之间的比率。
以上只是一些常见的度量指标,有的Benchmark会有更加多的度量指标以保证结论的准确性。
四、Benchmark使用例
1.举例
假设有几个研究团队开发了不同的图像分类算法,而我们想要确定哪个算法在某个特定数据集上表现最佳。
在这种情况下,我们首先需要一个"Benchmark"数据集,其中包含了大量不同类别的图像。这个数据集可以是一个已经被广泛接受的标准数据集,如ImageNet。然后,我们选择一个或多个基准模型,这些模型可能是以前在该任务上表现良好的模型,如ResNet或VGG。
接下来,各个研究团队会使用他们的算法在相同的Benchmark数据集上进行测试,并记录各种性能指标,如准确率、召回率等。这样,我们可以比较不同方法在相同数据集上的表现,确定哪个算法在这个特定任务上表现最佳。
此外,超参数调整也是关键的一步。每个算法都可能有一系列需要调整的超参数,如学习率、网络结构等。这是为了确保每个算法都在最佳条件下运行,以便公平比较。
最终,可以得出结论,哪个算法在这个图像分类任务上表现最佳。
2.实例
我们先介绍前面提到过的一个Benchmark软件:JMH。它是一款由OpenJDK公司开发的benchmark基准测试工具。一般用于代码的性能调优,精度甚至可以达到纳秒级别,适用于 java 以及其他基于 JVM 的语言。
以下是我在OpenJDK官网找到的一个实例:
public class JMHSample_01_HelloWorld {
    /*
     * This is our first benchmark method.
     *
     * JMH works as follows: users annotate the methods with @Benchmark, and
     * then JMH produces the generated code to run this particular benchmark as
     * reliably as possible. In general one might think about @Benchmark methods
     * as the benchmark "payload", the things we want to measure. The
     * surrounding infrastructure is provided by the harness itself.
     *
     * Read the Javadoc for @Benchmark annotation for complete semantics and
     * restrictions. At this point we only note that the methods names are
     * non-essential, and it only matters that the methods are marked with
     * @Benchmark. You can have multiple benchmark methods within the same
     * class.
     *
     * Note: if the benchmark method never finishes, then JMH run never finishes
     * as well. If you throw an exception from the method body the JMH run ends
     * abruptly for this benchmark and JMH will run the next benchmark down the
     * list.
     *
     * Although this benchmark measures "nothing" it is a good showcase for the
     * overheads the infrastructure bear on the code you measure in the method.
     * There are no magical infrastructures which incur no overhead, and it is
     * important to know what are the infra overheads you are dealing with. You
     * might find this thought unfolded in future examples by having the
     * "baseline" measurements to compare against.
     */
    @Benchmark
    public void wellHelloThere() {
        // this method was intentionally left blank.
    }

    /*
     * ============================== HOW TO RUN THIS TEST: ====================================
     *
     * You are expected to see the run with large number of iterations, and
     * very large throughput numbers. You can see that as the estimate of the
     * harness overheads per method call. In most of our measurements, it is
     * down to several cycles per call.
     *
     * a) Via command-line:
     *    $ mvn clean install
     *    $ java -jar target/benchmarks.jar JMHSample_01
     *
     * JMH generates self-contained JARs, bundling JMH together with it.
     * The runtime options for the JMH are available with "-h":
     *    $ java -jar target/benchmarks.jar -h
     *
     * b) Via the Java API:
     *    (see the JMH homepage for possible caveats when running from IDE:
     *      http://openjdk.java.net/projects/code-tools/jmh/)
     */
    public static void main(String[] args) throws RunnerException {
        Options opt = new OptionsBuilder()
                .include(JMHSample_01_HelloWorld.class.getSimpleName())
                .forks(1)
                .build();

        new Runner(opt).run();
    }
}
我们将上面的基础框架进行修改。
在要测试的方法上打注解@Benchmark,main方法里,给出一些基础选项(也可以注解配置)就可以开跑了。
@Benchmark:
@Benchmark用于告诉 JMH 哪些方法需要进行测试,只能注解在方法上,有点类似 junit 的@Test。在测试项目进行 package 时,JMH 会针对注解了@Benchmark的方法生成 Benchmark 方法代码。
@Benchmark
    public void wellHelloThere() {
        // this method was intentionally left blank.
    }
在此之前,我们配置pom.xml:
<dependencies>
        <dependency>
            <groupId>org.openjdk.jmh</groupId>
            <artifactId>jmh-core</artifactId>
            <version>${jmh.version}</version>
        </dependency>
        <dependency>
            <groupId>org.openjdk.jmh</groupId>
            <artifactId>jmh-generator-annprocess</artifactId>
            <version>${jmh.version}</version>
            <scope>provided</scope>
        </dependency>
    </dependencies>

    <properties>
        <project.build.sourceEncoding>UTF-8</project.build.sourceEncoding>
        <jmh.version>1.25</jmh.version>
        <javac.target>1.8</javac.target>
        <uberjar.name>benchmarks</uberjar.name>
    </properties>

    <build>
        <plugins>
            <plugin>
                <groupId>org.apache.maven.plugins</groupId>
                <artifactId>maven-shade-plugin</artifactId>
                <version>3.2.1</version>
                <executions>
                    <execution>
                        <phase>package</phase>
                        <goals>
                            <goal>shade</goal>
                        </goals>
                        <configuration>
                            <finalName>${uberjar.name}</finalName>
                            <transformers>
                                <transformer implementation="org.apache.maven.plugins.shade.resource.ManifestResourceTransformer">
                                    <mainClass>org.openjdk.jmh.Main</mainClass>
                                </transformer>
                                <transformer implementation="org.apache.maven.plugins.shade.resource.ServicesResourceTransformer"/>
                            </transformers>
                            <filters>
                                <filter>
                                    <artifact>*:*</artifact>
                                    <excludes>
                                        <exclude>META-INF/*.SF</exclude>
                                        <exclude>META-INF/*.DSA</exclude>
                                        <exclude>META-INF/*.RSA</exclude>
                                    </excludes>
                                </filter>
                            </filters>
                        </configuration>
                    </execution>
                </executions>
            </plugin>
        </plugins>
    </build>
接下来我们利用以下代码将其跑起来:
public class JmhDemo {

    @State(Scope.Benchmark)
    public static class SharedState {
        @Setup
        public void setupOnTrial() {
            System.out.println("before trial");
        }

        @Setup(Level.Iteration)
        public void setupOnIteration() {
            System.out.println("before iteration");
        }
    }

    @Benchmark
    @BenchmarkMode(Mode.Throughput)
    @Warmup(iterations = 1)
    @Measurement(iterations = 3)
    @OutputTimeUnit(TimeUnit.MILLISECONDS)
    public double f(SharedState sharedState) {
        return Math.log(Math.PI);
    }

    public static void main(String[] args) throws RunnerException {
        Options opt = new OptionsBuilder()
                .include(JmhDemo.class.getSimpleName())
                .result("D:/jmh_result")
                .resultFormat(ResultFormatType.JSON)
                .build();
        new Runner(opt).run();
    }
}
这时,我们的基准测试就开始运行了。
可以看到控制台输出的结果:
# JMH version: 1.25
# VM version: JDK 1.8.0_231, Java HotSpot(TM) 64-Bit Server VM, 25.231-b11
# VM invoker: D:\growUp\installation\jdk1.8.0_231\jre\bin\java.exe
# VM options: <none>
# Warmup: 5 iterations, 10 s each
# Measurement: 5 iterations, 10 s each
# Timeout: 10 min per iteration
# Threads: 1 thread, will synchronize iterations
# Benchmark mode: Throughput, ops/time
# Benchmark: cn.zzs.jmh.MyBenchmark.testMethod

# Run progress: 0.00% complete, ETA 00:08:20
# Fork: 1 of 5
# Warmup Iteration   1: 3955731078.669 ops/s
# Warmup Iteration   2: 3910971792.656 ops/s
# Warmup Iteration   3: 3881001464.578 ops/s
# Warmup Iteration   4: 3916172600.571 ops/s
# Warmup Iteration   5: 3956321997.093 ops/s
Iteration   1: 3942596162.384 ops/s
Iteration   2: 3962073081.983 ops/s
Iteration   3: 3956347169.335 ops/s
Iteration   4: 3935835073.222 ops/s
Iteration   5: 3934716909.315 ops/s

# ······

# Run progress: 80.00% complete, ETA 00:01:40
# Fork: 5 of 5
# Warmup Iteration   1: 3398845405.179 ops/s
# Warmup Iteration   2: 3716777120.646 ops/s
# Warmup Iteration   3: 3414803497.798 ops/s
# Warmup Iteration   4: 3621211396.229 ops/s
# Warmup Iteration   5: 3616308570.681 ops/s
Iteration   1: 3898056365.287 ops/s
Iteration   2: 3935143498.460 ops/s
Iteration   3: 3943901632.014 ops/s
Iteration   4: 3906292827.077 ops/s
Iteration   5: 3918607665.065 ops/s


Result "cn.zzs.jmh.MyBenchmark.testMethod":
  3949010528.035 ±(99.9%) 16881035.344 ops/s [Average]
  (min, avg, max) = (3898056365.287, 3949010528.035, 3975167080.768), stdev = 22535699.213
  CI (99.9%): [3932129492.691, 3965891563.378] (assumes normal distribution)

# Run complete. Total time: 00:08:21

Benchmark                Mode  Cnt           Score          Error  Units
MyBenchmark.testMethod  thrpt   25  3949010528.035 ± 16881035.344  ops/s
在最后打印了这个 Benchmark 方法的测试结果,如下。它的吞吐是 3949010528.035 ± 16881035.344 ops/s。注意,一个 Benchmark 的测试结果是没有意义的,只有多个 Benchmark 对比才可能得出结论。
3.其他例子
我们还可以用一些直接的Benchmark软件来进行测试,如:

又如我前面提到的一款Benchmark测试软件3Dmark:

五、结语
Benchmark作为性能基准测试(软件),在云计算、机器学习等方面是一个不可或缺的工具。
云计算领域,通过对不同云服务提供商的性能进行Benchmark测试,用户可以更好地选择适合自己需求的云服务。这有助于提高资源利用效率,降低成本,并最终优化整体业务运营。
在机器学习领域,Benchmark的作用更加显著。通过使用标准化的Benchmark数据集和任务,研究人员和开发者可以快速比较不同算法的性能,加速算法的发展和优化过程。此外,Benchmark还有助于促进算法的可重复性和可靠性,推动整个领域的进步。
六、一些Benchmark实践的工具推荐
1.Hibench:由Intel开发的针对Hadoop的开源基准测试工具,可以到Github库中下载。
2.Berkeley BigDataBench:随着Spark的推出,由AMPLab开发的一套大数据基准测试工具,官网介绍。
3.Hadoop GridMix:Hadoop自带的Benchmark,作为Hadoop自带的测试工具使用方便、负载经典,应用广泛。
4.Bigbench:由Teradata、多伦多大学、InfoSizing、Oracle开发,其设计思想和利用扩展具有研究价值,可以参阅论文Bigbench:Towards an industry standard benchmark for big data analytics。
5.BigDataBenchmark:由中科院研发,官方介绍。
6.TPC-DS:广泛应用于SQL on Hadoop的产品评测。
7.其他的Benchmark:Malstone、Cloud Harmony、YCSB、SWIM、LinkBench、DFSIO、Hive performance Benchmark(Pavlo)等等。
8.文章前面提到的 JMH、Cinebench、UserBenchmark、FurMark、3Dmark等等。
文章参考:OpenJDK官网


 3996
3996


 被折叠的 条评论
为什么被折叠?
被折叠的 条评论
为什么被折叠?
 到【灌水乐园】发言


