


一、环境信息
| hostname | IP | 系统版本 | role |
| es1 | 192.168.0.52 | CentOS Linux release 7.9.2009 (Core) | es节点1、kibana |
| es2 | 192.168.0.84 | CentOS Linux release 7.9.2009 (Core) | es节点2 |
| es3 | 192.168.0.121 | CentOS Linux release 7.9.2009 (Core) | es节点3 |
软件版本:
openjdk version "1.8.0_275"
elasticsearch-6.3.0
二、elasticsearch的配置
# 解压elasticsearch
[root@es1 soft]# ll
total 270000
-rw-r--r--. 1 root root 123748302 Jul 26 2021 elasticsearch-6.3.0.zip
[root@es1 soft]# unzip elasticsearch-6.3.0.zip
[root@es1 soft]# cd elasticsearch-6.3.0
# 根据自己机器的内存情况,修改jvm参数
[root@es1 elasticsearch-6.3.0]#egrep "^\-Xms|^-Xmx" config/jvm.options
-Xms512m
-Xmx512m
# 配置集群信息
[root@es1 elasticsearch-6.3.0]#grep "^[a-z]" config/elasticsearch.yml
cluster.name: 4b4s-cluster
node.name: es1
path.data: /data/soft/elasticsearch-6.3.0/data
path.logs: /data/soft/elasticsearch-6.3.0/logs
network.host: 192.168.0.52
http.port: 9200
transport.tcp.port: 9300
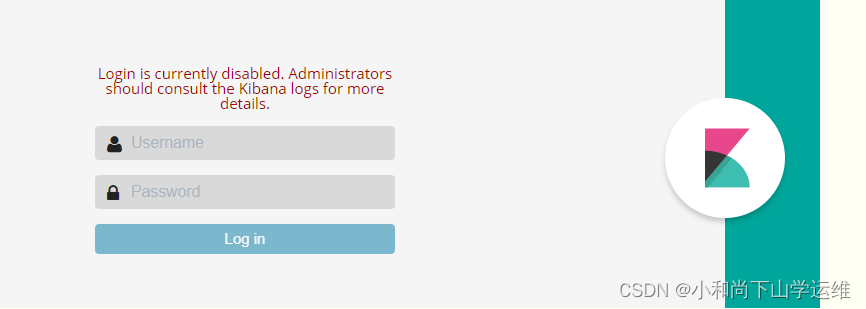
xpack.security.enabled: true
xpack.security.transport.ssl.enabled: true
discovery.zen.ping.unicast.hosts: ["192.168.0.52:9300","192.168.0.121:9300","192.168.0.84:9300"]
discovery.zen.minimum_master_nodes: 2
# discovery.zen.ping.unicast.hosts:此处记得加上端口号,否则后面的ssl传输会报错
设置文件描述符、进程数
[root@es1 elasticsearch-6.3.0]# grep ^\* /etc/security/limits.conf
* soft nofile 65536
* hard nofile 65536
* soft nproc 4096
* hard nproc 4096
创建es用户
[root@es1 elasticsearch-6.3.0]# useradd es
[root@es1 elasticsearch-6.3.0]# echo "123456"|passwd --stdin es
[root@es1 elasticsearch-6.3.0]# chown -R es:es /data/soft/elasticsearch-6.3.0
切换用户启动elasticsearch服务
[root@es1 elasticsearch-6.3.0]# su - es
[root@es1 elasticsearch-6.3.0]#nohup ./bin/elasticsearch -d
三、安装配置kibana
[root@es1 local]# tar xf kibana-6.3.0-linux-x86_64.tar.gz -C /usr/local/
[root@es1 local]# cd /usr/local/
[root@es1 local]# ln -sv kibana-6.3.0-linux-x86_64/ kibana
[root@es1 local]# [root@es1 local]# grep "^[a-z]" kibana/config/kibana.yml
server.port: 5601
server.host: "192.168.0.52"
elasticsearch.url: "http://192.168.0.52:9200"

# 启动kibana

[root@es1 local]# nohup ./kibana/bin/kibana &
访问kibana
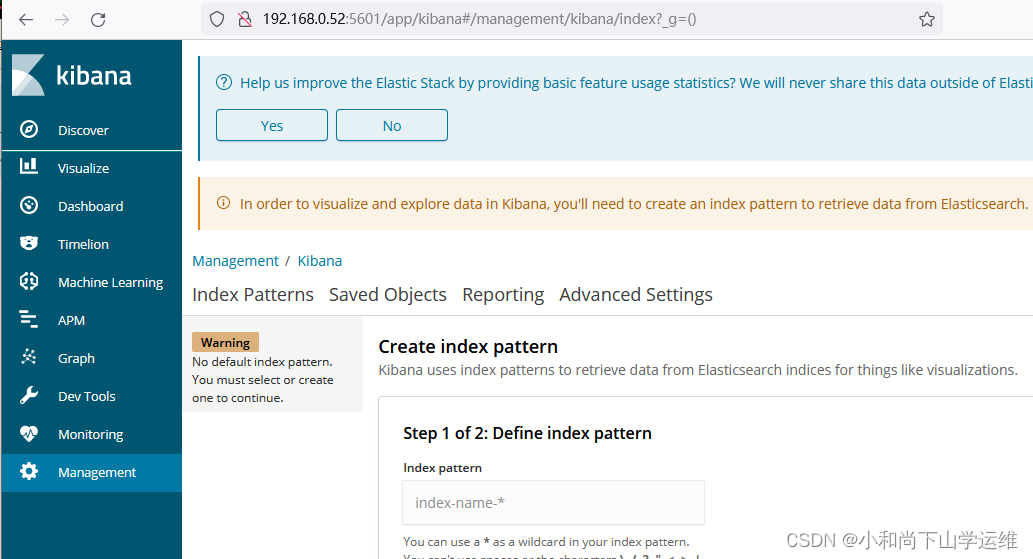

点击Monitoring标签可以开启监控设置,并且我们的license是basic版本的(即基础版)
四、
- 替换x-pack-core-6.3.0.jar
/data/soft/elasticsearch-6.3.0/modules/x-pack/x-pack-core
[root@es1 x-pack-core]# ll x-pack-core-6.3.0.jar
-rw-r--r--. 1 es es 1773114 Jan 11  2022 x-pack-core-6.3.0.jar
- 修改配置文件,关闭x-pack
xpack.security.enabled: false
- 重启elasticsearch,并上传license.json文件(license.json文件可以使用xftp上传到服务器)
[root@es1 x-pack-core]#curl -XPUT -u elastic 'http://192.168.1.107:9200/_xpack/license' -H "Content-Type: application/json" -d @license.json
Enter host password for user 'elastic':    #密码为:change
{"acknowledged":true,"license_status":"valid"}- 在kibana上查看许可状态

Platinum表示白金版 过期时间为2099 年12月31日,但是我们暂时还不能使用x-pack,因为白金版的x-pack需要SSL进行数据传输,所以我们需要先配置SSL
五、创建证书
# 注意,需要切换到运行elasticsearch服务的用户下进行证书创建
[es@es3 elasticsearch-6.3.0]$ cd bin/
[es@es3 bin]$ ./elasticsearch-certgen

- 解压后得到四个文件,
[es@es3 config]$ pwd
/data/soft/elasticsearch-6.3.0/config
[es@es3 config]$ ll ca
total 8.0K
-rw-r--r-- 1 es es 1.2K Jul  7 15:09 ca.crt
-rw-r--r-- 1 es es 1.7K Jul  7 15:09 ca.key
[es@es3 config]$ ll elasticsearch
total 8.0K
-rw-r--r-- 1 es es 1.2K Jul  7 15:09 elasticsearch.crt
-rw-r--r-- 1 es es 1.7K Jul  7 15:09 elasticsearch.key
- 把证书拷贝到另外两个节点
[esc@es1 ca]$ scp *.crt  *.key  192.168.0.84:/data/soft/elasticsearch-6.3.0/config/ca
[es@es1 elasticsearch]$ scp *.crt *.key 192.168.0.121:/data/soft/elasticsearch-6.3.0/config/elasticsearch- 开启xpack和增加ssl配置
xpack.security.enabled: true
xpack.security.transport.ssl.enabled: true
http.cors.enabled: true
http.cors.allow-origin: "*"
http.cors.allow-headers: Authorization,X-Requested-With,Content-Length,Content-Type
xpack.ssl.key: elasticsearch/elasticsearch.key
xpack.ssl.certificate: elasticsearch/elasticsearch.crt
xpack.ssl.certificate_authorities: ca/ca.crt
- 重启elasticsearch服务
 六、为内置的账户设置密码
[es@es3 elasticsearch-6.3.0]$ ./bin/elasticsearch-setup-passwords interactive
# 根据提示输入密码,完成即可- 配置kibana
[root@es1 elasticsearch-6.3.0]# grep "^elastic" /usr/local/kibana/config/kibana.yml
elasticsearch.url: "http://192.168.0.52:9200"
elasticsearch.username: "elastic"
elasticsearch.password: "elastic- 登录kibana


原文链接:centos7安装elasticsearch6.3.x集群并破解安装x-pack - 百衲本 - 博客园


 1134
1134


 被折叠的 条评论
为什么被折叠?
被折叠的 条评论
为什么被折叠?
 到【灌水乐园】发言


