


FragmentTabhost实现底部导航栏
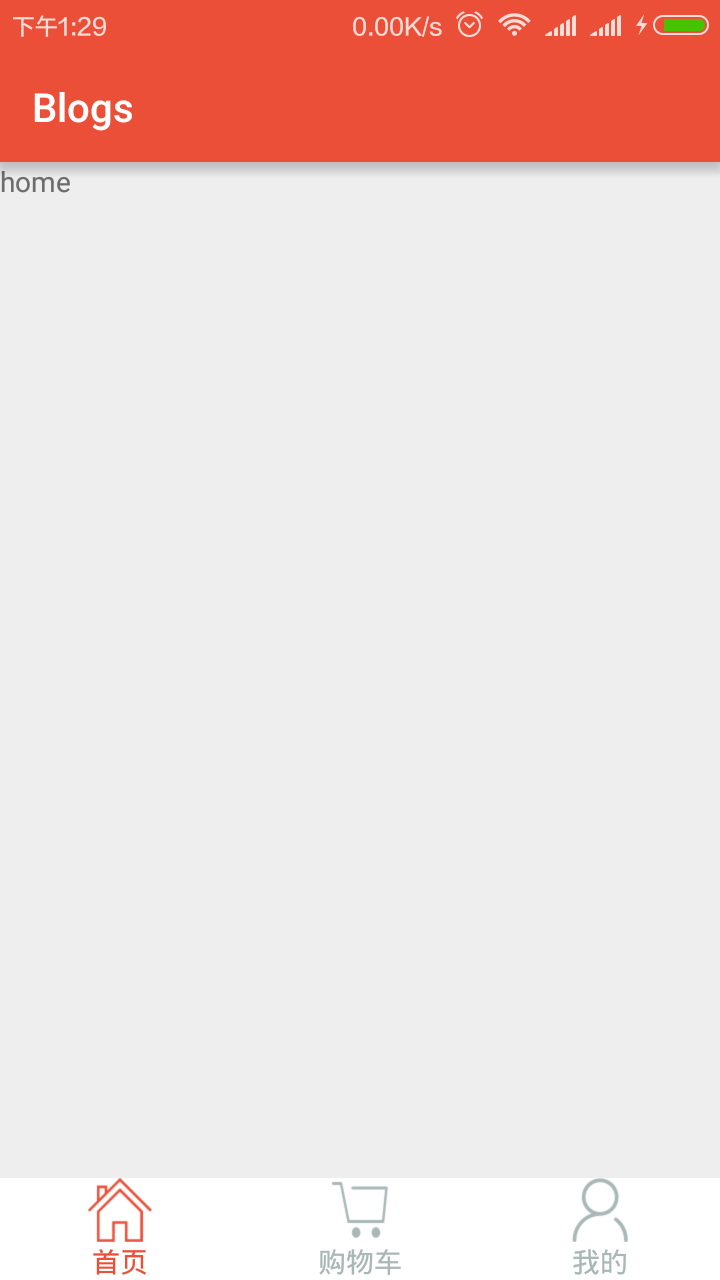
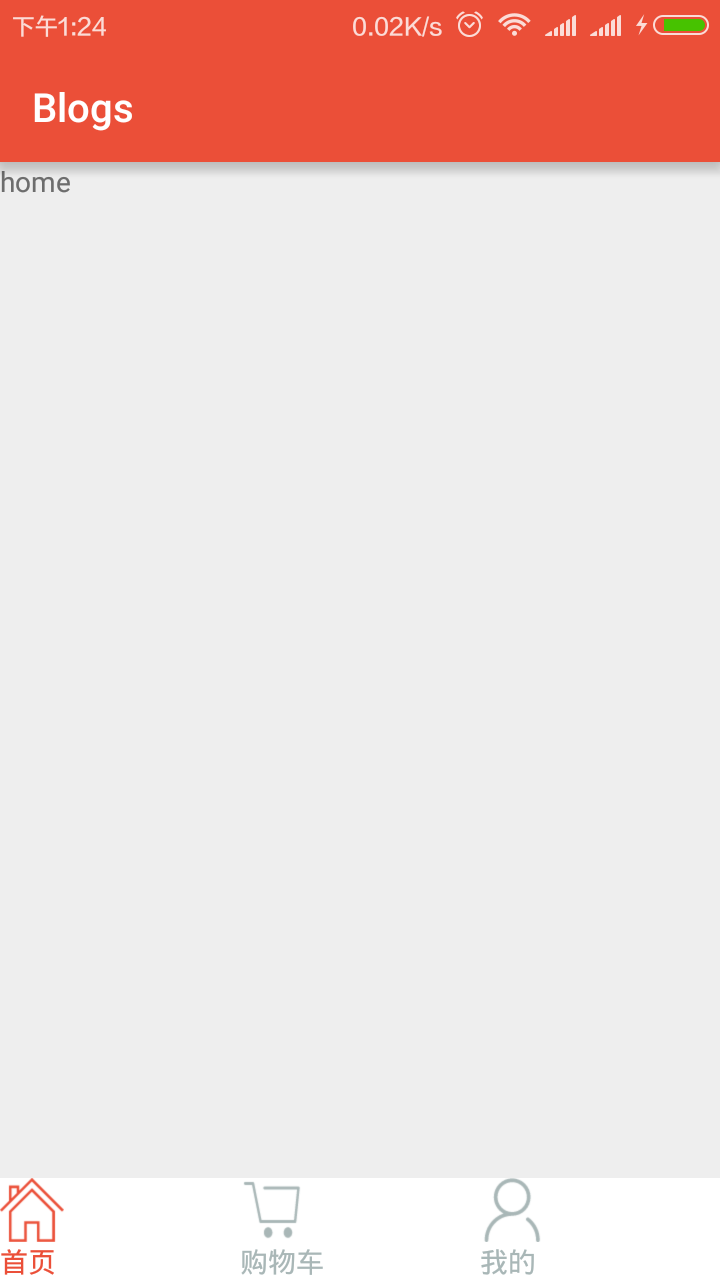
先上效果图
在开始写代码之前,我们先准备好底部的图片资源,并为每组图片资源指定selector.xml文件,还有相应的底部文字颜色选择文件tab_title.xml
图片selector.xml如下:
<?xml version="1.0" encoding="utf-8"?>
<selector xmlns:android="http://schemas.android.com/apk/res/android">
<item android:state_selected="true" android:drawable="@drawable/home_selected"/>
<item android:state_accelerated="false" android:drawable="@drawable/home_unseleted"/>
文字的选择器的.xml文件如下: 注意这里选择的是android:color 而不是android:drawable
<?xml version="1.0" encoding="utf-8"?>
<selector xmlns:android="http://schemas.android.com/apk/res/android">
<item android:state_selected="true" android:color="#eb4f38"/>
<item android:state_selected="false" android:color="#a9b7b7"/>
准备好资源文件后,我们开始编写代码
1.先创建出主界面的布局文件,activity_main.xml 代码如下:
    <?xml version="1.0" encoding="utf-8"?>
    <LinearLayout
xmlns:android="http://schemas.android.com/apk/res/android"
android:id="@+id/activity_main"
android:layout_width="match_parent"
android:layout_height="match_parent"
>
<android.support.v4.app.FragmentTabHost
    android:id="@+id/tabhost"
    android:layout_width="match_parent"
    android:layout_height="match_parent"
    >
    <LinearLayout
        android:layout_width="match_parent"
        android:layout_height="match_parent"
        android:orientation="vertical">
        <FrameLayout
            android:id="@android:id/tabcontent"
            android:layout_width="match_parent"
            android:layout_height="0dp"
            android:layout_weight="1"
            >
        </FrameLayout>
        <TabWidget
            android:id="@android:id/tabs"
            android:divider="@null"
            android:background="#ffffff"
            android:layout_width="match_parent"
            android:layout_height="wrap_content" />
    </LinearLayout>
</android.support.v4.app.FragmentTabHost>
2.接下来创建item的子布局,tab_item.xml代码如下: 注意要为图片和文字设置居中,否则会出现如下图片的情况
<?xml version="1.0" encoding="utf-8"?>
<LinearLayout xmlns:android="http://schemas.android.com/apk/res/android"
android:orientation="vertical"
android:layout_width="match_parent"
android:layout_height="match_parent">

<ImageView
    android:id="@+id/tab_img"
    android:layout_gravity="center"
    android:layout_width="32dp"
    android:layout_height="32dp" />

<TextView
    android:id="@+id/tab_title"
    android:layout_width="wrap_content"
    android:layout_height="wrap_content"
    android:layout_gravity="center"
    android:textColor="@drawable/tabtext_selector"
    />
3.主界面mainActivity.java代码如下: (准备好三个对应的Fragment)
public class MainActivity extends AppCompatActivity {

private FragmentTabHost tabhost;
private Class[] fragments = new Class[]{
        HomeFragment.class, ShopCarFragment.class, MineFragment.class
};
private int[] tabimgs = new int[]{
       R.drawable.home_selector,R.drawable.shopcar_selector,
        R.drawable.mine_selector
};
private String[] titles = new String[]{"首页","购物车","我的"};
@Override
protected void onCreate(Bundle savedInstanceState) {
    super.onCreate(savedInstanceState);
    setContentView(R.layout.activity_main);
    initView();
}

private void initView() {
    tabhost = (FragmentTabHost) findViewById(R.id.tabhost);
    tabhost.setup(this,getSupportFragmentManager(),android.R.id.tabcontent);
    for (int i = 0; i < fragments.length; i++) {
        View tabview = getLayoutInflater().inflate(R.layout.tab_item,null);
        ImageView tab_img = (ImageView) tabview.findViewById(R.id.tab_img);
        TextView tab_title = (TextView) tabview.findViewById(R.id.tab_title);
        tab_img.setImageResource(tabimgs[i]);
        tab_title.setText(titles[i]);
        tabhost.addTab(tabhost.newTabSpec(""+i).setIndicator(tabview),fragments[i],null);
    }
    tabhost.setCurrentTab(0);
}
}
上面简单地底部导航栏制作完成,注意(FragmentTabhost第次切换都会调用fragment的onCreateView方法),为了防止上面情况,下面有两种解决方案
1.在每个Fragment定义一个全局View并设置为空,然后在onCreateView方法里先判断view是否为空再去加载布局,示例如下:
View view = null;
@Override
public View onCreateView(LayoutInflater inflater, ViewGroup container,
                         Bundle savedInstanceState) {
    if (view == null) {
        view = inflater.inflate(R.layout.fragment_home, container, false)
    }
    return view;
}
2.自定义FragmentTabHost,它原本每次切换都销毁Fragment,我们修改源码把它改成每次切换隐藏当前Fragment而销毁.主要把源码里面的方法使用hide()和show()替换detach()和attach()。FragmentTabHost该方法源代码如下:
关键字搜索找到下面两处把detach()改成hide()
if (mLastTab != null) {
if (mLastTab.fragment != null) {
ft.detach(mLastTab.fragment);
}
}
if (mAttached) {
        info.fragment = mFragmentManager.findFragmentByTag(tag);
        if (info.fragment != null && !info.fragment.isDetached()) {
            FragmentTransaction ft = mFragmentManager.beginTransaction();
            ft.detach(info.fragment);
            ft.commit();
        }
    }
下面把attach()改成show():
 if (newTab != null) {
            if (newTab.fragment == null) {
                newTab.fragment = Fragment.instantiate(mContext,
                        newTab.clss.getName(), newTab.args);
                ft.add(mContainerId, newTab.fragment, newTab.tag);
            } else {
                ft.attach(newTab.fragment);
            }
        }


 425
425

 被折叠的 条评论
为什么被折叠?
被折叠的 条评论
为什么被折叠?
 到【灌水乐园】发言


