


1. 创建一个空的html
<!DOCTYPE html>
<html lang="en">
<head>
    <meta charset="UTF-8">
    <title>Keyboard input</title>
    <script src="https://code.jquery.com/jquery-2.1.0.js"></script>
</head>
<body>
<canvas id="canvas" width="400" height="400"></canvas>
<script>
    // We'll fill this in next
</script>
</body>
</html>
2. 添加keydown event handler
$("body").keydown(function (event) {
    console.log(event.keyCode);
});
保存这个html,在Chrome中打开它,打开chrome console。
用鼠标点击一下Chrome的主窗口,敲键盘,按什么键?随便。这时,console就会输出一堆数字。

对,这些数字就是 event.keyCode 。
3. 从keyCode到对应的键
把上面的代码删除,替换成
var keyNames = {
    32: "空格",
    37: "左",
    38: "上",
    39: "右",
    40: "下"
};
$("body").keydown(function (event) {
    console.log(keyNames[event.keyCode]);
});
在Chrome中试一下:
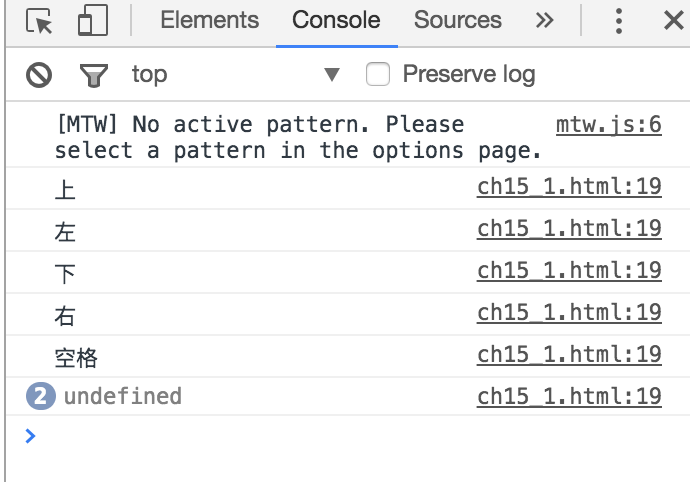
我们怎么知道keyCode数字和键盘的对应关系呢? 嗯,打开浏览器,搜索一下。
好了,我们已经知道上、下、左、右的keycode了。接下来,我们在网页上画一个小球,用键盘控制它上下左右移动。
4. 初始化canvas相关变量
var canvas = document.getElementById("canvas");
var ctx = canvas.getContext("2d");
var width = canvas.width;
var height = canvas.height;
5. 定义一个画小球的函数
var circle = function (x, y, radius, fillCircle) {
ctx.beginPath();
ctx.arc(x, y, radius, 0, Math.PI * 2, false);
if (fillCircle) {
ctx.fill();
}
else {
ctx.stroke();
}
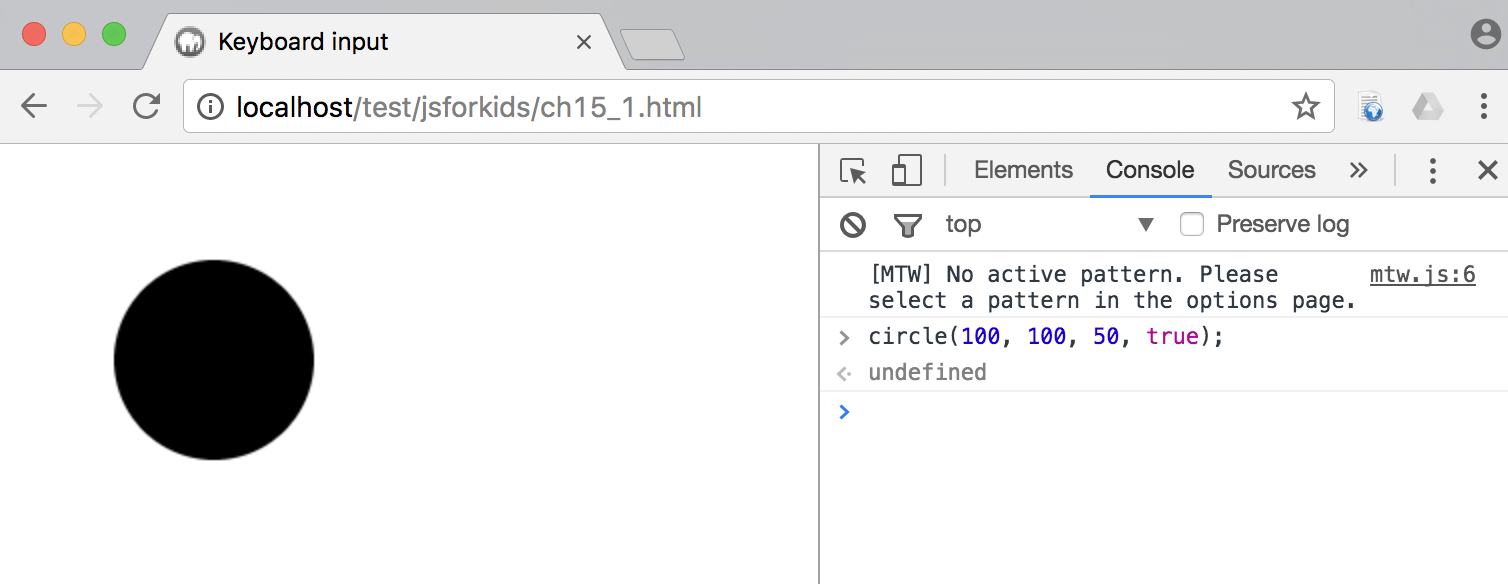
};在console中测试一下刚写的代码,哪怕是复制过来的。 刷新网页,在console中输入 circle(100, 100, 50, true) ,如下:
6. 小球的构造函数
var Ball = function () {
    this.x = width / 2;
    this.y = height / 2;
    this.xSpeed = 5;
    this.ySpeed = 0;
};
这里的width 和height在上面初始化canvas时定义了。球的初始位置在canvas的中心。
xSpeed : 每按一下键盘,小球的横坐标变化几个像素。
ySpeed : 每按一下键盘,小球的纵坐标变化几个像素。0 就是在这个方向上不动。
7. 添加成员函数:move
Ball.prototype.move = function () {
    this.x += this.xSpeed;
    this.y += this.ySpeed;
    if (this.x < 0) {
        this.x = width;
    }
    else if (this.x > width) {
        this.x = 0;
    }
    else if (this.y < 0) {
        this.y = height;
    }
    else if (this.y > height) {
        this.y = 0;
    }
};
稍微有一点点抽象,此时并没有重绘小球,只是修改了它的坐标(x, y) 。 还带了边缘检测功能,移动到canvas边缘,就让它从另一侧重新出来。
8. 添加成员函数draw
Ball.prototype.draw = function () {
    circle(this.x, this.y, 10, true);
};
这行代码把小球绘制到屏幕上。
9. 调整方向
上面的xSpeed 和 ySpeed 写了一个固定的值,好像和运动方向没啥关系哈。下面我们就给它们建立关系:
Ball.prototype.setDirection = function (direction) {
    if (direction === "上") {
        this.xSpeed = 0;
        this.ySpeed = -5;
    }
    else if (direction === "下") {
        this.xSpeed = 0;
        this.ySpeed = 5;
    }
    else if (direction === "左") {
        this.xSpeed = -5;
        this.ySpeed = 0;
    }
    else if (direction === "右") {
        this.xSpeed = 5;
        this.ySpeed = 0;
    }
    else if (direction === "空格") {
        this.xSpeed = 0;
        this.ySpeed = 0;
    }
};
10. 好了,万事具备,让小球动起来吧
var ball = new Ball();
var keyActions = {
    32: "空格",
    37: "左",
    38: "上",
    39: "右",
    40: "下"
};

$("body").keydown(function (event) {
    var direction = keyActions[event.keyCode];
    ball.setDirection(direction);
});

setInterval(function () {
    ctx.clearRect(0, 0, width, height);
    ball.draw();
    ball.move();
    ctx.strokeRect(0, 0, width, height);
}, 30);
在本章开始处,我还以为,每敲一下键盘,小球按指定方向动一下,原来不是。
小球一直在动,每敲一下键盘,会改变它的运动方向。


 被折叠的 条评论
为什么被折叠?
被折叠的 条评论
为什么被折叠?
 到【灌水乐园】发言


