


在Linux上搭建个人网站,最常用的就是Nginx+MySQL+PHP环境,即LNMP。搭建LNMP的一键脚本很多,不过本文介绍如何不用脚本一步一步自己搭建LNMP环境,这样以后自己的网站遇到什么问题也会清楚如何修改。
安装Nginx
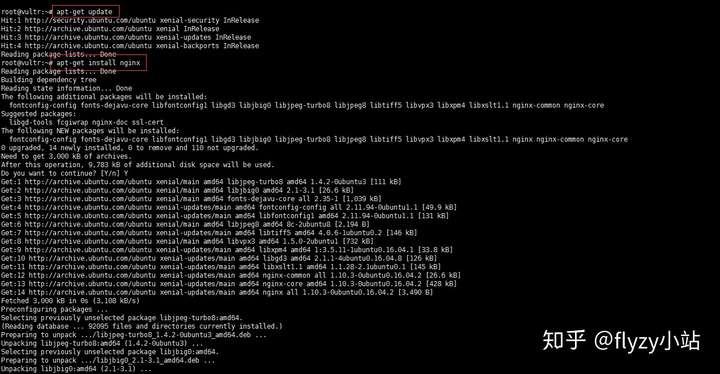
Ubutun(本教程是基于Ubuntu 16.04)安装nginx还是很简单的,就两句命令(全部root权限):
apt-get update
apt-get install nginx
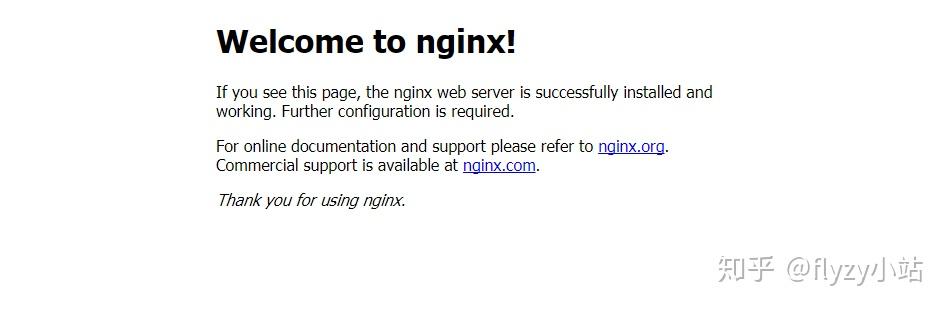
安装好后,可以访问http://xx.xx.xx.xx(或者是你的域名),如果显示下图所示结果,就说明成功了:
安装MySQL
还是很简单,一行命令:
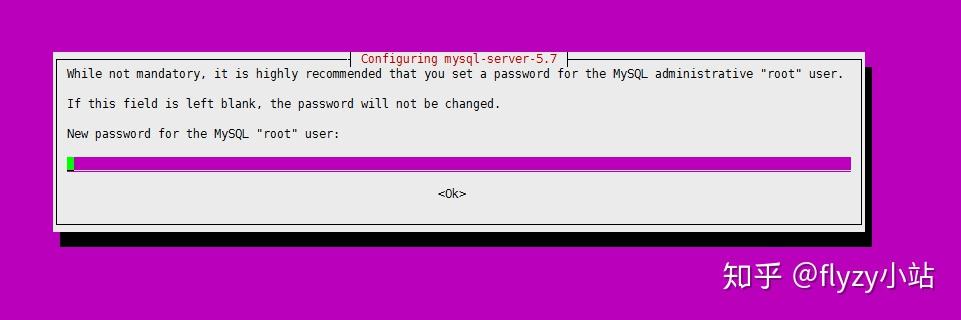
apt-get install mysql-server
输入完之后你会被要求输入root的密码,输完之后就安装成功了:
安装PHP
安装命令:
apt-get install php-fpm php-mysql
配置Nginx使用PHP
现在我们已经安装了所有需要的软件,目前要做的是修改Nginx的配置文件来使用PHP processor来处理动态内容。
修改Nginx的server block configuration:
vim /etc/nginx/sites-available/default
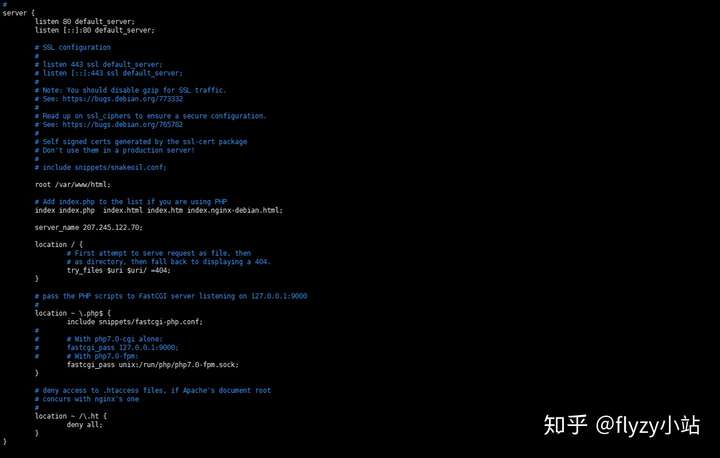
打开应该是这样的:
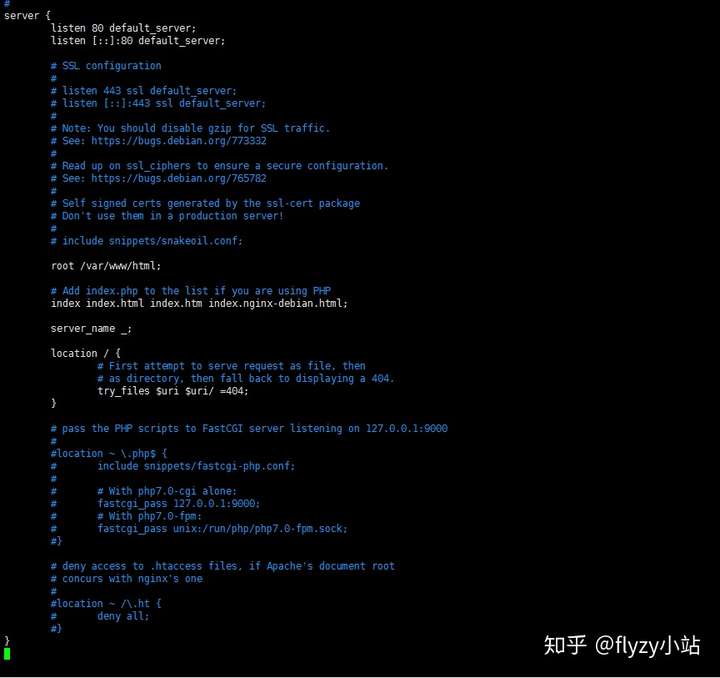
我们需要做如下修改:
- 添加index.php作为我们的起始页面;
- 修改server_name来指向我们的域名或者是公网IP;
- 忽略那些以#开头的行。(原文:For the actual PHP processing, we just need to uncomment a segment of the file that handles PHP requests by removing the pound symbols (#) from in front of each line. This will be the
location ~\.php$location block, the includedfastcgi-php.confsnippet, and the socket associated withphp-fpm) - 用同样的方法忽略.htaccess文件。(原文:We will also uncomment the location block dealing with
.htaccessfiles using the same method. Nginx doesn’t process these files. If any of these files happen to find their way into the document root, they should not be served to visitors.)
所以,修改完后我们的配置文件应该是这个样子的:
验证配置文件有没有错误:
nginx -t
如果提示OK则说明配置搞定:

重启Nginx:
/etc/init.d/nginx restart
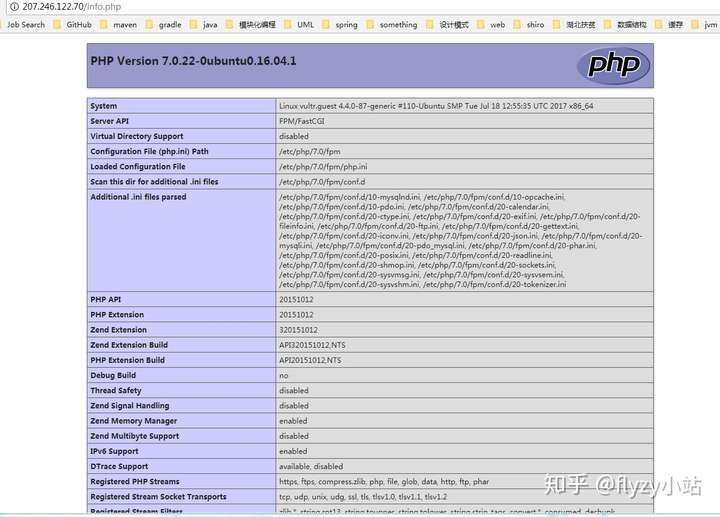
测试PHP与Nginx有没有集成成功
添加一个info.php:(这里的 /var/www/html/ 对应配置文件中root的路径)
vim /var/www/html/info.php
内容为:
<?php
phpinfo();
访问http://xx.xx.xx.xx/info.php(或者是你的域名),如下图所示则说明全部安装成功~
转载请注明:flyzy小站 » 在Ubuntu上配置Nginx+MySQL+PHP7


 933
933


 被折叠的 条评论
为什么被折叠?
被折叠的 条评论
为什么被折叠?
 到【灌水乐园】发言


