


 本文是WPF入门系列的第四篇,介绍了如何使用VisualState来控制View在不同状态下的表现。通过一个示例项目,展示了如何创建和切换VisualState,实现控件状态的动态变化,如点击后透明效果。同时,提供了完整代码供读者下载学习。
前言
本文是wpf入门系列第四篇,面向有winform或者web前端基础的、并且也有C#基础的同学。
在WPF中,View(Window,UserControl等)常常会根据不同的状态来显示不同的内容,比如消息的未读和已读是两种状态,这两种状态下View的表现形式会有所差别。本文将从头开始一个的示例项目,来简单的介绍VisualState的用法。
本文使用了 Visual Studio 2017 进行演示讲解。
wpf入门系列导航页面: https://blog.csdn.net/wf824284257/article/details/88757497
上一步: wpf入门第三篇 ControlTemplate、Trigger与Storyboard
https://blog.csdn.net/wf824284257/article/details/88783979
开始
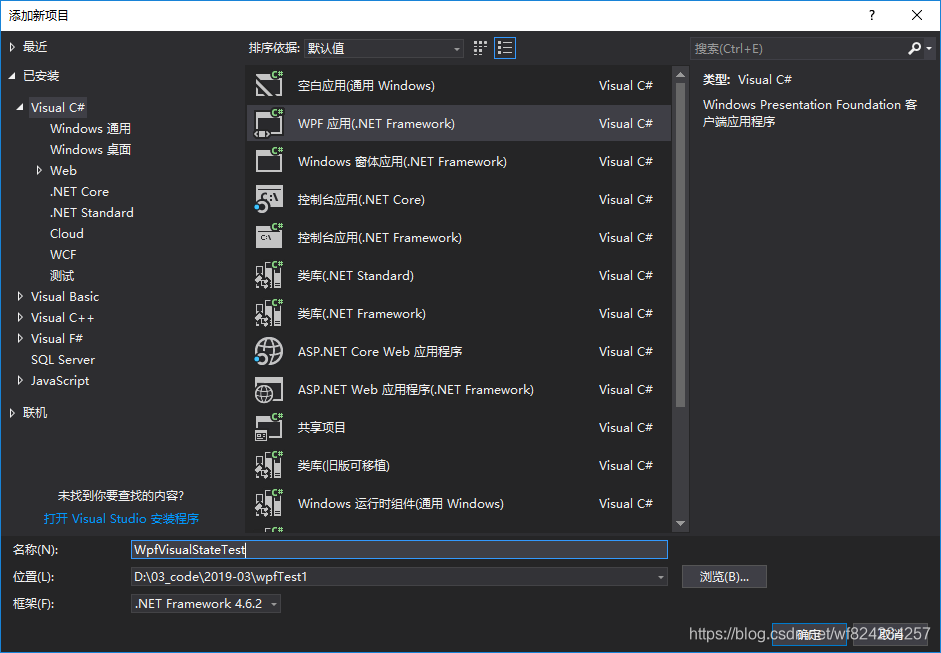
打开 VS2017,新建WPF项目,命名为 WpfVisualStateTest ,点击确定。
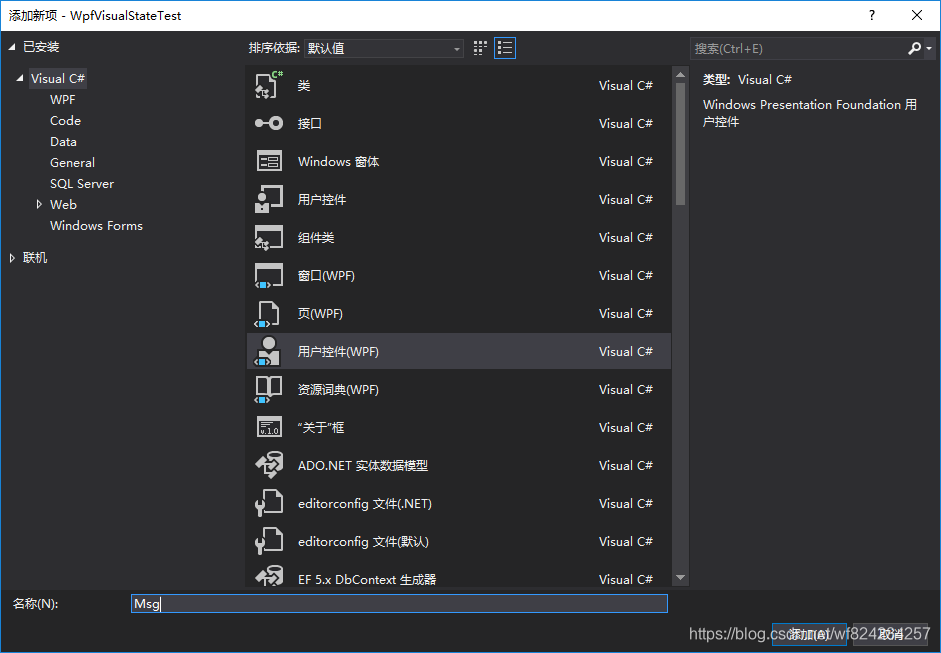
向项目中添加一个用户控件. 右键点击项目名,选择【添加】->【用户控件】,命名为Msg 。
将Msg.xaml 代码替换为如下代码:
<UserControl x:Class="WpfVisualStateTest.Msg"
            xmlns="http://schemas.microsoft.com/winfx/2006/xaml/presentation"
            xmlns:x="http://schemas.microsoft.com/winfx/2006/xaml"
            xmlns:mc="http://schemas.openxmlformats.org/markup-compatibility/2006"
            xmlns:d="http://schemas.microsoft.com/expression/blend/2008"
            xmlns:local="clr-namespace:WpfVisualStateTest"
            mc:Ignorable="d"
            d:DesignHeight="450" d:DesignWidth="800" Height="80">
    <Border Name="bdMain" CornerRadius="10"  Background="White" BorderBrush="#333" BorderThickness="1"
最低0.47元/天 解锁文章


 5万+
5万+

 被折叠的 条评论
为什么被折叠?
被折叠的 条评论
为什么被折叠?
 到【灌水乐园】发言


