


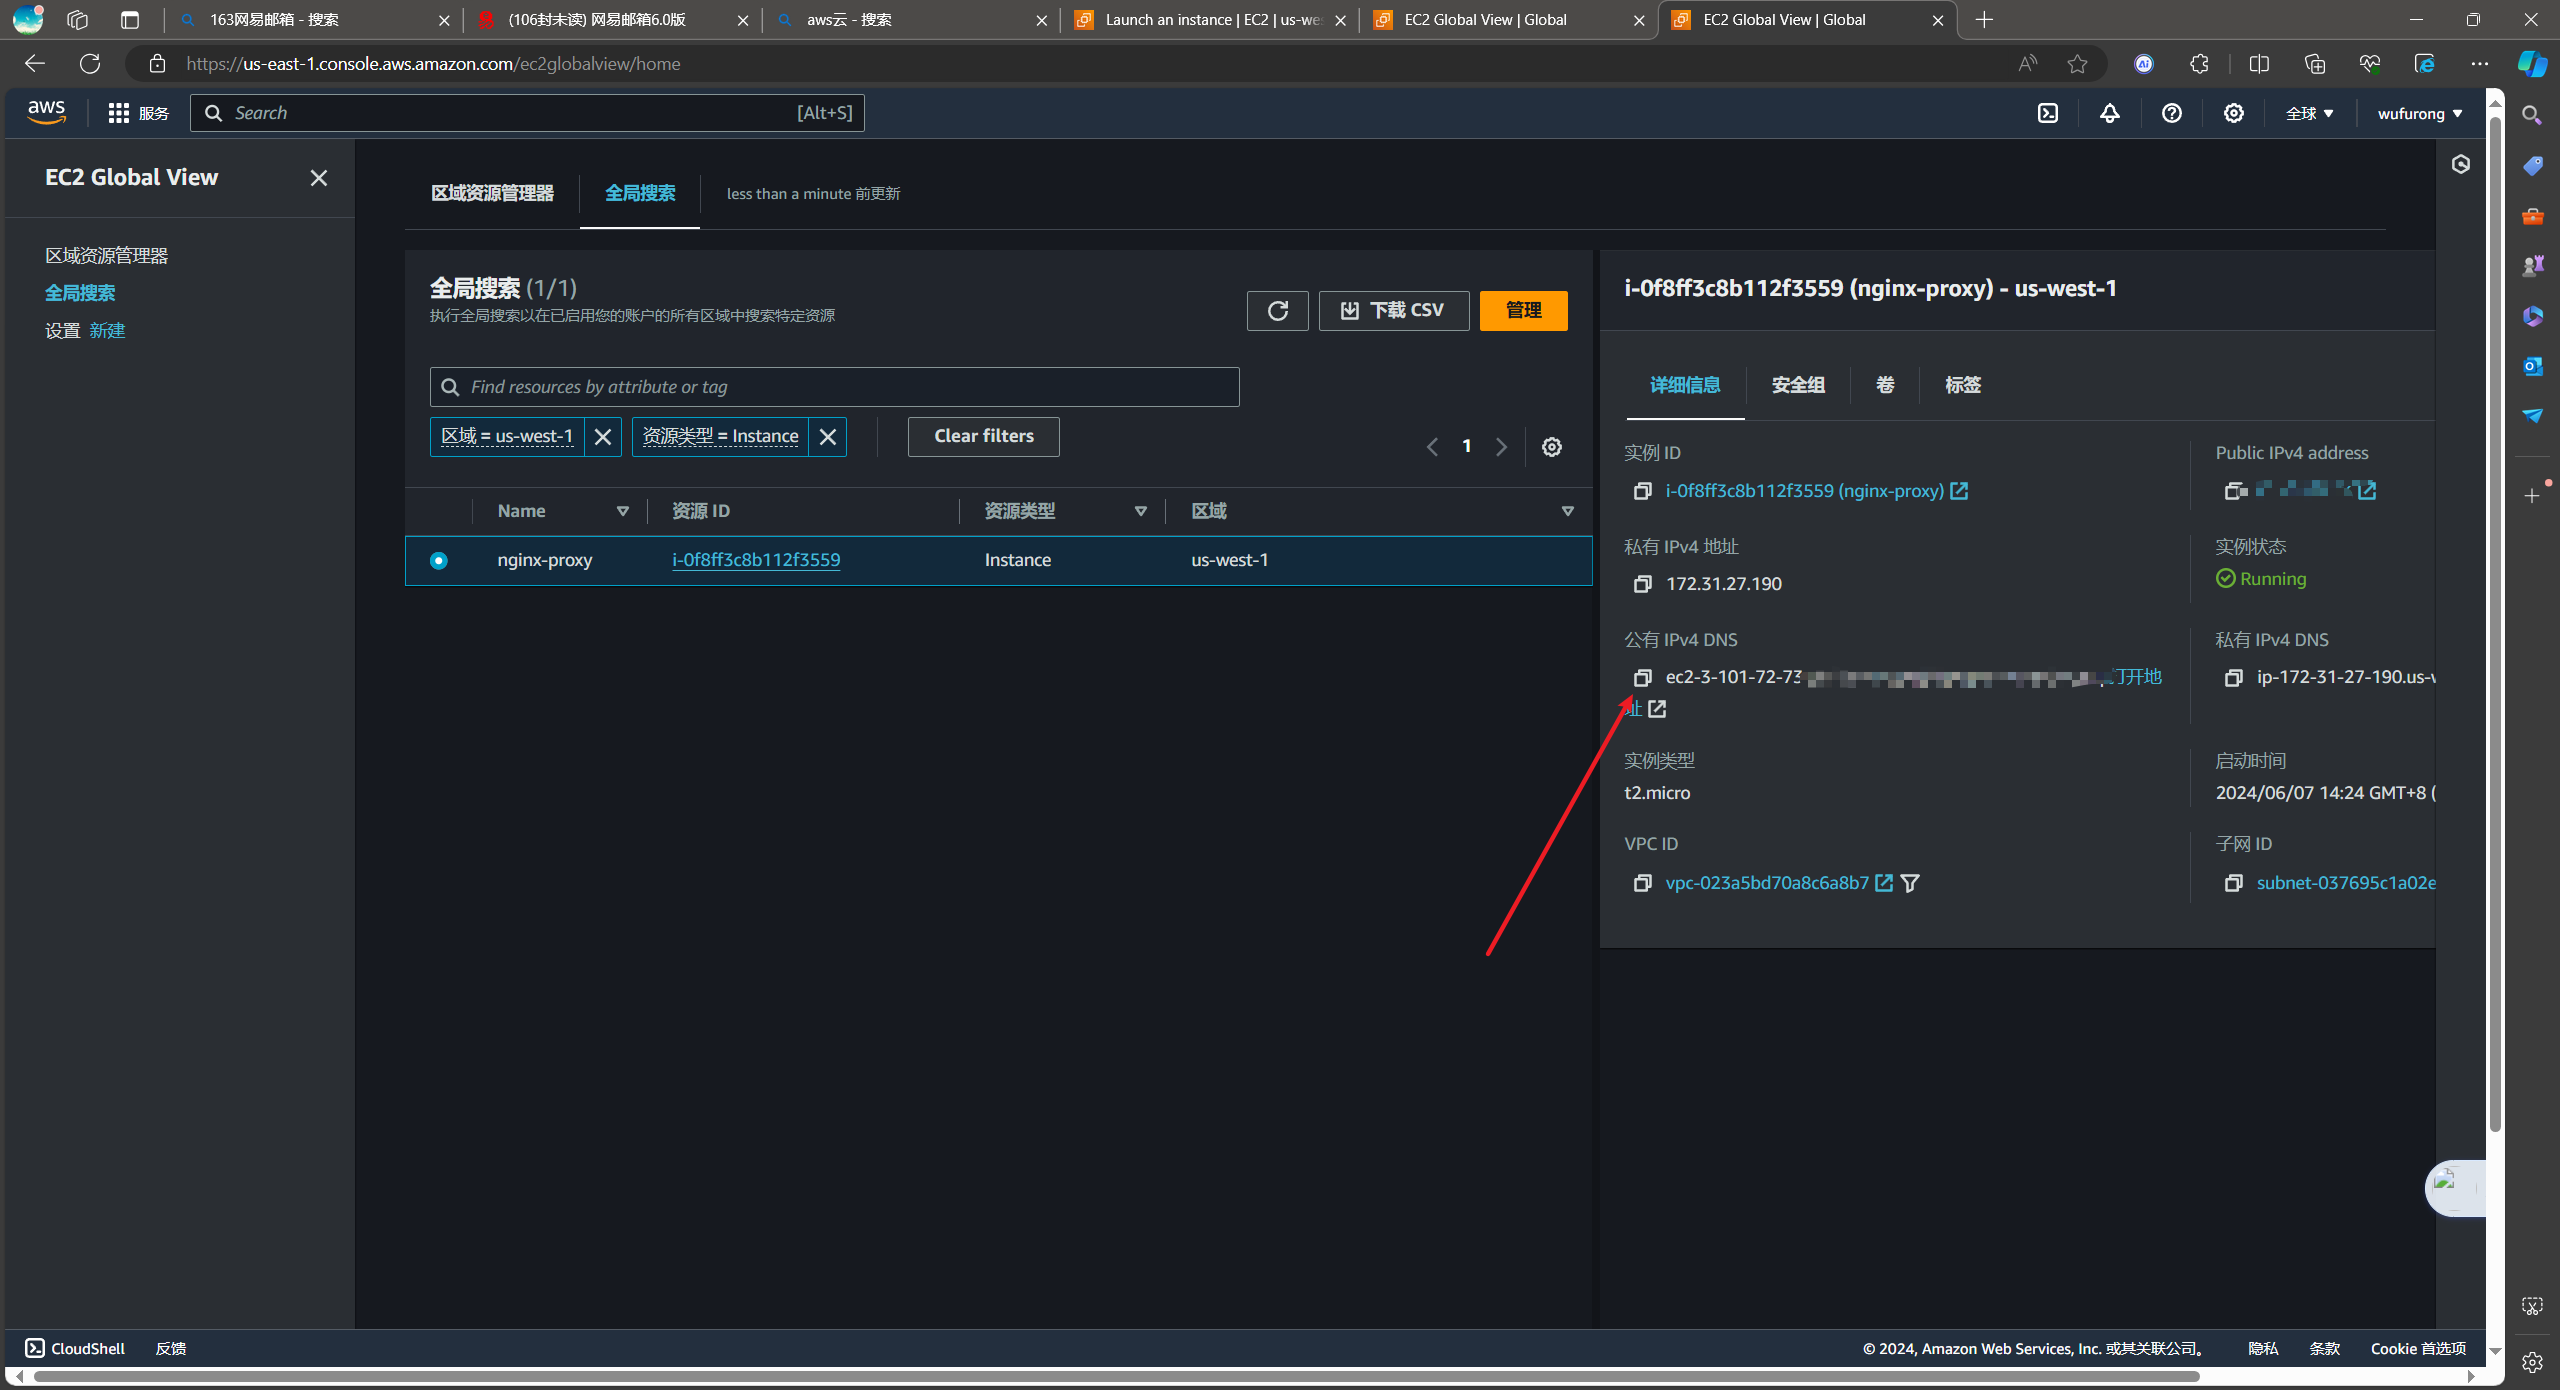
一、AWS海外区域用户注册EC2购买
Launch an instance | EC2 | us-west-1 (amazon.com)
1、中国用户注册实名需要有银联信用卡
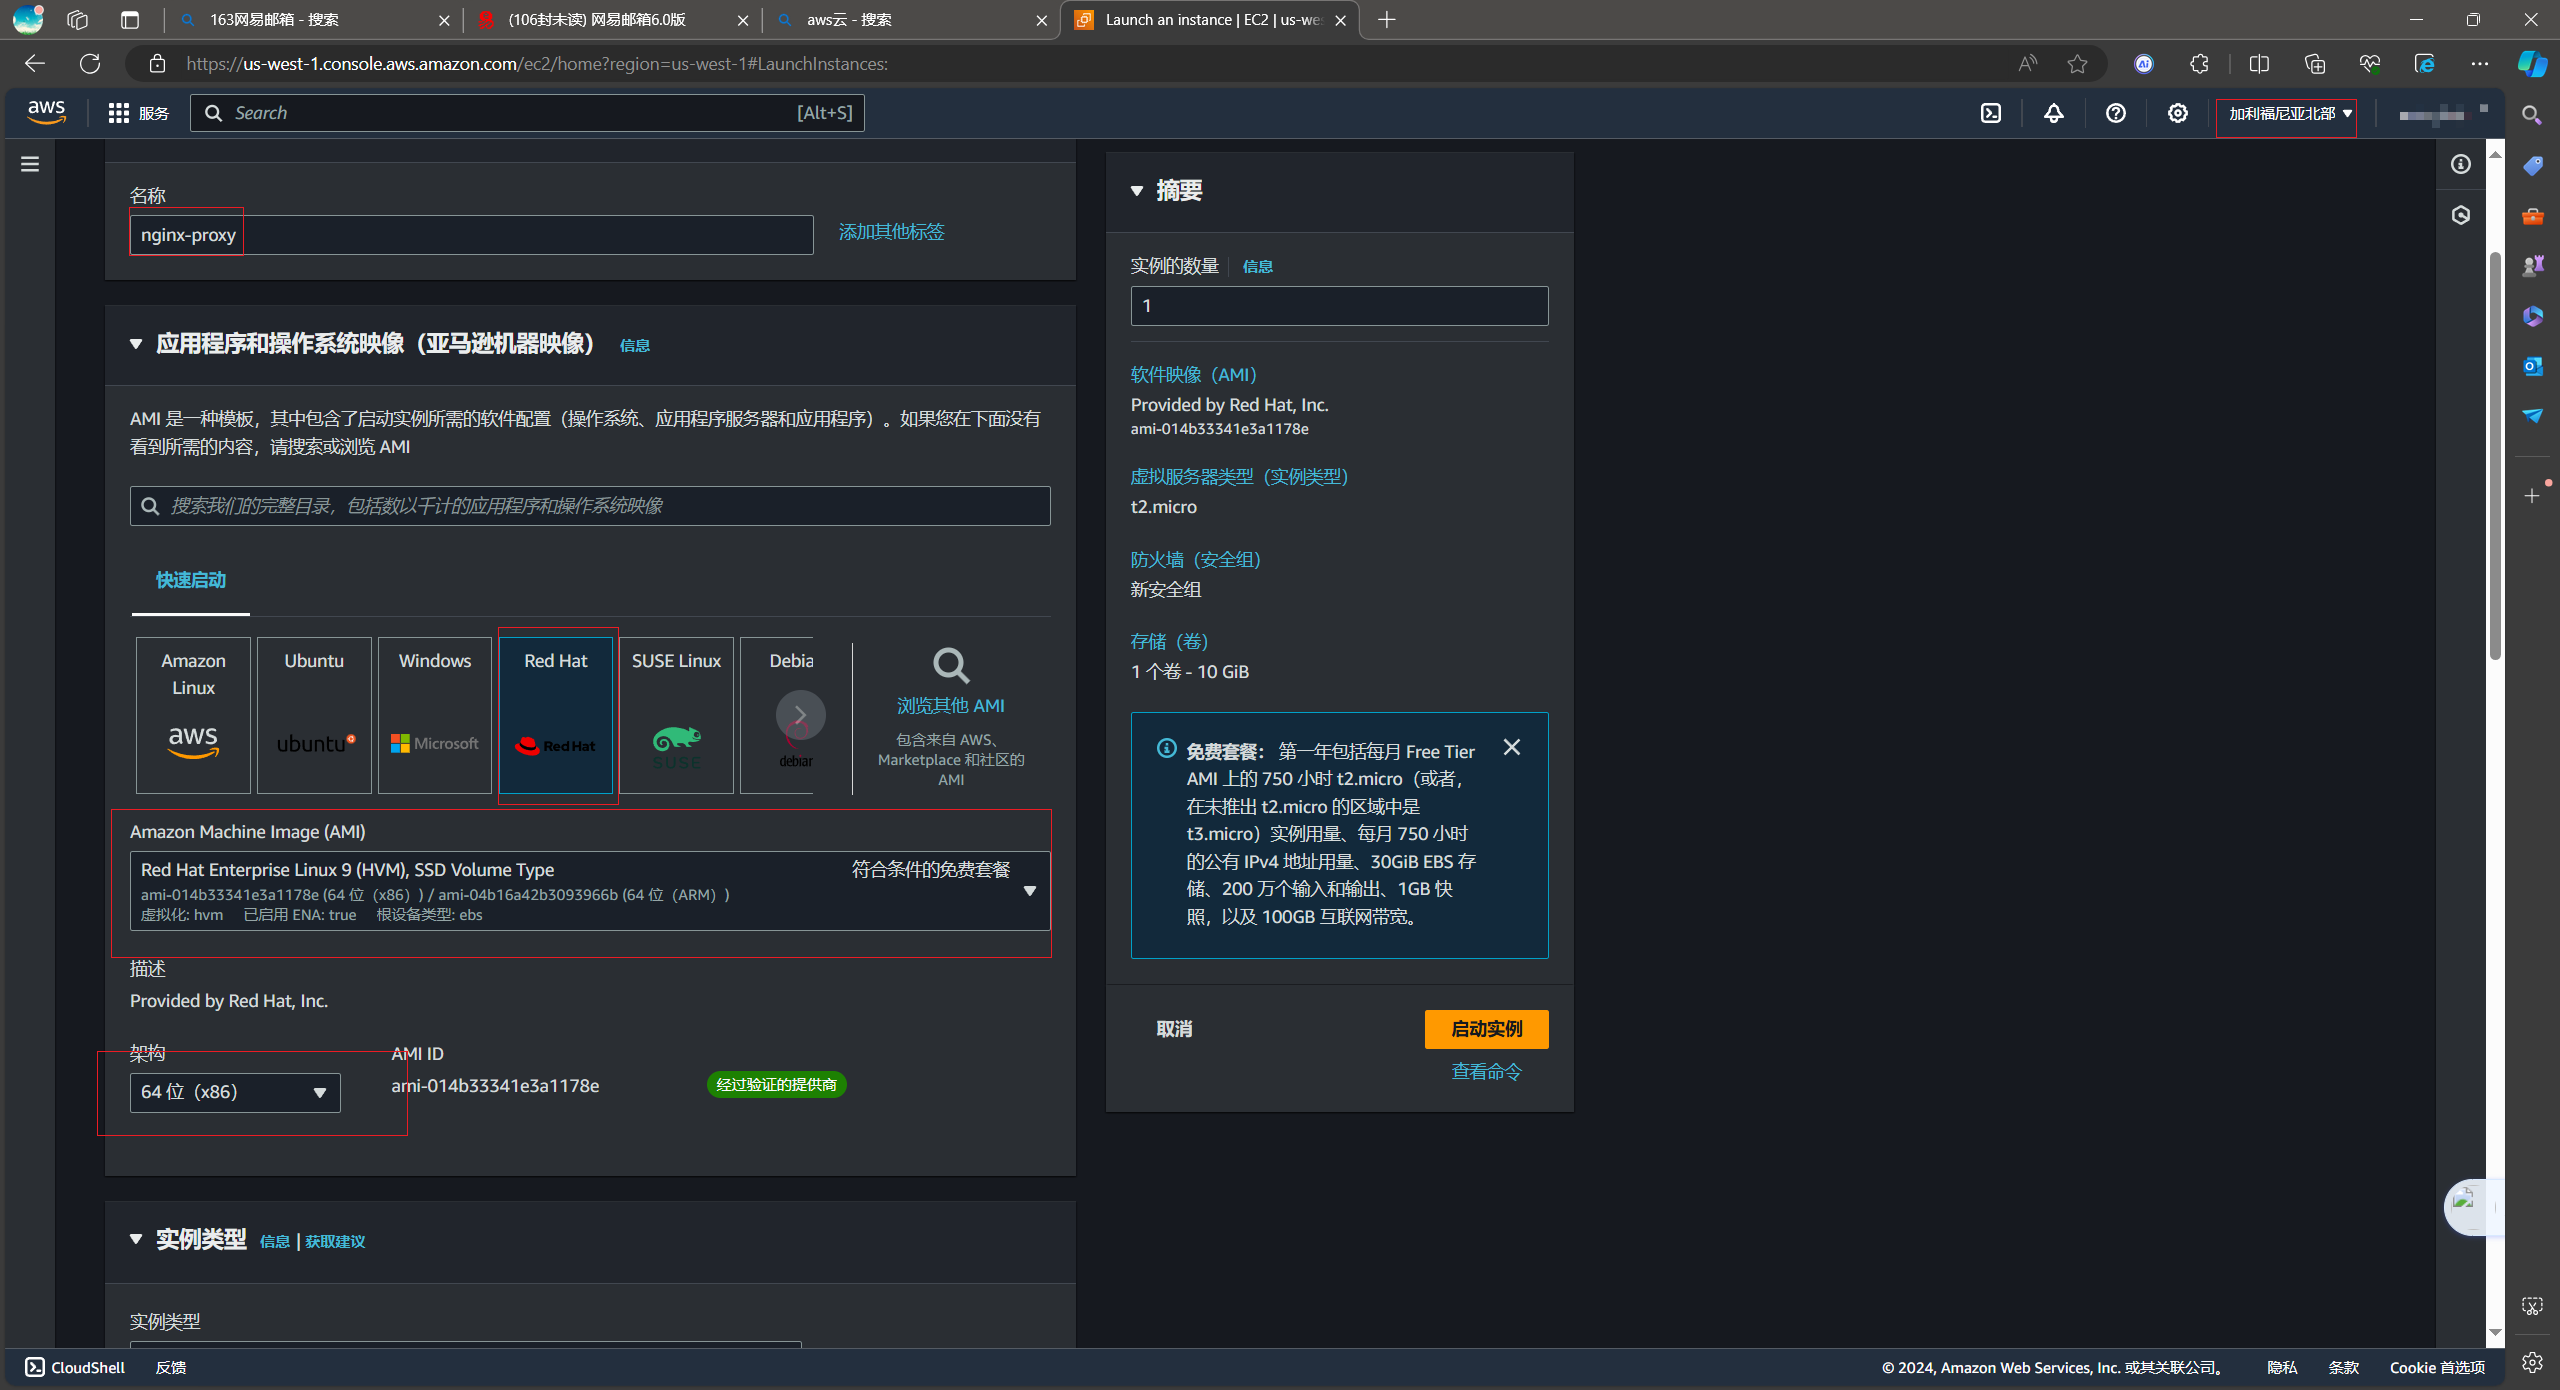
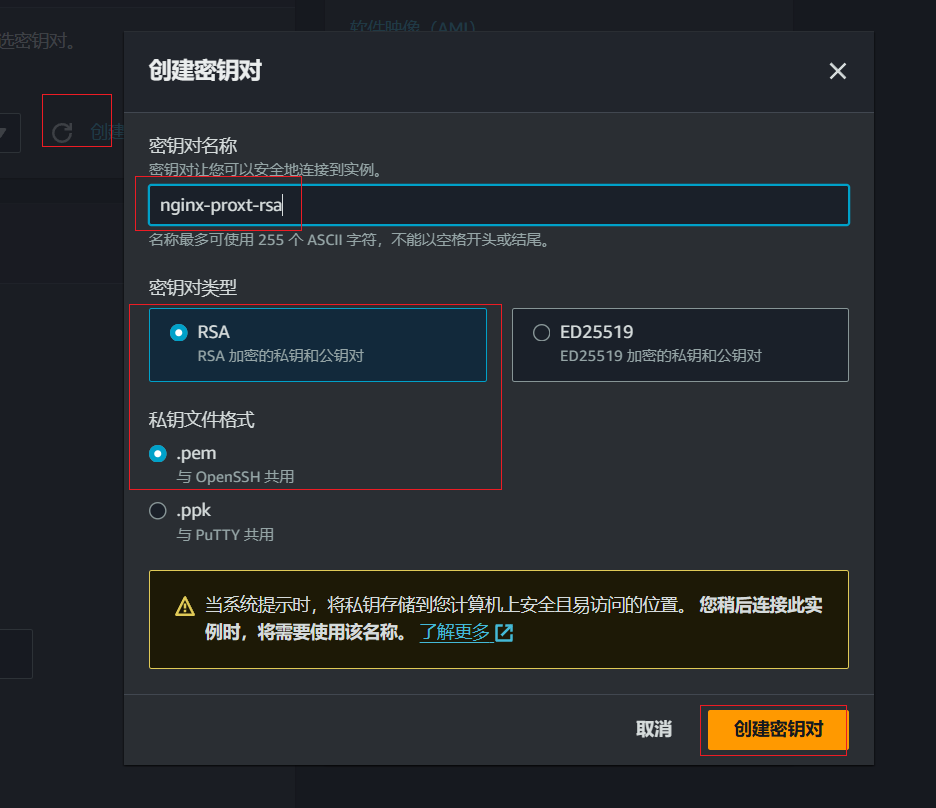
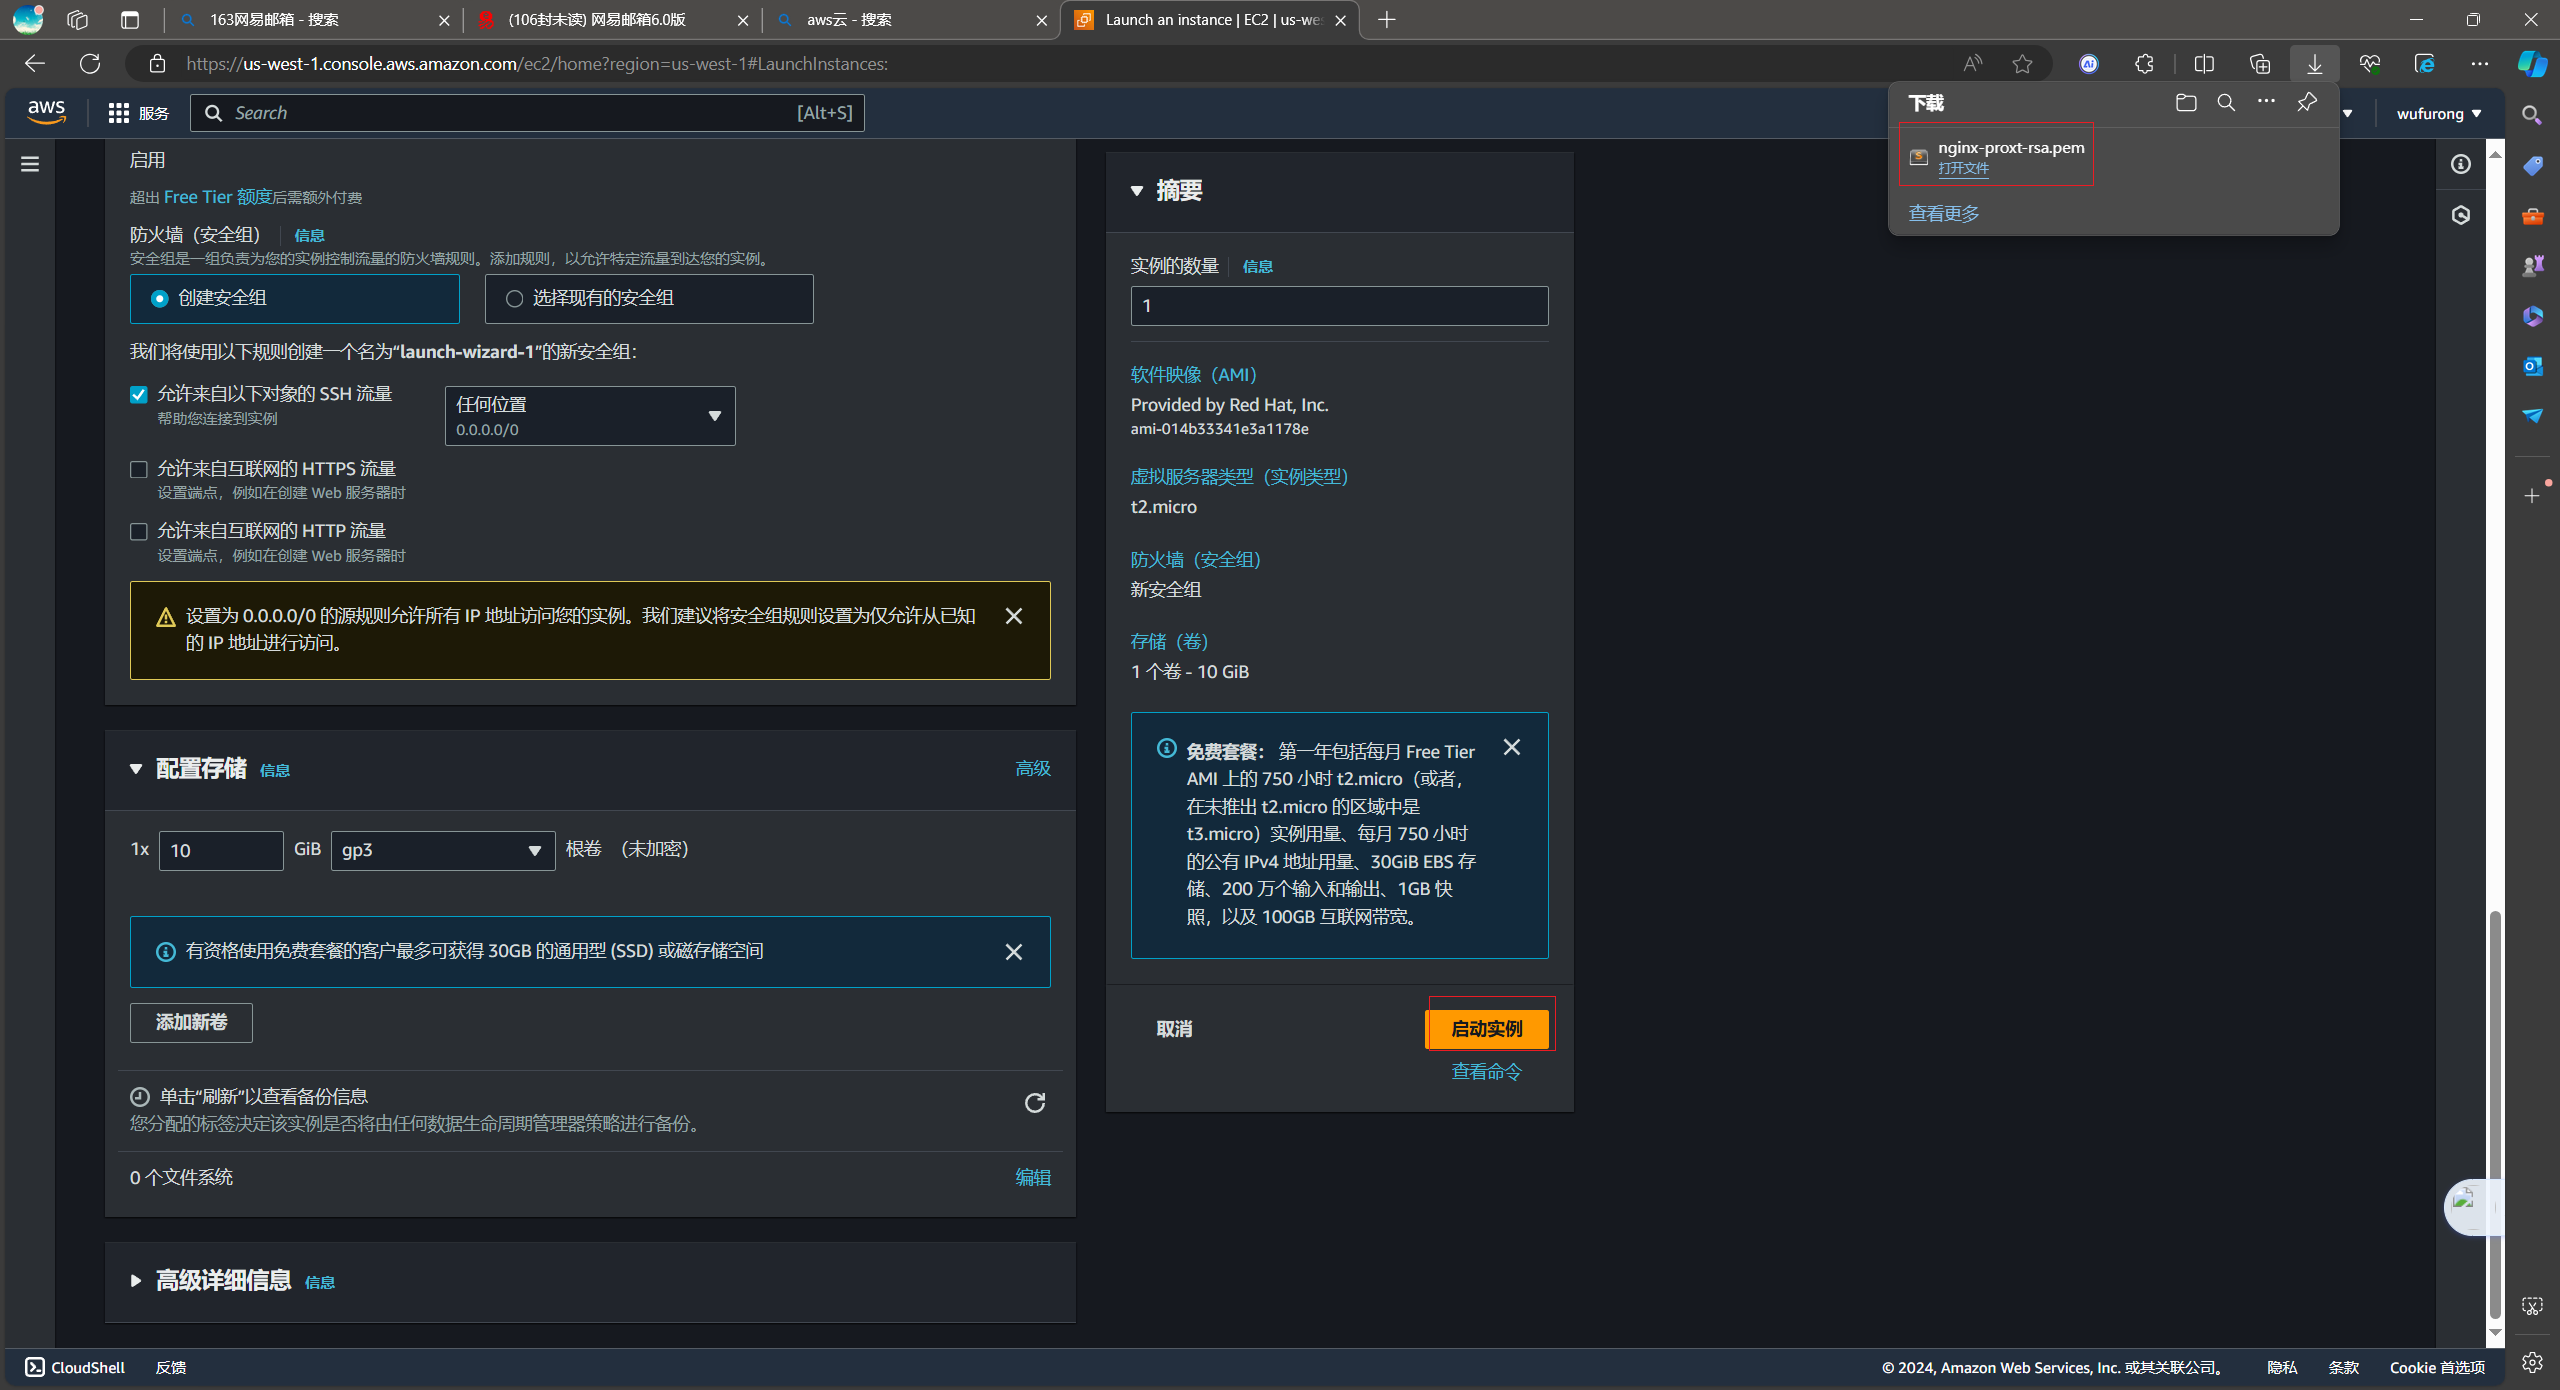
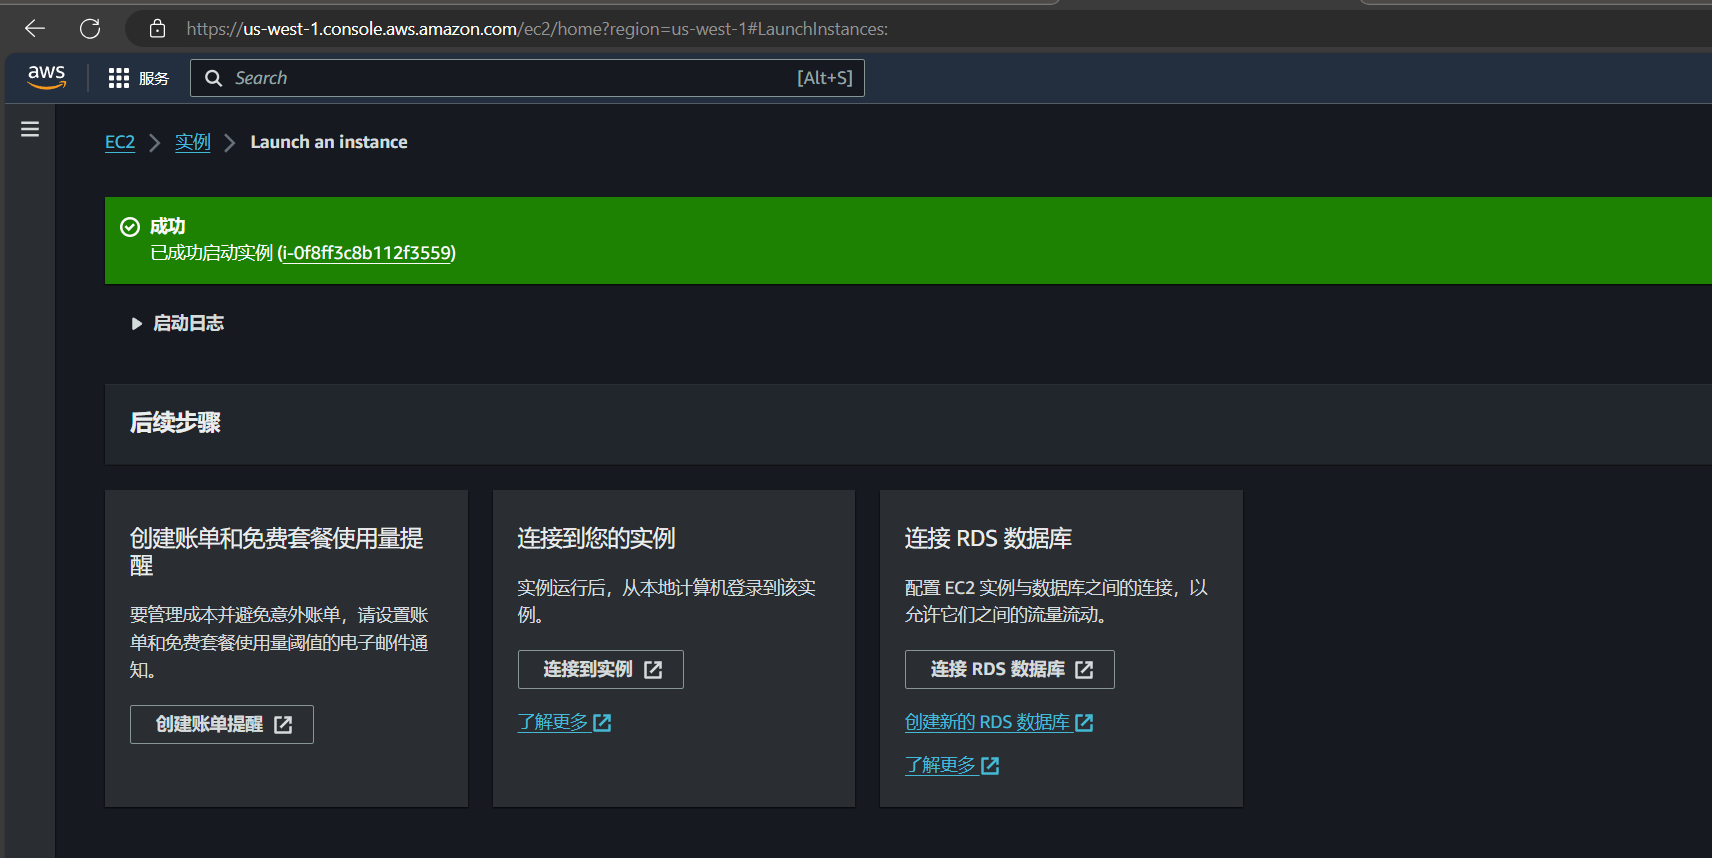
2、购买EC2(新用户可以免费用12个月)
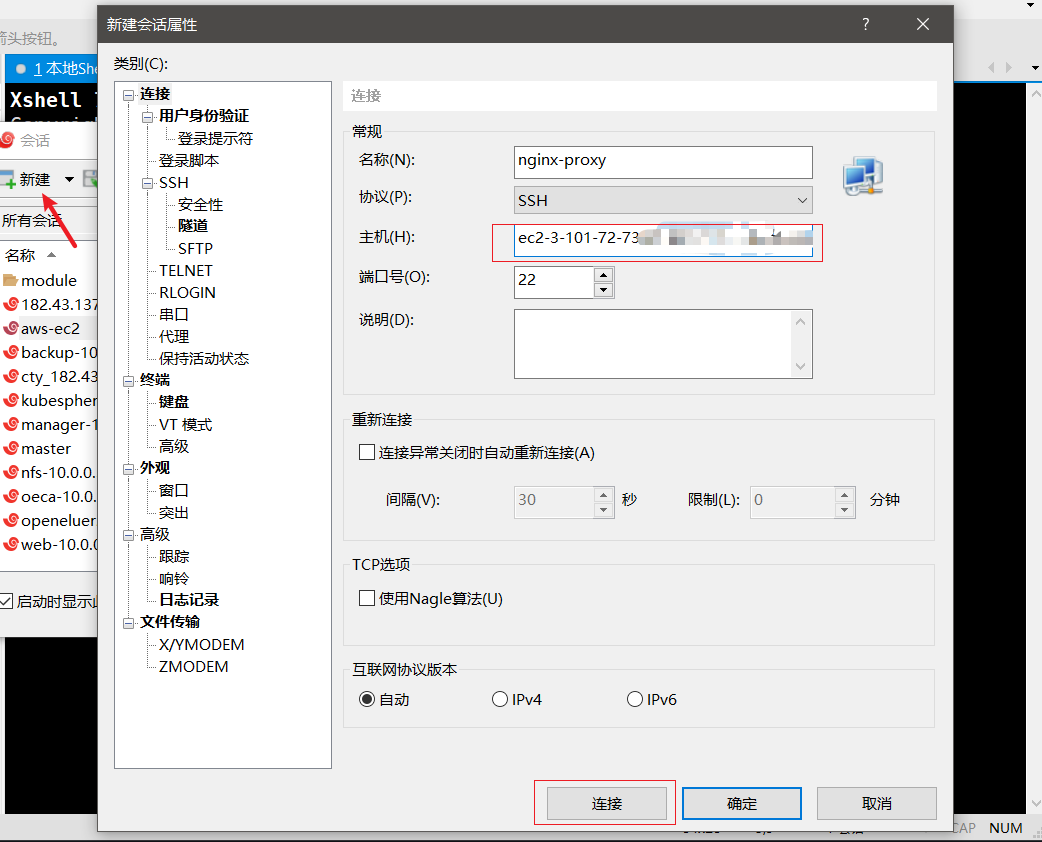
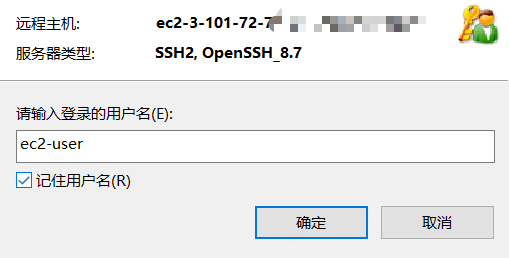
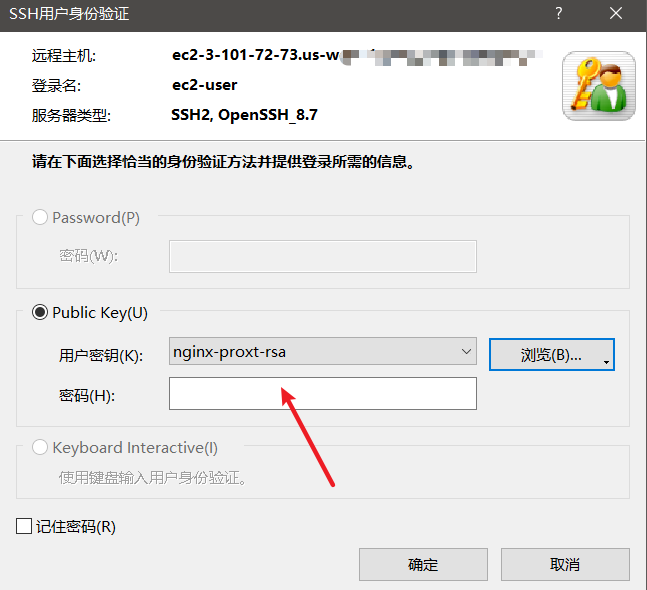
二、ssh
连接主机
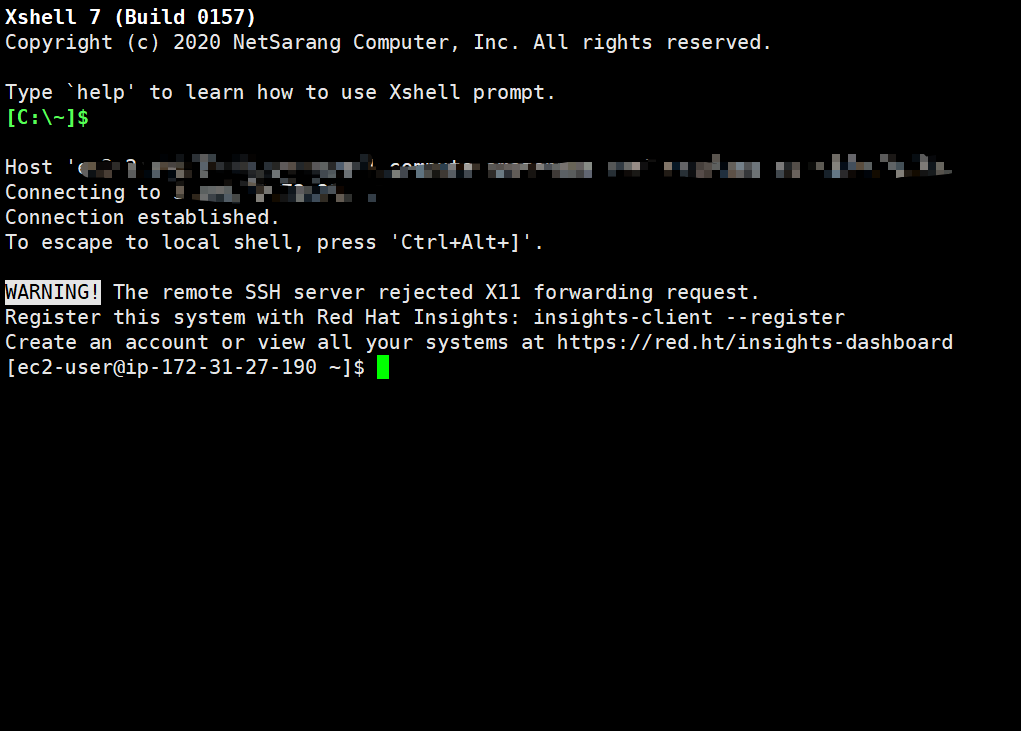
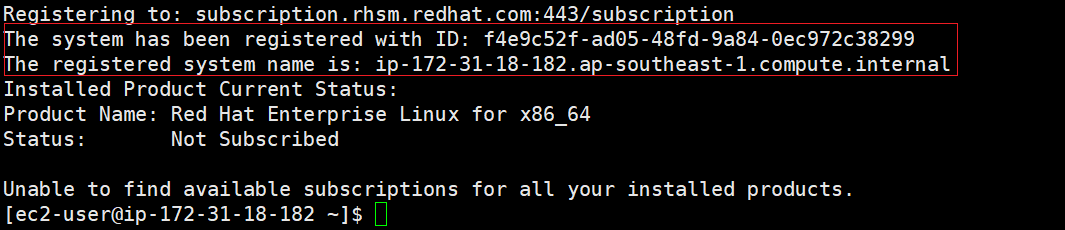
注册系统
rhel的系统需要注册才能使用yum。不注册也想使用yum的方法我暂不知。
sudo subscription-manager register --auto-attach --username=yourname --password=yourpwd
三、安装nginx
安装工具
sudo yum install -y wget net-tools lsof
sudo yum remove -y nginx
#安装编译工具
sudo yum -y install make gcc openssl openssl-devel pcre-devel zlib zlib-devel
sudo wget https://nginx.org/download/nginx-1.18.0.tar.gz
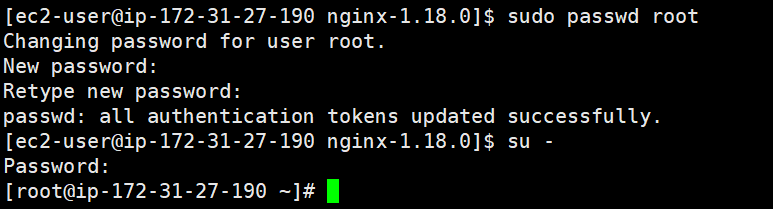
切换到root
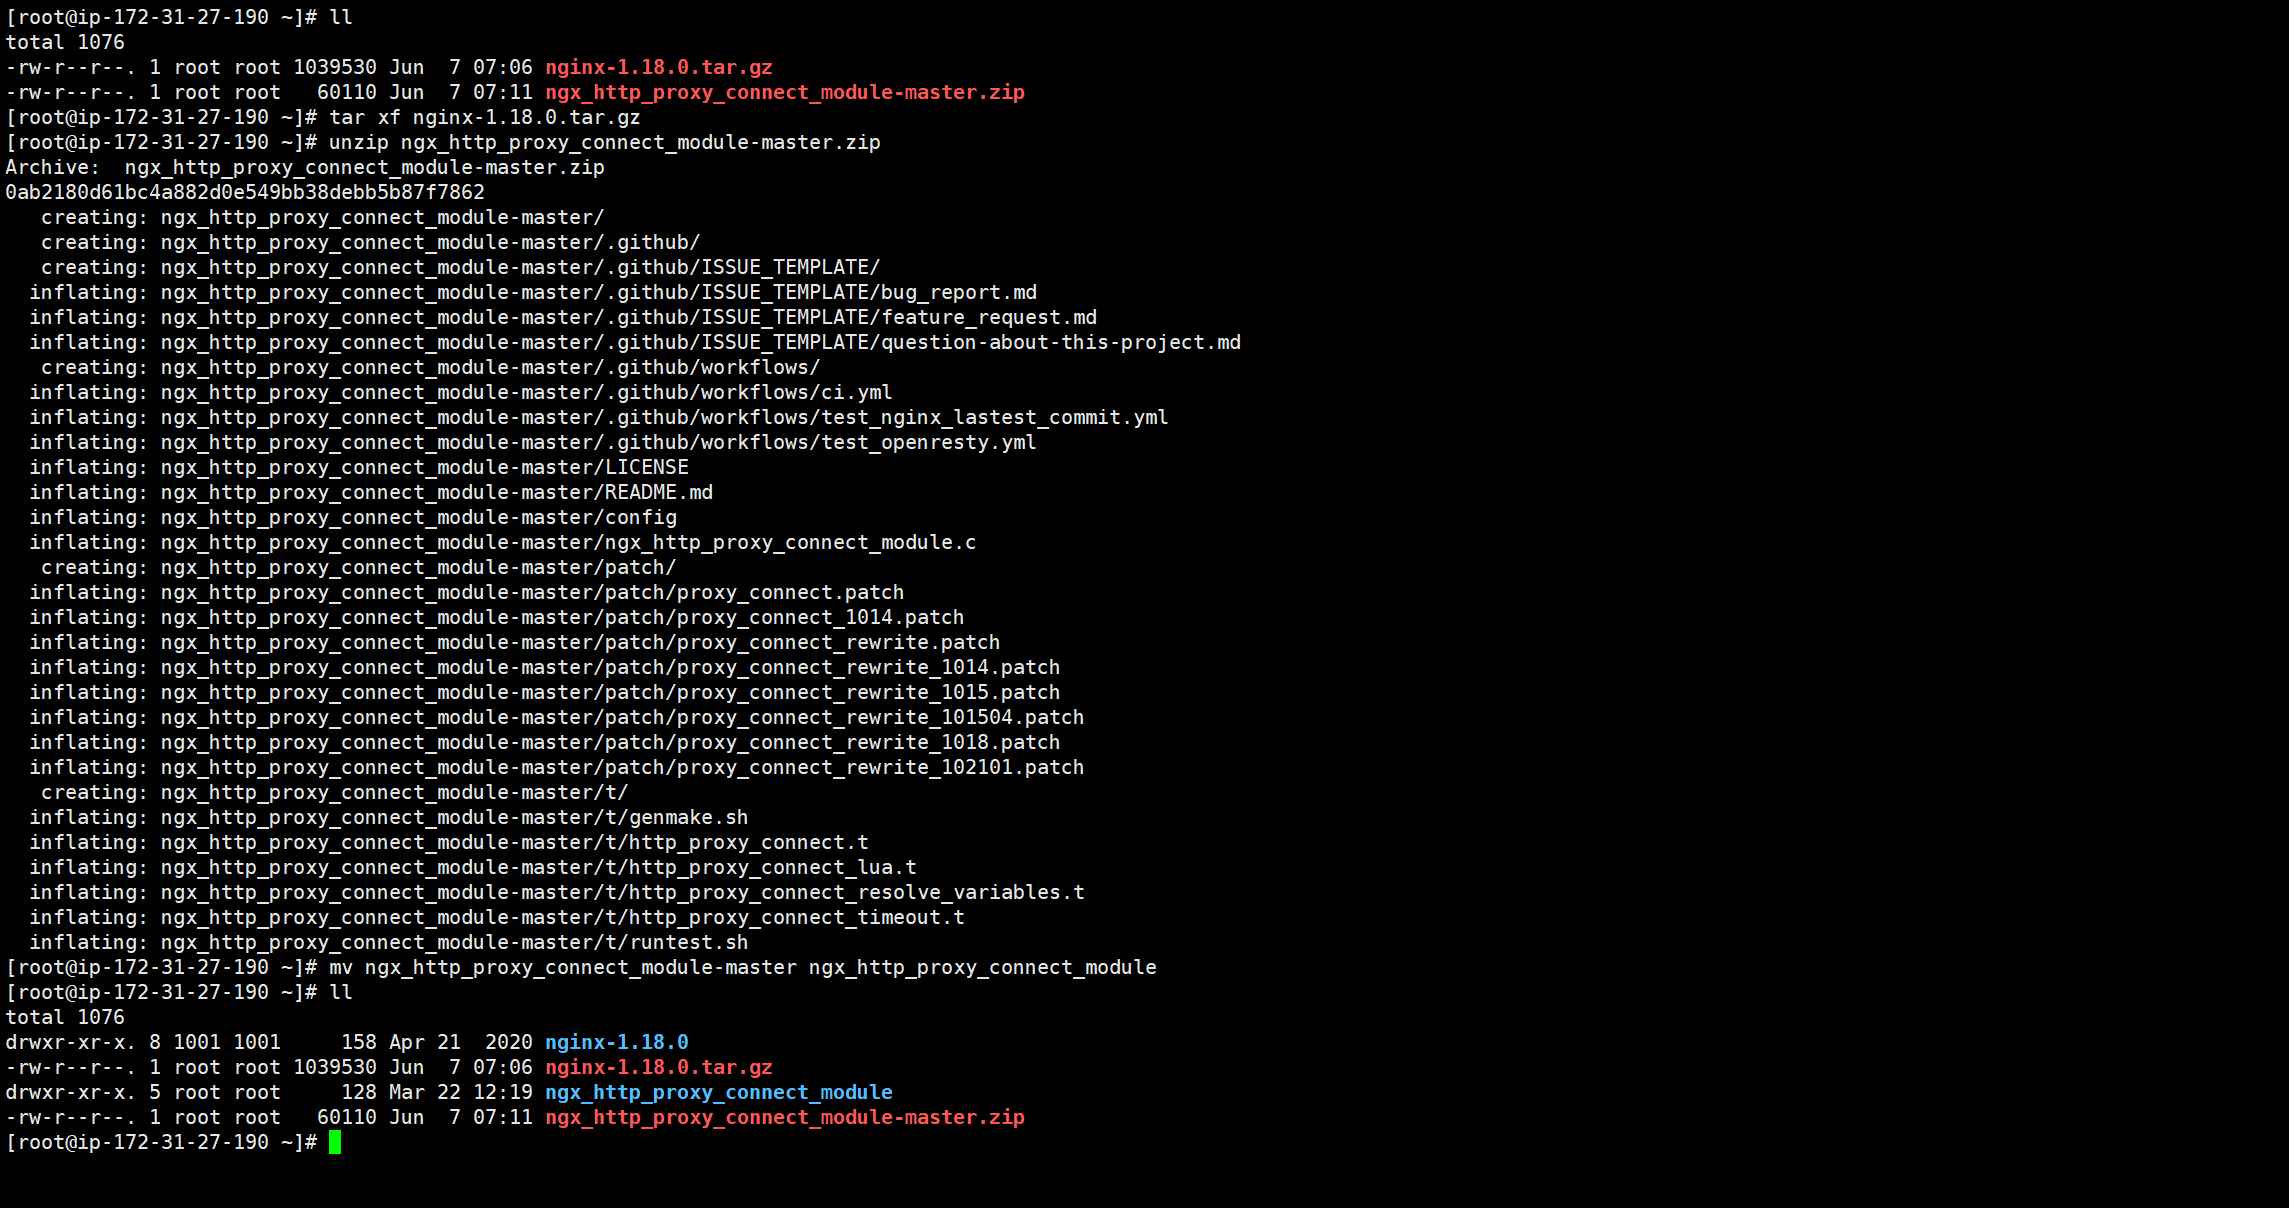
解压软件包和patch包
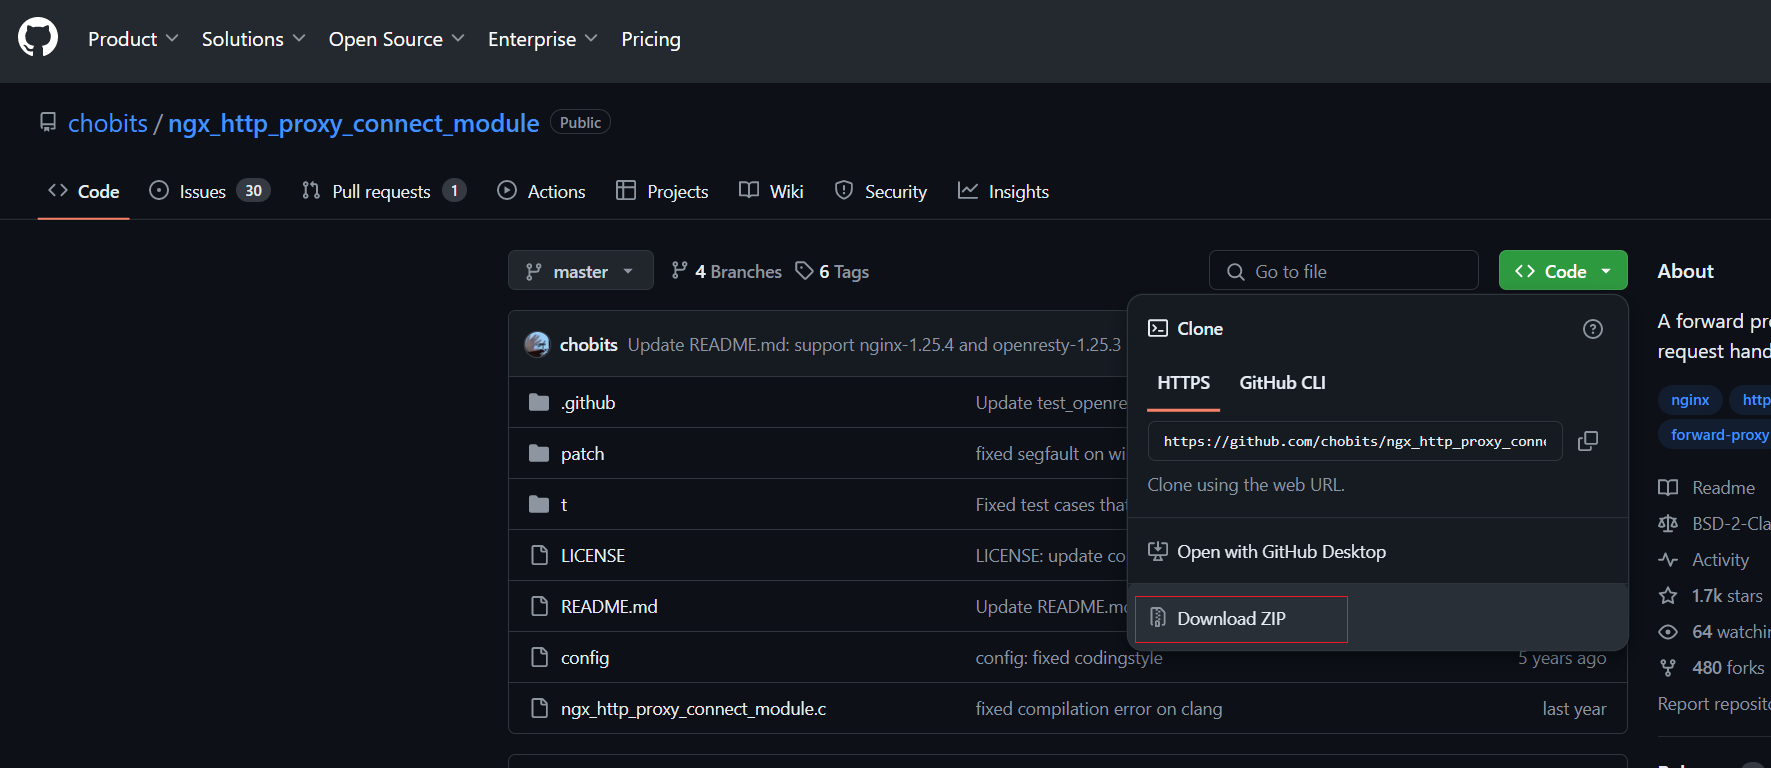
nginx官方并不支持直接转发https请求,nginx支持https需要ngx_http_proxy_connect_module模块。github上开源了模块 https://github.com/chobits/ngx_http_proxy_connect_module。
下载模块
tar xf nginx-1.18.0.tar.gz
unzip ngx_http_proxy_connect_module-master.zip
mv ngx_http_proxy_connect_module-master ngx_http_proxy_connect_modul
安装nginx
安装源码编译工具包,nginx依赖包
yum -y install make gcc openssl openssl-devel pcre-devel zlib zlib-devel patch
进入nginx解压后的目录
cd nginx-1.18.0
./configure
make && make install
/usr/local/nginx/sbin/nginx -V
nginx path prefix: "/usr/local/nginx"
  nginx binary file: "/usr/local/nginx/sbin/nginx"
  nginx modules path: "/usr/local/nginx/modules"
  nginx configuration prefix: "/usr/local/nginx/conf"
  nginx configuration file: "/usr/local/nginx/conf/nginx.conf"
  nginx pid file: "/usr/local/nginx/logs/nginx.pid"
  nginx error log file: "/usr/local/nginx/logs/error.log"
  nginx http access log file: "/usr/local/nginx/logs/access.log"
  nginx http client request body temporary files: "client_body_temp"
  nginx http proxy temporary files: "proxy_temp"
  nginx http fastcgi temporary files: "fastcgi_temp"
  nginx http uwsgi temporary files: "uwsgi_temp"
  nginx http scgi temporary files: "scgi_temp"
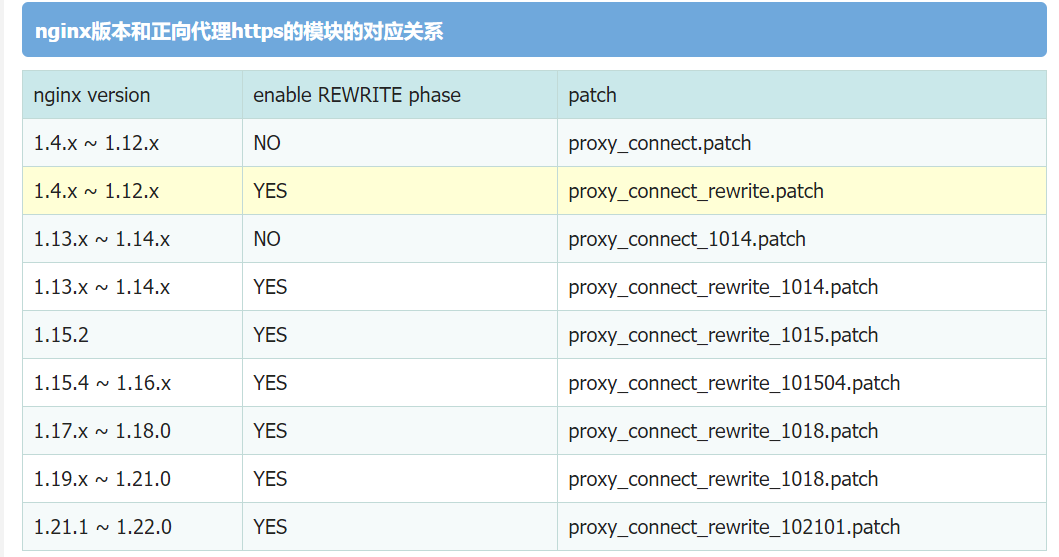
使用正向代理https的模块
ls /root/ngx_http_proxy_connect_module/patch/proxy_connect_rewrite_1018.patch
#导入模块,再次编译安装
 cd nginx-1.18.0
patch -p1 < /root/ngx_http_proxy_connect_module/patch/proxy_connect_rewrite_1018.patch
./configure --add-module=/root/ngx_http_proxy_connect_module
 make && make install
配置正向代理
nginx默认安装在/usr/local/nginx/
 cd /usr/local/nginx/
 vi conf/nginx.conf
 #在#gzip on; 下添加配置
  #正向代理转发http请求
server {
    #指定DNS服务器IP地址
    resolver 114.114.114.114;
    #监听80端口,http默认端口80
    listen 80;
    #服务器IP或域名
        server_name  localhost;
    #正向代理转发http请求
    location / {
        proxy_pass                 http://$host$request_uri;
        proxy_set_header           HOST $host;
        proxy_buffers              256 4k;
        proxy_max_temp_file_size   0k;
        proxy_connect_timeout      30;
        proxy_send_timeout         60;
        proxy_read_timeout         60;
        proxy_next_upstream error  timeout invalid_header http_502;
    }
}
#正向代理转发https请求
server {
    #指定DNS服务器IP地址
    resolver 114.114.114.114;
    #监听443端口,https默认端口443
    listen 443;
   #正向代理转发https请求
   proxy_connect;
   proxy_connect_allow            443 563;
   proxy_connect_connect_timeout  10s;
   proxy_connect_read_timeout     10s;
   proxy_connect_send_timeout     10s;
   location / {
        proxy_pass http://$host;
        proxy_set_header Host $host;
   }
}
#检查配置文件是否有误
sbin/nginx -t
#创建nginx用户,用来运行nginx
useradd nginx
#启动服务
sbin/nginx
#验证代理服务
 curl -I http://openai.com/ -v -x 127.0.0.1:80
 curl -I https://openai.com/ -v -x 127.0.0.1:443
 验证正向代理http 200 ok
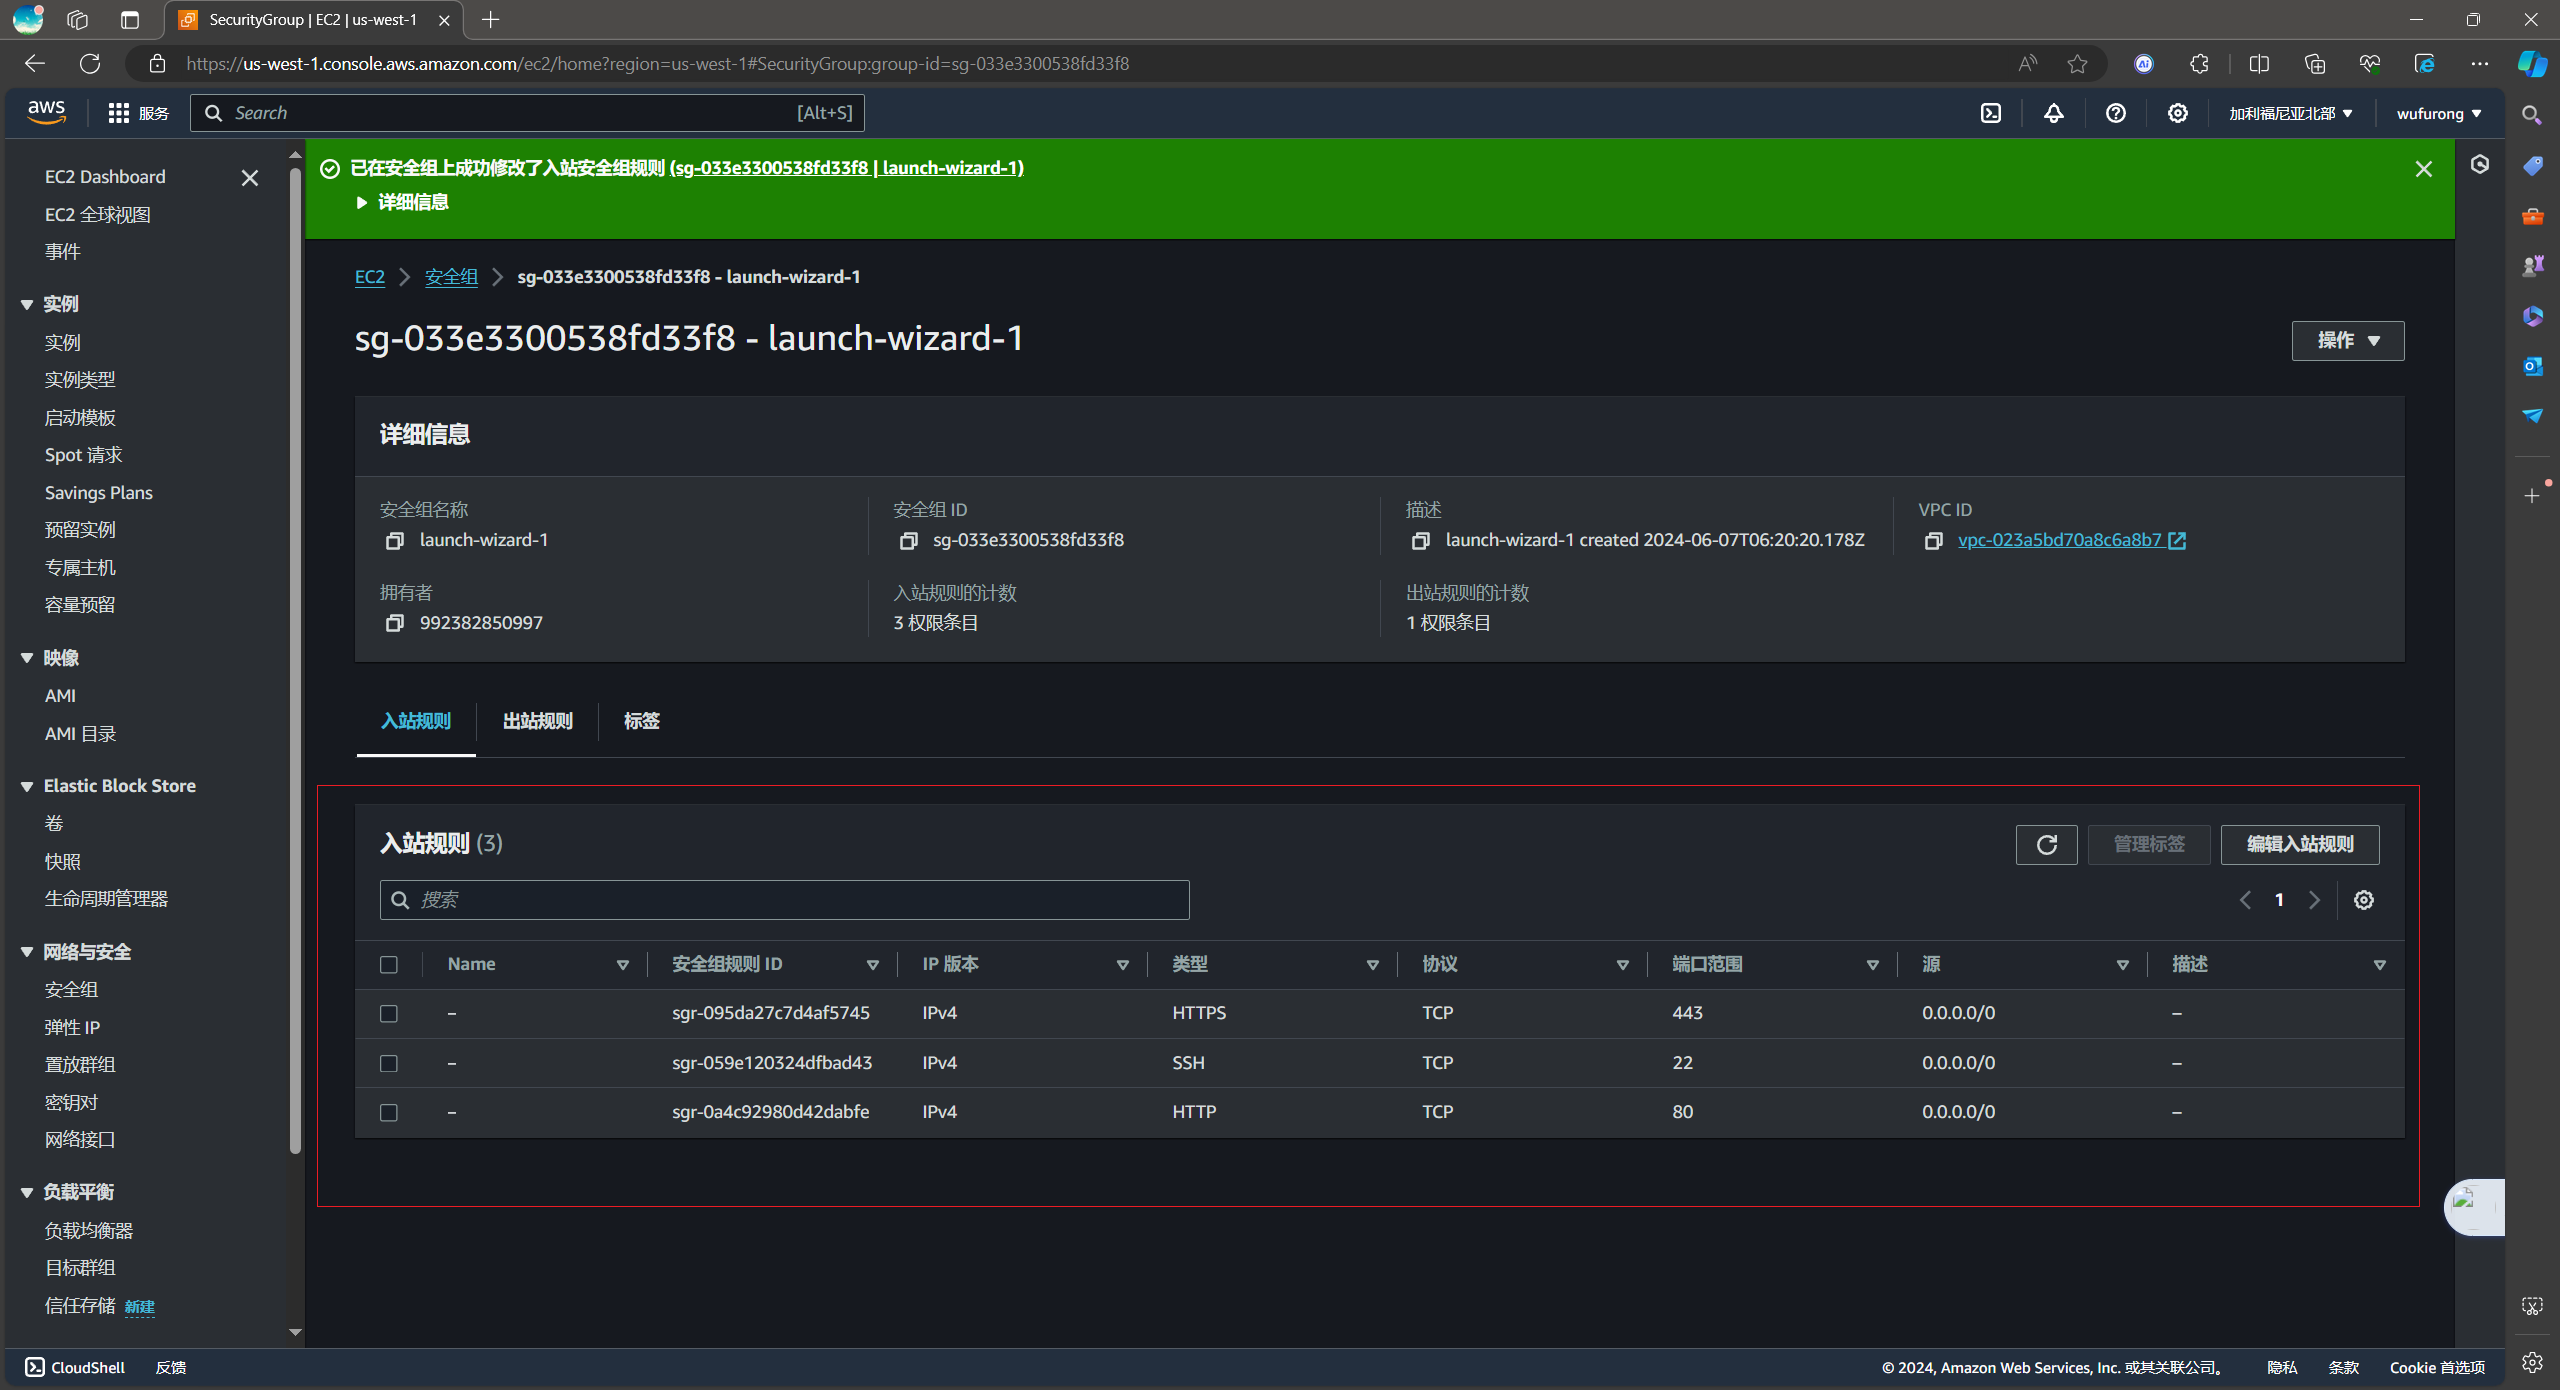
安全组放开http 80和https443
客户端配置
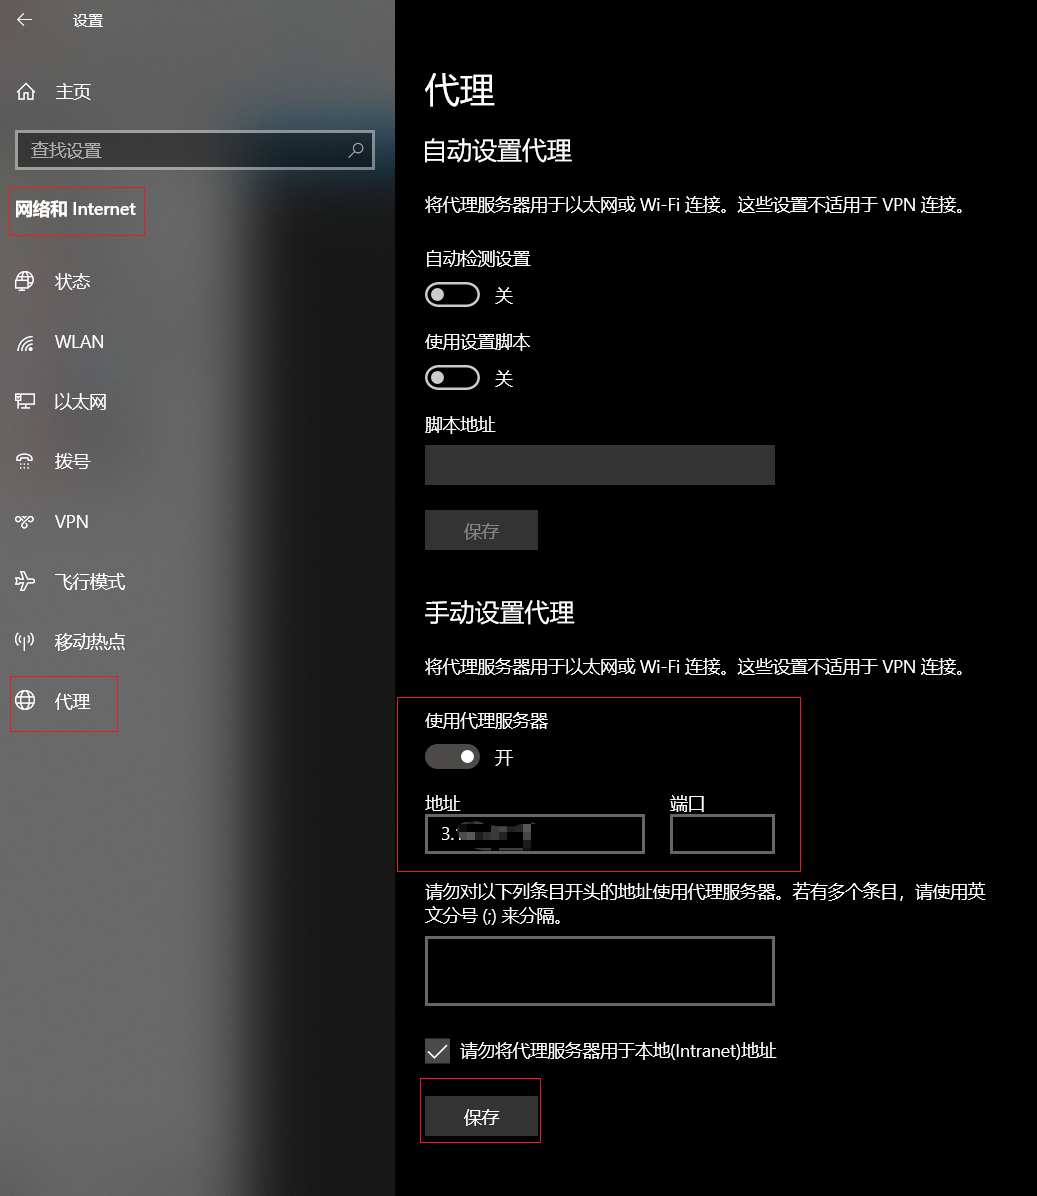
端口443或者80
nai.com/ -v -x 127.0.0.1:443
验证正向代理http 200 ok
## 安全组放开http 80和https443

[外链图片转存中...(img-v4YjD7bK-1719474685434)]

## 客户端配置

[外链图片转存中...(img-2jNV05OM-1719474685434)]

端口443或者80


 1716
1716

 被折叠的 条评论
为什么被折叠?
被折叠的 条评论
为什么被折叠?
 到【灌水乐园】发言


