


事件的绑定
方法一、通过HTML标签中的事件属性进行绑定。
<input type="button" value="" onclick="fun">
function fun(){
    运行代码;
}
方法二、通过DOM元素属性绑定。
<input type="button" id="id1" value="">
document.getElementById('id1').onclick = function(){
    运行代码
}
案例:
<!DOCTYPE html>
<html lang="en">
<head>
<meta charset="UTF-8">
<meta name="viewport" content="width=device-width, initial-scale=1.0">
<title>事件</title>
</head>
<body>
<input type="button" id="b1" value="按钮1" onclick="on()"><br>
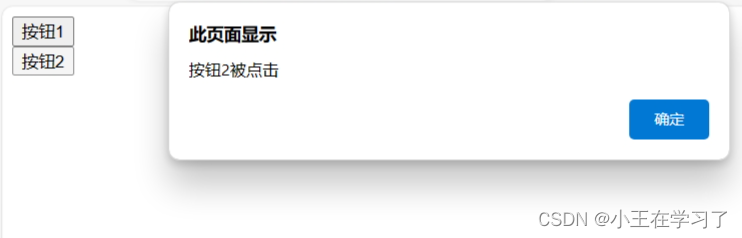
<input type="button" id="b2" value="按钮2">
</body>
<script>
// 方法一、通过HTML标签中的事件属性进行绑定——onclick
function on(){
alert("按钮1被点击");
}
// 方法二、通过DOM元素属性绑定
document.getElementById('b2').onclick = function(){
alert("按钮2被点击");
}
</script>
</html>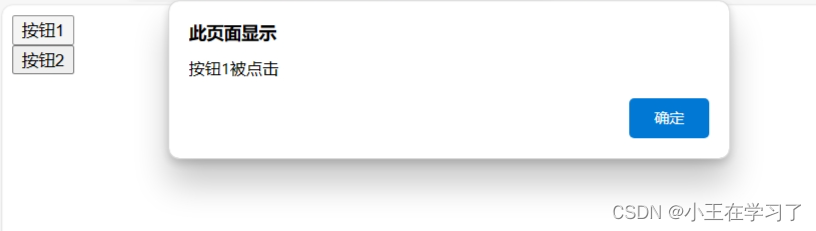
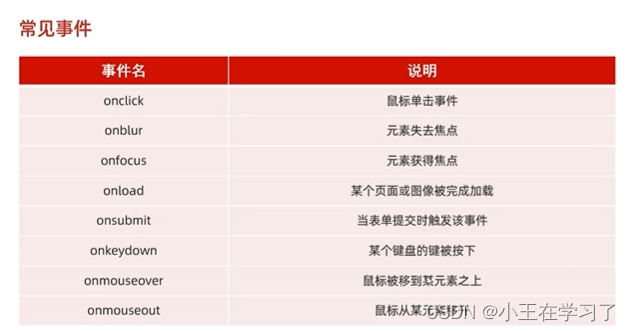
常见事件
案例:
<!DOCTYPE html>
<html lang="en">
<head>
    <meta charset="UTF-8">
    <meta name="viewport" content="width=device-width, initial-scale=1.0">
    <title>常见事件</title>
</head>
<body onload="onload1()">
    <form onsubmit="onsubmit1()">
    <input type="text" onblur="onblur1()" onfocus="onfocus1()" onkeydown="onkeydown1()">
    <input type="button" value="点击" onclick="onclick1()">
    <input type="submit" value="提交" >

    </form>
    <br><br><br>
    <table onmouseover="onmouseover1()" onmouseout="onmouseout1()" border="1px" cellspacing="0">
        <tr>
            <th>姓名</th>
            <th>学号</th>
        </tr>
        <tr>
            <td>张三</td>
            <td>123456</td>
        </tr>

    </table>
</body>

<script>
    function onclick1(){
        console.log("鼠标单击事件");
    }

    function onblur1(){
        console.log("元素失去焦点");
    }

    function onfocus1(){
        console.log("元素获得焦点");
    }

    function onload1(){
        console.log("页面或图像被加载完成");
    }

    function onsubmit1(){
        alert("页面提交被触发事件");
    }

    function onkeydown1(){
        console.log("键盘的键被按下");
    }

    function onmouseover1(){
        console.log("鼠标被移到某元素之上");
    }

    function onmouseout1(){
        console.log("鼠标从某元素移开");
    }


</script>

</html>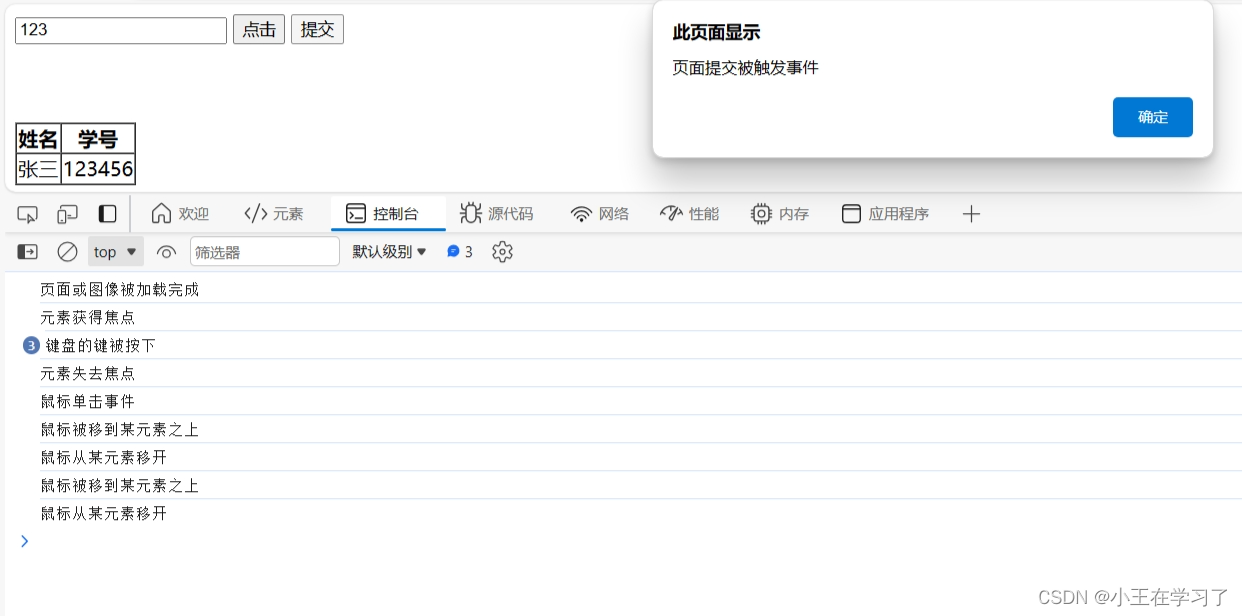
反省:
1、onload属性:需放在body标签中。
2、onsubmit属性:需放在form标签中,并且表单中要有按钮是type="submit",才可以使用。


 302
302

 被折叠的 条评论
为什么被折叠?
被折叠的 条评论
为什么被折叠?
 到【灌水乐园】发言


