


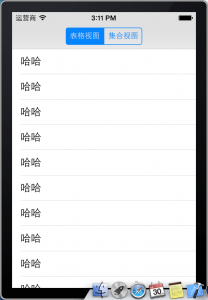
在UIScrollView中嵌套UITableView的文章很多,但是项目需要,需要嵌套UICollectionView,而UICollectionView和UITableView有很多不同,有些知识到现在也没搞清楚,一遍一遍的尝试,总算是做出来了。以下是实现后的效果图:

由于本人刚刚接触ios开发,很多原理还说不清,所以下面的步骤以图片为主,文章结尾会附上源码地址,可下载自行研究!
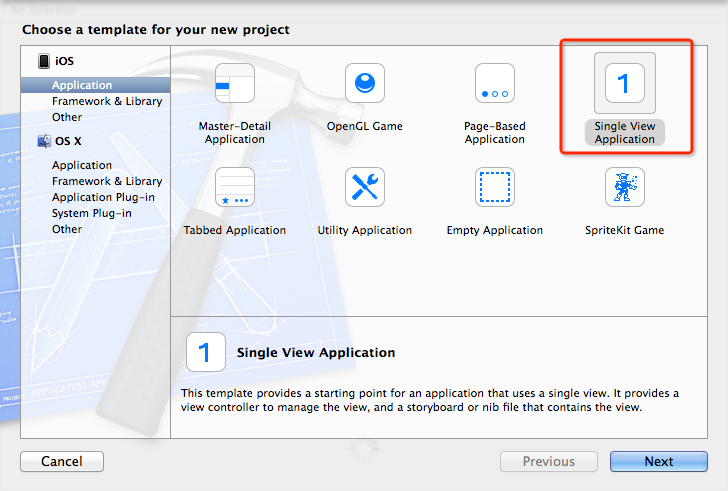
1、新建项目
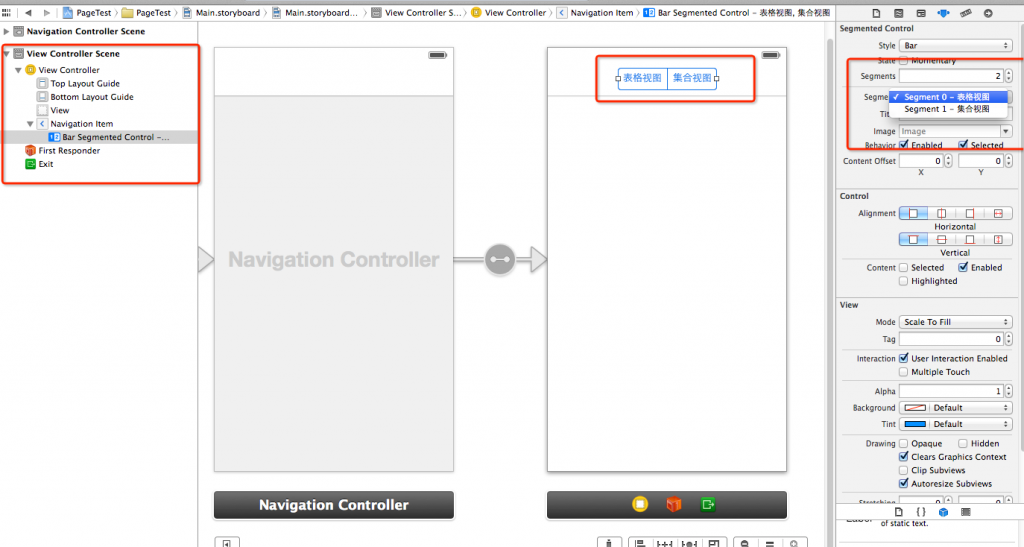
2、修改storyboard,由于要使用到导航栏,所以删除原有view,从工具箱中拖入NavigationController,并将入口(剪头)指向该view;删除自带的tableviewcontroller,拖入view controller;如下图
3、新建tableviewcontroller,tableviewcontroller默认带有tableview的视图,所以不需要勾选“also create xib file”;但是collection viewcontroller就不行,这点比较郁闷!

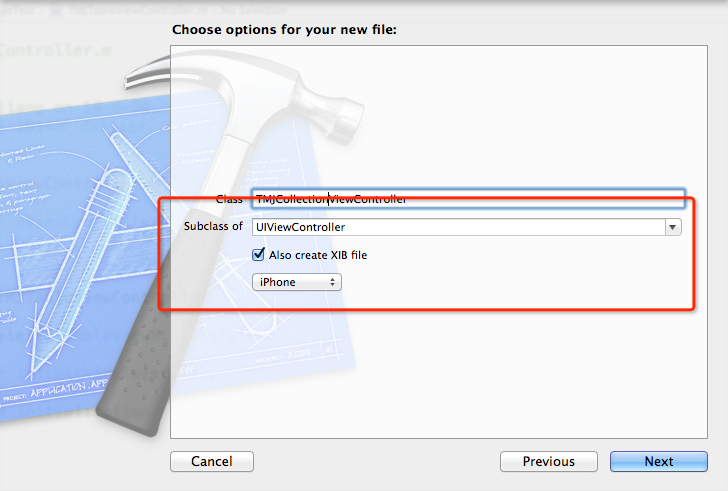
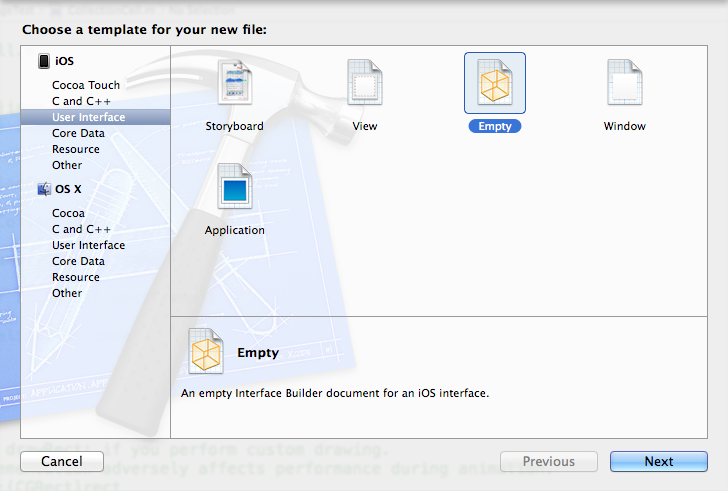
4、UICollectionViewController不能直接使用,测试了很久,就是不能嵌套在scrollview中,所以只能先创建view controller,再包含collection view,需要创建xib文件;打开xib文件拖入Collection View,并将此视图关联至
@property (weak, nonatomic) IBOutletUICollectionView *collection;
5、collectionviewcontroller就比较麻烦了,首先创建CollectionView所使用的单元格CollectionViewCell;并新建一个空的xib;
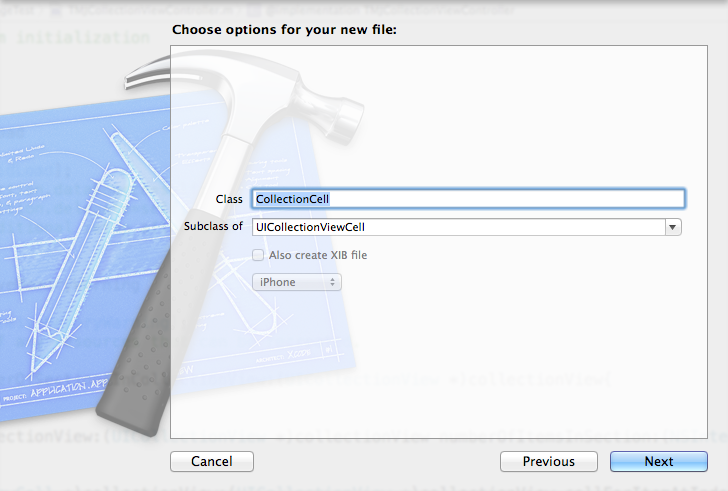
6、打开CollectionCell.xib,从工具箱拖入Collection Cell,设置背景色为黄色,并拖入一个label控件;注意设置Collection Cell的class 为刚才建立的“CollectionCell”类(不是Files Owner);关联
IBOutletUILabel *label
;如下图所示

至此,所有页面及前台已经设置完毕
8、先搞定tableviewcontroller,如下代码
//
//  TMJTableViewController.m
//  PageTest
//
//  Created by ejiang on 14-6-30.
//  Copyright (c) 2014年 daijier. All rights reserved.
//

#import "TMJTableViewController.h"

@interfaceTMJTableViewController ()


@end


@implementation TMJTableViewController


- (id)initWithStyle:(UITableViewStyle)style

{

self = [super initWithStyle:style];

if (self) {
        // Custom initialization
    }
    returnself;


}


- (void)viewDidLoad

{
    [superviewDidLoad];


}


- (void)didReceiveMemoryWarning

{
    [superdidReceiveMemoryWarning];


}


#pragma mark - Table view data source


- (NSInteger)numberOfSectionsInTableView:(UITableView *)tableView

{

return 1;

}


- (NSInteger)tableView:(UITableView *)tableView numberOfRowsInSection:(NSInteger)section

{

return 10;

}


- (UITableViewCell *)tableView:(UITableView *)tableView cellForRowAtIndexPath:(NSIndexPath *)indexPath

{

static NSString *cellIdentifier=@"cell";
    UITableViewCell *cell = [tableView dequeueReusableCellWithIdentifier:cellIdentifier];


    if(cell==nil)

{
        cell=[[UITableViewCellalloc] initWithStyle:UITableViewCellStyleDefaultreuseIdentifier:cellIdentifier];


    }
    cell.textLabel.text=@"哈哈";


    return cell;

}
@end
9、还是看源码吧,粘贴代码没意思,主要步骤就以上几部
源码下载地址:http://download.csdn.net/detail/wuwo333/8098431


 2456
2456

 被折叠的 条评论
为什么被折叠?
被折叠的 条评论
为什么被折叠?
 到【灌水乐园】发言


