


本文将介绍torchtext包的安装教程,资料来源为torchtext官方GitHub项目:pytorch/text: Data loaders and abstractions for text and NLP
另外本文的内容还参考了torchtext文档:torchtext — torchtext 0.12.0 documentation
安装过程分为如下4步:
安装PyTorch。
根据PyTorch版本选择对应的torchtext版本。
安装torchtext。
检验torchtext是否成功安装。
第一步:安装PyTorch。
可通过B站自行现在安装
第二步:根据PyTorch版本选择对应的torchtext版本。
首先查看本地下载的PyTorch版本(使用import torch;print(torch.__version__)查看),以及本地的Python解释器版本(使用import sys;print(sys.version)查看),然后根据https://github.com/pytorch/text/#installation的表格来查找对应的torchtext版本:

如我是PyTorch1.8.2,Python3.8.12,则我对应的torchtext应是0.9.2。
第三步:安装torchtext。
将它放入新建的 D:\Pytorch_whl 扩展中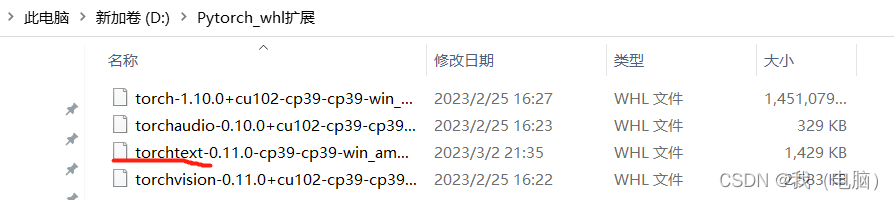
在文件夹 D:\Pytorch_whl 扩展中,输入 cmd

按下回车然后输入代码
pip install torch-1.10.0+torchtext-0.11.0-cp39-cp39-win_amd64.whl
代码的规律是【
pip install +
文件名
.whl
】
安装的文件最终都会存放在
D:\Anaconda
的
base
环境下,安装完毕后,为了
检验
CUDA
是否连接成功,我们进入
Jupyter
代码编辑器,依次输入
import torch
和
torch.cuda.is_available()
。若返回
True
,证明成功。


 2172
2172


 被折叠的 条评论
为什么被折叠?
被折叠的 条评论
为什么被折叠?
 到【灌水乐园】发言


