本文的sonarqube搭建在 SuSE Linux上进行.
1 安装 装 e SonarQube 的 的 Web Server
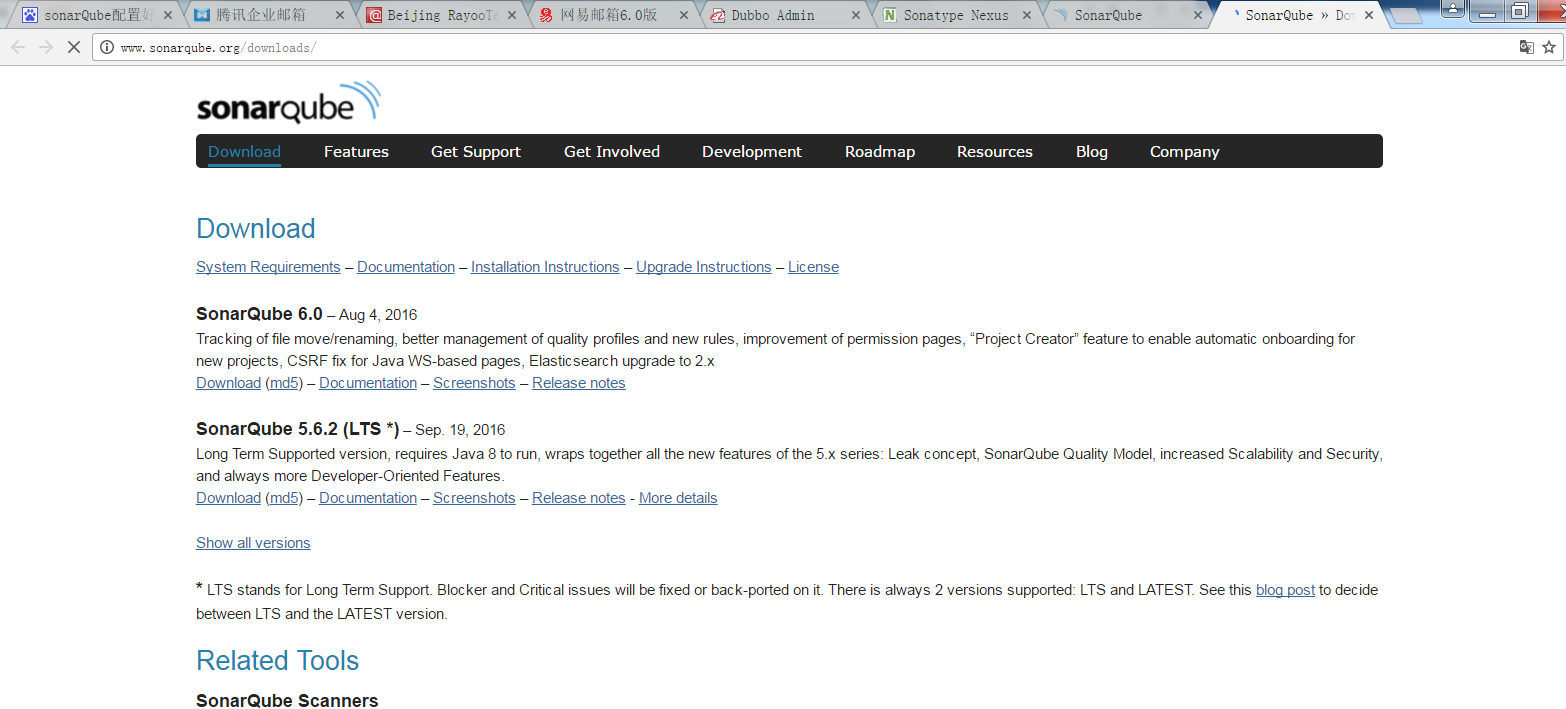
下载最新 LTS 版的 SonarQube 安装包(当前版本为 sonarqube-4.5.4.zip) :
下载地址:http://www.sonarqube.org/downloads/
2.下载:
# wget http://dist.sonar.codehaus.org/sonarqube-4.5.4.zip
解压安装:
# unzip sonarqube-4.5.4.zip
# mv sonarqube-4.5.4 sonarqube

编辑 sonar 配置:
# cd sonarqube/conf/
# vi sonar.properties

sonar.web.host=192.168.1.132
sonar.web.context=/sonarqube
sonar.web.port=9000


3.在防火墙开启9000端口的访问
cd /etc/sysconfig/
vi SuSEfirewall2

重启防火墙使配置生效
# rcSuSEfirewall2 restart
启运SonarQube Web Server
bogon:/home/javadev/sonarqube/bin/linux-x86-64 # ./sonar.sh start
在浏览器中访问地址: http:
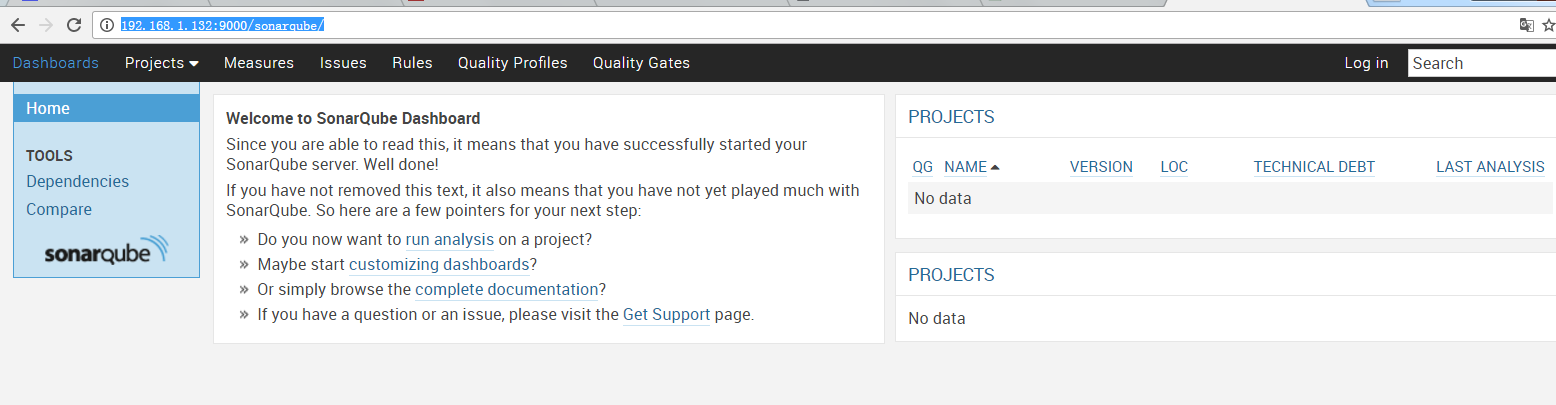
登录,默认用户名/密码为 admin/admin
到此 SonarQube 已 安装完毕 , 接下来是对SonarQube 做相应的配置和使用
4、 Maven 分析器插件的配置与使用
<profiles>
<profile>
<id>edu</id>
<activation>
<activeByDefault>true</activeByDefault>
<jdk>1.7</jdk>
</activation>
<repositories>
<repository>
<id>nexus</id>
<url>http://192.168.1.132:8082/nexus/content/groups/public/</url>
<releases>
<enabled>true</enabled>
</releases>
<snapshots>
<enabled>true</enabled>
</snapshots>
</repository>
</repositories>
<pluginRepositories>
<pluginRepository>
<id>nexus</id>
<url>http://192.168.1.132:8082/nexus/content/groups/public/</url>
<releases>
<enabled>true</enabled>
</releases>
<snapshots>
<enabled>true</enabled>
</snapshots>
</pluginRepository>
</pluginRepositories>
</profile>
<profile>
<id>sonar</id>
<activation>
<activeByDefault>true</activeByDefault>
</activation>
<properties>
<sonar.jdbc.url>
jdbc:mysql://192.168.1.132:3306/sonarqube?useUnicode=true&characterEncoding=utf8
</sonar.jdbc.url>
<sonar.jdbc.username>root</sonar.jdbc.username>
<sonar.jdbc.password></sonar.jdbc.password>
<sonar.host.url>
http://192.168.1.132:9000/sonarqube
</sonar.host.url>
</properties>
</profile>
</profiles>
使用 Maven 分析器进行分析,命令:
纯 Maven 命令:mvn clean install sonar:sonar
MyEclipse 中执行:clean install sonar:sonar
(如果你是第一次运行此命令,看执行日志你会发现它会先下载 sonar-runner 等插件)
成功执行完分析命令后便可到 Web Server 中查看代码质量分析结果数据。


 1826
1826

 被折叠的 条评论
为什么被折叠?
被折叠的 条评论
为什么被折叠?
 到【灌水乐园】发言


