


Step 1: log on admin portal

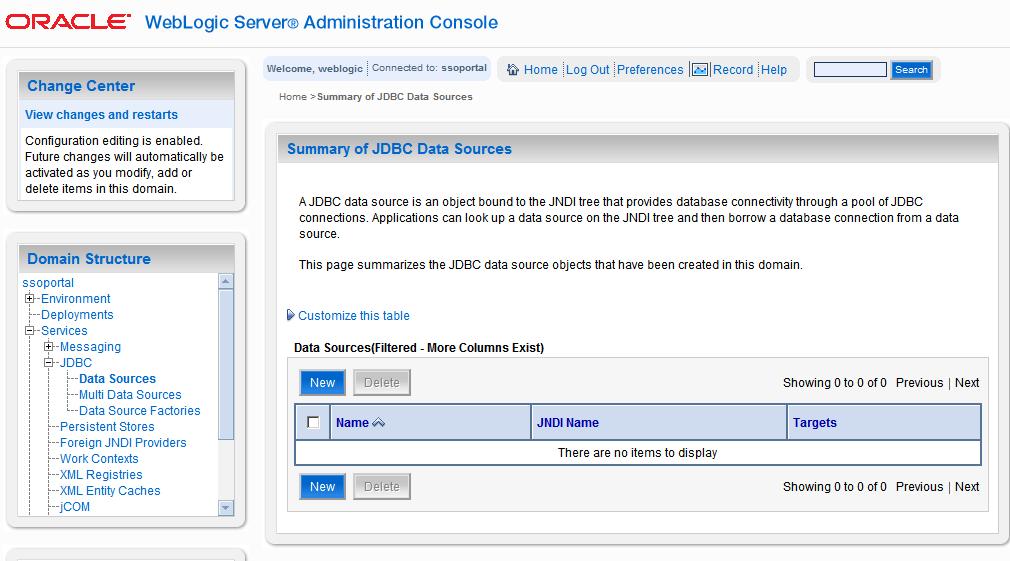
Step 2: select menu 'Services' - 'JDBC' - 'Data Source' and click New button to create a new data source
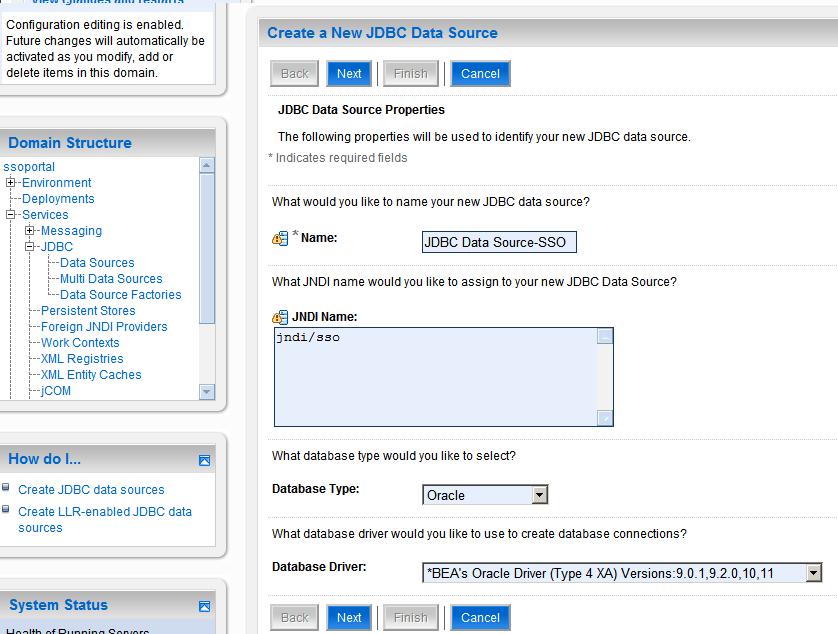
Step 3 : specify jndi name ad database
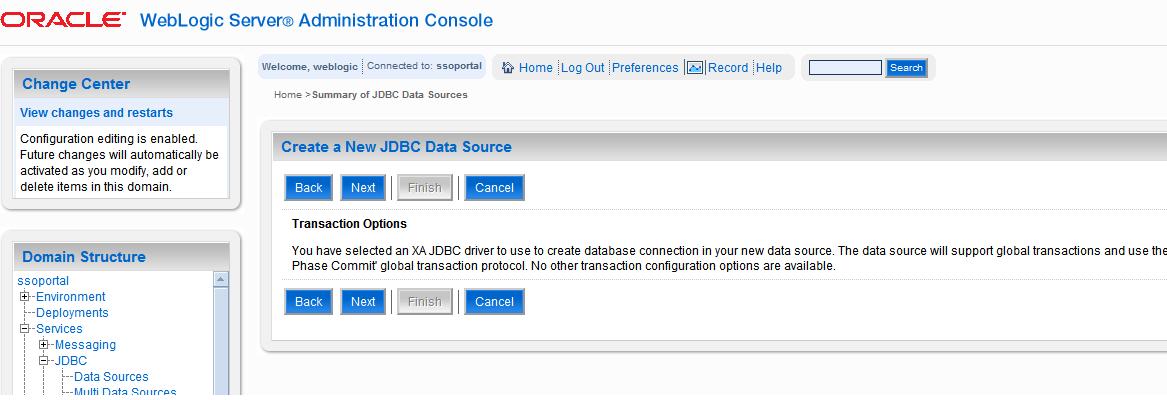
Step 4 : click Next button to set transaction properties
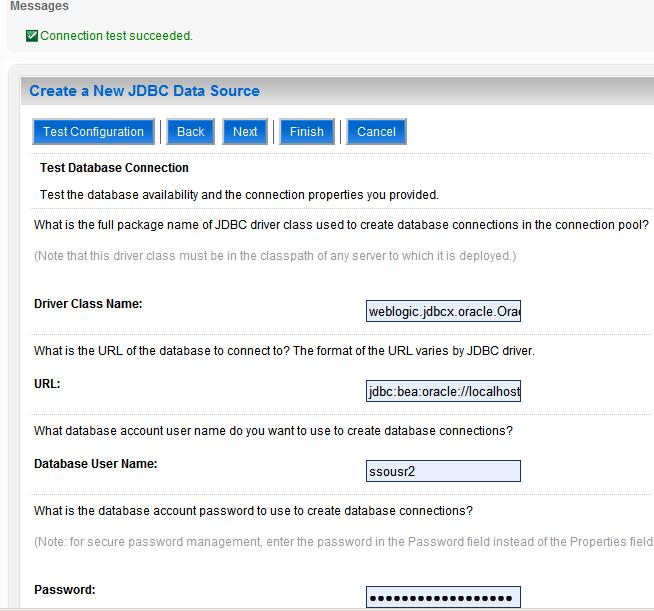
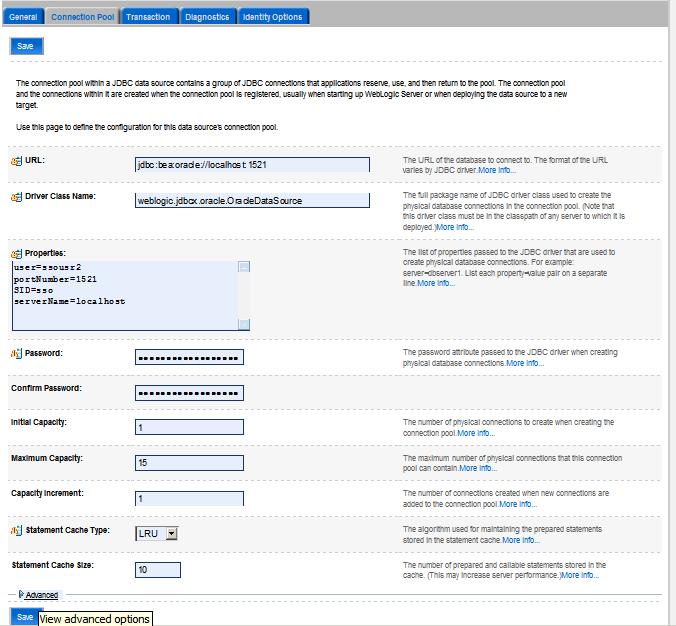
Step 5 : define connection properties

Step 6 : test database connection
Step 7 : select target and click finish

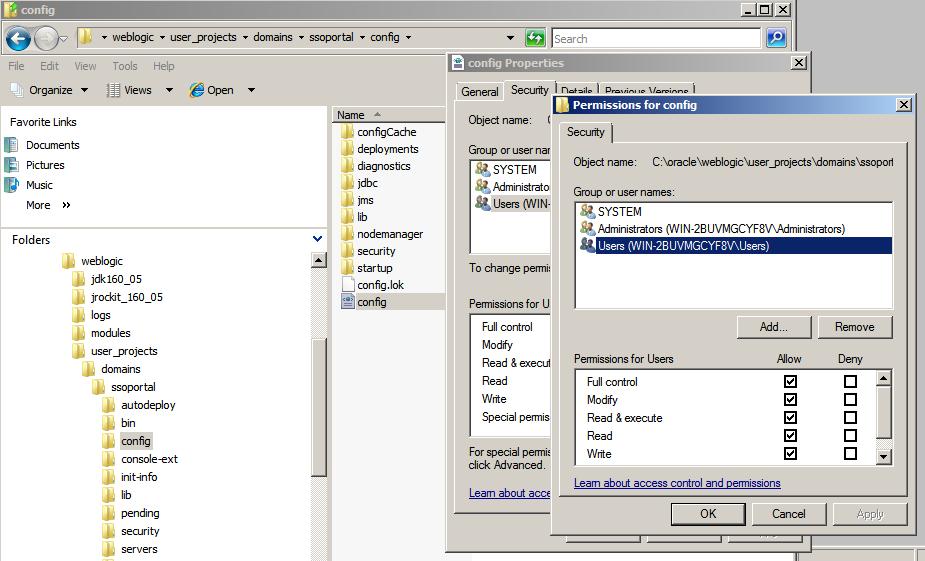
It is possible that config.xml can not be updated beause the access is denied when you click finish button.
If such, right click the config.xml and select menu 'Properties' - tab 'Secuirty ' to grant permission
Befor testing the jndi, expand the 'Advanced' panel in the bottom of this page and ensure property
'Test Connection On Reserve' is enabled.
go to tab 'Monitoring' - sub tab 'Testing' to test jndi


 892
892

 被折叠的 条评论
为什么被折叠?
被折叠的 条评论
为什么被折叠?
 到【灌水乐园】发言


