


1. vscode安装koroFileHeader
在vscode的扩展商店里搜索 koroFileHeader 并安装

2.配置koroFileHeader注释所需参数
-
- ctrl + shift + p 打开工作去配置
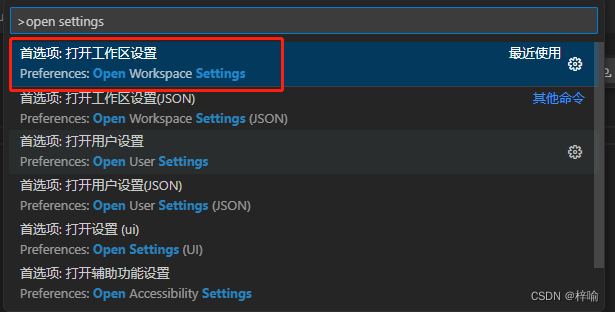
- ctrl + shift + p 打开工作去配置
-
- 搜索fileheader,并点击打开setting.json
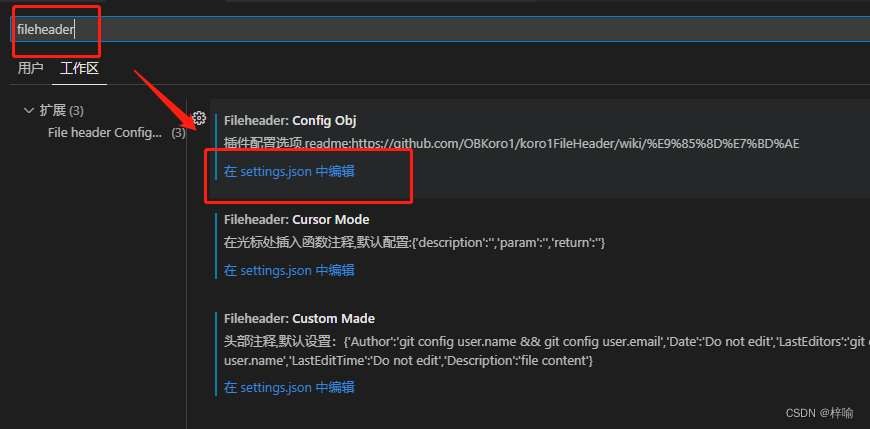
- 搜索fileheader,并点击打开setting.json
-
3.配置setting.json
我只在顶部增加配置如下:
    "fileheader.customMade": {
        "Author": "git config user.name && git config user.email", // 同时获取用户名与邮箱
        "Date": "Do not edit", // 文件创建时间(不变)
        // 文件最后编辑者
        "LastEditors": "git config user.name && git config user.email",
        "LastEditTime": "Do not edit", // 文件最后编辑时间
        "FilePath": "Do not edit", // 文件在项目中的相对路径 自动更新
        "Description": "", // 介绍文件的作用、文件的入参、出参
    },
    // 函数注释
    "fileheader.cursorMode": {
        "description": "", // 函数注释生成之后,光标移动到这里
        "param": "", // param 开启函数参数自动提取 需要将光标放在函数行或者函数上方的空白行
        "return": "",
    },

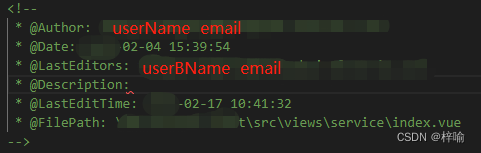
3. 实际使用
在代码中并键盘 ctrl + win + i,会按照配置好的参数自动生成顶部注释


 2735
2735


 被折叠的 条评论
为什么被折叠?
被折叠的 条评论
为什么被折叠?
 到【灌水乐园】发言


