


点击上方蓝字关注我,知识会给你力量

Flutter布局千千万,虽然Box模型相比于原生布局来说,在大部分场景下都是更加方便了,但是有些场景,确实还是ConstraintLayout来的更方便一点,例如下面这个场景:「将不定长度的角标,放置于容器右上角,同时角标中心和容器角顶点对齐」,这其实是一个常见的需求,几乎在UI中的角标场景下都会用到,只不过大部分时候,直接写死一个差不多的偏移量,用Stack就可以实现了,但如果要求特别精准,Flutter的自带Widget就无法满足需求了(通过Key计算的方式就不说了,有点太浪费性能了)。
CustomMultiChildLayout
我们的想法是,传入两个Widget,一个用来做普通的布局,一个用来做角标,角标中心和布局的右上角订单对齐。
所以,先创建CustomMultiChildLayout。
Container(
  height: 300,
  width: 300,
  color: Colors.yellow,
  child: CustomMultiChildLayout(
    delegate: CornerPositionDelegate(),
    children: [
      LayoutId(
        id: 1,
        child: Container(
          color: Colors.redAccent,
          width: 100,
          height: 100,
        ),
      ),
      LayoutId(
        id: 2,
        child: Container(
          color: Colors.green,
          width: 30,
          height: 30,
        ),
      ),
    ],
  ),
)
这些都是基本功了,不啰嗦了。
在delegate中,我们来实现布局逻辑。
class CornerPositionDelegate extends MultiChildLayoutDelegate {
  @override
  void performLayout(Size size) {
    Size size1 = Size.zero, size2 = Size.zero;
    if (hasChild(1)) {
      size1 = layoutChild(1, BoxConstraints.loose(size));
      positionChild(1, Offset.zero);
    }
    if (hasChild(2)) {
      size2 = layoutChild(2, BoxConstraints.loose(size));
      positionChild(2, Offset(0, size1.height));
    }
  }

  @override
  bool shouldRelayout(covariant MultiChildLayoutDelegate oldDelegate) => true;
}
针对每个child,我们来依次布局,通过layoutChild,传入约束,从而获取Size,接下来调用positionChild,为指定id的child进行布局,通过Offset来调整布局的位置。
❝这里的BoxConstraints直接设置的loose,当然你也可以根据你自己的需求,来设置Tight或者其它具体的值。
❞
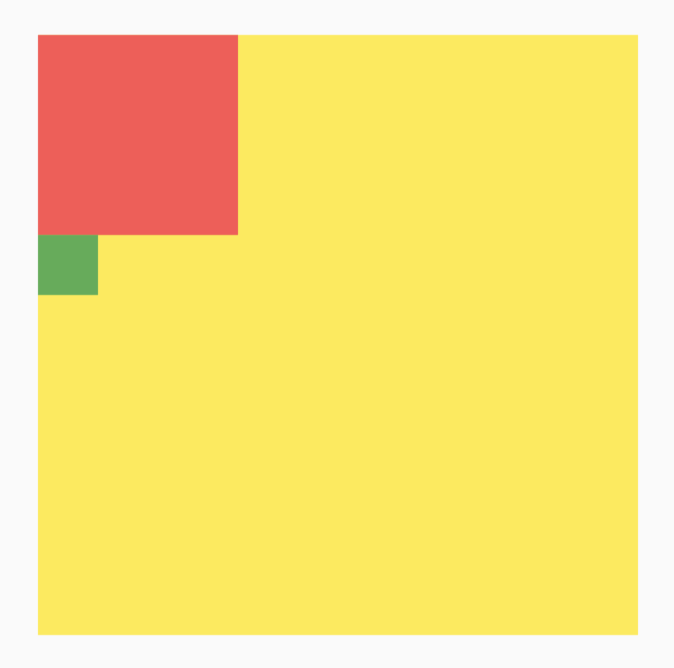
上面的代码很简单,就是将child1放置是Offset(0, 0)的位置,同时让child2放置到child1的下面,如图所示。
但是我们想让布局居中,然后角标再到布局的右上角,所以进行下调整。
@override
void performLayout(Size size) {
Size size1 = Size.zero, size2 = Size.zero;
if (hasChild(1)) {
size1 = layoutChild(1, BoxConstraints.loose(size));
positionChild(
1,
Offset(
(size.width - size1.width) / 2,
(size.height - size1.height) / 2,
),
);
}
if (hasChild(2)) {
size2 = layoutChild(2, BoxConstraints.loose(size));
positionChild(
2,
Offset(
size.width / 2 + size1.width / 2 - size2.width / 2,
size.height / 2 - size1.height / 2 - size2.height / 2,
),
);
}
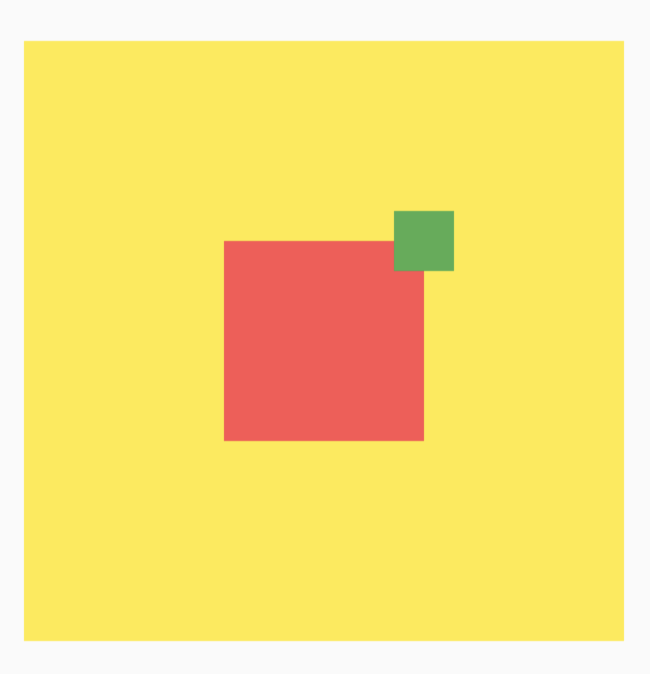
}竟然so easy,因为我们把所有的尺寸信息都拿到了,所以如何布局,那纯粹是数学上的问题了。
但是,CustomMultiChildLayout有两个使用限制:
子元素必须由外界传入,并附带LayoutId,用于标识不同的组件
CustomMultiChildLayout本身的尺寸,只能通过重写delegate的getSize函数来确定,默认情况下,返回的是constraints.biggest,但无法根据Child尺寸来动态适配
SingleChildRenderObjectWidget
虽然上面的做法可以实现角对齐的效果,但是总感觉怪怪的。
在Flutter原生组件中,Align组件是醉接近我们的需求的,它实际上就是一个SingleChildRenderObjectWidget,它的作用就是将它的唯一Child,布局在父容器的指定位置。
所以,我们模仿这个方式,来创建我们的角对齐组件。
Container(
  alignment: Alignment.center,
  height: 300,
  width: 300,
  color: Colors.yellow,
  child: Container(
    width: 200,
    height: 200,
    color: Colors.redAccent,
    child: CornerPositionAlign(
      child: Container(
        width: 30,
        height: 30,
        color: Colors.green,
      ),
    ),
  ),
)
再来创建其它的实现。
class CornerPositionAlign extends SingleChildRenderObjectWidget {
  const CornerPositionAlign({
    Key? key,
    required Widget child,
  }) : super(key: key);

  @override
  RenderObject createRenderObject(BuildContext context) => RenderCornerPositionAlignRenderBox();
}

class RenderCornerPositionAlignRenderBox extends RenderBox with RenderObjectWithChildMixin {
  @override
  void performLayout() {}

  @override
  paint(PaintingContext context, Offset offset) {}
}
这里,在RenderBox中,我mixin了一个RenderObjectWithChildMixin,它是和SingleChildRenderObjectWidget搭配使用的,在这个mixin里面,它帮我们写了很多模板代码,例如attach、detach,同时还给我们返回了一个child对象,用来获取这个子组件。
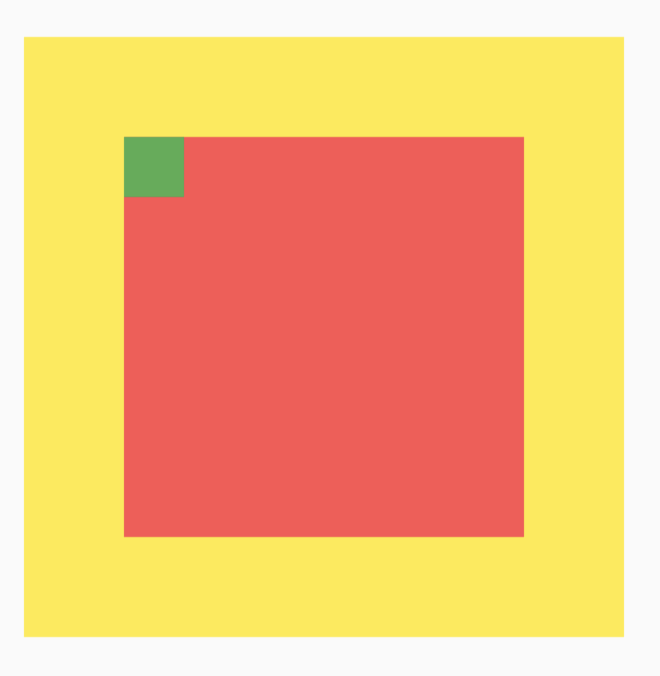
现在我们先什么也不干,就是绘制这个Child,但是performLayout必须要设置size,这个是SingleChildRenderObjectWidget的尺寸,如果不设置,就会报错。
@override
void performLayout() {
  child?.layout(constraints, parentUsesSize: true);
  size = Size(300, 300);
}

@override
paint(PaintingContext context, Offset offset) {
  if (child != null) {
    context.paintChild(child!, offset);
  }
}
child.layout用来根据constraints测量child的尺寸,context.paintChild用来绘制child。
❝parentUsesSize:当Child执行layout之后,Parent是否需要获取Child的尺寸,默认为false,这个默认false是为了优化渲染的性能,大部分场景下,只有Parent Size和Child Size相关联的时候,才需要在Child改变的时候重绘Parent,否则就不需要重绘Parent,从而优化渲染性能。在Child layout之后,如果Parent要获取Child的尺寸,可以通过size = (child as RenderBox).size来获取。
❞
所以,接下来,我们需要完成几件事:
父组件本身,占据约束的最大值
Child使用自身约束
所以我们得到了这个。
@override
void performLayout() {
  child?.layout(constraints.loosen());
  size = constraints.biggest;
}
接下来,就是调整Offset了,paint中的offset参数,正是当前父容器的尺寸下的Offset,你可以理解为Child相当于Parent的Zero状态。下面修改偏移,不过首先我们需要拿到Child的尺寸信息。
Size childSize = Size.zero;

@override
void performLayout() {
  child?.layout(constraints.loosen(), parentUsesSize: true);
  childSize = (child as RenderBox).size;
  size = constraints.biggest;
}

@override
paint(PaintingContext context, Offset offset) {
  if (child != null) {
    context.paintChild(
      child!,
      offset +
          Offset(
            size.width - childSize.width / 2,
            -childSize.height / 2,
          ),
    );
  }
}
效果如下所示。
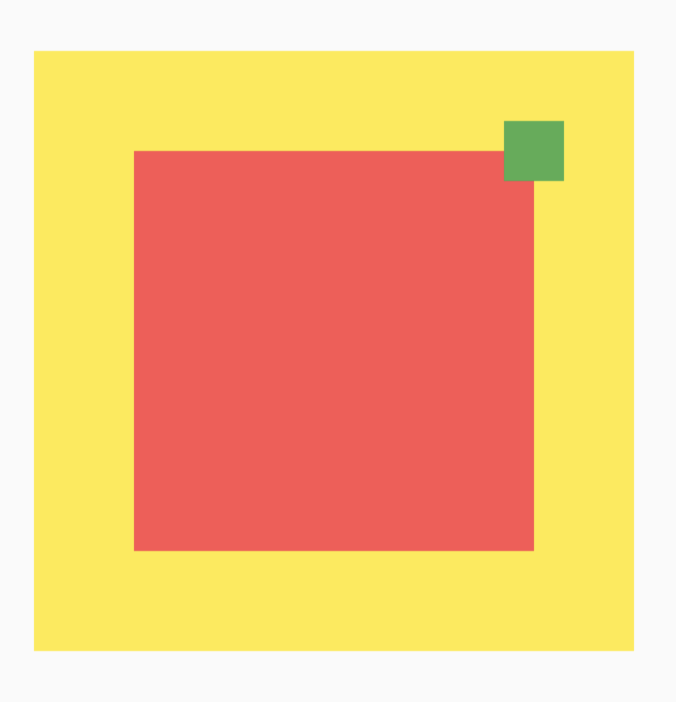
这样我们就完成了角对齐的布局方式,同时还封装了组件,可以像Align一样使用这个组件来做角对齐的需求。
向大家推荐下我的网站 https://xuyisheng.top/ 点击原文一键直达
专注 Android-Kotlin-Flutter 欢迎大家访问
往期推荐
本文原创公众号:群英传,授权转载请联系微信(Tomcat_xu),授权后,请在原创发表24小时后转载。
< END >
作者:徐宜生
更文不易,点个“三连”支持一下👇


 203
203

 被折叠的 条评论
为什么被折叠?
被折叠的 条评论
为什么被折叠?
 到【灌水乐园】发言


