


二、基于Openlayers实现地图的加载与显示
基于上文中配置好的环境,先通过Element Plus实现一个页面的布局,然后基于openlayers加载显示全球瓦片地图。
1. 引入element plus的布局
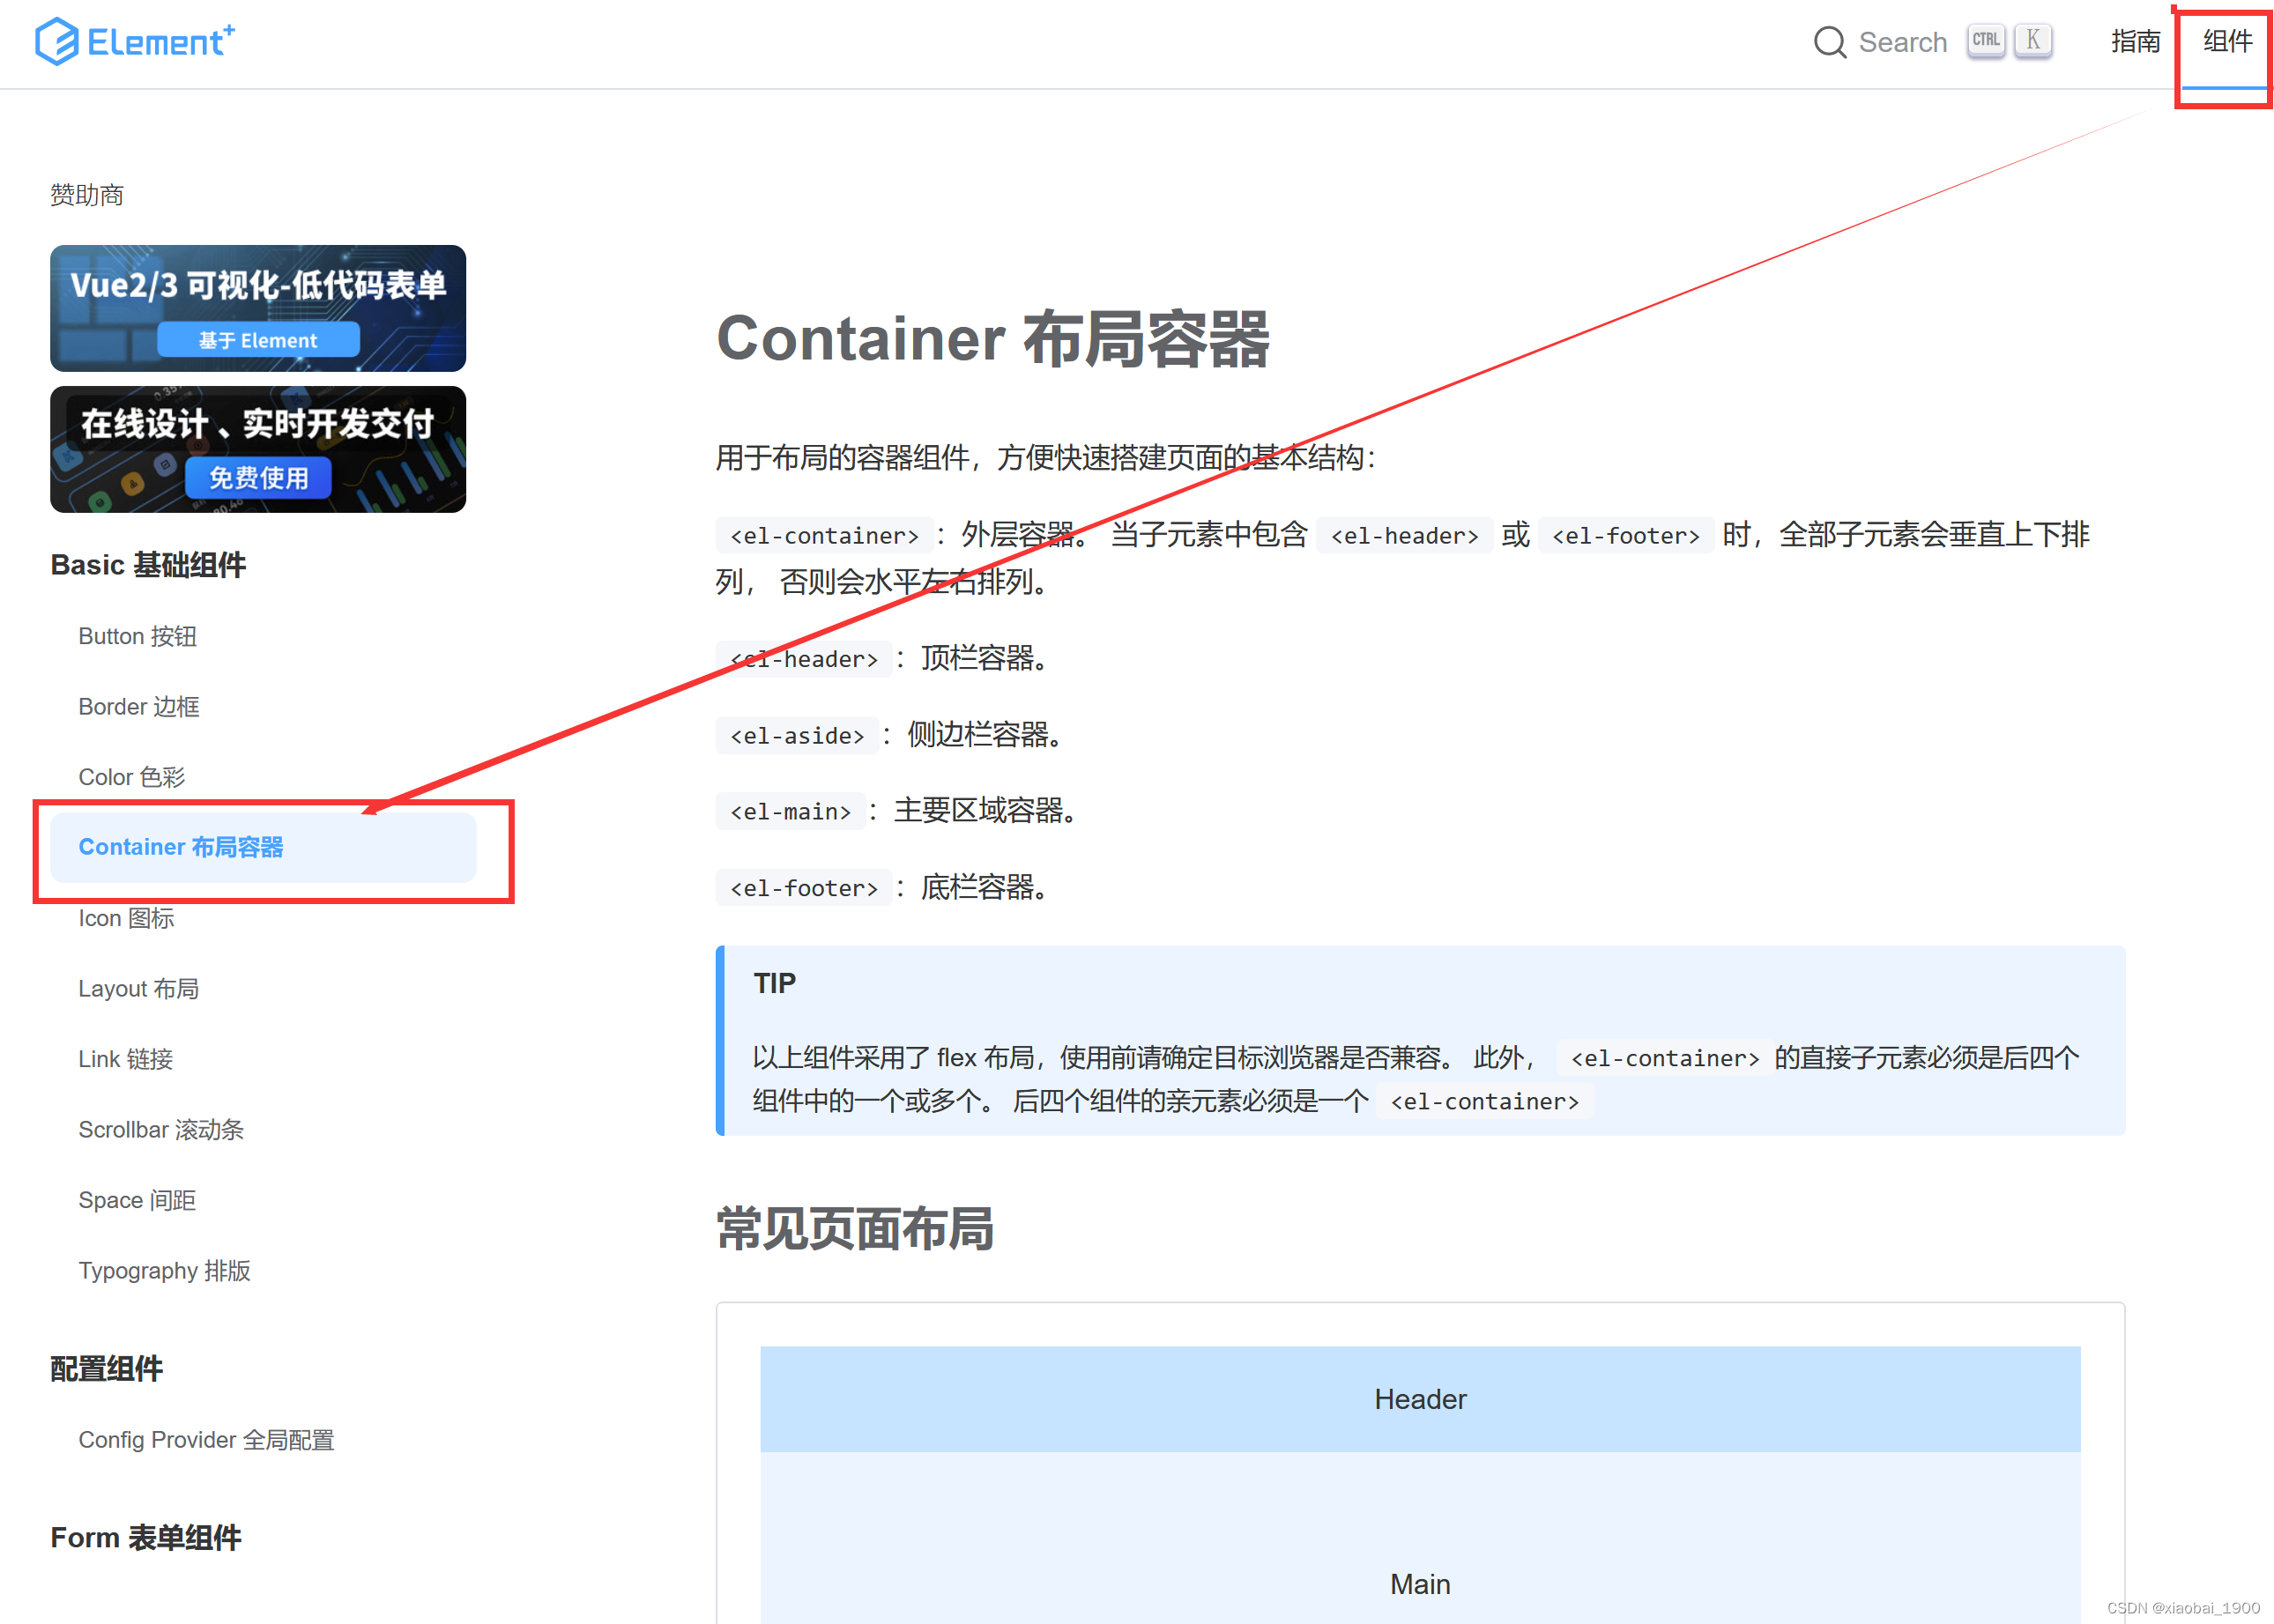
在Element官网中,对其组件有详细的说明:
https://element-plus.org/zh-CN/component/layout.html
其中,基础组件中的Container容器布局,就提供了多种网络页面的布局方式:
 我们选择这种布局方式,先来看一下它的源码:
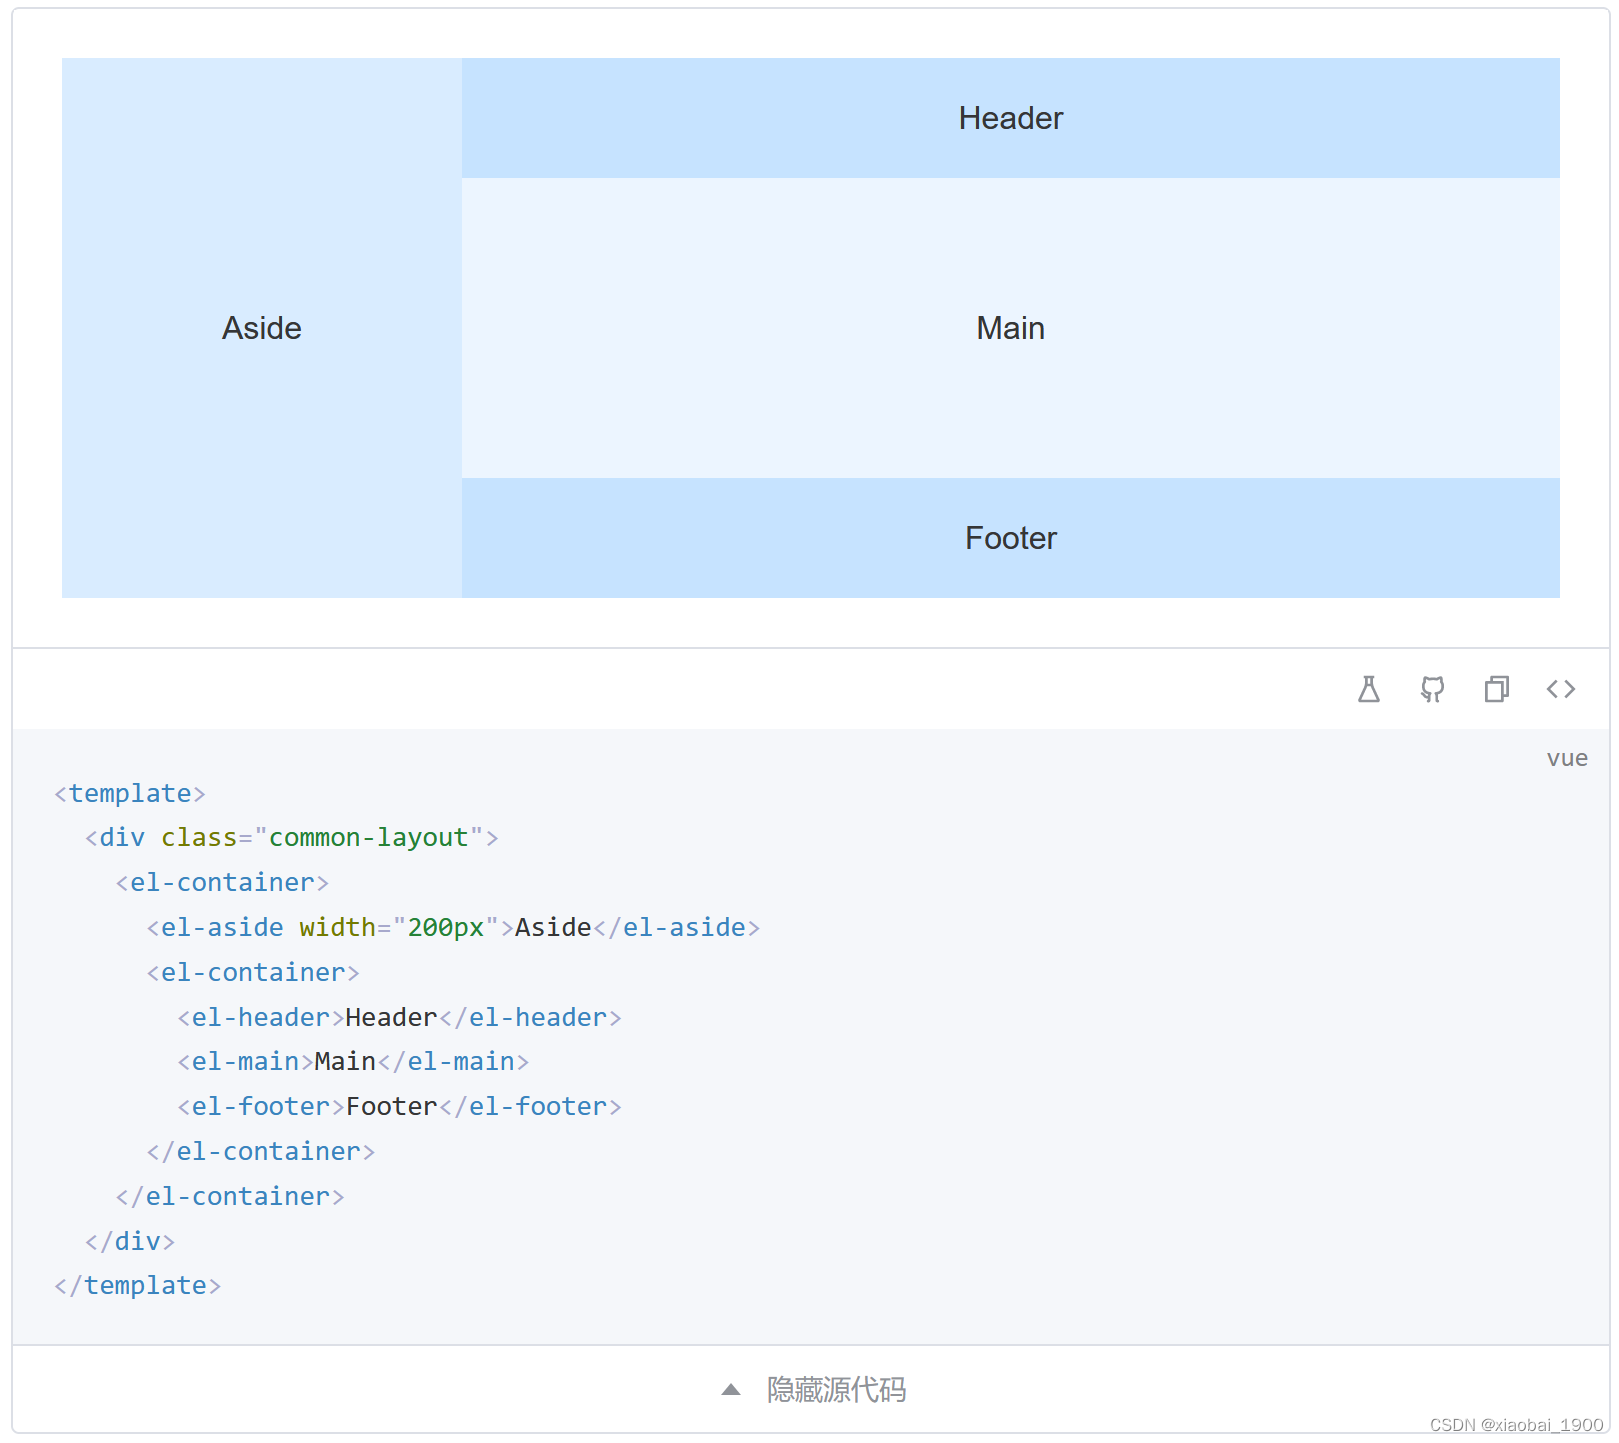 更改App.vue的内容,实现我们的页面布局:
//<template>标签对内,是页面的内容结构设置,我们按照element plus里布局的方式,设置了头部,然后下面左边有菜单栏,右边是主要的地图展示区域
<template>
  <div id = "app">
    <el-container class = "app-out-pannel">
      <el-header class="sys-header">WebGIS项目的页面头部区域</el-header>
      <el-container class = "app-conton-pannel">
        <el-aside class="sys-menu">这里是左边的菜单栏</el-aside>
        <el-main>这是放地图的区域</el-main>
      </el-container>
    </el-container>
</div>
</template>

<script>
export default {
  name: 'App',
  components: {},
};
</script>

<style>
html,
body,
#app {
  position: relative;
  width: 100%;
  height: 100%;
  margin: 0;
}
.app-out-pannel,
.app-content-pannel {
  height: 100%;
}
.sys-header {
  background-color: #303133;
  line-height: 60px;
  height: 60px;
  color: #fff;
  font-size: 600;
}
.sys-menu {
  background-color: #c0c4cc;
}
</style>
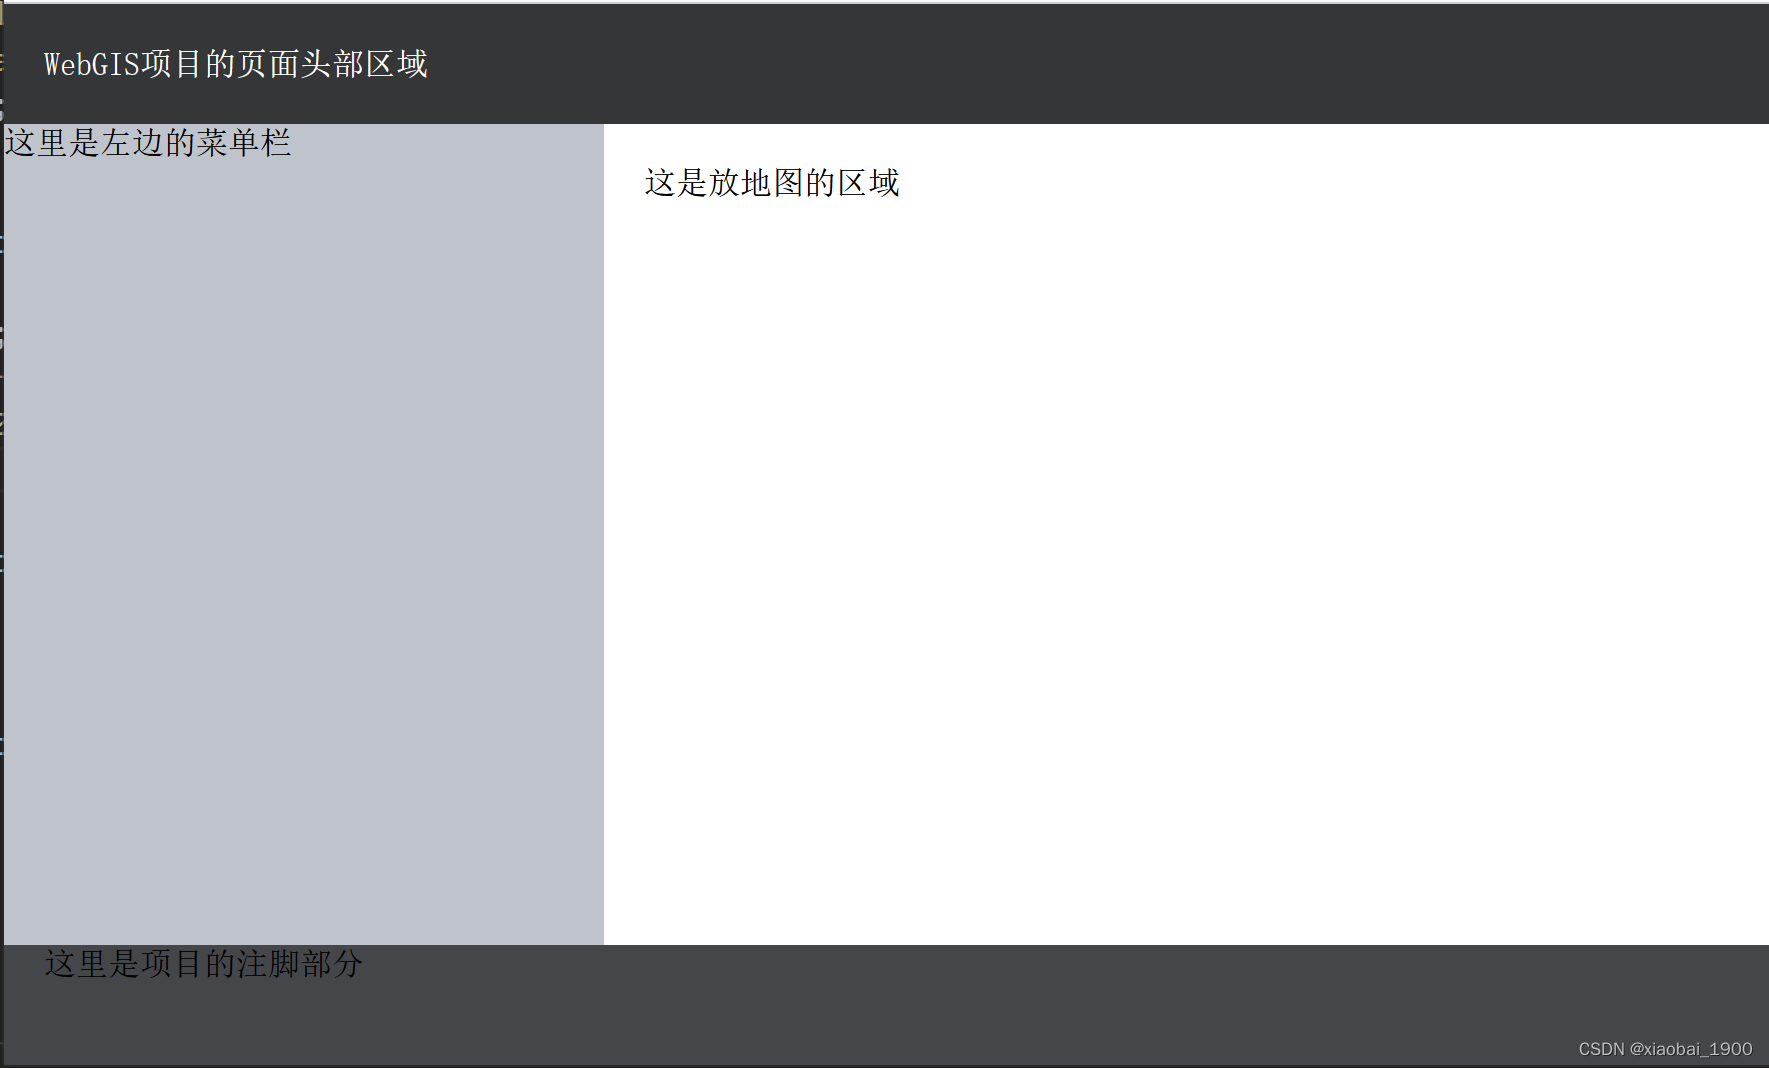
启动项目,先按ctr+S,保存页面,然后在控制台输入:
npm run serve
项目启动后会出现地址,ctr+单击地址,可以转跳倒浏览器,看到页面布局的效果:
注意
安装VUE,启动项目可能会出现报错,
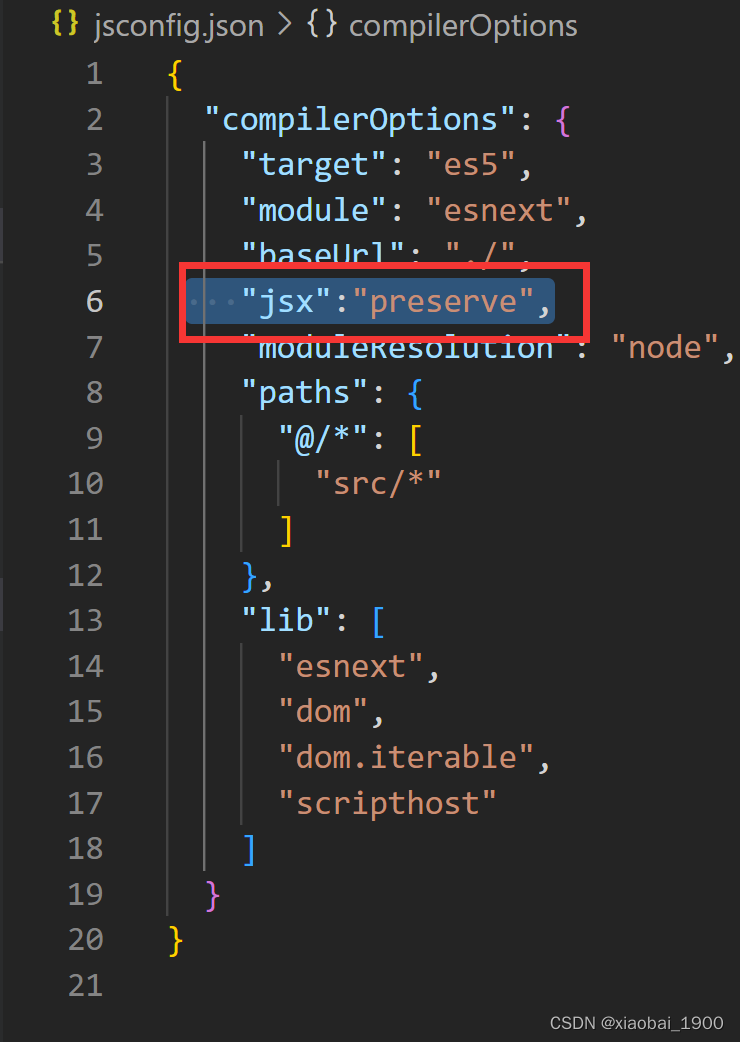
TypeScript intellisense is disabled on template. To enable, configure
"jsx": "preserve"in the"compilerOptions"property of tsconfig or jsconfig. To disable this prompt instead, configure"experimentalDisableTemplateSupport": truein"vueCompilerOptions"property.的错误
找到根目录下jsconfig.json文件。
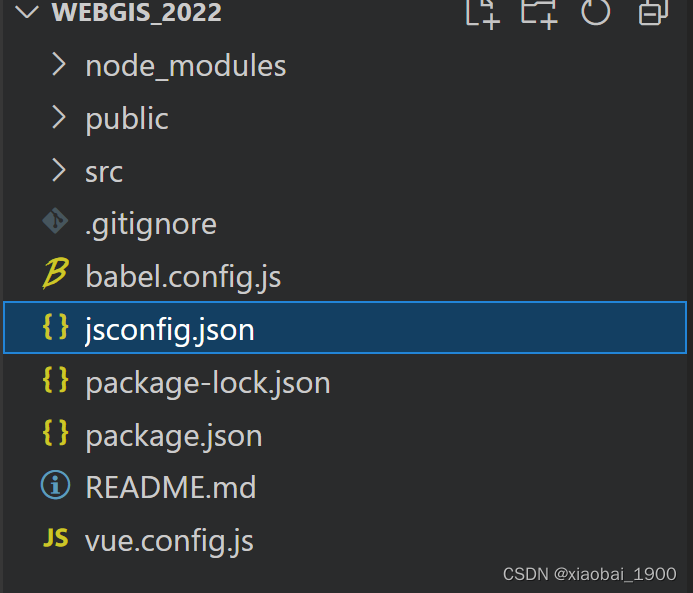
在文件内添加一句
"jsx":"preserve",
就可以了。
原因:
TypeScript具有三种JSX模式:preserve,react和react-native。
这些模式只在代码生成阶段起作用 - 类型检查并不受影响,这样在检测的时候就不会报错了,因为后面也没有使用ts所以能解决问题就行,不用深究。
2. 加载地图
我们在构建一个openlayersMap的组件,将地图加载到页面的地图容器区域,也就是在App.VUE文件里,我们写的
<el-main>这是放地图的区域</el-main>
这句话所构建的这个区域。
2.1 构建一个openlayersMap组件
在组件文件夹(components)文件夹下,新建一个文件,取名叫openlayerMap.vue。
注意:这里的组件文件命,最好和组件里的名字(name)保持一致。
<template>
  <div
    id="map"
    style="width: 100%;
    height: 100%"
  ></div>
</template>

<script>
//导入相关配置信息

import TileLayer from "ol/layer/Tile";
import View from "ol/View";
import { XYZ } from "ol/source";
import 'ol/ol.css';
import Map from 'ol/Map';
import { defaults } from "ol/control";


export default {
  name: "pointMapInit",
  data () {
    return {
      layer: {//地图底图
        tiandituVecLayer: '',
        tiandituImgLayer: '',
        tiandituCvaLayer: ''
      },
      map: null,//地图
    }
  },
  mounted () {
    this.mapInit();
  },
  created () {
  },
  methods: {
    //初始加载地图
    mapInit () {
      let that = this;
      //普通地图
      that.layer.tiandituVecLayer = new TileLayer({
        title: 'generalMap',
        source: new XYZ({
          url: 'http://t3.tianditu.com/DataServer?T=vec_w&x={x}&y={y}&l={z}&tk=daafafd5b7bb42922f10e3d1c06df824',
          crossOrigin: 'anonymous'
        }),
        visible: false
      });
      // 卫星影像图层
      that.layer.tiandituImgLayer = new TileLayer({
        title: 'yx',
        source: new XYZ({
          url: 'http://t3.tianditu.com/DataServer?T=img_w&x={x}&y={y}&l={z}&tk=fea556436d51919f4a429933897be3c1',
          crossOrigin: 'anonymous',
        }),
        visible: true
      });
      //普通地图标记
      that.layer.tiandituCvaLayer = new TileLayer({
        title: 'generalMapZj',
        source: new XYZ({
          url: 'http://t3.tianditu.com/DataServer?T=cva_w&x={x}&y={y}&l={z}&tk=daafafd5b7bb42922f10e3d1c06df824',
          crossOrigin: 'anonymous'
        }),
        visible: true
      });
      this.map = new Map({
        target: 'map',
        // interactions: defaultInteractions().extend([modify]),
        overlays: [that.overlay],
        layers: [
          that.layer.tiandituImgLayer,
          that.layer.tiandituVecLayer,
          that.layer.tiandituCvaLayer
        ],
        view: new View({
          // projection: 'EPSG:4326',
          // center: [120.4750, 31.6337],
          center: [13410926.774433982, 3715530.4937355495],
          zoom: 12,
        }),
        controls: defaults({
          zoom: true,
          attributionOptions: {
            collapsible: false
          }
        })
      });
      this.$root._olMap = this.map;
    },
  },
}
</script>

<style scoped>
</style>
2.1 将组件加载到页面中
在App.vue中进行配置:
<template>
  <div id = "app">
    <el-container class = "app-out-pannel">
      <el-header class="sys-header">WebGIS项目的页面头部区域</el-header>
      <el-container class = "app-conton-pannel">
        <el-aside class="sys-menu">这里是左边的菜单栏</el-aside>
        <el-main class = "sys-content">
          <openlayerMap></openlayerMap>
        </el-main>
      </el-container>
      <el-footer class = "sys-footer">这里是项目的注脚部分</el-footer>
    </el-container>
</div>
</template>


<script>
  import openlayerMap from './components/openlayerMap'

export default {
  name: 'App',
  components: {
    openlayerMap
  },
};
</script>

<style>
html,
body,
#app {
  position: relative;
  width: 100%;
  height: 100%;
  margin: 0;
}
.app-out-pannel {
  position: relative;
  width: 100%;
  height: 100%;
}


.app-content-pannel {
  position: relative;
  width: 100%;
  height: 100%;
}
.sys-header {
  background-color: #303133;
  line-height: 60px;
  height: 60px;
  color: #fff;
  font-size: 600;
}
.sys-menu {
  background-color: #c0c4cc;
}

.sys-content {
  padding: 5px;
  position: relative;
  width: 100%;
  height: 100%;
}

.sys-footer {
  background-color: #424347;
}
</style>
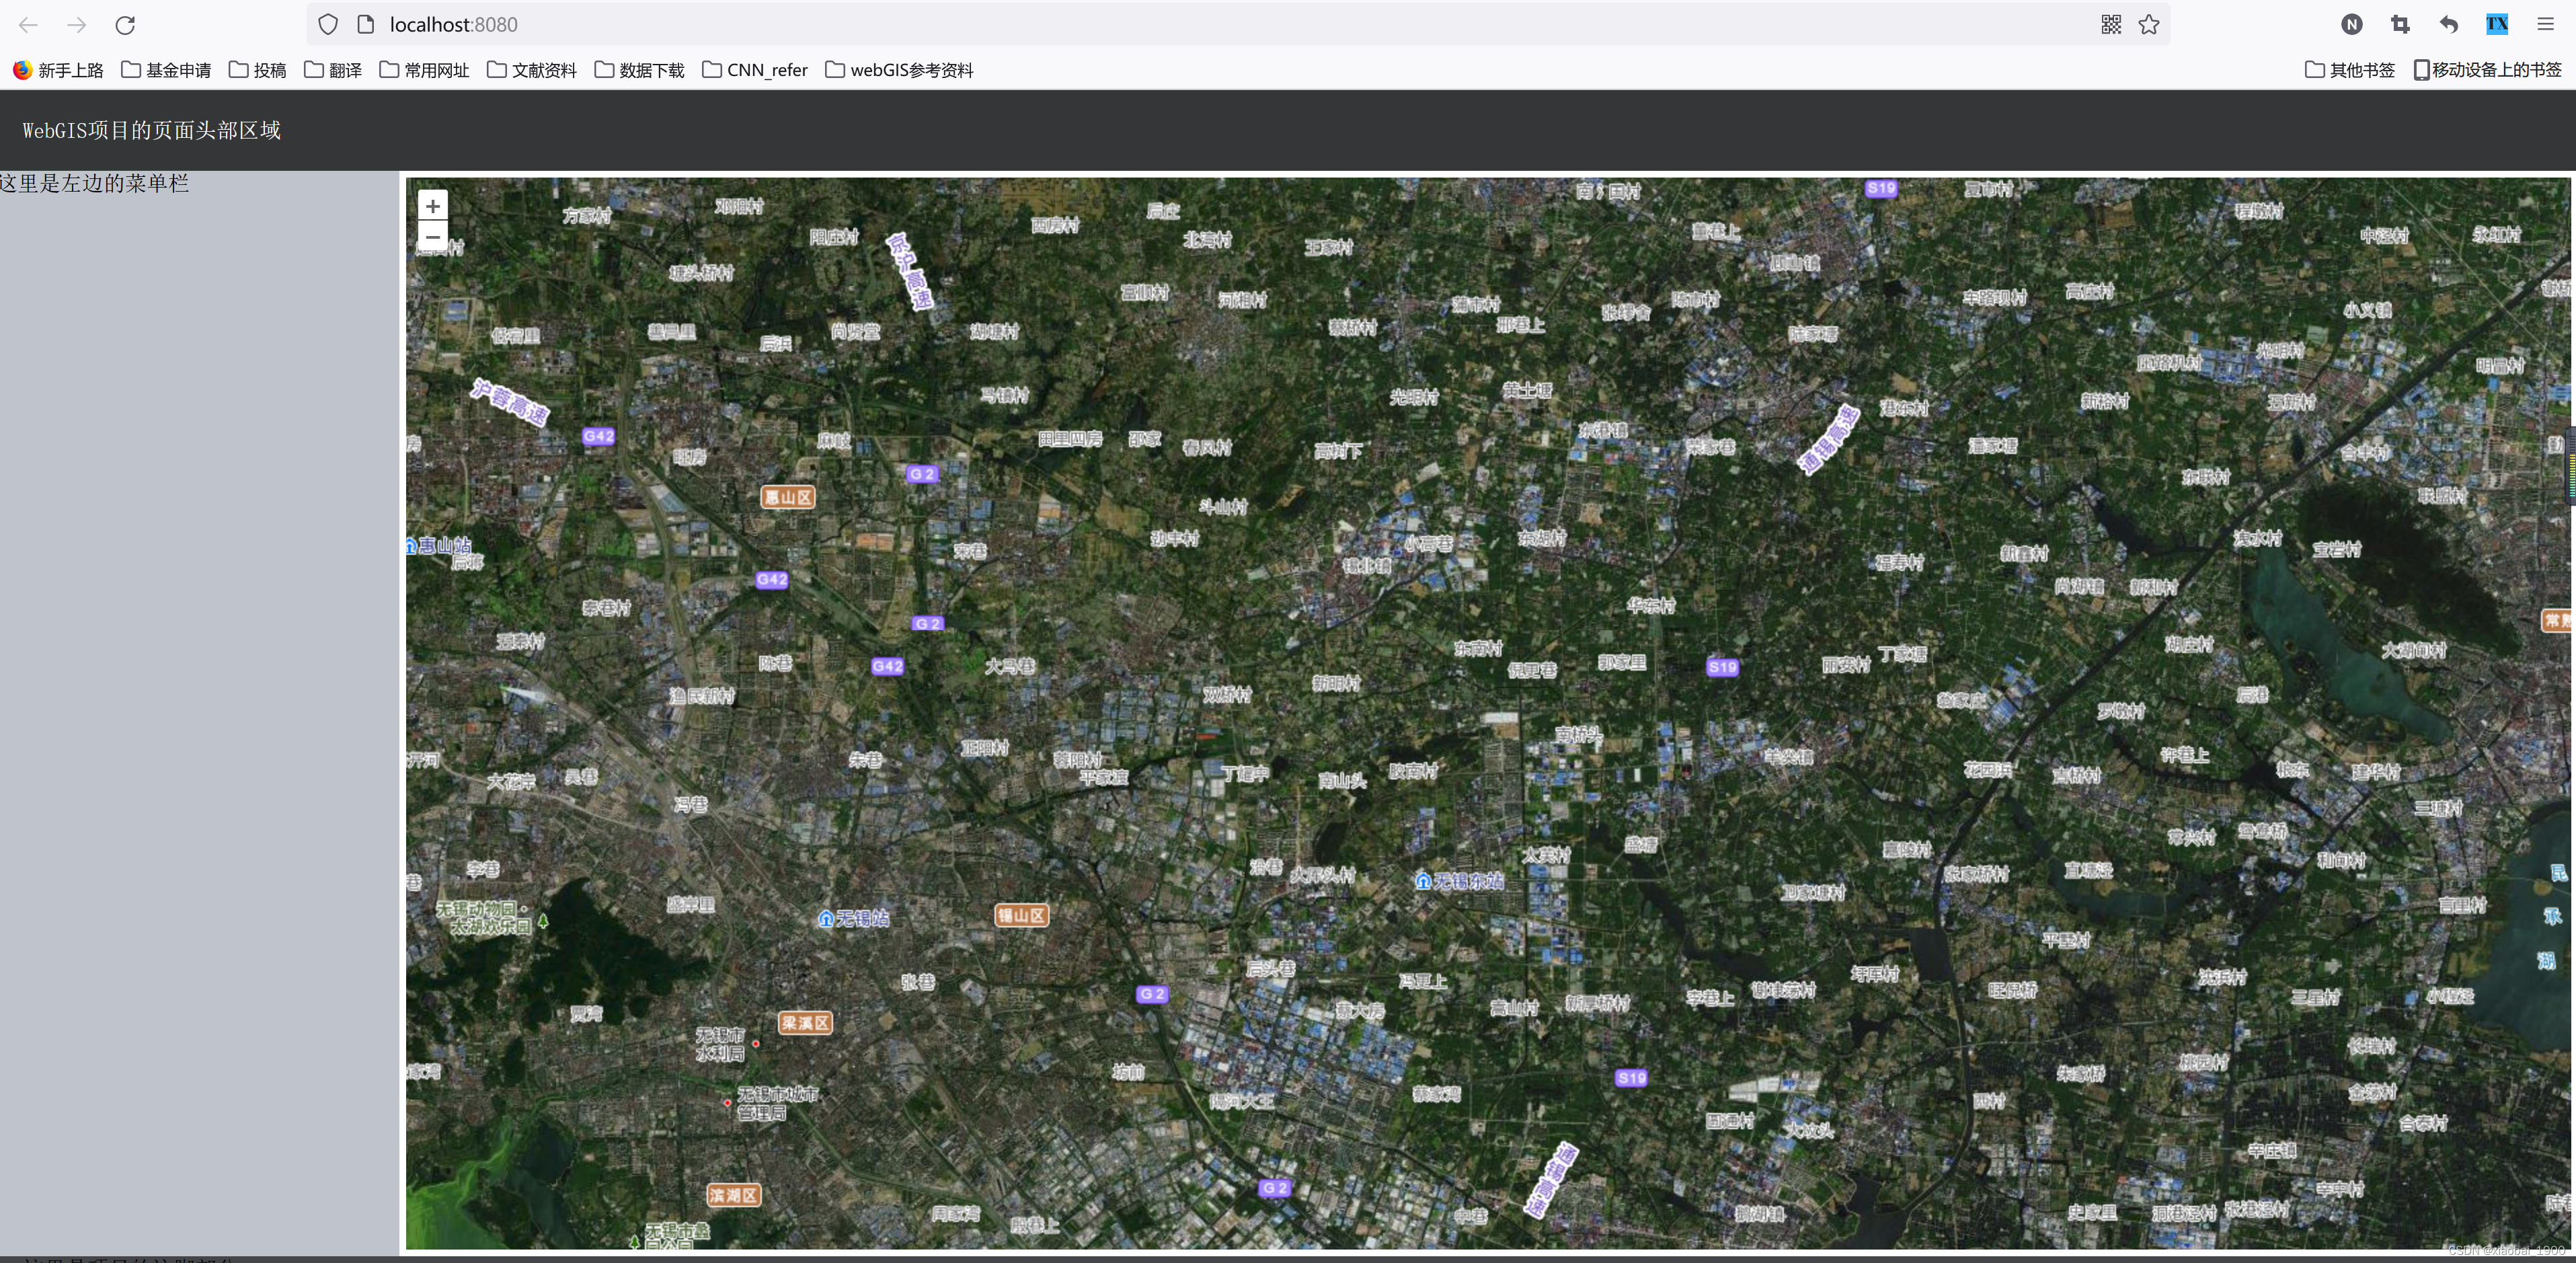
地图加载显示的效果:
2.3 注意提示说明
在openlayersMap组件中,我们将div的样式
style写在了<template>里构建div的时候,是因为,尝试过把style按顺序写在<style>部分,但是,出现了改区域高度为0而地图无法显示的情况。查了资料,进行了修改。


 3825
3825


 被折叠的 条评论
为什么被折叠?
被折叠的 条评论
为什么被折叠?
 到【灌水乐园】发言


