


文章目录
1、设置 编辑器的源代码模式 的宽度
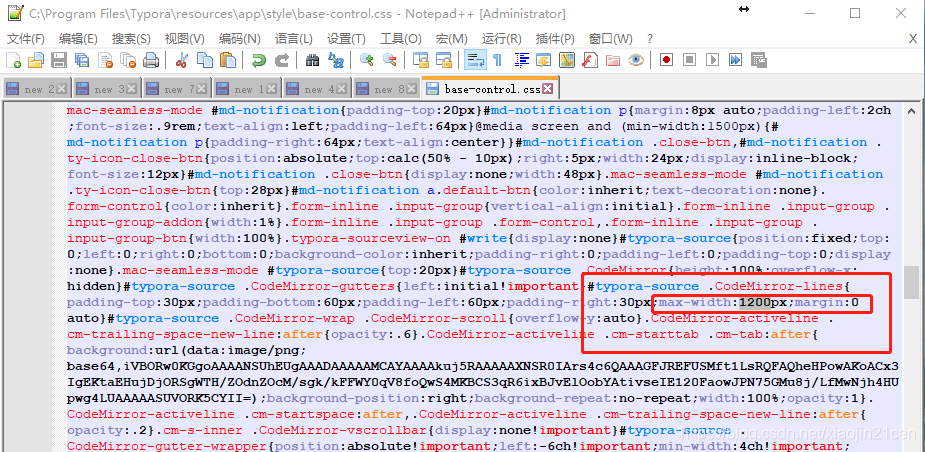
Typora 安装目录,默认为 C:\Program Files\Typora\resources\app\style\ 下,找到 base-control.css 文件 ,打开后搜索 .CodeMirror-lines ,找到 max-width ,将其值改为 1200 ,如图所示:
注意: #typora-source 下的 .CodeMirror-lines 中的 max-width , 就这一处。
效果
重启 Typora 后,进入 源代码模式 :

测试一下,看到 灰底部分 的宽度确实是改成 1200px ,比之前宽了好多 。
2、自定义样式
编辑器 的配置文件 并不在 Typora 的安装目录, 根据下面图所示( 文件 --> 编好设置 --> 外观 --> 打开主题文件夹):

即是在 C:\Users\Administrator\AppData\Roaming\Typora\themes 目录下,

如上图所示,主题文件有 github.css、newsprint.css、night.css、pixyll.css、whitey.css 共 5 种 。
选择当前你所使用主题的 css文件。我使用的是 github 主题。
2.1、设置 编辑器(也是主题) 的宽度
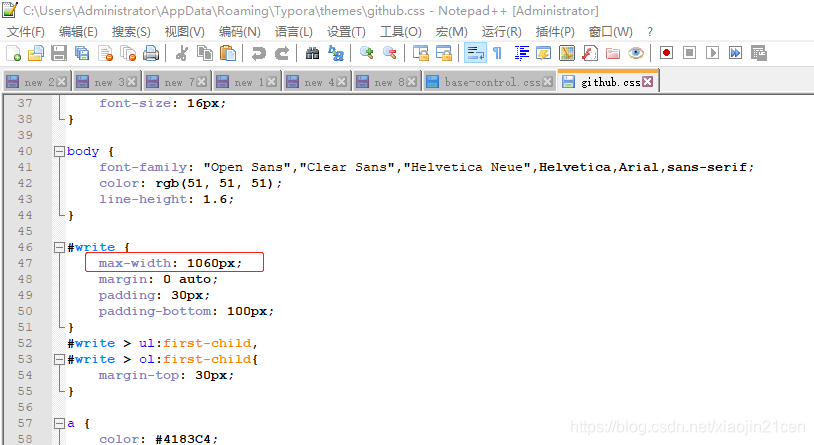
则打开 github.css ,搜索 #write ,修改其属性 max-width 的值改为你想要设置的宽度( 比如我设置的是 1060px )。所图所示:
效果如下:

2.2、修改块代码的颜色,不是代码块的
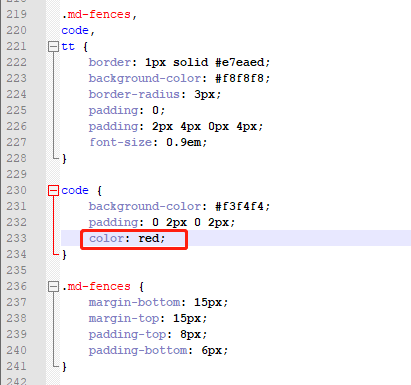
打开 github.css,在 230行 的code标签中,添加 color: red; ,所下图所示:
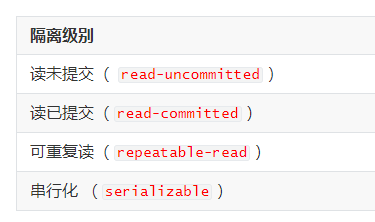
修改后的效果:
重启编辑器, 查看效果,如下图所示:
2.3、引用样式 blockquote
blockquote {
    border-left: 4px solid #ccac8d;
    padding: 0 15px;
    color: #777777;
    background-color: #fafafa;
    padding-bottom: 10px;
    padding-top: 10px;
}
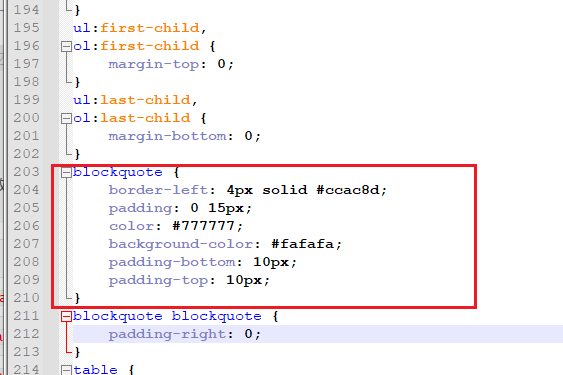
效果如下:

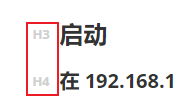
2.4 标题左侧,显示第几级标题
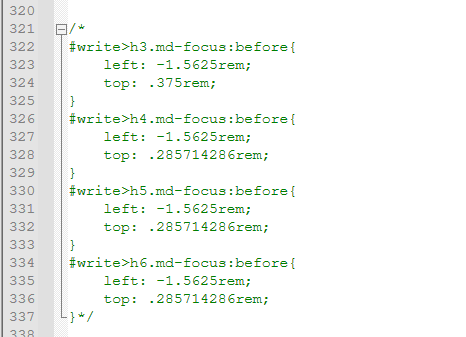
在 github.css 中,注释 掉如下代码:
在 github.css 最后下面,添加如下代码:
#write>h1.md-focus:before,#write>h2.md-focus:before,#write>h3.md-focus:before,#write>h4.md-focus:before,#write>h5.md-focus:before,#write>h6.md-focus:before {
    left: -1.5625rem;
    /* top:50%;*/
	top: 0.8825rem;
}

#write>h1::before, h2::before, h3::before, h4::before, h5::before, h6::before
, h1.md-focus::before, h2.md-focus::before, h3.md-focus::before, h4.md-focus::before, h5.md-focus::before, h6.md-focus::before {
    position: absolute;
    left: -1.5625rem;
    /* top: 50%; */
	top: 0.8825rem;
    transform: translateY(-50%);
    color: #D0D0D0;
    font-size: 0.8rem;
    font-weight: bold;
    font-variant: 'small-caps';
    line-height: 2;
    padding: 0;
    border: 0;
}

#write h1:before {
    content: 'H1';
}

#write h2:before {
    content: 'H2';
}

#write h3:before {
    content: 'H3';
}

#write h4:before {
    content: 'H4';
}

#write h5:before {
    content: 'H5';
}

#write h6:before {
    content: 'H6';
}
3、关闭拼写检查
方法1,在偏好设置中关闭

方法2,快捷关闭
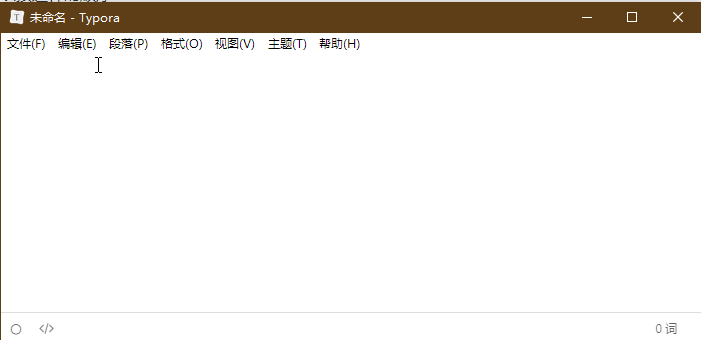
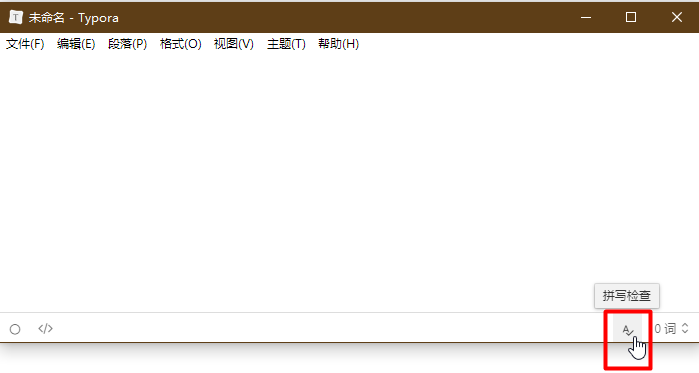
打开 Typora 初始状态:
当鼠标放到状态栏上时,出现的 A ,提示 拼写检查 :
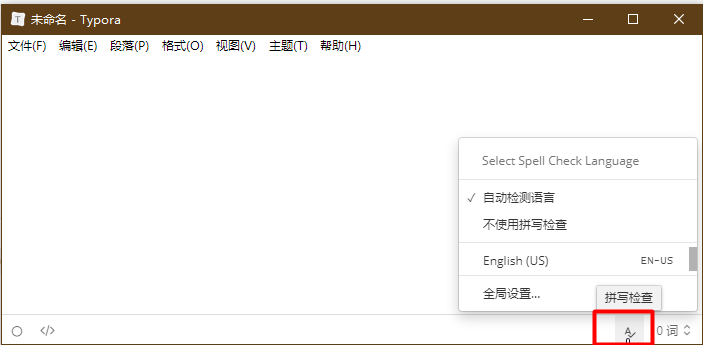
点击 拼写检查 ,选择 不使用拼写检查 ,即关闭了 拼写检查 。


 2743
2743


 被折叠的 条评论
为什么被折叠?
被折叠的 条评论
为什么被折叠?
 到【灌水乐园】发言


