


Nignx 下载官网:nginx: download
修改D:\Nginx\nginx-1.25.1\conf\nginx.conf文件 80默认端口,80端口很容易被占用
server
{
listen 8001;
}
1 . cd /d D:\Nginx\nginx-1.25.1
2. start nginx (cmd管理员身份进入操作)
3. localhost:8001 ,就可以访问nignx首页了
4. 进入项目的D:\.net core学习资料\Net6Demo.WebApi\Net6Demo.WebApi\bin\Debug\net6.0 文件cmd 分别启动三台服务器
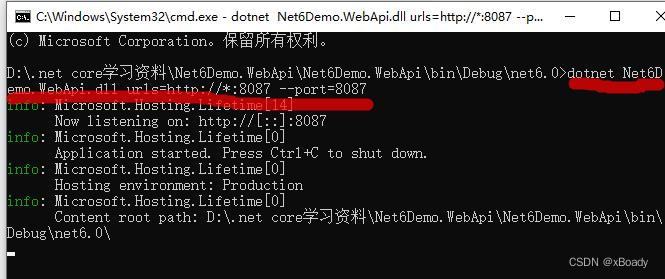
设置服务器1:dotnet Net6Demo.WebApi.dll urls=http://*:8087 --port=8087
设置服务器2:dotnet Net6Demo.WebApi.dll urls=http://*:8088 --port=8088
设置服务器3:dotnet Net6Demo.WebApi.dll urls=http://*:8089 --port=8089
5. 配置nginx.conf
http {
# 设置缓存的路径和其他参数 /Nginx/cache_data:缓存本地保存路径
proxy_cache_path /Nginx/cache_data levels=1:2 keys_zone=web_cache:50m max_size=10g inactive=60m;
include mime.types;
default_type application/octet-stream;
sendfile on;
keepalive_timeout 65;
#要转发的服务器列表
upstream net6Webapi
{
server localhost:8087;
server localhost:8088;
server localhost:8089;
}
server
{
listen 8001;
server_name localhost;
# 只有路径Test时,才启用缓存
location /Test {
proxy_cache web_cache; #要和proxy_cache_path 的 keys_zone值相等
proxy_pass http://net6Webapi;
proxy_cache_valid 200 304 12h;
proxy_cache_valid any 10m;
proxy_cache_key $host$uri$is_args$args;
proxy_no_cache $cookie_nocache $arg_nocache $arg_comment;
proxy_no_cache $http_pragma $http_authorization;
}
# 转发代理
location / {
proxy_pass http://net6Webapi;
}
error_page 500 502 503 504 /50x.html;
location = /50x.html {
root html;
}
}
}

6. nginx -s reload 重启服务
localhost:8001/api/test 就可以访问了


 2385
2385


 被折叠的 条评论
为什么被折叠?
被折叠的 条评论
为什么被折叠?
 到【灌水乐园】发言


