


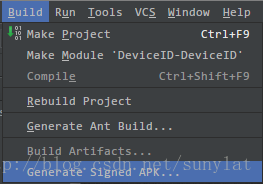
(1)Android Studio菜单Build->Generate Signed APK
(2)弹出窗口
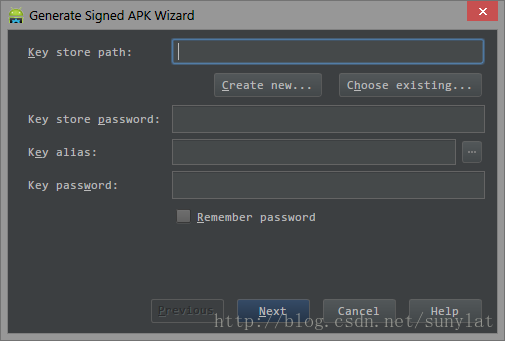
(3)创建密钥库及密钥,创建后会自动选择刚创建的密钥库和密钥(已拥有密钥库跳过)
点击“Create new...”按钮创建密钥库

Key store path:密钥库文件的地址
Password/Confirm:密钥库的密码
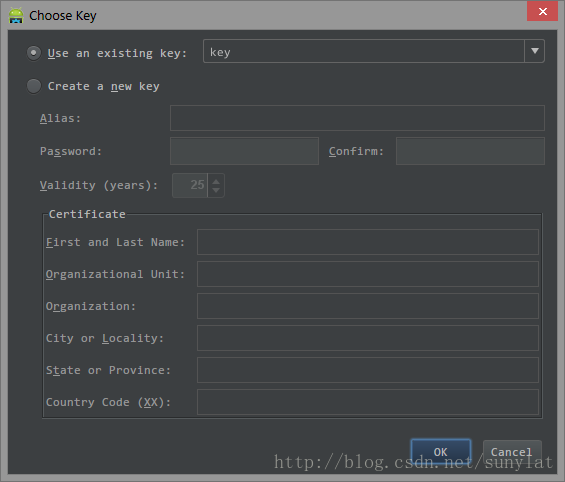
Key:
Alias:密钥名称
Password/Confirm:密钥密码
Validity(years):密钥有效时间
First and Last Name:密钥颁发者姓名
Organizational Unit:密钥颁发组织
City or Locality:城市
Country Code(XX):国家
(4)选择已存在密钥库及密钥(在(3)中创建密钥库后跳过此步骤)
点击“Choose existing...”按钮找到密钥库文件
Key store password输入已选择的密钥库文件的密码
点击Key alias后的“...”按钮,选择或者创建一个密钥
(5)点击“Next”按钮,选择保存路径后,点击“Finish”按钮完成

【修改打包后的默认apk名称】
需在build.gradle(app)中的android中增加
- applicationVariants.all {
- variant ->
- variant.outputs.each {
- output ->
- def outputFile = output.outputFile
- def fileName
- if (outputFile != null && outputFile.name.endsWith('.apk')) {
- if (variant.buildType.name.equals('release')) {
- fileName = "名称${defaultConfig.versionName}_${defaultConfig.versionCode}.apk"
- } else if (variant.buildType.name.equals('debug')) {
- fileName = "名称${defaultConfig.versionName}_${defaultConfig.versionCode}_debug.apk"
- }
- output.outputFile = new File(outputFile.parent, fileName)
- }
- }
- }


 879
879

 被折叠的 条评论
为什么被折叠?
被折叠的 条评论
为什么被折叠?
 到【灌水乐园】发言


