


1.在webpack.config.js中写入以下代码
var path = require('path');      // 导入路径包
module.exports={
    entry:'./src/script/main.js',//入口文件
    output:{
        path:path.join(__dirname, 'dist'),// 指定打包之后的文件夹
        filename:'bundle.js' // 指定打包为一个文件 bundle.js
    }
}
运行:webpack 即可
2. entry可以设置两个参数['./src/script/main.js','./src/script/a.js']
entry也支持对象的写法
var path = require('path');      // 导入路径包
module.exports={
    entry:{
    	main:'./src/script/main.js',//入口文件
    	a:'./src/script/a.js'
    },
    output:{
        path:path.join(__dirname, 'dist'),// 指定打包之后的文件夹
        filename:'bundle.js' // 指定打包为一个文件 bundle.js
    }
}
3.这样有个缺点,打包后就只有一个文件bundle.js ; 下面是改进的方案
var path = require('path');      // 导入路径包
module.exports={
    entry:{
    	main:'./src/script/main.js',//入口文件
    	a:'./src/script/a.js'
    },
    output:{
        path:path.join(__dirname, 'dist'),// 指定打包之后的文件夹
        filename:'[name]-[hash].js ' // 指定打包为一个文件 bundle.js
    }
}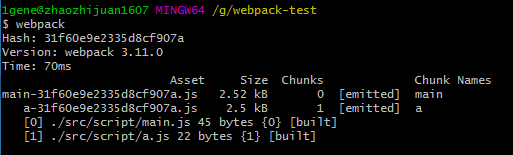
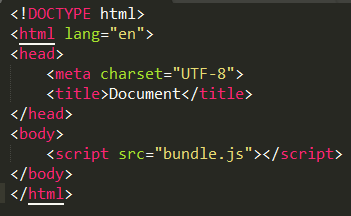
4.由于打包后的文件个数不确定,所以html中引入的文件不定固定为bundle.js
解决方案:引入插件 html-webpack-plugin
5.入口多个js文件,打包后html中分类显示([name]-[hash])


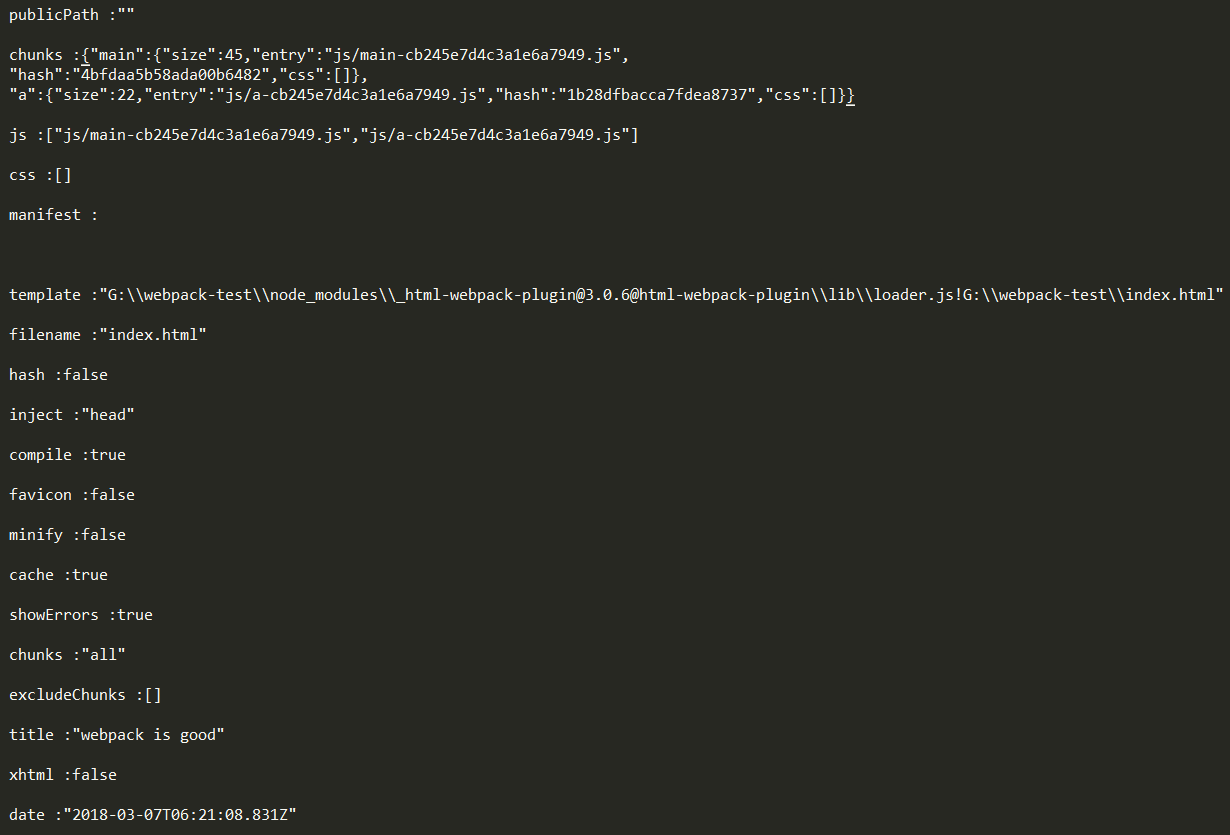
6.可以在html中通过<%=%>语法获得htmlWebpackPlugin插件的连个参数(files,options),循环遍历可以显示

打包后就会显示
这样就可以在html网页中分类显示js的位置,是在body中,还是在head中


7.将打包的地址替换为上线的地址

打包后:

在plugins中增加minify属性,就是压缩html代码
删除注释和空格
plugins:[
    new webpack.optimize.UglifyJsPlugin(), // 用于压缩js文件
    new htmlWebpackPlugin({ // 打包的模板套用根目录的index.html
      template: 'index.html',
      title:'webpack is good',
      date: new Date(),
      inject:false,  // 打包后的js文件放在html的header标签中
      minify:{ // 对当前生成的html文件进行压缩
        removeComments: true,  // 删除注释
        collapseWhitespace: true // 删除空格
      }
    })
  ]
打包后:


 776
776

 被折叠的 条评论
为什么被折叠?
被折叠的 条评论
为什么被折叠?
 到【灌水乐园】发言


