


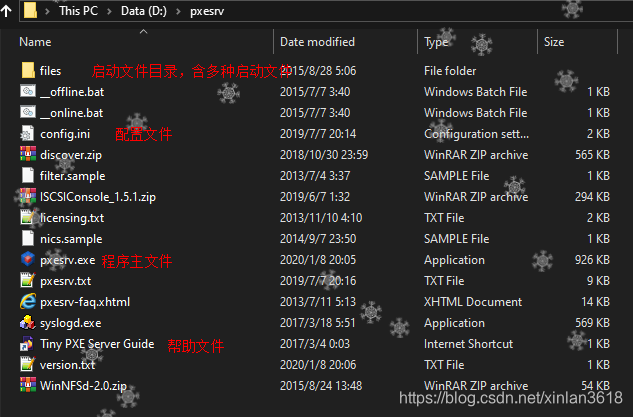
一、首先需要准备TinyPXE server软件,下载地址:http://labalec.fr/erwan/?cat=28 ,文件名:pxesrv.zip。解压后,打开根目录为如下图:
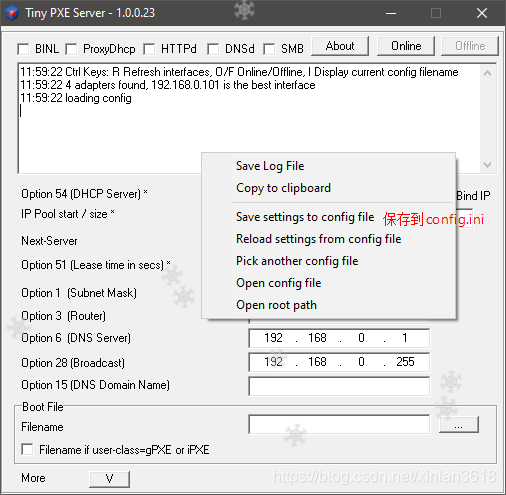
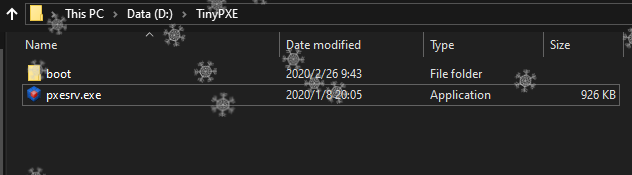
二、在D盘任意目录新建一个文件夹,我是在根目录下建立了TinyPXE文件夹,然后将pxesrv.exe复制到TinyPXE文件夹下。config.ini文件不用复制,当保存配置时会在pxesrv.exe所在的路径下自动生成。在软件运行界面,消息显示框区域右击,即可显示菜单,如下图:
三、在TinyPXE路径下新建boot文件夹,名称可以自定义,在从pxesrv文件夹下的files文件夹中找到ipxe.pxe和memdisk文件,复制到D:\TinyPXE\boot文件夹下。并在D:\TinyPXE\boot文件夹下新建ipxe_menu.txt启动菜单文件。从网址http://www.allbootdisks.com/download/98.html下载Windows98_SE.img。将Windows98_SE.img放入boot文件夹内

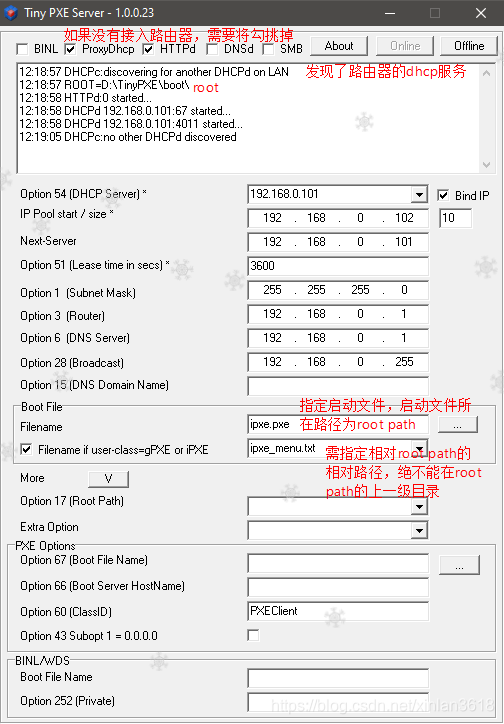
四、服务器和客户端都接入路由器,运行pxesrv.exe,指定启动文件和启动菜单文件,单击Online运行服务。
五、本文以ipxe启动文件来启动img镜像为例,接下来需要编辑ipxe_menu.txt文件,需注意#!ipxe必须在第一行,前边不能有空行。以下为简单版和复杂版代码:
#!ipxe
#============== Set Variables ===============
set boot-url http://${dhcp-server}

#================ Main Menu =================
menu iPXE boot menu
item winse         Windows98_SE
choose target && goto ${target}

#============ Main Menu Options =============
:winse
kernel ${boot-url}/memdisk
initrd ${boot-url}/Windows98_SE.img
boot
#!ipxe
#============== Set Variables ===============
set menu-timeout 16000
set menu-default winse
isset ${ip} || dhcp
isset ${next-server} || set next-server 192.168.0.205
:start
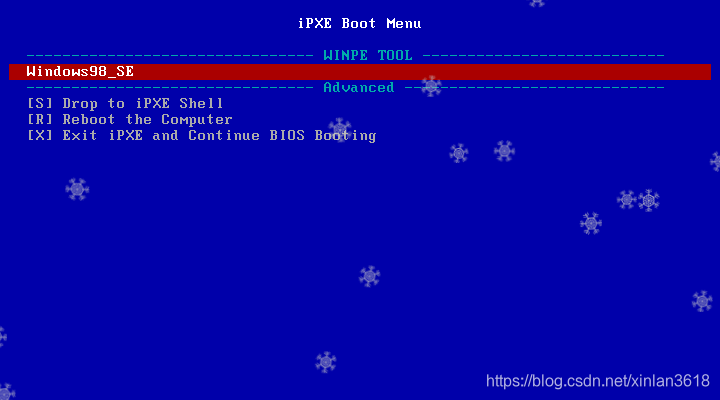
menu iPXE Boot Menu
item --gap -- -------------------------------- WINPE TOOL ---------------------------
item winse Windows98_SE
item --gap -- -------------------------------- Advanced -----------------------------
item --key s shell [S] Drop to iPXE Shell
item --key r reboot [R] Reboot the Computer
item --key x exit [X] Exit iPXE and Continue BIOS Booting
choose --timeout ${menu-timeout} --default ${menu-default} selected
goto ${selected}
#============ Main Menu Options =============
:winse
kernel ${boot-url}/memdisk
initrd ${boot-url}/Windows98_SE.img
boot
:shell
echo Type 'exit' to go back to the menu.
shell
goto start
:reboot
reboot
:exit
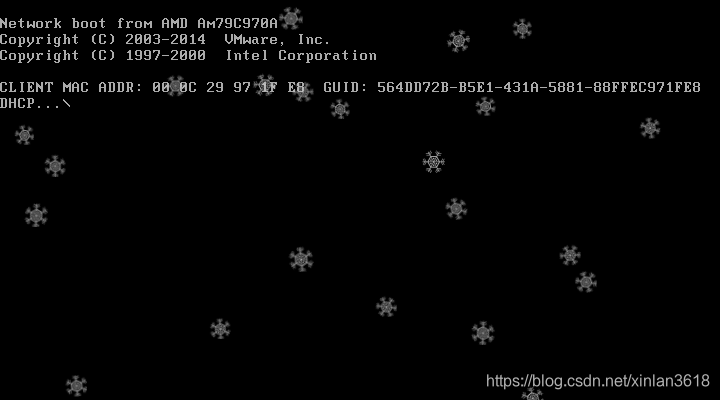
exit六、打开客户机,按F12从快速启动中选择网卡启动。无快速启动功能的主板,进入BIOS将网卡设为第一启动项。如果BOOT菜单内没有网卡,需要在高级菜单的网卡选项中开启网络启动功能。
七、用VMware虚拟机模拟客户机启动,VMware的网络模式必须设置为桥接模式,否则和主机的客户机的ip地址不在同一网段内。
至此告一段落。


 1万+
1万+

 被折叠的 条评论
为什么被折叠?
被折叠的 条评论
为什么被折叠?
 到【灌水乐园】发言


